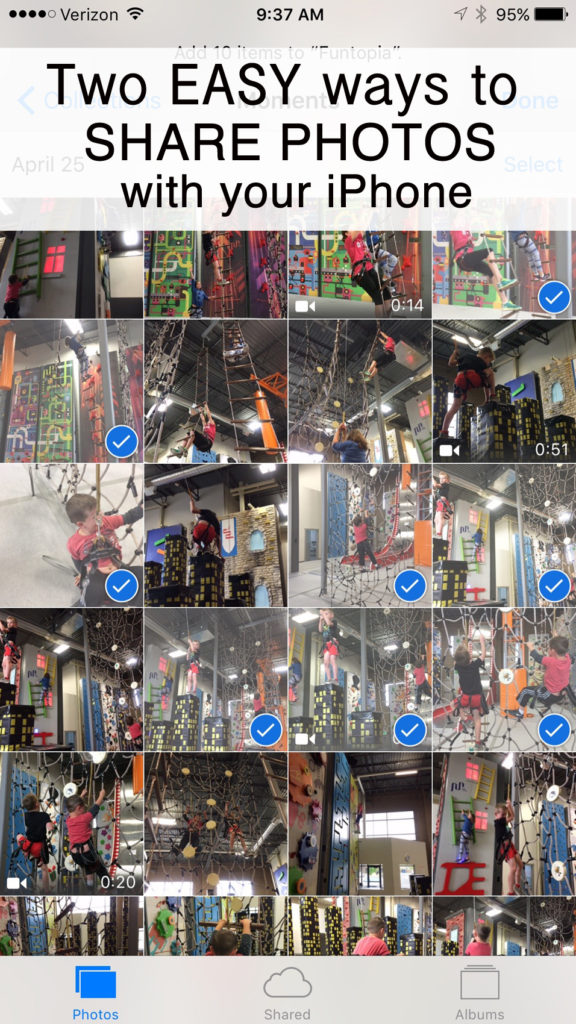
2 easy ways to share photos with your iPhone

A friend of mine was going to share some photos with me she had taken on her camera.  She started to e-mail them to me in batches until I stopped her.  Sweet mercy.  Please don’t send me 10 e-mails (or text messages) with 5 photos in each e-mail (or text).  That was the only way she knew how to send me the photos and I have come to realize there are many people who don’t know an easier way to share photos.

So today I’m going to show you two really easy ways to share photos with your friends and family from your iPhone.  E-mailing photos is certainly still an option, but when you want to share a bunch of photos, there are easier, more efficient ways to do it.  And easy and efficient are my jam.  Here are two easy ways to share photos with your iPhone (not emailing or texting them batch by batch).
photosharing

Share option Number One:  Create a Shared Album.  Here’s how you do that:

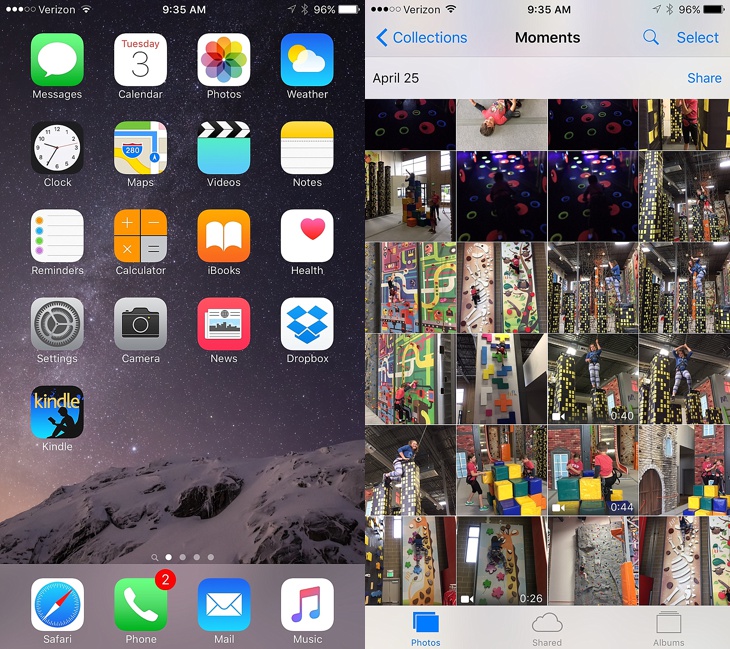
Click on the “Photos” icon on your iPhone.  This will bring up all of the photos on your camera roll.  At the bottom of the screen below all your photos, click on the cloud with “shared” underneath it.
2016-05-03_0001

This will bring up all of your “shared” folders.  You may not have any folders in there are this point, but if you do, you’ll see them all listed here.  Click on the “+” icon either in the top left of the screen OR click on the “+” by “New Shared Album” to create a new album to share with someone (or multiple people).  This will bring up a screen where you can name the album.
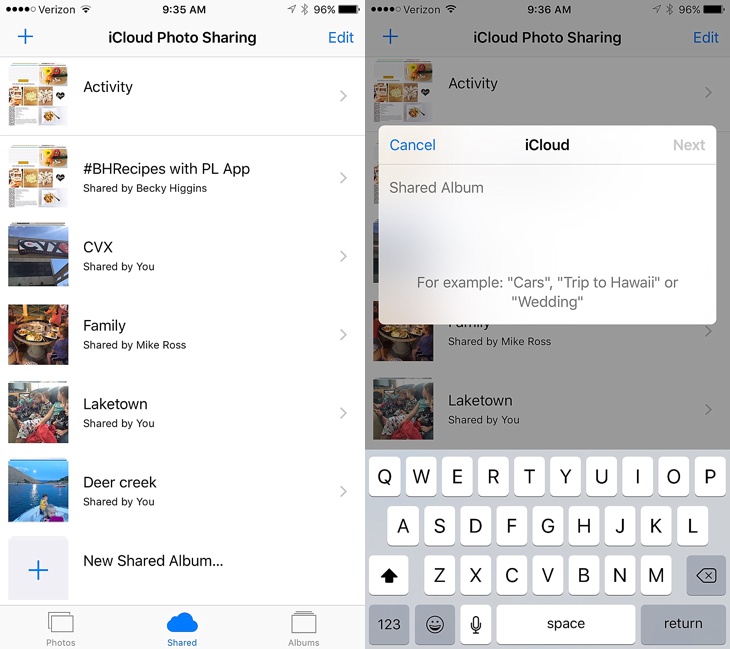
2016-05-03_0002

Give the album whatever name you want and click “Next”.  This will give you the chance to add the numbers of the people you want to share the album with.  It will pull up numbers of people you’ve recently shared with (I crossed them out so people don’t randomly start pranking my friends), or you can click the “+” in the circle to the right to add more people from your contact list.  Or just type in the number if they aren’t in your contacts or if you actually know their number (my friends and I were laughing about how many numbers we don’t know these days–they’re all saved in our phones but not memorized.  But we can still call our childhood friends parents house if we needed to).

You can add people now, or do it later.  Once you have the numbers in for the people you want (or don’t add any numbers at this point if you want to add them later), click “Create”.
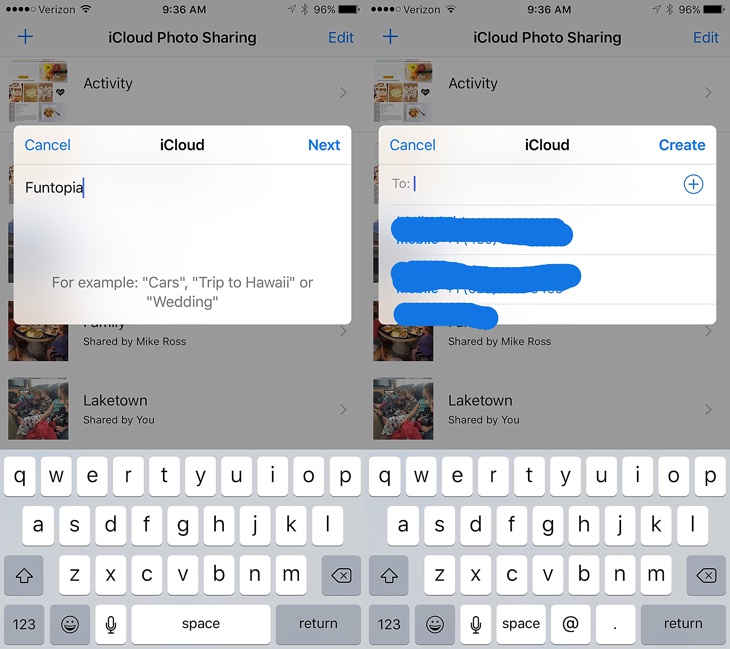
2016-05-03_0003

You’ve now created a new album.  Mine is titled “Funtopia”, a climbing place I recently took my kids to.  And yes, it was fun.  Once you have your album created, click on it and it will bring up a screen where you can start adding photos to share.  To do this, click on the “+” on the screen.
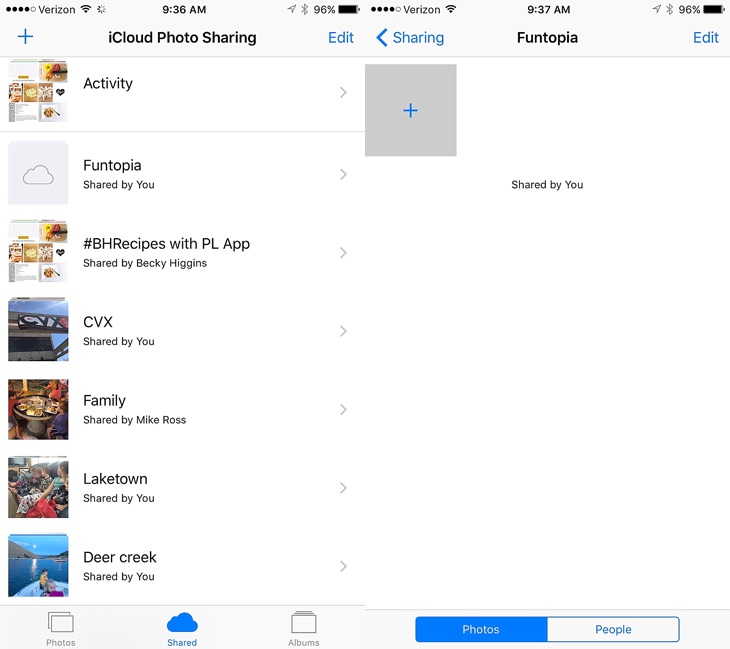
2016-05-03_0004

When you click on the “+” it will bring up your camera roll.  Click on “select” in the upper right corner and scroll through your photos and tap on all the ones you want to include in the album.  You can also include video.
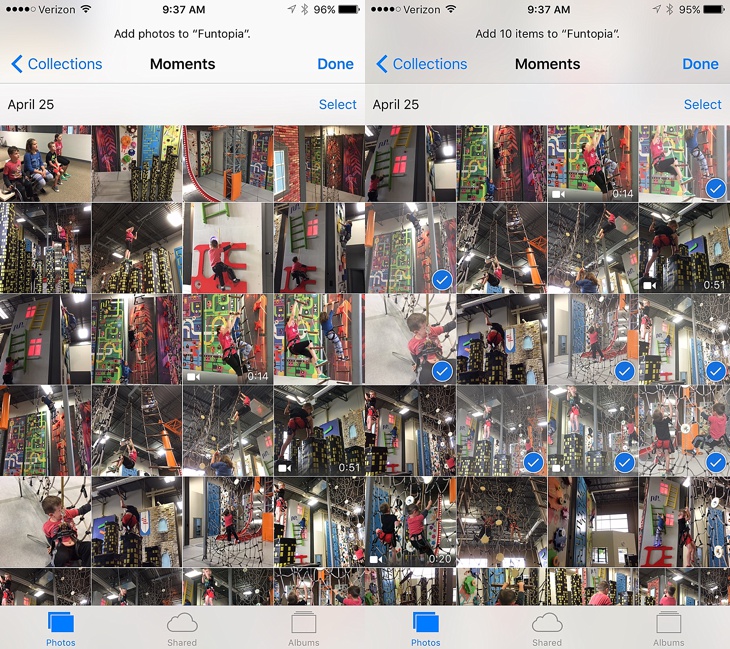
2016-05-03_0005

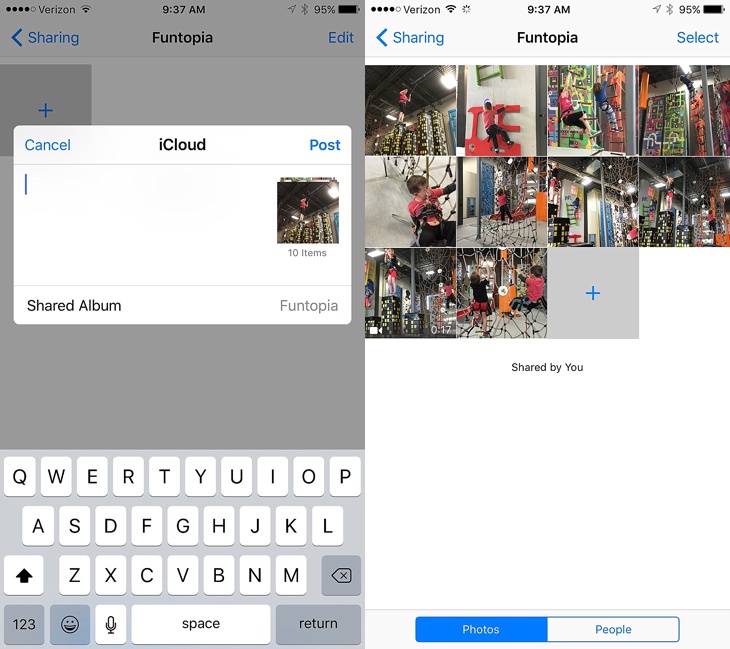
Once you’ve selected all the photos you want, click “Done”.  It will bring up a white screen where you can add a comment/text if you want, or just click “Post”.  All the photos will then appear in the shared folder.  You can add more photos at any time by clicking the “+” icon in the grey square.
2016-05-03_0006

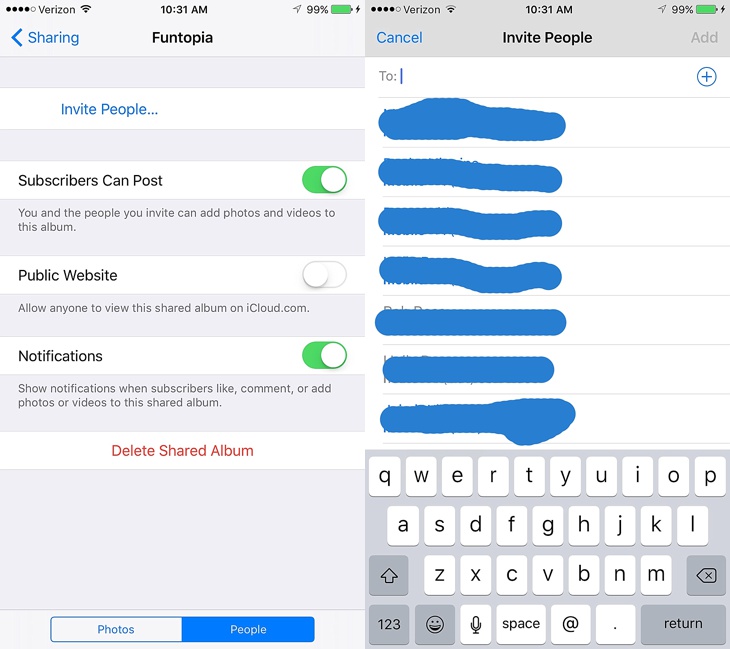
Now that you have the photos in the shared album, you can invite people to share the photos with (if you haven’t already done so).  Click on the “People” in the bottom right.  This will show you who you’ve already invited and allow you to invite more people.  You can allow the people you invite to share photos as well (keep the slider on that says “Subscribers can post”).  They can then add photos to the same album by clicking the “+”.  This is a great way to gather everyone’s photos at an event or on a vacation.  Before everyone leaves, quickly set up a shared album and get everyone’s photos.  Then download those photos to your own camera roll to save them.  Or set up the shared album at the beginning and people can add the photos as the event/vacation goes along.
2016-05-03_0007

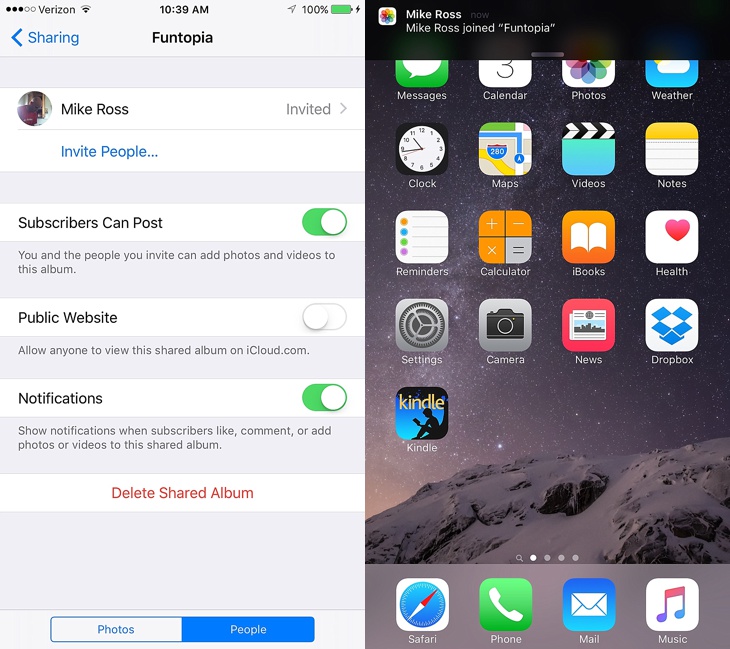
When you invite someone to the group, it will show they’ve been invited.  They will get a notification allowing them to accept or decline the invitation.  When they accept, you’ll get a notification letting you know and the “invited” next to their name will go away.  You can invite more people at any time as well as add more photos from anyone who is in the group (as long as you chose to let subscribers add photos).
2016-05-03_0009

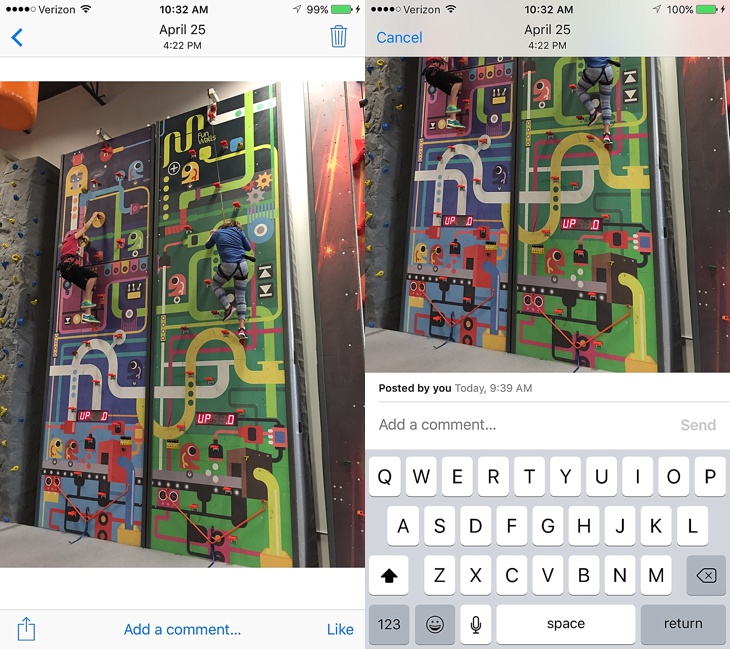
Once a photo has been added and people have been invited to share, you can leave comments on photos by choosing one photo, then clicking “add a comment” at the bottom of photo.  Then just type your comment and hit “Send”.  You can also “like” photos by clicking “like” in the bottom right of the photo.  These comments and likes are only seem by those who belong to the shared album.  It’s sort of a mini social media sharing experience but only with the people invited to the album.
2016-05-03_0008

If multiple people are adding photos to a shared album, be sure to save the photos to your camera roll by clicking on the square with an upward arrow on it in the bottom left corner of each photo you want saved.  If the shared album is ever removed, you no longer have access to the photos in it unless you’ve saved them to your own camera roll.

That’s it.  You can now share large volumes of photos/videos easily with your friends and family.

On to the second way to quickly share photos.

Share Option Number 2.  “AirDrop” your photos to someone close by (the catch here is that you have to be in the same vicinity to share).  Here’s how you do that:

Put your finger at the bottom of your screen and slide up to bring up the menu shown below.  In the bottom left choose “AirDrop”.  Another menu will pop up where you can choose to keep AirDrop “off”, choose “contacts only” (only people in your contacts), or choose “everyone” (anyone who has airdrop on who is close by you regardless of whether they’re in your contacts or not).  Choose “contacts only” or “everyone”.
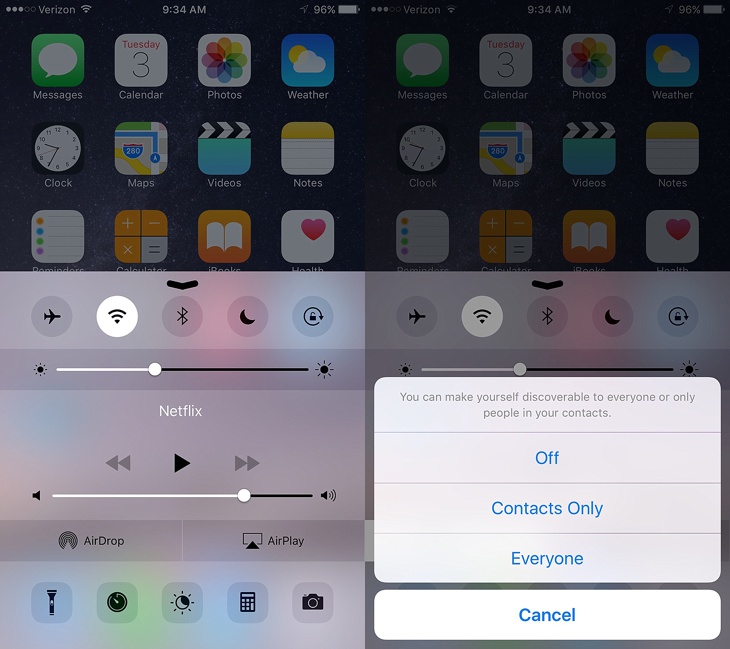
2016-05-03_0011

Whoever you are airdropping photos to also has to have their AirDrop turned on (by following the above step).  Once you both have air drop turned on, go in to your camera roll, choose “all photos”, then click “select” and choose the photos you want to send by tapping on each one.  Once selected, click on the square with the upward arrow in the bottom left corner.  This will pull up a screen where you choose what to do with the photos.  Anyone who is relatively close to you who also has AirDrop turned on will pop up in your screen (see “Mike’s iPhone” icon below).  Click on whoever’s name you want to send the photos to.
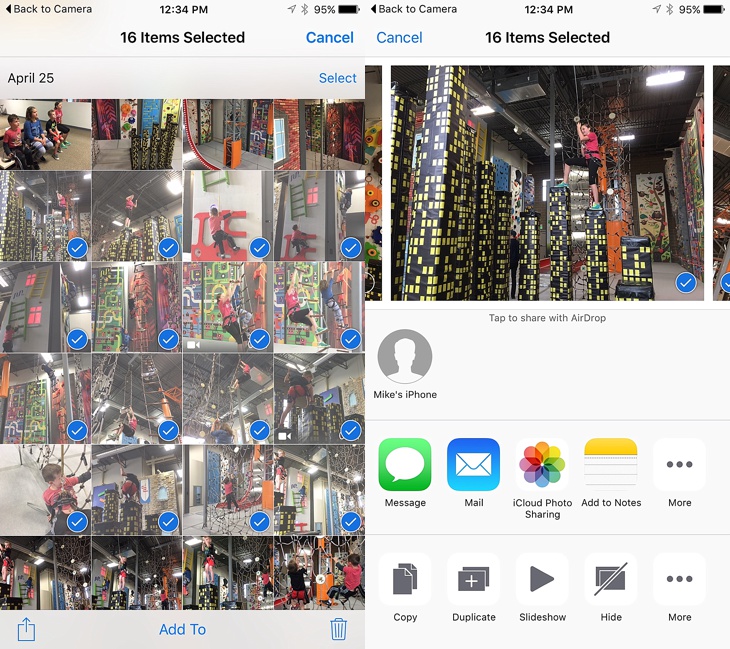
2016-05-03_0012

The person (or people) you chose will get a notification letting them know someone is trying to AirDrop photos to them.  They can choose to accept or decline.  When they choose accept, the photos then go straight into their camera roll and your done.
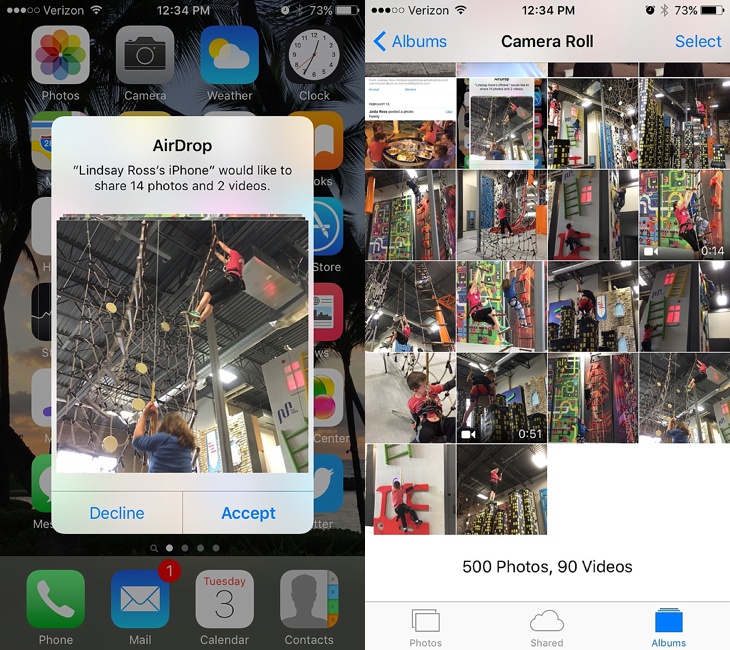
2016-05-03_0010

Two easy ways to share photos!

If you’re looking to improve the photos you take with your phone, be sure to check out these Ten photo tips that will immediately improve the photos you take with your phone.

And if you want to take better every day photos that document your days better, be sure to check out the Every Day Photos guide: ideas, tips and tricks to take better every day photos to tell the stories of our lives.


Happy photo sharing.
Photo Display for your wall

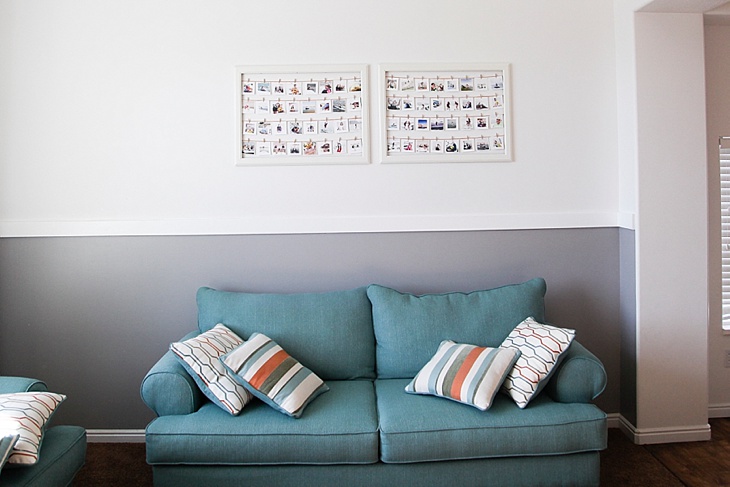
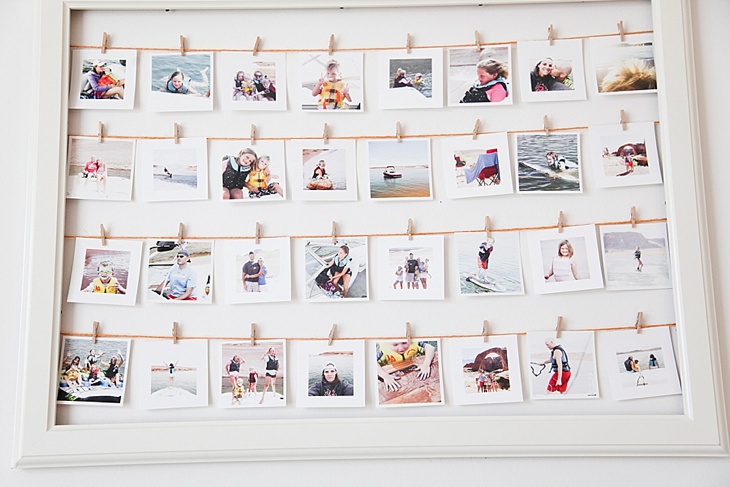
The wall in our front room was bare for a long time.  I couldn’t come up with the perfect thing to put there.  And then I saw a version of this idea and decided to give it a try.  It’s a fun, unique way to display photos and easy to switch them out over time.

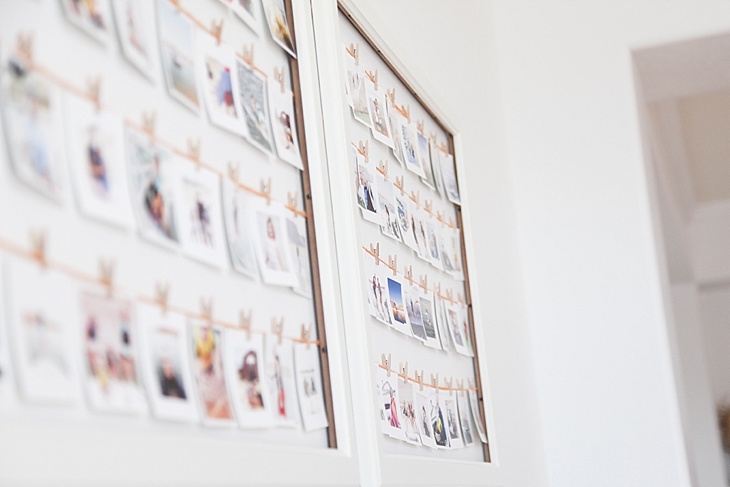
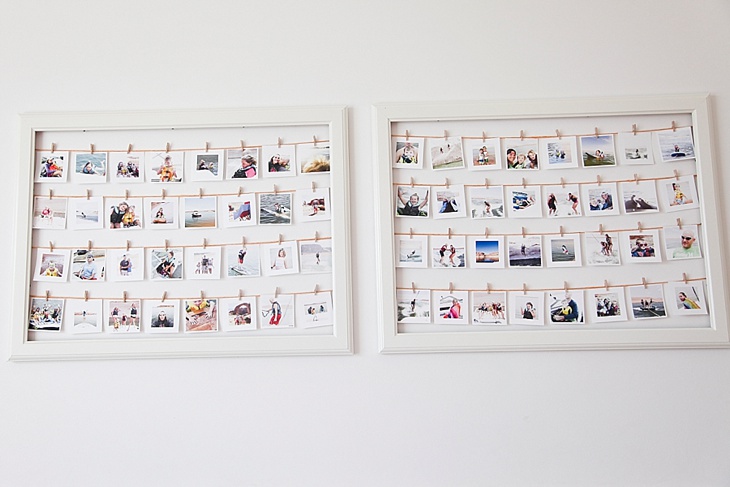
I got two big frames from Ikea and took out the glass.  The photos I printed were 3 inch by 3 inch from Persnickety Prints  so I measured the space I had in the frame and divided out how many strings I could have to make each row even (explaining math on a blog post isn’t my strength).

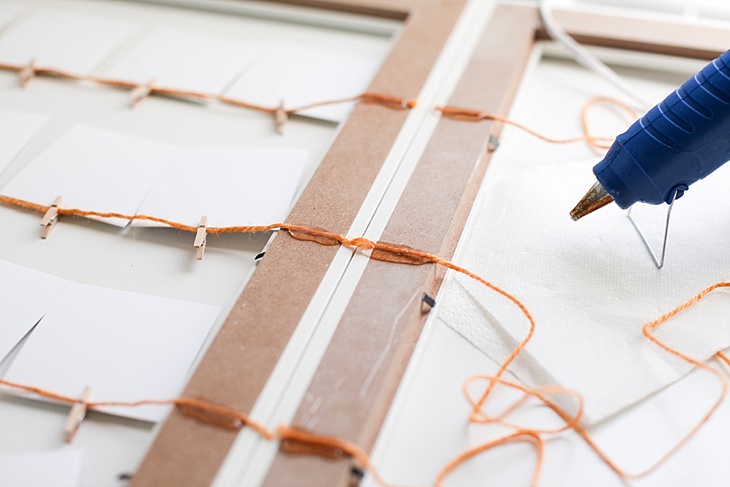
I used a hot-glue gun (and burned myself at least a dozen times) to attach thick string to the frames.  I glued one side first, let it dry, then pulled the string as tight as I could and glued the other end while I held the string there until it dried (thus the reason I burned myself over, and over, and over–there’s probably a smarter way to do this, but when I pull out the glue gun, my brain falls out of my head).  If you don’t pull the string tight, it will sag once you start putting all the pictures on.

wall photo display

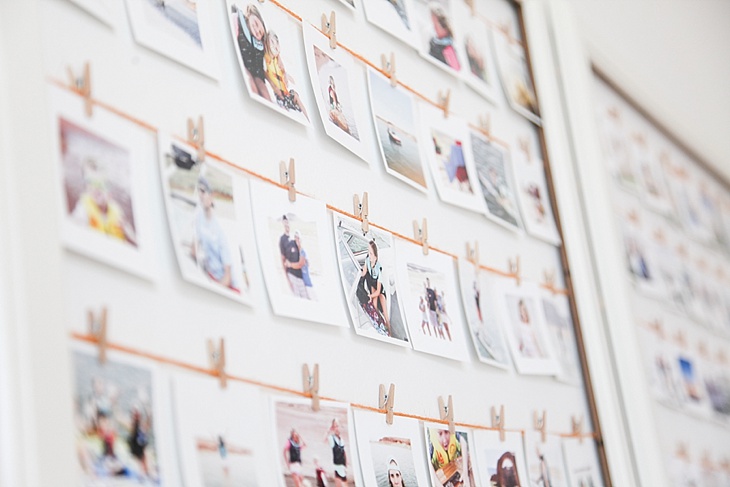
Once the glue is completely dry, I started adding photos.  I got the itty bitty clothes pins from Hobby Lobby.  They have multi-colored ones as well.  Or you could spray paint them a different color if you were feeling extra ambitious (I clearly was not).

wall photo display2016-03-28_0005

All of the photos are from trips we have taken to Lake Powell over the years.  Powell is my happy place so I wanted something that would make me happy every time I looked at it (although in the dead of winter in Utah, it sometimes makes me want to cry).

2016-03-28_00032016-03-28_0002

And there they sit over my couches.  My plan is to swap out the pictures with various vacations we take over the years.

2016-03-28_0001

If you want some more ideas for photo displays you can put on your walls, check out these eight ideas I’ve used in my home.

Or, check out this wall display that is my favorite wall in my house!

And here’s my opinion on where you should print your photos!

FREE class to help take the overwhelm out of printing photos.

Hello my blog people.  Have I told you Thank You for being here??  I truly am so so grateful.

I get a TON ton ton of questions about printing photos.  And making albums.  Getting photos off our computers and phones and into print where we can see them, appreciate them, and tell the stories of our lives.  It’s a problem that the majority of us have, right?!  Sooooo many photos.  Not enough time.

I also get a lot of people who are incredibly overwhelmed by this and don’t know where to start.  What photos do you print?  How do you select those?  How do you make sure the prints look good?  What type of album should I make?  And on and on and on.  It’s hard.  I get it.  And can certainly be paralyzing when we look at the volume of photos we’re taking.  How will we ever get them in to some meaningful order?
There IS a way.

So.  I’m teaching a FREE class next Thursday, November 19th at 7pm in Lehi.  It’s open to anyone who wants to come.  If you take photos and you want them printed, this is for you.  You just need to click the link below to register (so I get a semi-accurate count of how many people will be there).

Come alone.  Bring a friend.  Bring several friends.

IMG_4133

The format will be casual.  Here’s what we’ll cover:

**Where to start with printing pictures (some ideas on where to begin)

**How to choose which pictures to print

**Where to print photos

**How to make photos look better for prints so you aren’t disappointed when you get them back.

**What type of albums (or displays) to make

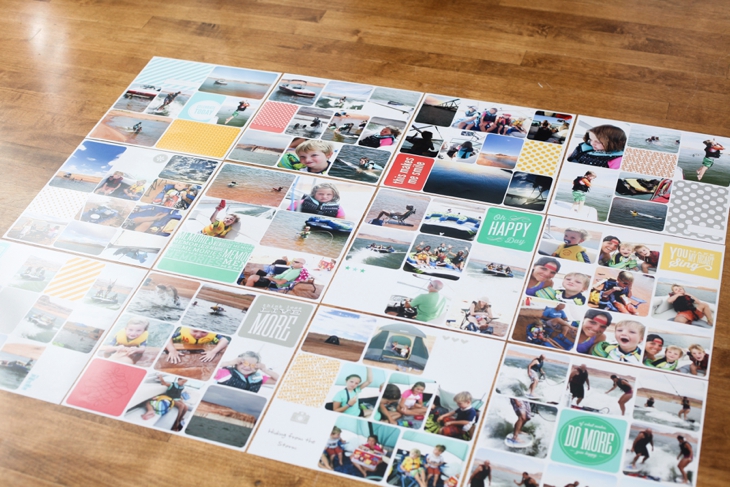
**The system I use to print my photos and how I’m catching up on YEARS of photos I haven’t printed.  I’ll go into detail on what I do, how I do it, and my plans for the future to print more photos (one small section will be showing how to use the Project Life App–pretty much the best app ever invented 😉 ).

**How to get rid of any guilt associated with printing photos, making baby albums, creating albums for each kid, etc. NO. MORE. GUILT. Seriously.

**A few gift ideas using photos that you can use THIS Christmas (because gifts with photos are the best photos–the only ones people will never throw away 😉 ).  And ideas on how to use photos gifts to get caught up on some of your photo printing.


I’ll also take time throughout the class and at the end to answer any and all questions photo related.

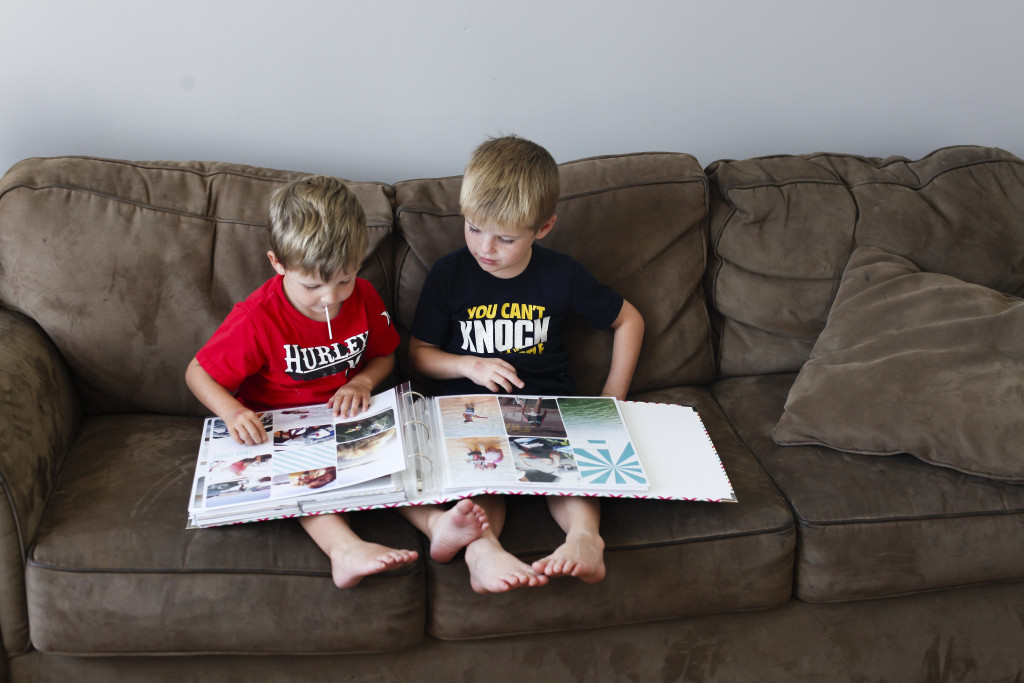
There’s something about printing photos.  Physical, tangible photos that we can hold.

“When you have a printed picture, it forces you to slow down and have an emotional experience with that memory.”  (Check out this video of the “dreadlock dad” who scrapbooks–love it)

Our photos matter.  The process of printing them helps us create a better life story.  We’ll talk about how and why that is the case.

IMG_4118

If any of these topics interest you and you’re behind on printing your family photos and don’t know where to begin, REGISTER BELOW!!  And bring your friends.

Click this link to register.  It’s free and will certainly be worth your time.  (I’m just having people register so I know how big the group will be)

https://www.eventbrite.com/e/pictures-matter-lets-print-them-tickets-19520724011

IMG_4135

Feel free to e-mail me with any questions or if you have a specific thing you’d like covered in the class–I’m happy to help where I can.  [email protected]

Best photography apps for your phone.

I keep hearing this quote over-and-over.  “The best camera is the one you have with you.”  While I will always believe the “best” camera I have will be my dSLR, I understand that many (probably could say most) people are using their phones as their main cameras these days.  If you have a dSLR or are considering getting one (do it), may I persuade you to make an effort to use it more? But for the times when we’re using our phones as a way to document our families, these are some of my favorite apps.

2015-06-03_0004

My motto is and always will be “simple is better”.  I try to make my images the best they can be straight-out-of-the-camera so my work (editing) on the other end is minimal.  I haaaaate editing photos.  I take all my photos through the native camera (I have an iPhone) with no filter of any kind.

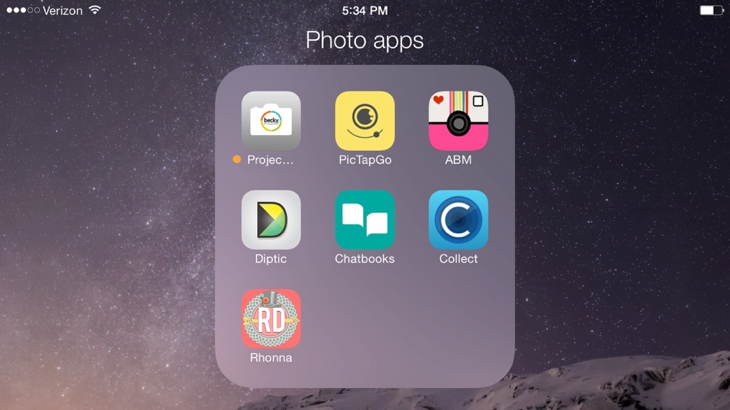
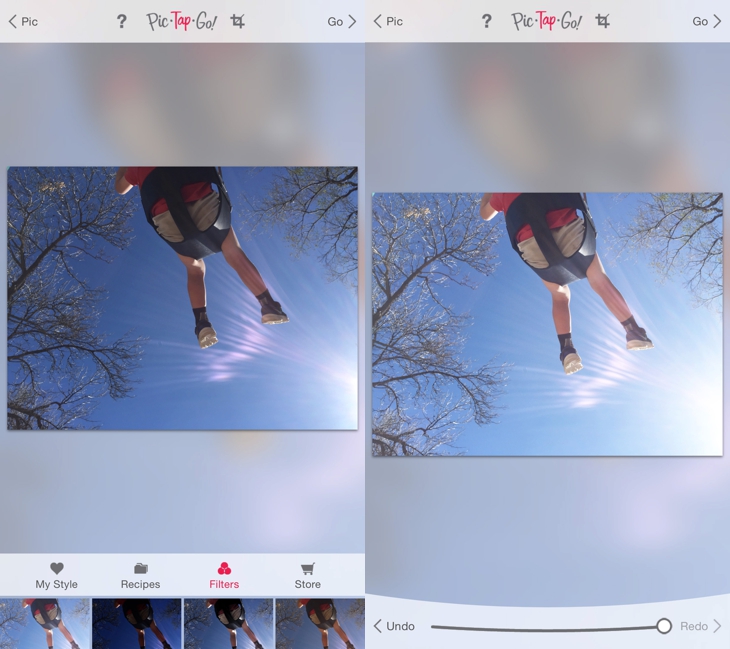
**If my photos need a little help, I use the PicTapGo App for all my editing.  I only use 2 or 3 of the editing techniques in this app, but I think they can make a big difference.
I generally only use:

“lights on” (lightening up your photos that are underexposed, which often happens with phone photos, can make a BIG difference)

“+contrast” (just a little bit to add a little more depth to the photo)

“cool it down” or “warm it up” to change the coloring of the photo (especially helpful on photos that are taken indoors with overhead lights on–add “cool it down” and it makes the photo look better).

2015-06-03_0001

You can use the slider at the bottom of each filter to control how much of the filter is added.

And you can use multiple filters on one photo.  Once you’ve adjusted the slider for one filter, just scroll down and you’ll see all the filter choices again.  I almost always use “lights on” and a little bit of “+contrast” to make my photos look a little better and PRINT better.  If I get too caught up in adding a bunch of filters, it takes too long and often makes the photo look worse.


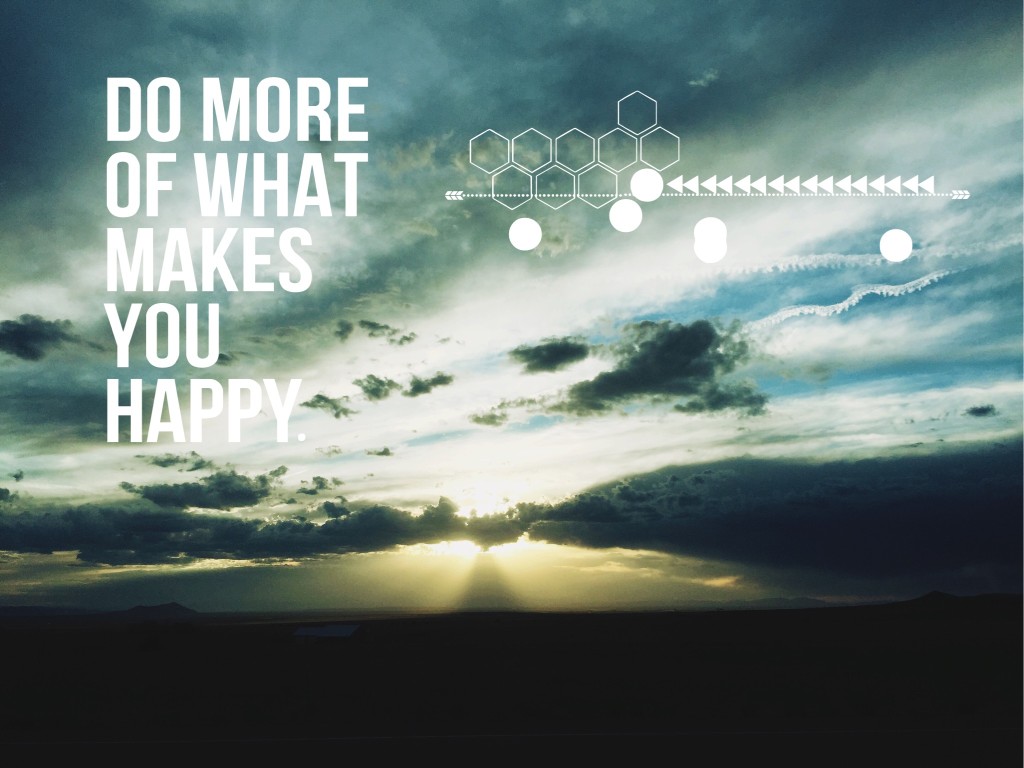
**For those of you who want to get all fancy and add words or designs to your photos, I recommend Rhonna Designs or A Beautiful Mess.  Both are user friendly and make it easy to add text to your photos.  I just started using Rhonna Designs and I can’t believe it’s taken me this long to use it.  You can do a ton of fun stuff with this app.

IMG_5165

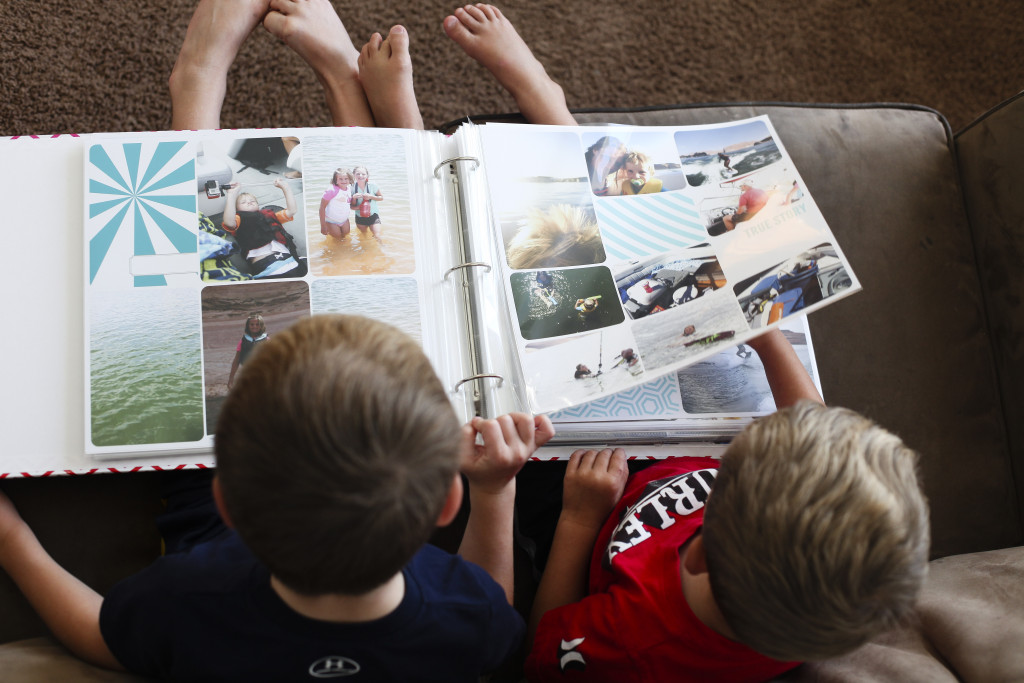
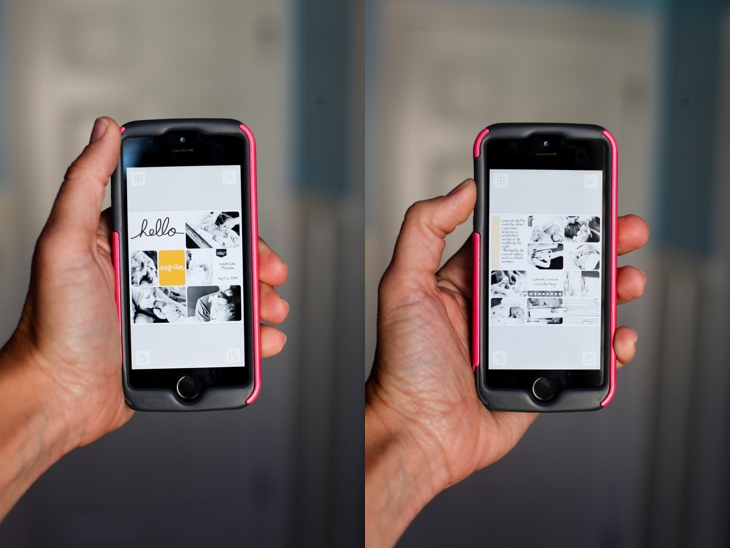
**And this is my favorite one.  The Project Life App.  The app where you can “scrapbook” from the palm of your hand.  You seriously need to check this one out (full video demonstration here).  It’s SO easy to use.  Fast, simple.  And the designs look amazing.  You can even order prints straight from the app.  So you can slip your photos into the pages anywhere, anytime (think carpool lane, ball games, while watching tv–anywhere), upload them to print straight from the app, and you’re busting out photo albums in no time. (This is currently only available for iOS users but hoping for an Android version sooooon–if you don’t have an iPhone, you can still use it on an iPad).

2014-10-18_0011

2014-10-18_0018

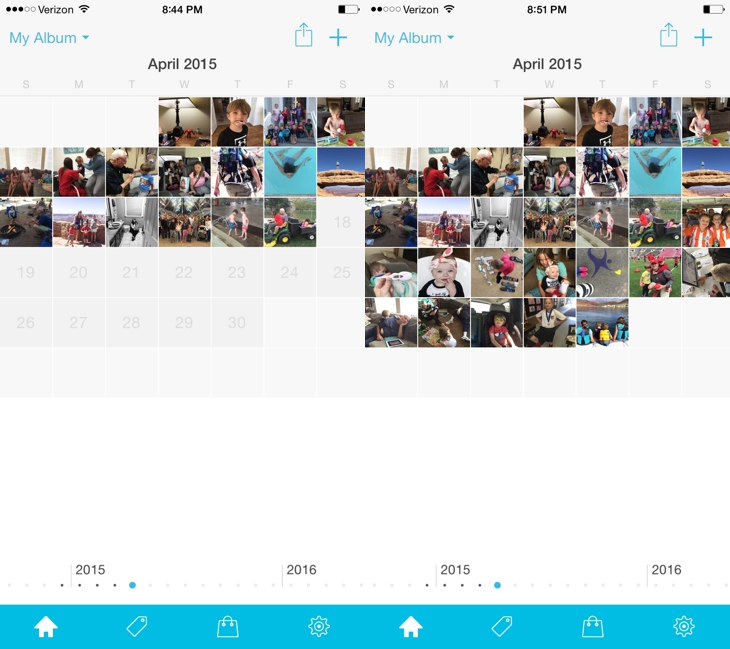
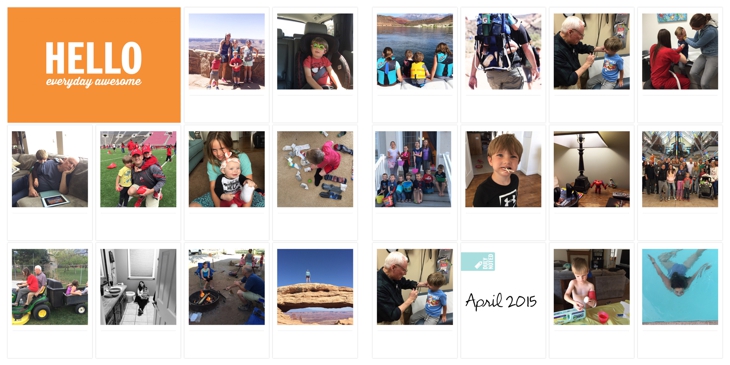
**For those of you who are wanting to capture a photo a day, I’m loving the Collect Photo App.  You can set reminders to take a photo each day.  Or you can just slip photos from any day into the spots and take the date off when you print them.  I love the look of these when you put them in a Project Life layout.

2015-06-03_0002

2015-06-03_0003

**And for those of you using Instagram, check out the app for Chatbooks.  It’s the easiest way to get all your photos printed from your Instagram account.  It pulls in the pictures and the text in a 60 page book.  You subscribe to the service so once you sign up, you don’t have to remember to do anything.  Every time you fill up 60 pages, a new book will go to print (you get a warning first so you can look over it and make sure only the photos you want included are in there and the text looks right) and gets mailed to you.  My kids love looking through these books.  And they’re only $6 a book!

chatbooks12

Remember.  Keep. It. Simple!!!  And start using these apps.  I think you’ll love them.


If you use your phone for a lot of your photo documenting, you’ll love these ten tips for better phone photography!

And if you want some help taking better Every Day Photos (taking the RIGHT photos), check out this Every Day Photos guide eBook!!

How to tell a story with your photos.

If you haven’t figured out by now, I’m sort of obsessed with story.  Especially real stories.  I’m a sucker for a good memoir and I love the stories of people’s lives.

I also love a wordless story.  Photograph’s that tell a story.  And show what our every day lives are like.

Often a single image can tell a story and show who someone is or what they’re doing.  And can be very powerful on their own.

2015-03-14_00232015-03-14_00242015-03-14_00252015-03-14_00262015-03-14_00272015-03-14_0028

But many times, we can really tell a complete story if we’re intentional and thoughtful about the photos we take.  There are certain components to any story, whether told through words or photos, that help tell a great story.  The scene, environment, or background.  The character.  Moments of conflict, learning, action, or struggle.  Emotion.  Details.  And an ending or conclusion.

When taking photos of our everyday lives, I try to be mindful of these elements.


Here is an example using these components of story.


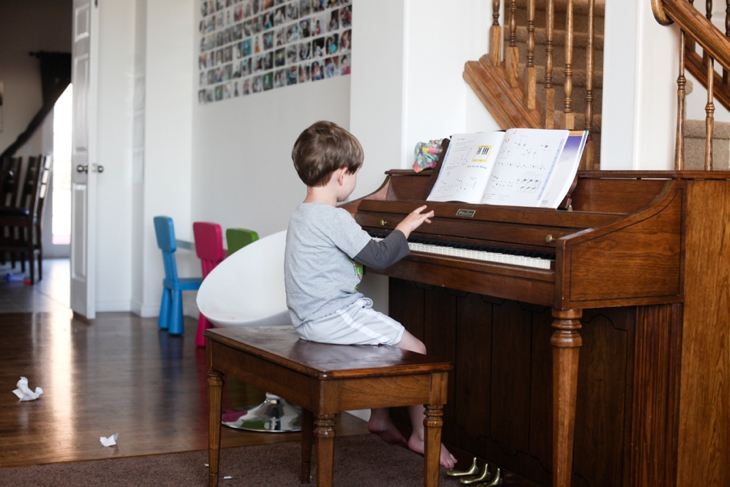
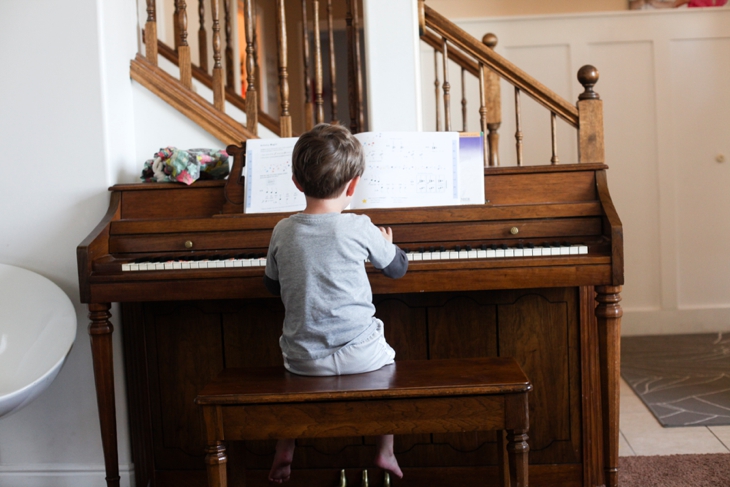
1.  SET THE SCENE

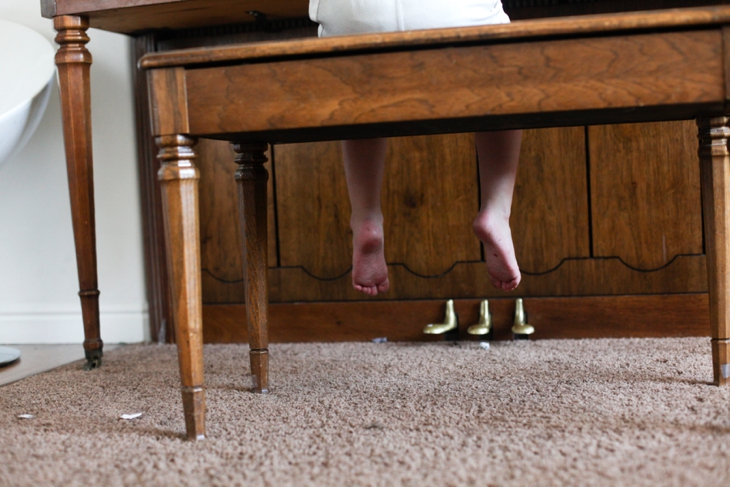
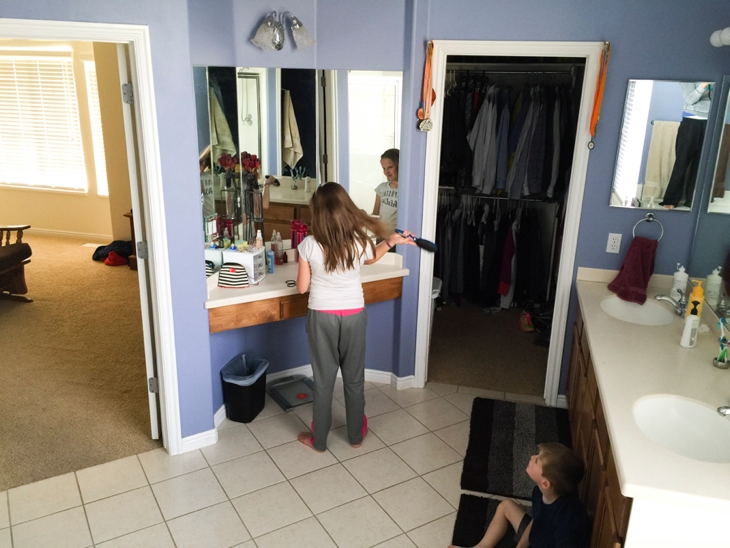
Step back, use a wider angle, get the surroundings and set the scene of where the story is taking place.  (This also slowly warms the kid up to the camera so they resist the urge to look at you and disengage from what they’re doing.)

I try a few different angles when setting the scene.

2015-03-14_00022015-03-14_0001

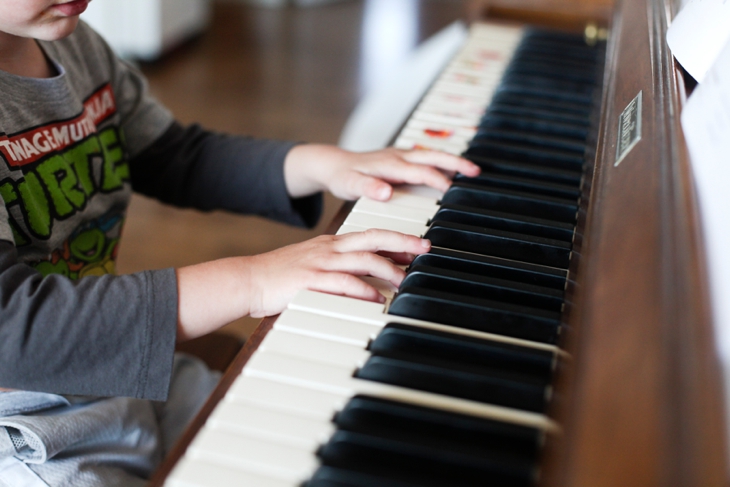
2.  THE DETAILS

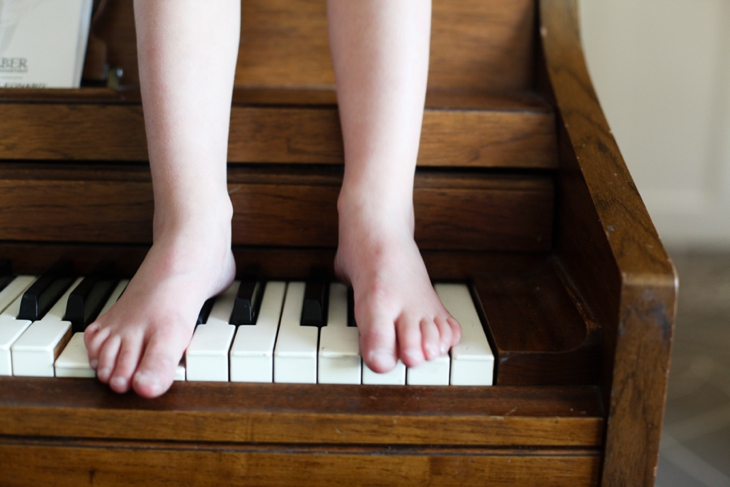
Get in close and get some detail shots that help tell the story and help you feel something, not just see something.  Detail shots are my favorite.  It forces me to take a closer look at the story and really pay attention.  Look for different angles and different elements of the story.  Details that help paint the whole picture.

If you’re using a phone camera, get in close (don’t zoom–physically move closer).  If you’re using  a dSLR, learn to use aperture priority mode and lower your aperture to around f2.8 to get great detail shots.

2015-03-14_0003

See those dirty I’ve-been-playing-in-the-yard-without-shoes feet.  That’s an extra bonus detail.

2015-03-14_00072015-03-14_0013

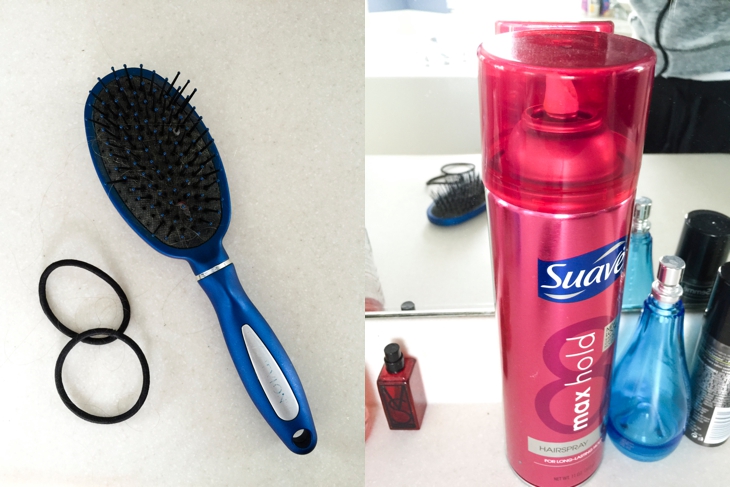
Look for some detail shots that don’t include the person.  These come in handy when displaying the photos.

2015-03-14_00222015-03-14_0020

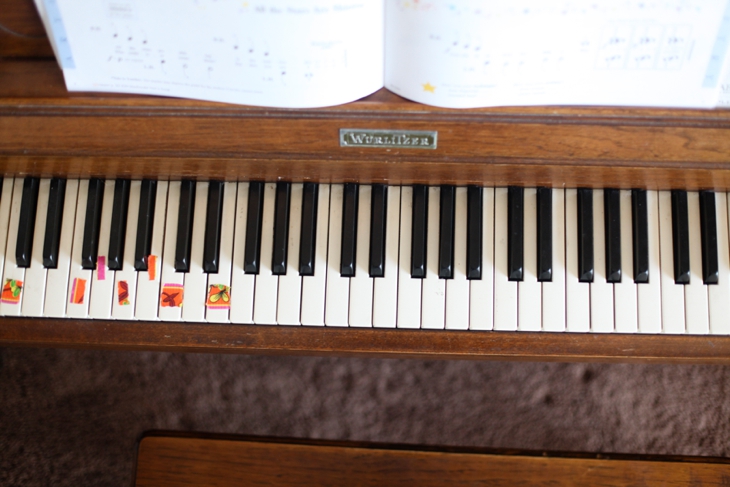
Sometimes my girls cheat and use duct tape to help them remember where to put their fingers.

2015-03-14_0021

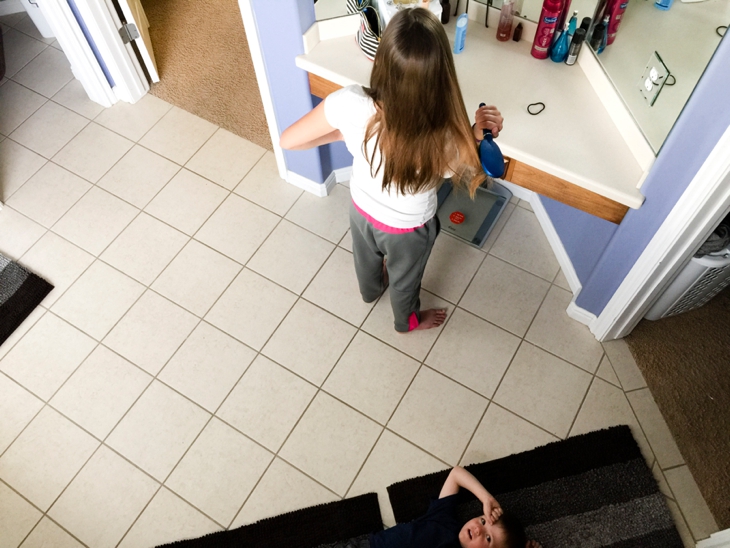
Look for different angles as well.  Don’t be afraid to experiment with angles.  Get up higher using a chair or stool.  Get on the ground.  Move around where the action is taking place.  You never know and may be surprised at what you’ll end up liking.

2015-03-14_00052015-03-14_0014

3.  MOMENTS OF CONFLICT/LEARNING/ACTION/STRUGGLE

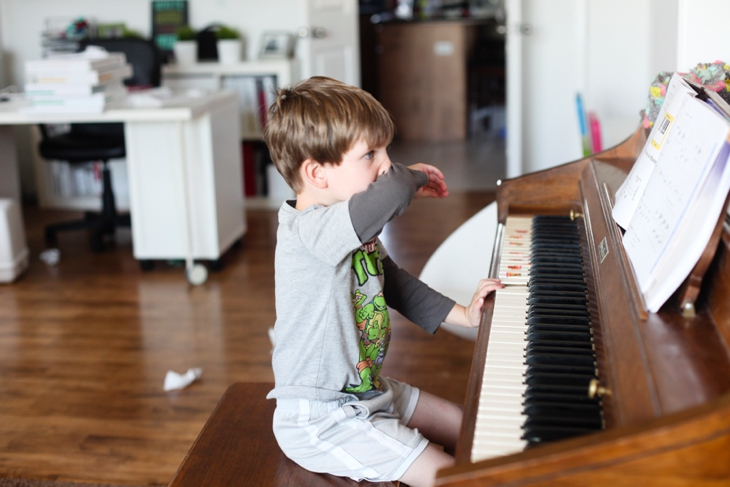
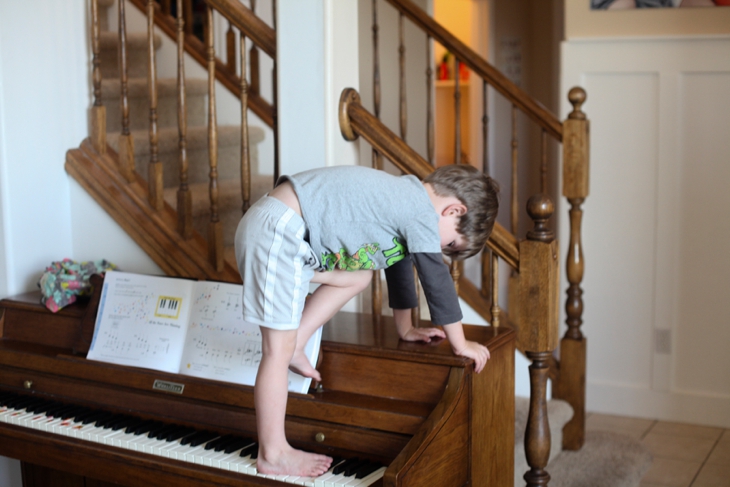
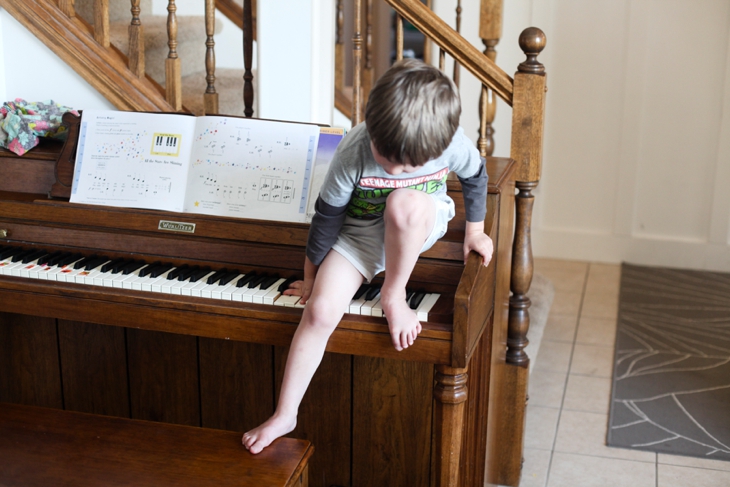
These are the money shots and usually the ones people are aiming for.  The moment where the action takes place and the story unfolds.  While these photos are critical to the story, they are just a part of the whole story.  The other elements we’re discussing are equally important to the story as a whole.

2015-03-14_00092015-03-14_00112015-03-14_00122015-03-14_0015

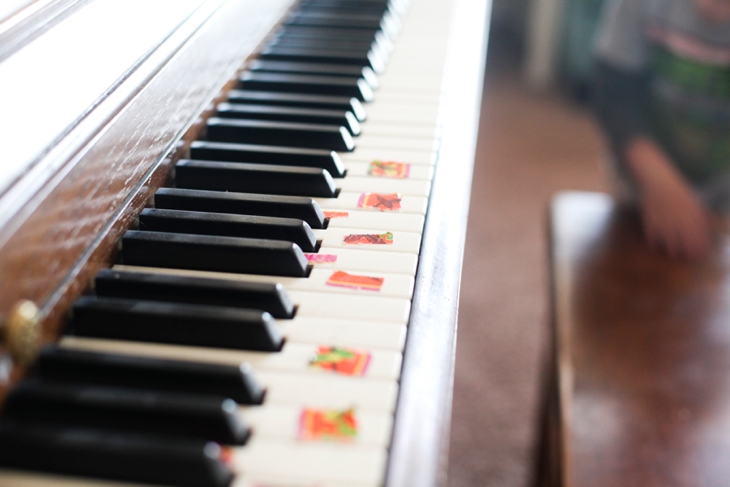
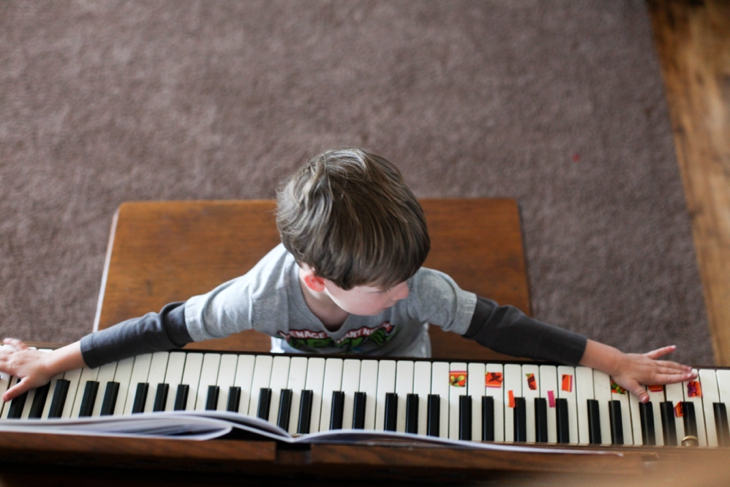
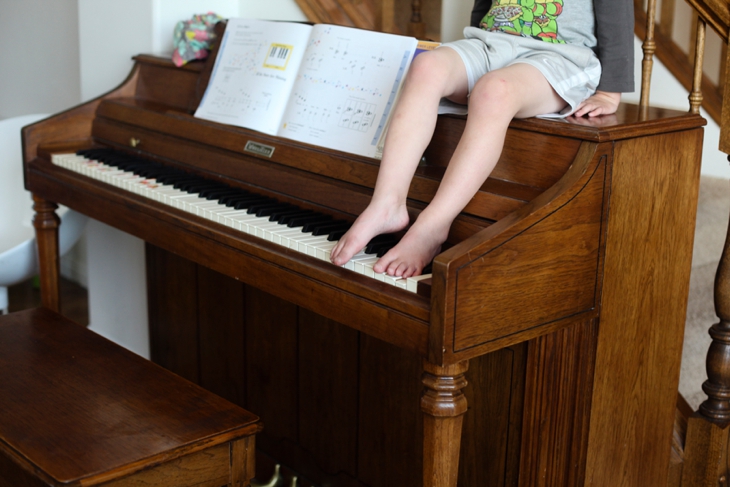
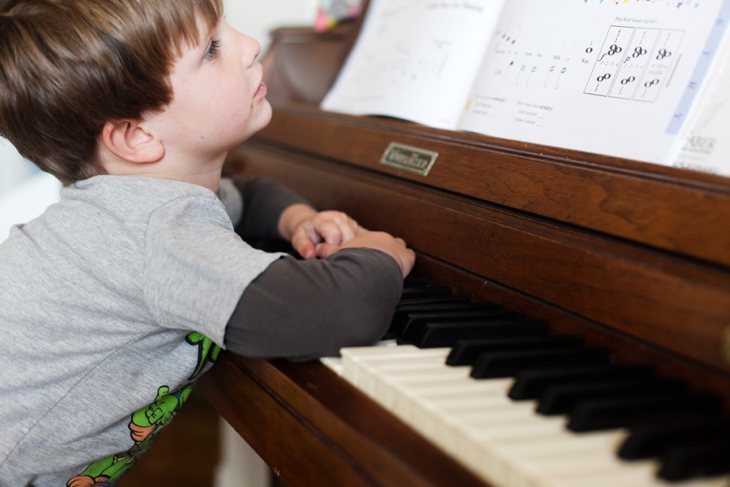
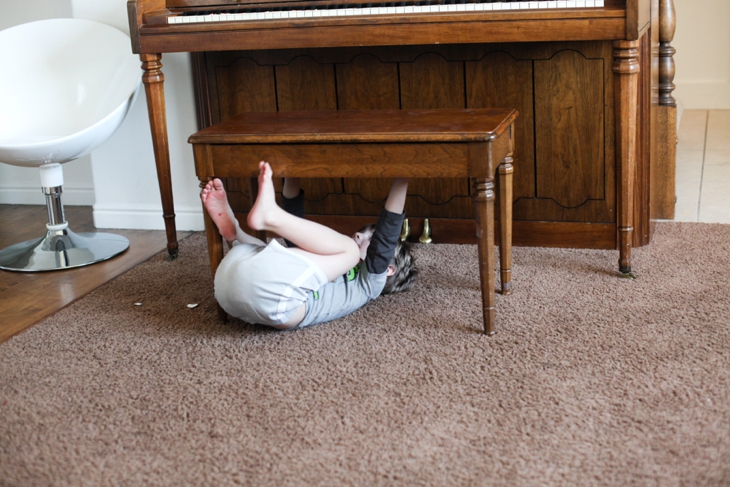
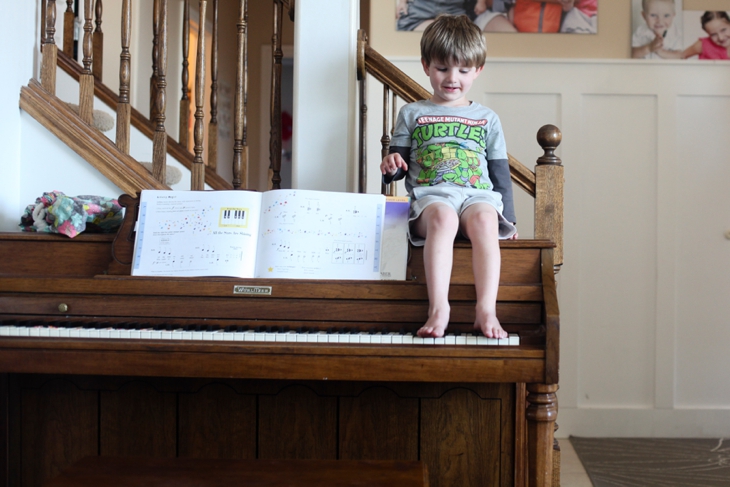
Normally I’d shut down the whole climbing on the piano thing, but he knows when the camera is out he has extreme amounts of freedom to ad-lib at will.


4.  EMOTION

These shots can be tricky and require some patience, but they’re definitely worth waiting for and add so much to the story.  They show WHO the character is.  Wait for an expression or a “look” that shows their personality.  The photo you look at and say “Oh man, that is so them.”  The little quirks that make the “character” unique.  These are shots that make you feel.  The emotion shots.

2015-03-14_00062015-03-14_0008

5.  THE CHARACTER

I purposely saved this towards the end.  Of course we want to know who the character is.  And what they look like.  And it’s fun to have photos where we can see into their eyes.  But I usually save this one until after I get the conflict/action shots and the emotion shots.  Because once we ask them to look at the camera and they disengage from what they’re doing, they may never re-engage.  And then we miss a huge part of the story.  So I wait towards the end and then occasionally will ask them to look at me really quick.  Many times I just slide in and take the photos of the everyday moments, and slide out without ever disrupting what they’re doing.

2015-03-14_0017

I purposely didn’t wipe off or photoshop out the mess on his face because he’s 3.  And he constantly has some sort of residue on his face.  It’s there in real life, so it stays there in the photo too.


6.  THE END

This is the photo that wraps it all up.  How the story ends.  You could end with the portrait shot, but it’s fun to have one finale shot as well.

2015-03-14_0016

As I mentioned before, many of our everyday photos will just be a “one and done” kind of deal that tell a story with just the one photo.  But keep these ideas in mind when trying to tell a story with your photos.  It takes some practice to do this instinctively and remember all the elements, but you’ll quickly get the hang of it.  The key thing to remember is that it takes practice.  And some effort.  Like all good things in our life.


A few more things to keep in mind:

**Pay attention to the everyday moments that make you FEEL something and photograph those stories.

**Don’t ask your subject to look at you.  Resist the urge to say “Look at the camera” or “Look at me and smile”.  Try to capture the story and leave your subject engaged in what they’re doing.

**Move around and try different angles.

**Find good natural light (which may mean re-locating in some instances.  If possible, set the scene where there is good light)

**Resist the urge to always clean up the surroundings.  Every day photos are interesting when they’re as real as possible.  Which includes surrounding mess and clutter.


You can apply this process to most situations and any age of kid or adult.  You can also use any type of camera.  Here’s an example using only my iPhone.

2015-03-15_00072015-03-15_0010

2015-03-15_00022015-03-15_0008

2015-03-15_00092015-03-15_0004

2015-03-15_00132015-03-15_00122015-03-15_00032015-03-15_00052015-03-15_0006

2015-03-15_00142015-03-15_0015

Photography can be such a gift as it helps us pay attention more and appreciate the everyday stories of our lives.

I love this thought from my friend, Chris Jones.  His son, Mitchell, died when he was 10 years old and this is what he said about taking everyday photos and telling our stories using photography:


“I began taking photos long before we discovered Mitchell’s diagnosis, but upon learning his life would be cut short, I began to see moments differently.  I stopped taking photos of what things looked like and focused more on capturing what life felt like.”


Try to pay attention to what life FEELS like instead of just what life looks like.  And then photograph those stories regardless of what kind of camera you have.

Related Posts Plugin for WordPress, Blogger...