The best way to hang your photos

Hanging photos can be a big pain.  Unless you do it this way.  I use Velcro strips.  On this project I use Command strips, but there are a lot of choices in the picture hanging aisle of any store that sells that kind of stuff (Walmart, Target, Home Depot, Lowe’s).

The huge advantage of velcro (instead of the double sticky type hanging stuff) is that you can adjust the photo once you press it to the wall.  So if it’s not quite level, or not lined up, you can pull the photo off and one side of the velcro stays attached to the wall.  Then you can adjust the photo to the right place, and press it back against the velcro still on the wall.  Works like a champ.


I use this on matboard prints like these:

2014-10-13_016

It also works on frames.  If the frames are bigger and heavier, I would just add more velcro strips.


The how to.  Get your strips and attach them to the frame.   This frame wasn’t super heavy so I just used 4 strips, one in each corner.  On my matboard prints I use one in each corner, one on top and bottom and one in the middle.

2015-02-27_0010

Figure out where you want to hang them on the wall and mark with a pencil.  If you’re lining up a bunch of frames, get the first one on there and then line them up from there.

2015-02-27_002

Once the strips are on the frame or matboard, press the photo firmly to the wall and hold for about 30 seconds just to make sure it sticks well.

If the photo isn’t where you want it, carefully peel it off the velcro and adjust.

2015-02-27_005

Once you get that first one where you want it, then you can use a level to hang the others (if there are others).  If you aren’t lining up the frames, just use a level to make pencil marks where you want each frame to go.

2015-02-27_006

Easy.  Relatively fast.  No hammers or nails.  I’ve had to remove the strips from one wall and those ones came off clean without removing paint.  I peeled verrrrry slowly.

2015-02-27_007

2015-02-27_008

For more ideas on how to display photos in your home go here.

You can also check out some ideas on my Photo Display Ideas Pinterest Board.

For tips on WHERE to print your photos, check this out.

And if you want ten super awesome tips on how to take better photos with your phone, check out this.

a FREE class (load, backup, organize, and print photos)

I filmed my very first ever video for my blog.  With my camera on a (slightly tilty) tripod in a room by myself. This whole video thing is no joke.  It was as awkward and uncomfortable as I imagined it would be.  It is anything but perfect and I can already list about 10 things I did “wrong”.   But the point is, I DID it.  I didn’t even over-research, or even research at all (which now that I watch it back, I really should have).  I just wanted the first video to be out of the way.  So it’s done.  Watch it first (don’t judge), then read below:


{For anyone who missed it,  you can find the goal post I referred to here.}

As you heard in the video, I’m teaching a FREE class.  And I’m honestly so excited about it.  I’m working really hard to make sure it’s packed with TONS of helpful information.  Because I’m truly just trying to help people.  This class is for camera phone users, point-and-shoot, OR dSLR.  Your camera of choice doesn’t matter.  We’re just covering the back-end of things after the photos are taken.

I know sometimes it’s just easier to have someone SHOW you how to do things instead of having to figure it out or research it all on your own.

classsquare

I went over a lot of this in the video, but for quick reference, in the class we will cover:

1.  Loading your photos onto the computer.  Getting them all in one place (this will be quick)

2.  Backing your photos up so they’re safe from a hard-drive crash.  We’ll go through my system of doing this.  How I back up, where I back up, etc.  How often.  How to make sure your photos are protected.

3.  Organizing your photos.  This seems to be a source of anxiety for many people.  It can be really overwhelming.  It doesn’t have to be.  Truly.  Fast, simple system so you can FIND what you’re looking for. There are also some other benefits to organizing your photos you may not realize.  We’ll talk about those. (Hint: it helps me be a better mom–I’ll tell you how).

4.  What types of photos to print so you can tell the story of your family.  I’m crazy passionate about this one so we’ll really go into the printing side of photos.  No point in taking them if no one ever gets to see them.  I have a good system to make sure I’m printing off the photos I take.

5.  Ways to display photos in your home.  Displays on your walls.  Albums, photo books.  Anything print related, we’ll talk about it.  I’ll have physical products you can see and touch and inspect.

6.  Where to print your photos.  Locally and online.  Affordable ways to print.  Best places to print.  Physical comparisons of prints from different places.  Etc.

7.  A very quick section on editing photos.  What I edit.  How I edit.  I don’t like the editing end of photography so I’ve simplified this AS MUCH as possible.  I’ll teach you what I do to make a dramatic difference in your photos.  And I don’t edit every single photo.  We’ll talk about why.


At the end we’ll have a Q&A session where you can ask me anything you want.


I’ll be the first to admit I am not a technical expert.  Computers are not my specialty.  But I have a system that works and works well.  My goal is to simplify this process for you.  To streamline things so you don’t get overwhelmed by a digital photo mess.  To only teach you what you need to do to get it done.  And to help you PRINT more of your photos to display in your home. And we’ll talk about WHY this is all so important!!


The class will be held on Tuesday, January 27th at 7:00 pm.  We’ll probably be done around 8:30ish and will save some time for questions, etc. at the end.

The address for the class is:  210 N. 1200 E Lehi, UT 84043  (East of the Lehi Main Street I-15 exit)

There’s a “Meridian Title” sign on the outside of the building.  The class will be in the basement (down the stairs to your right).


You don’t need to sign up, and as I said, it’s completely free.  Space is limited, however, because the place we’re doing it in can only hold so many people.  We’ll take as many as we can take.  I promise it will be worth your time.


Feel free to e-mail me with any questions at [email protected]

Tell your friends and I hope to see all you locals there!

(Babes in arms are totally welcome for all you mamas who are currently ball and chain 😉 )

Chatbooks!! Get those Instagram pics out where you can enjoy them

Maybe you’ve already heard as they are growing like crazy, but there’s a great company that puts your Instagram pictures into a book!!

CHATBOOKS

Here’s how it works.

The first time you sign up with the company, they’ll print ALL your instagram pics you have so far, putting 60 photos in each book, even the ones that you’ve reposted! (If you don’t know how to repost on insta then visit upleap). Each book costs $6 including shipping. You are then automatically “subscribed” to the service. At first I didn’t really understand how that worked and it may make people feel nervous. But. I think it’s genius as it takes some of the work off our end and helps us stay consistent in getting the photos printed. You don’t have to remember to DO anything once you’ve signed up. After you’ve ordered your initial installment of books, each time you get 60 more photos in your Instagram account, Chatbooks will automatically send you your next book for just $6!!


And, you can get your FIRST BOOK FREE if you use this code: TZCVMC7T

chatbooks11

chatbooks10

chatbooks8

A few things to keep in mind.

**When you put photos in Instagram, they are reduced to 612 pixels by 612 pixels for faster loading times. This only becomes an issue when you try to print photos directly from Instagram. You can’t get much bigger than 6 inches by 6 inches or the photos start to look pretty bad. So the quality of photos in these books is as good as they’ll get anywhere when printing from your Instagram account.

**You can go through each book and exclude any photos you don’t want in there. As well as erase or edit the text attached to each photo. The thing I love most about these photo books is they bring in the text as well as the photos. I still go back through each book and take out some photos (that I don’t really need in a book) and text (that I don’t necessarily want my kids to read).

**Don’t let the subscribe feature scare you. It’s the perfect solution for people like me who can’t handle remembering one more thing. You fill up 60 photos in a book, you get an e-mail saying you have 3 days to make sure the photos included are the ones you want, and the Chatbook shows up in your mailbox.

**Chatbooks has a 100% money back guarantee, no questions asked. And I believe them on that promise. I had an issue with one of my books and the CEO of the company himself corresponded with me to get the issue fixed. Their customer service is amazing. They’ll take care of you.

**If you have a post that has a LOT of words, they have updated the app to now include longer captions. But they will be put on a separate page, not under the photo like the rest of the pages. Just something to be aware of when arranging things and deciding what to keep in each book.

chatbooks7

chatbooks6

chatbooks5

These two spend SO much time looking at photos. And my girls especially love these Chatbooks so they can see what I write about our daily lives. I don’t let them get on my phone and browse through my stuff on there and they aren’t on any social media sites yet, so this is their chance to get an inside look at Instagram.

chatbooks3

chatbooks9

chatbooks14chatbooks13chatbooks12

I obviously couldn’t decide what was the best way to hold the books for a photo. I’m special like that.


Literally only takes minutes to download the Chatbook apps, set up your account, and send your photos off for printing. Perfect way to get those photos off your device and into your home where your family can enjoy them!

Don’t forget to use the code TZCVMC7T to get your first book free!


And if you want to join our blog community to stay in touch, periodically receive more tips and tricks, exclusive offers, and other general goodness, enter your name and e-mail below. You’ll also receive TEN of my best phone photography tips for immediately improving the photos you take with your phone (in a separate e-mail).

Our family Funbooth

I did a spur of the moment funbooth session with my kids one rainy Sunday afternoon.  I can’t say enough good things about these sessions.  They’re SO fast and easy especially with smaller kids (or older kids who are picture-taking intolerant).

It’s hard to tell from these, but Caleb wasn’t diggin’ this idea.  But in this kind of setting, it’s easy to distract and get them to laugh and participate anyway.


I am currently booking for Funbooth sessions.

If you book a Funbooth session in November, you’ll also receive a FREE 5×5 custom made book from Persnickety Prints with 60 black and white photos from your shoot.  

Those 5×5 books make a PERFECT gift for parents or in-laws (you can order extras).  Just sayin’.


I love that I get pictures like these with my kids.  And I equally love that THEY get pictures like these with their mom and dad!


You can read more about Funbooth sessions here.


Some of our photos, some photos of the custom 5×5 book, and how I display them on my wall!

2014-10-23_00012014-10-23_00022014-10-23_00032014-10-23_00042014-10-23_00052014-10-23_00062014-10-23_0007

The 5×5 books.

FunboothsessionFunboothsession1Funboothsession2

Funbooth sessions are the perfect solution for family pictures without the hassle.


Here they are displayed on my wall.

funboothwall1funboothwall2funboothwall3

If you haven’t had your family pictures taken this year, this is the perfect solution and you can turn those pictures into all sorts of fun gifts for family members for Christmas (5×5 books, Project Life pages, novelty gifts from Mpix, etc.).

The Project Life App. A game changer.

Never in my wildest dreams did I think I’d be excited about a scrapbooking tool.  I’m not a scrapbooker.  Never have been. Too much….stuff.  Too much time.  Too expensive.  And I’m honestly not creative or patient enough to come up with a variety of worthwhile page layouts.


My other complaint with scrapbooking.  There often seemed to be so many different papers, and buttons, and ribbon, and other stuff I can’t even identify, the pictures looked lost.  And for me, the photographs are what matter.  And the STORIES those photos tell.


So when I came across Project Life, I was sold.  To me, Project Life is about the STORY, not the stuff.

It’s SIMPLE.  I’m a simple kind of girl.


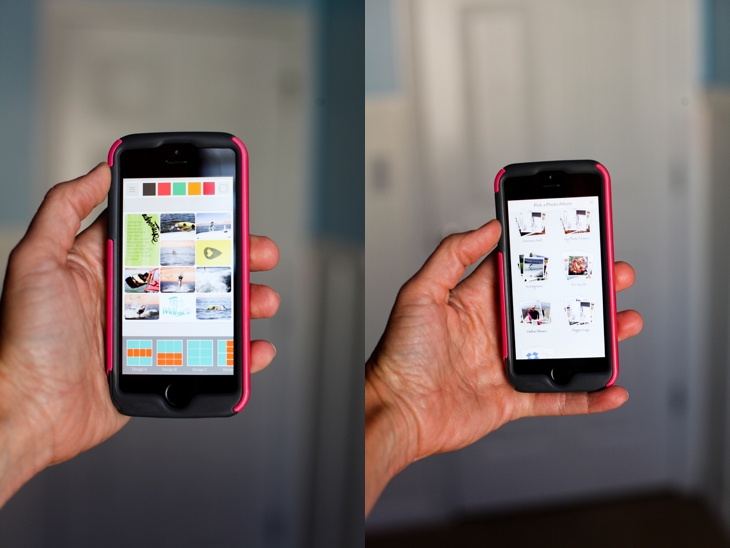
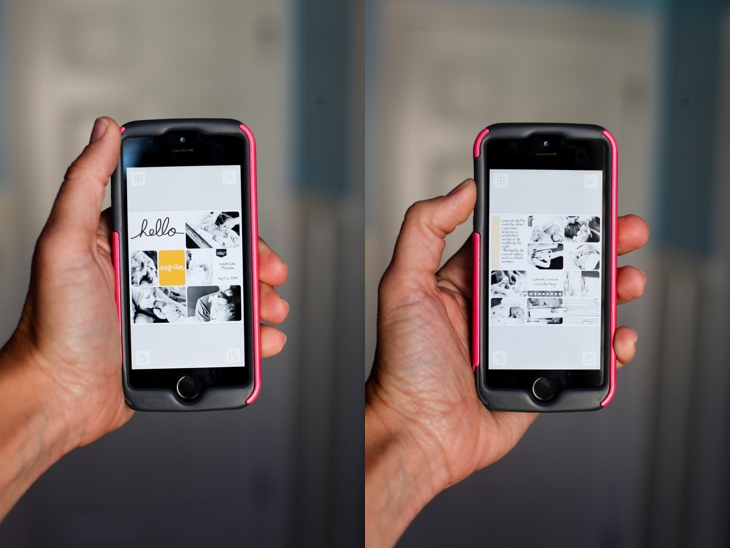
I started using the Project Life physical products and completed 5 albums.  And then.  Then the game changer.  The team at Project Life came out with the Project Life app.  And now I can “scrapbook”, document, memory-keep, story tell, with my THUMBS.  While I’m in the carpool lane, or watching TV, or waiting at the soccer field.  Anywhere.  Everywhere.  No mess.  No fuss.  No getting stuff out.  No cleaning stuff up.  And it’s all safely stored where my two year old can’t mess it up while in production.

It’s ridiculously simple.  And fast.  And easy.  And everything I’m looking for when I’m documenting our family’s story.  The pictures take the lead, and the journaling cards and filler cards add a little extra touch.  My goal is to have the pictures tell the story, then add a little with words if I have to.


If you watch this quick 7 minute video and you’ll see how EASY it is to make a page layout and document your stories.  If you watch the entire thing you’ll see how:

to add photos, add kit journaling cards and filler cards, add and resize text and change fonts, resize photos, move photos from one spot to another, edit photos right in the app, and I’ll show you how to seamlessly PRINT those pages you create as well.

The app is so easy to use I didn’t even have to talk on the video.  You can figure it out just by watching.  So you get to listen to music instead.


Once you finish the pages and export them, you can print them wherever you want.  Then you just get some 12×12 sheet protectors (use 40% off coupons on Michaels or Hobby Lobby) and put them in an album.  Project Life has great albums you can get at Michaels or Hobby Lobby (again, use the coupon) OR you can use any album that will hold 12×12 sheet protectors.

If you want to see a FULL VIDEO TUTORIAL (with words) on how to use the App along with some tips and tricks I’ve learned along the way, check out this Project Life App Video Tutorial.

A few tips.

**The app comes with a few free “kits” (journaling cards and filler cards) as well as some page layouts.  The app only costs $2.99 and even if you buy ALL of the available kits and page layouts, it’s still only around $20.  And once you have them, you can use them over and over and over and over again.  And they’re adding more kits and page layouts with updates.

**If you want to use pictures that are not on your phone, you can put them in a Dropbox folder.  You have to install the Dropbox app on your phone.  Dropbox can walk you through that.

**If you use the Dropbox feature, I recommend putting your pictures in different folders based on what pages you want them grouped together with.  Makes it easier to keep track of which pictures you’ve used if you have them in smaller folder groups rather than one big huge folder with all the pictures in it.

**When you export your pages, you can print them or share them online.  Definitely don’t skip the printing part.  Kids loooooove looking at pictures of themselves in an actual physical album.

**The app DOES sync to other devices.  So if you buy things on your phone, you can access them on your iPad and vice-versa.  If you buy a kit or page layout on one device, you can then click on that same kit/page layout on the other device and click “restore previous purchase” or “Buy now”.  Once you’ve bought it, it won’t let you buy it twice.  It will ask if you want to download it again.

**When you print the 12×12 pages, the font is MUCH bigger than it looks (because you’re going from a tiny screen to a full-sized 12×12 print.  Just something to keep in mind when doing fonts and font sizes.


A few things about Printing your pages.

When you export your photos from the app, they are automatically saved as high-resolution 12×12 photos.  The quality of the pages will depend on the quality of your photos AND where you choose to print the 12×12 pages.

DO NOT send your photos to Instagram and then export from Instagram to print.  Instagram reduces the size of pictures to 612 pixels by 612 pixels (so people can scroll through the feed fast without having to wait for large images to load) so your resolution will NOT be good as a 12×12.  When you export from the app, export to your camera roll and order prints from there as well.

You can now print straight from the App.  If you click on “order prints” at the bottom of the opening page it will walk you through ordering prints.  The App prints through a professional photo company so the pages look excellent and are high-quality.

If you don’t want to print through the app, I also recommend using Persnickety Prints.  This is why the owner, Chari, started the company in the first place. They were born to print scrapbooking pages.  The prints are archival (meaning your ancestors will thank you because the pages will still be around) AND they are water-proof.  Seriously!!!  Waterproof.  I had my doubts about that one so when I got my first order of 12×12 prints, I put one under the kitchen faucet just to see.  And sure enough, waterproof.  They also have a 100% money-back guarantee.

I recommend doing a batch of prints (every few weeks or every month) to save on shipping costs.


You can see on the video how to order prints at Persnickety directly from your phone.


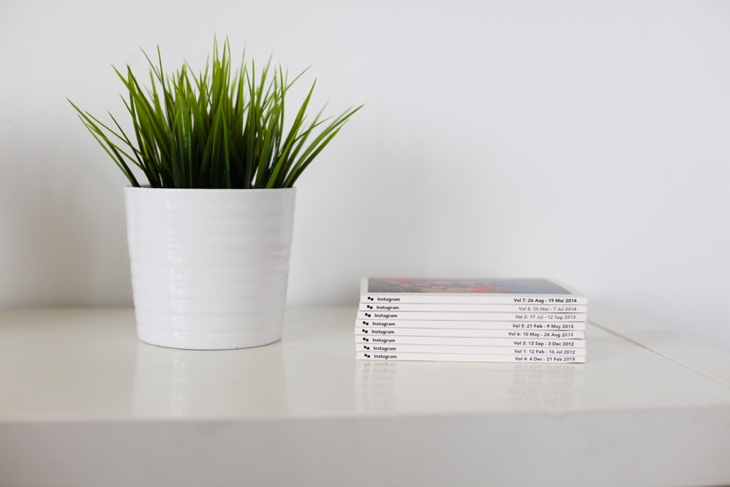
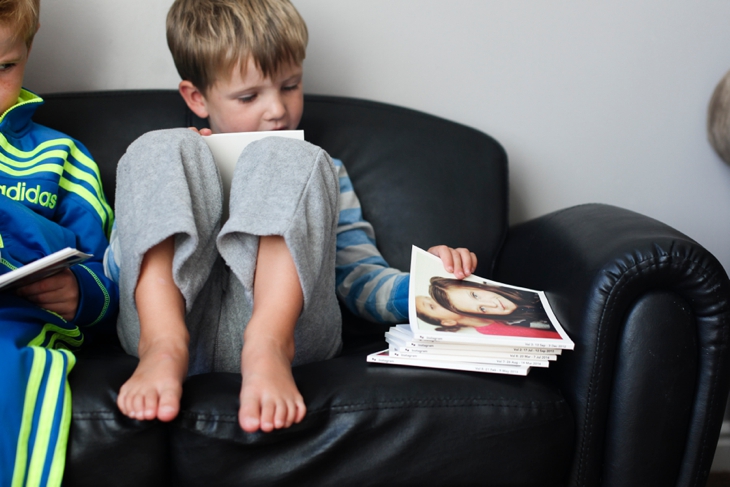
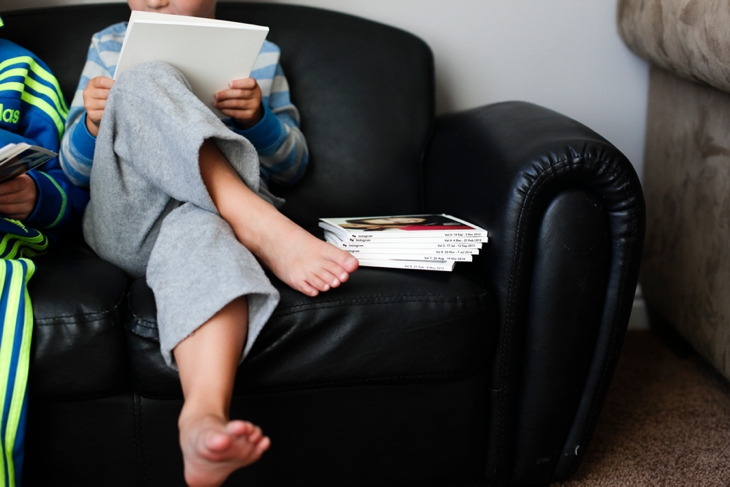
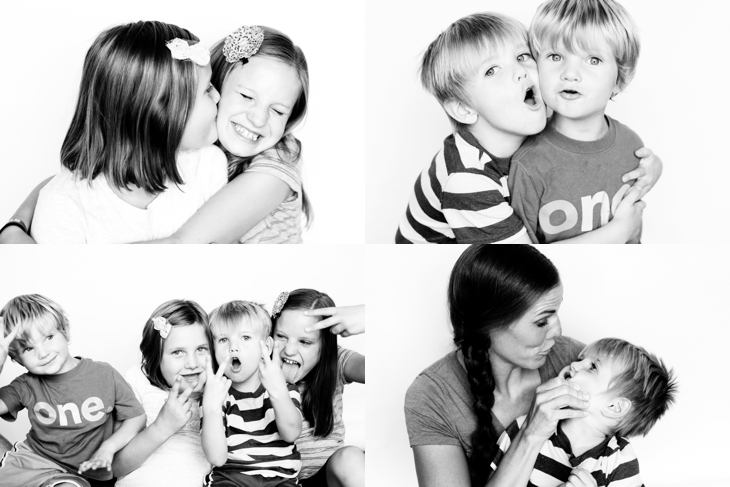
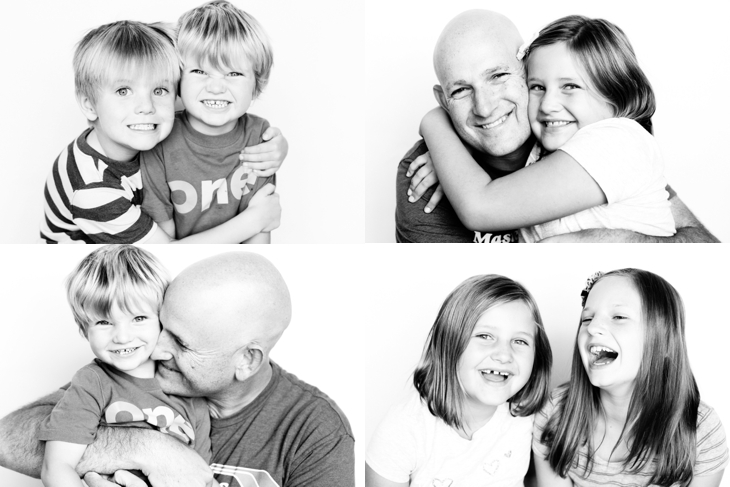
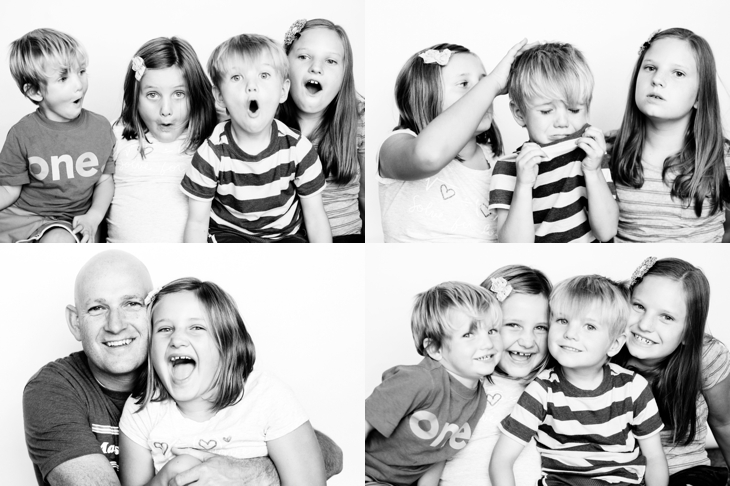
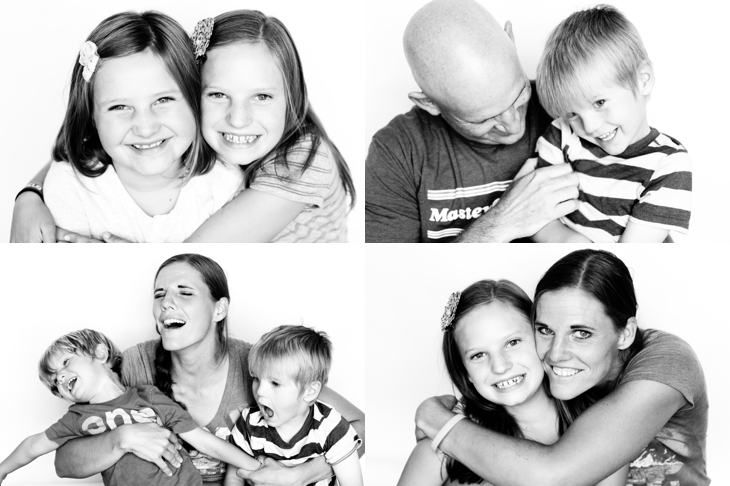
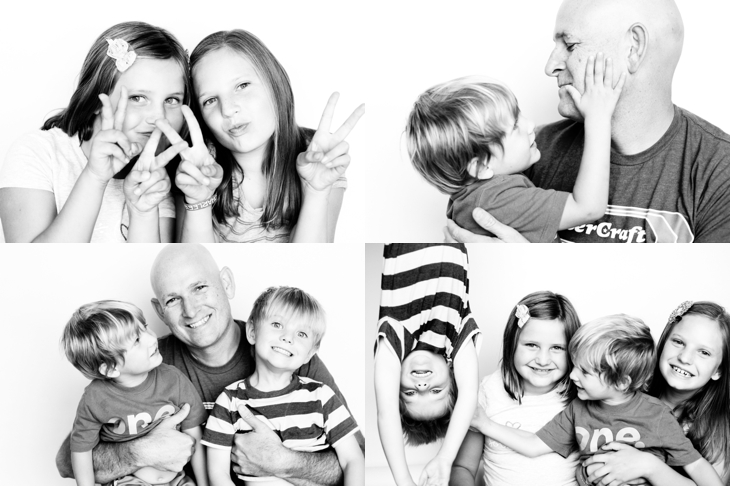
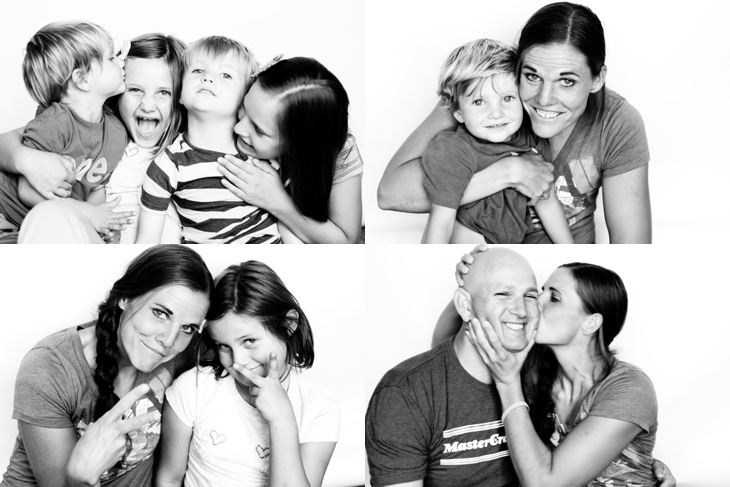
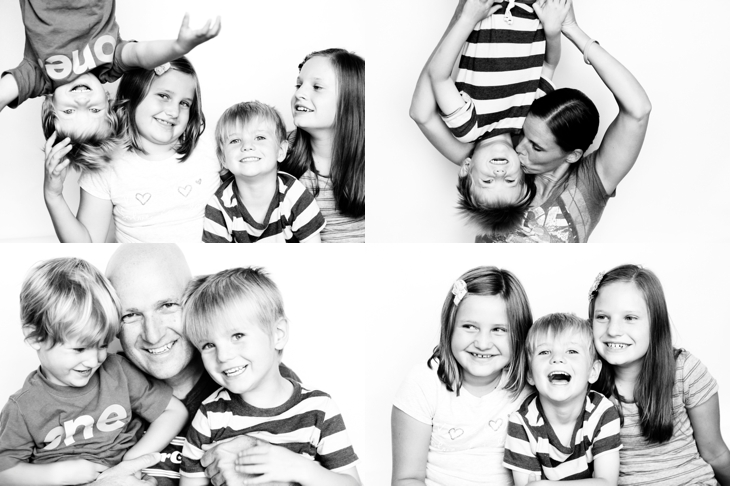
And for those of you who like photographs, here are a few.

2014-10-18_00122014-10-18_0011

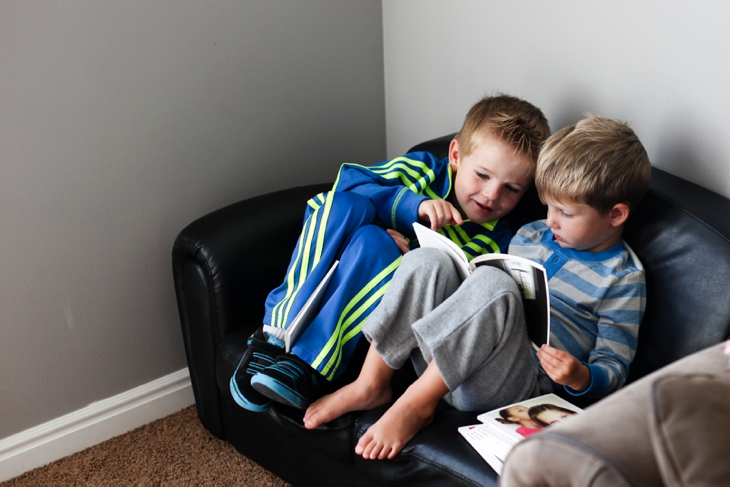
My kids love looking at pictures.  Especially if they’re in them.

2014-10-18_00212014-10-18_0022

2014-10-18_0023 2014-10-18_0020
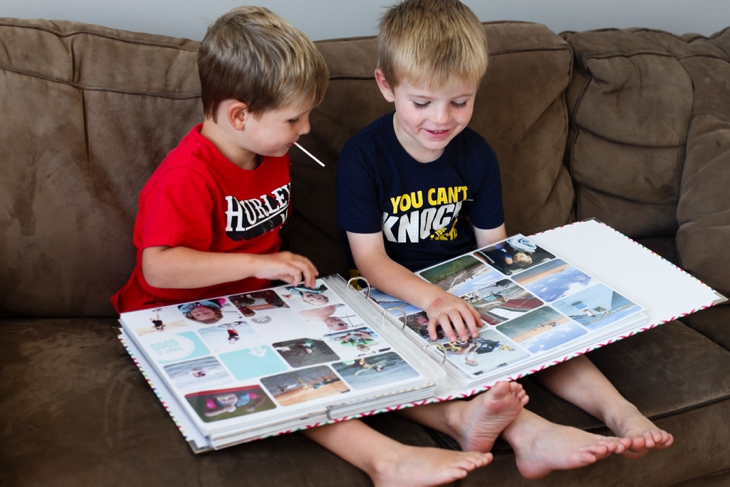
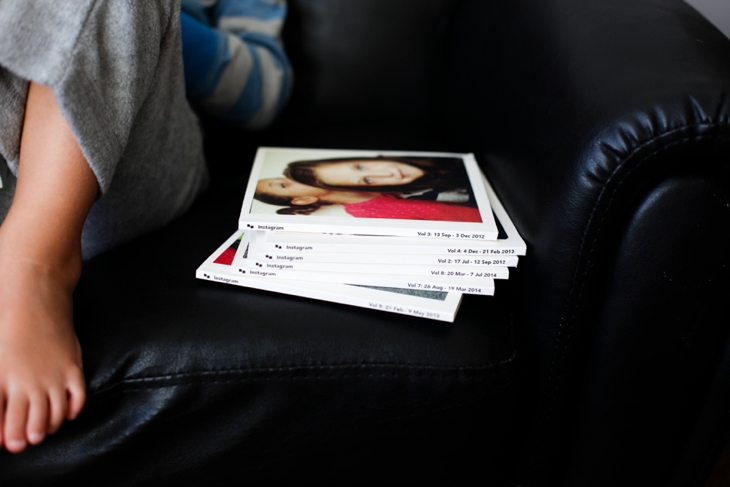
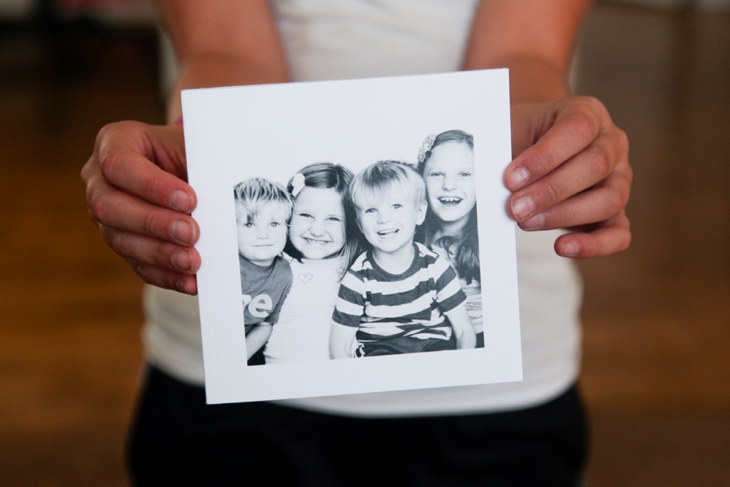
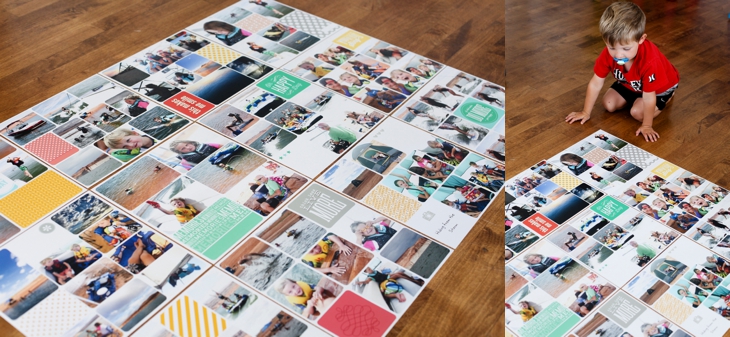
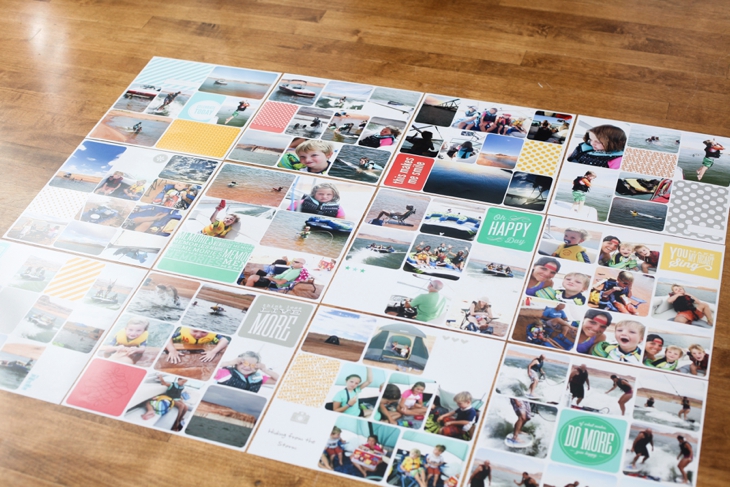
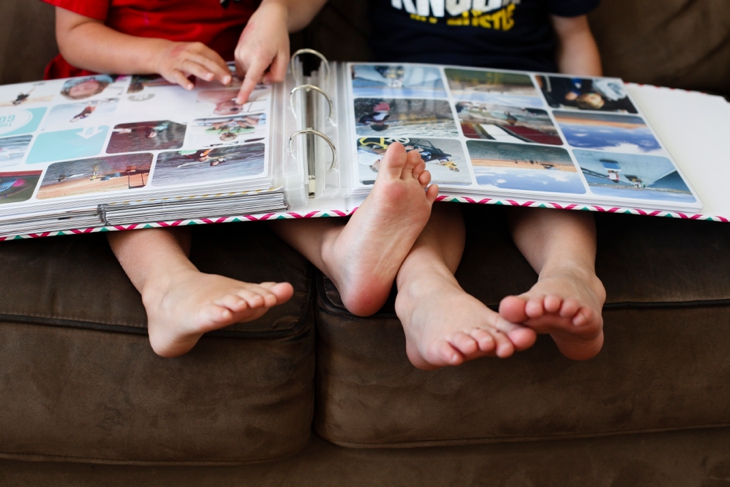
When I get my prints back, I lay them all out so I can see what order I want them to go in the album.  I generally have a “helper” when I do this.

2014-10-18_00192014-10-18_00182014-10-18_0014
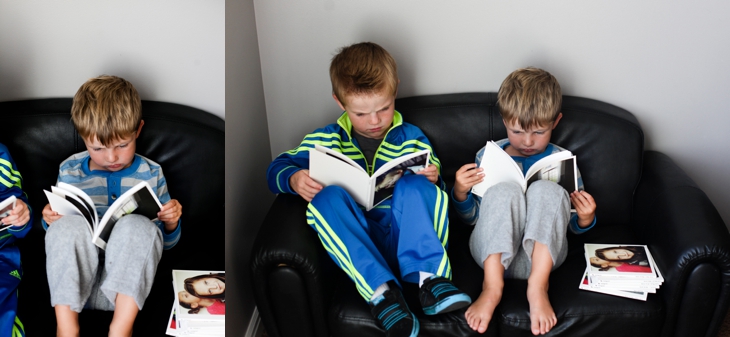
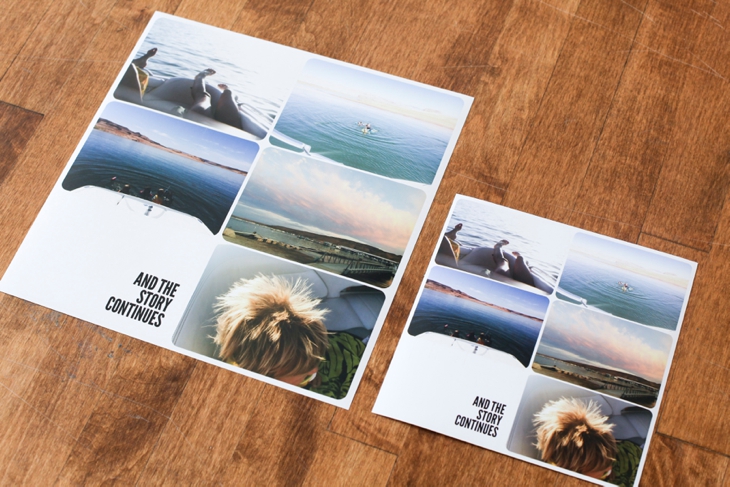
Here’s a comparison of the 12×12 print and the 8×8 print

2014-10-18_0015

And then they go into the albums.

2014-10-18_00172014-10-18_0016
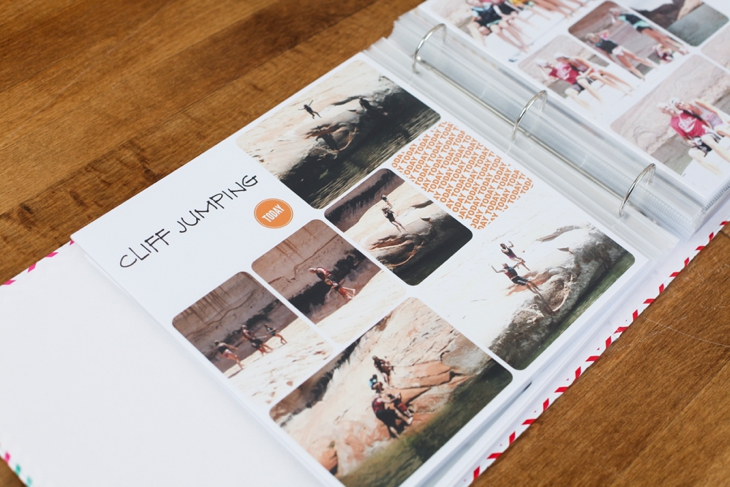
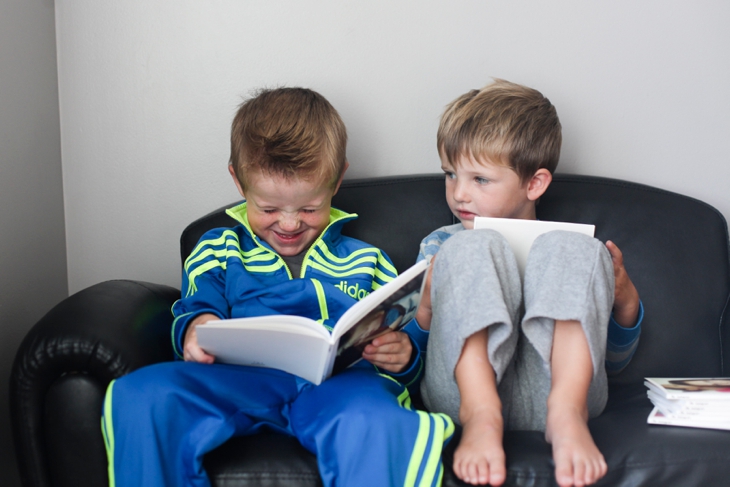
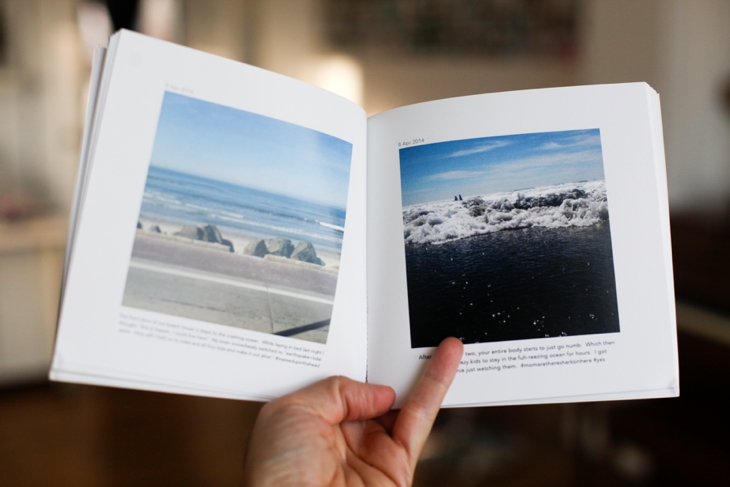
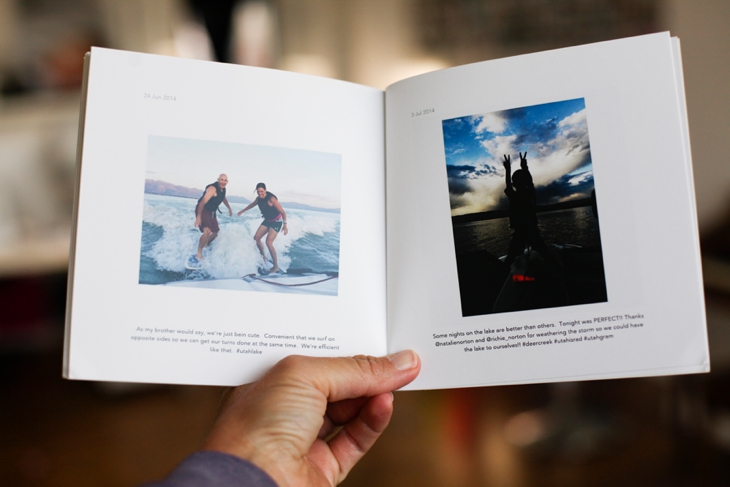
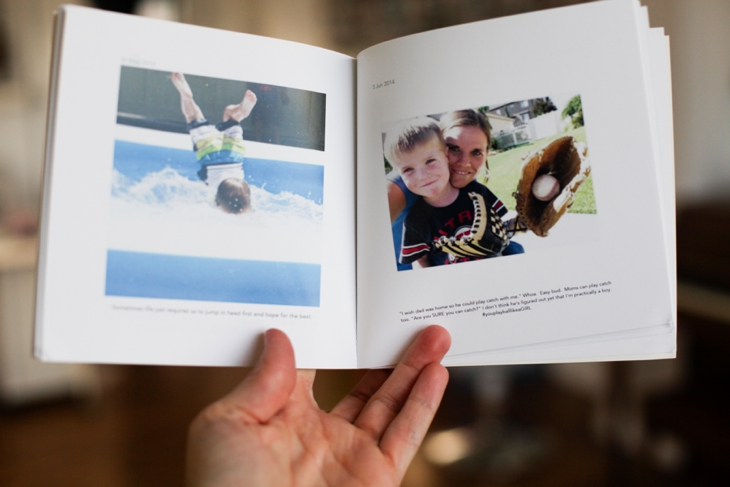
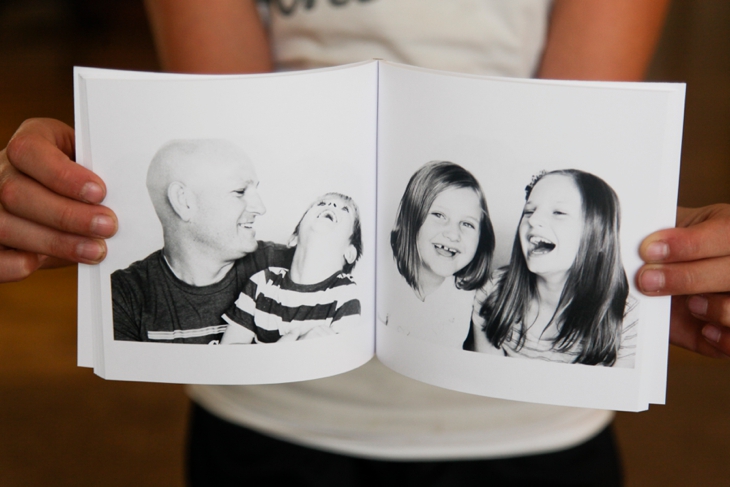
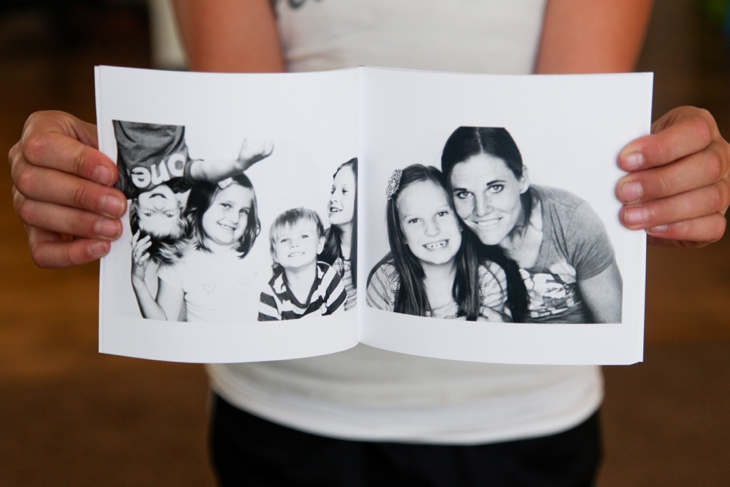
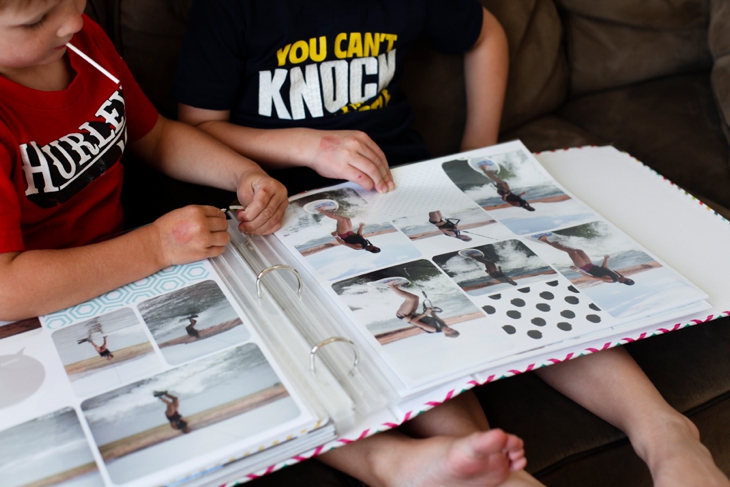
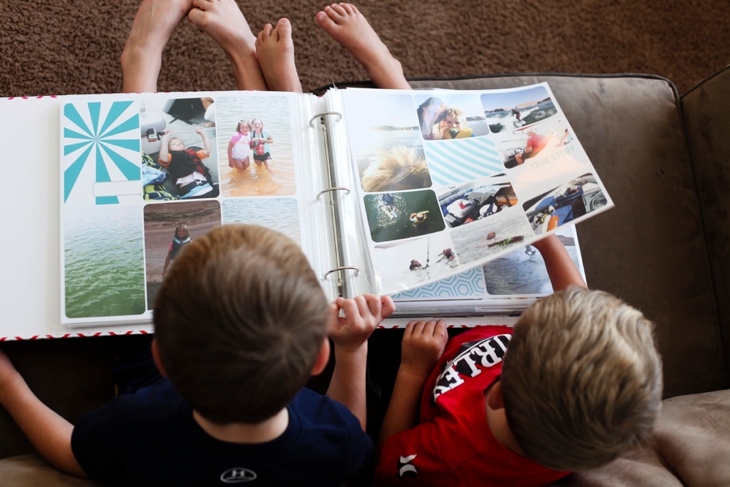
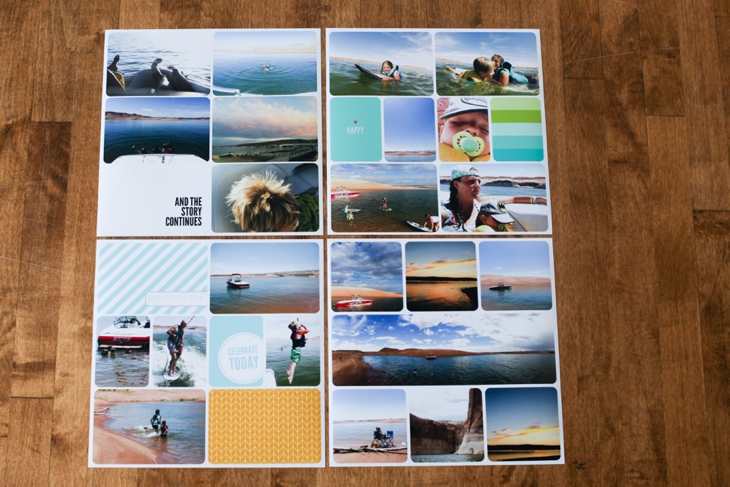
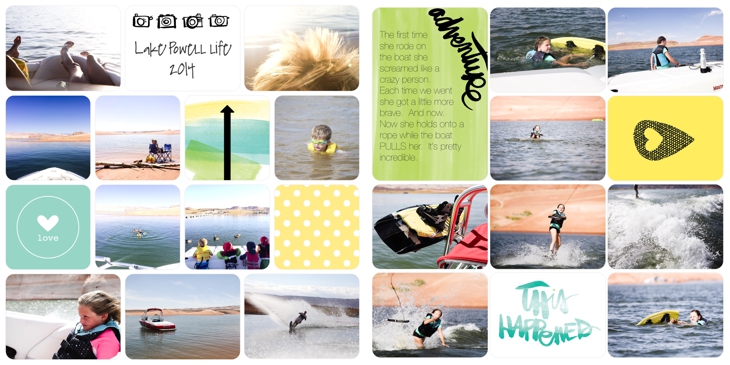
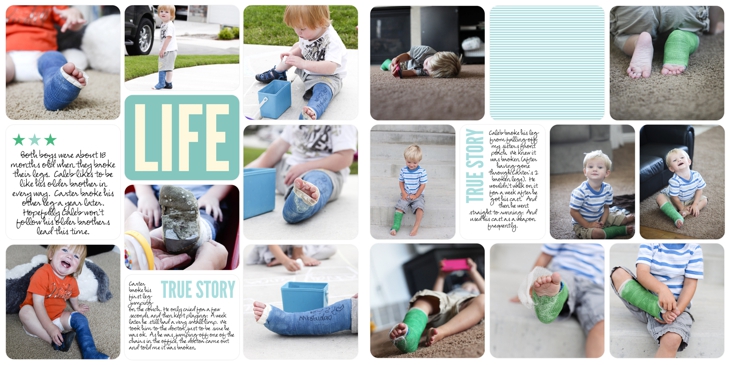
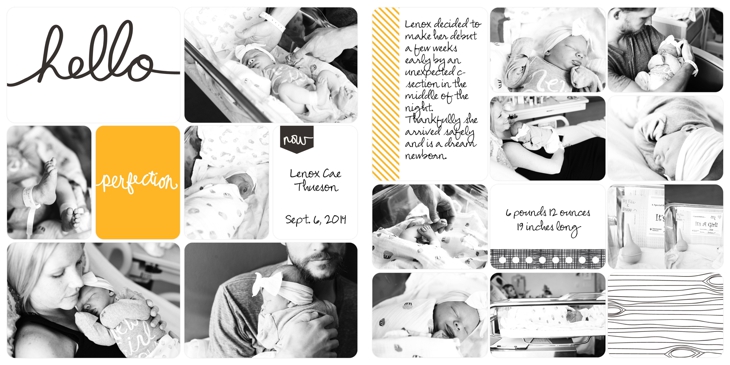
And for a closer view of some of the spreads I’ve done using the Project Life App

2014-10-18_00262014-10-18_00252014-10-18_0024

$.99.  That’s what you pay to get started documenting your stories.  It’s so so easy.  I am not a lover of scrapbooking.  I love having my stories documented and displayed.  This process makes it bearable and dare I say fun.


One last tip.  If you’re WAY behind on getting your digital photos in albums (like me) I recommend you START WHERE YOU ARE.  Start with the present (or go back to the beginning of this year).  Then if you have extra time here and there, you can go back and play catch up.  Or, you can start with certain categories.  I started by documenting all our vacations in layouts.  Then I’ll go back and do holidays.  Then I’ll try to keep current with each year.


You can do this!!!


If you have any questions, leave them in the comments below and I’ll do my best to answer them!


And, if you want to improve the quality of photos you take with your phone, get access to my TEN tips on immediately improving your phone photography so your Project Life pages will look even better!!!


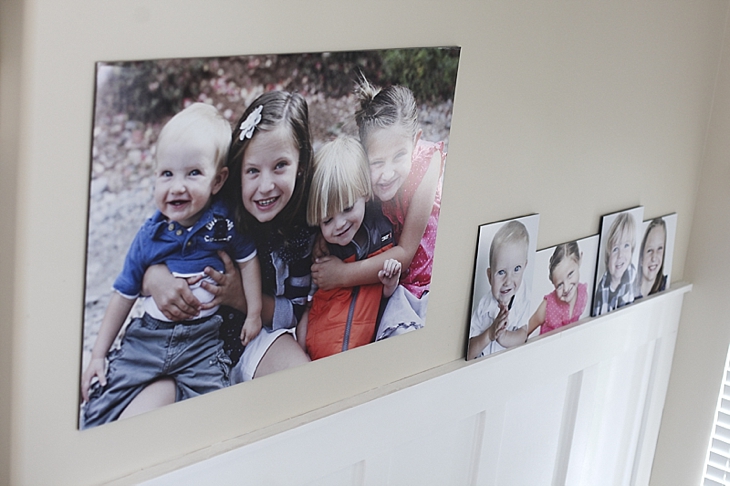
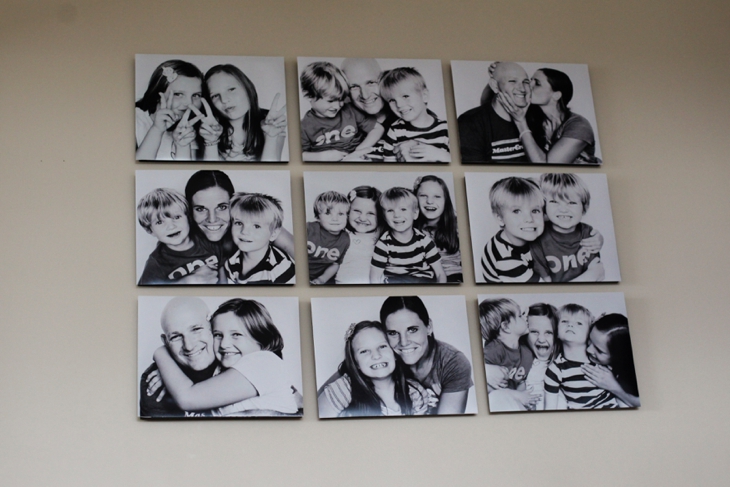
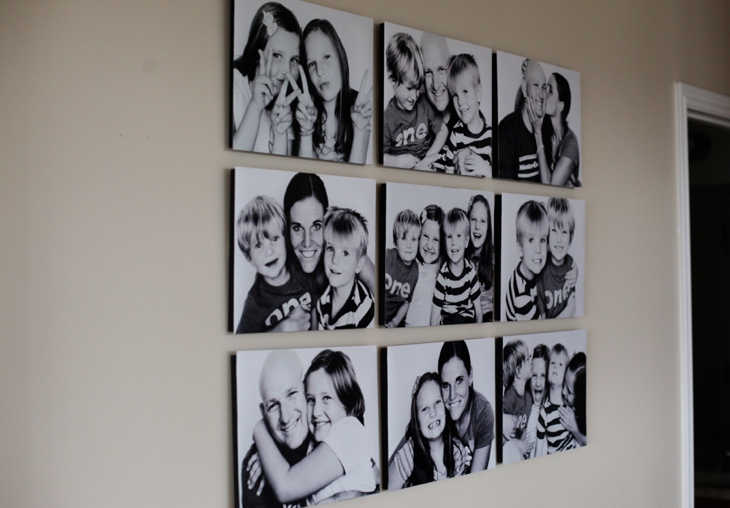
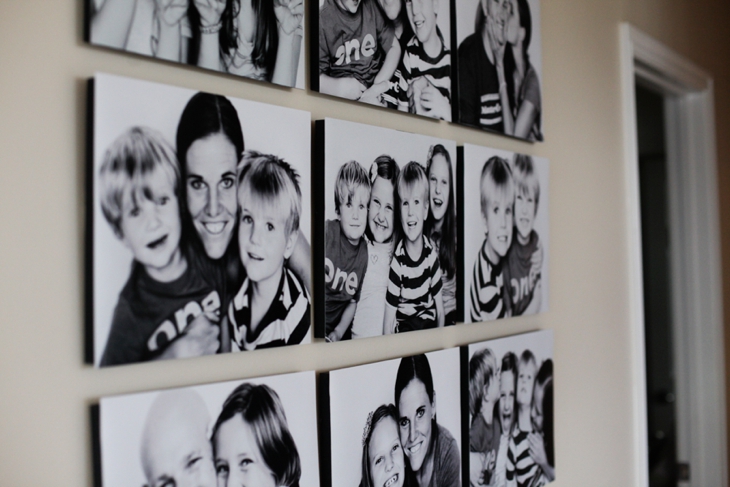
You can go here for more ideas on displaying photos in your home.

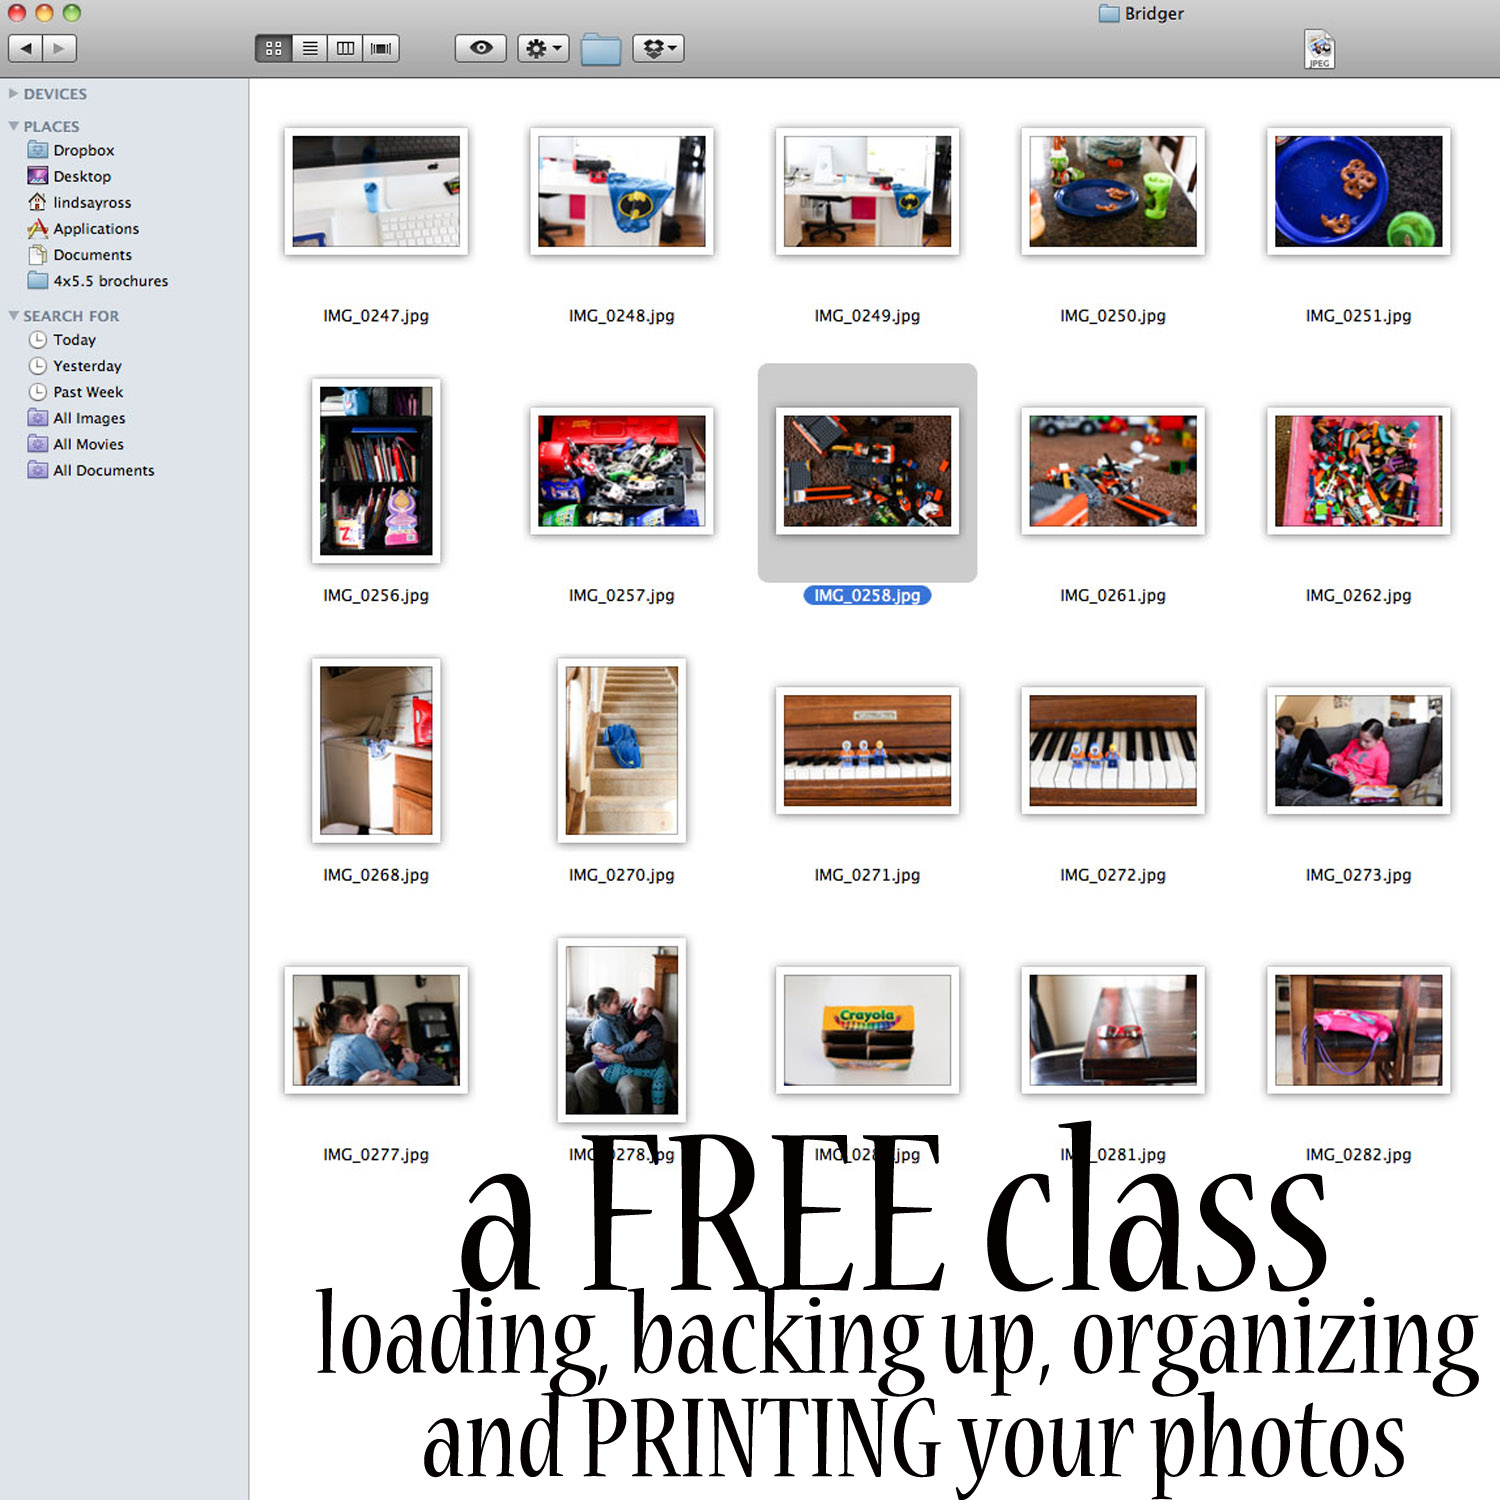
If you’d like to see more ideas on how to organize, back-up, sort, print, your digital photos, you can check out my Picture Display Movement series. 

Related Posts Plugin for WordPress, Blogger...