EIGHT Photo Display ideas for your home

I’ve been working REALLY hard the past year to take more photos of our every day lives, get our photos organized, backed up, documented, printed, and displayed.

I posted a series about how I’ve been doing this called “Picture Display Movement”.

I’ll be the first to admit it’s not easy and it certainly takes some time.  BUT.  It’s a HUGE priority for me so I’m making time.  Scheduling time.  And making things happen.

And now the walls of my home are filled with photographs that make my spirit happy.  And remind my children they are loved.  And remind our family of how amazing, funny, (and sometimes heartbreaking and disappointing) life can be.

Here are EIGHT different ideas (and a bonus at the bottom) on how to display photos in your own home to hopefully inspire some of you to get them printed and displayed.  

{For suggestions on where to print your photos, click HERE}

And if you want some great tips on how to immediately improve your phone photography, enter your name and e-mail in the side margin and I’ll send you TEN free tips you’ll love.


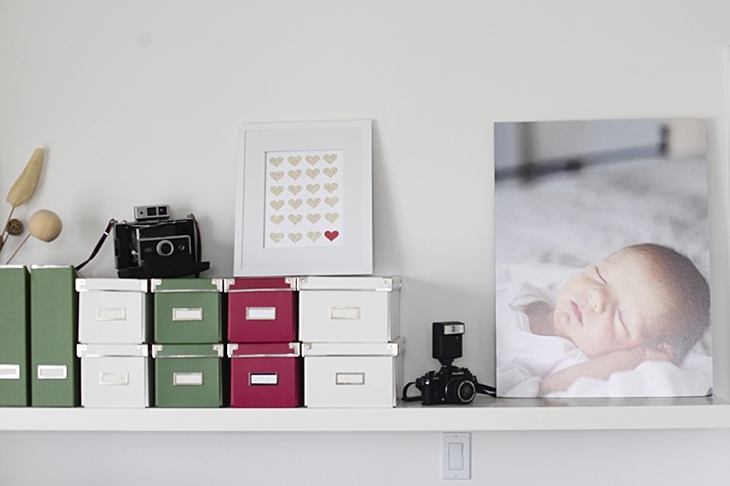
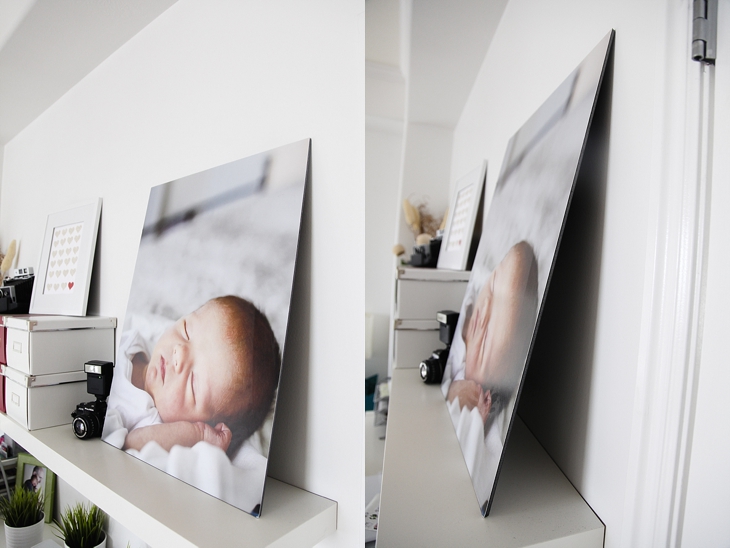
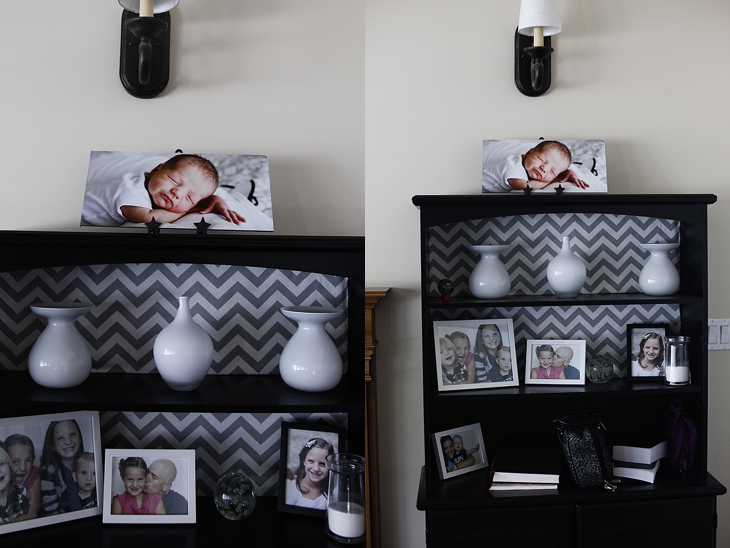
ONE.   Print your photos on matboard and display them on a shelf.  I like doing non-traditional sizes for my matboard prints.  This is 20×26.

2014-10-13_013

2014-10-13_006

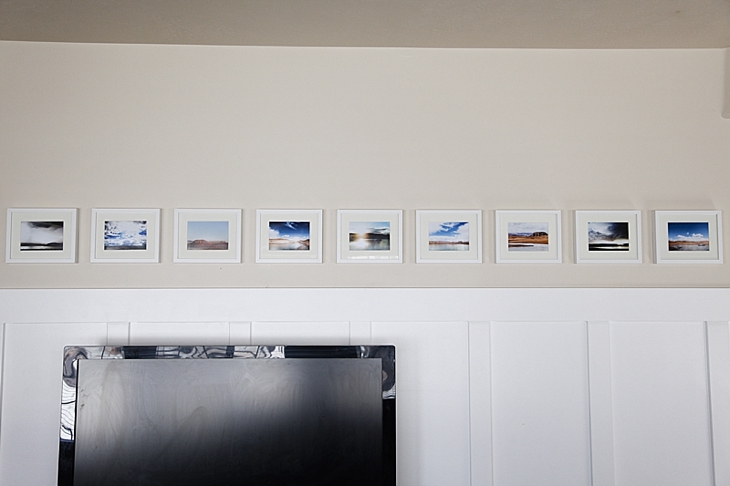
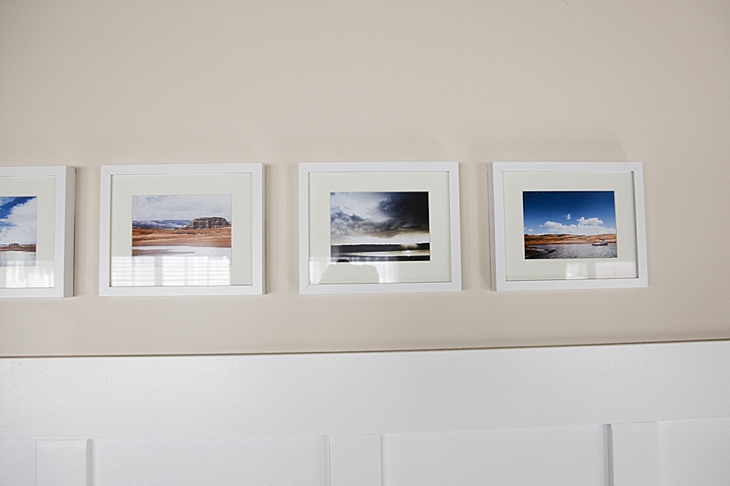
TWO.   Get a series of pictures (these are all photos I took at Lake Powell–my happy place) and put them in frames to hang on the wall in a row (horizontally or vertically).

I hung these on the wall using Velcro.  There’s a sticky side that sticks to the frame and a sticky side that sticks to the wall and then it Velcro’s together.  Easiest way to make sure the pictures are level and in line with each other.

2014-10-13_0072014-10-13_0082014-10-13_009


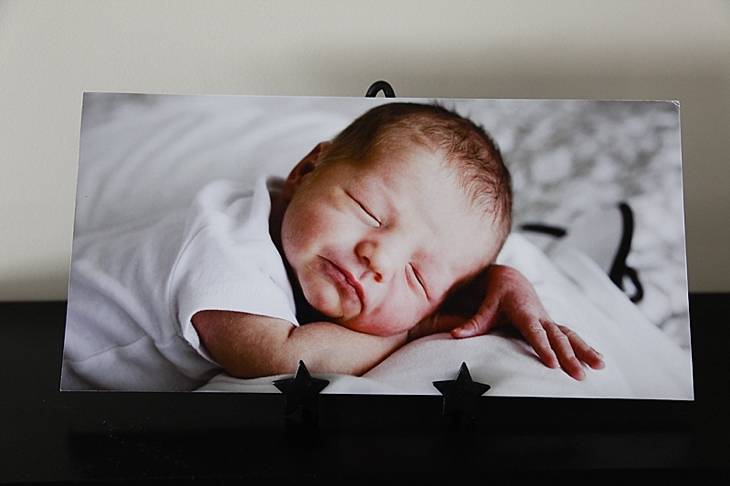
THREE.   Print on matboard and display it on an easel.

2014-10-13_0052014-10-13_012


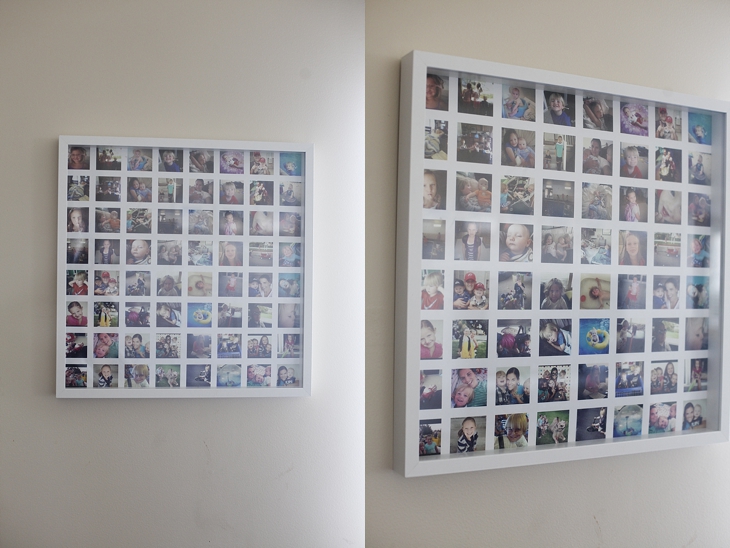
FOUR.   Put all your Instagram prints on a print (using Photoshop or other photo-editing software) and display in a frame on the wall.

2014-10-13_0042014-10-13_011

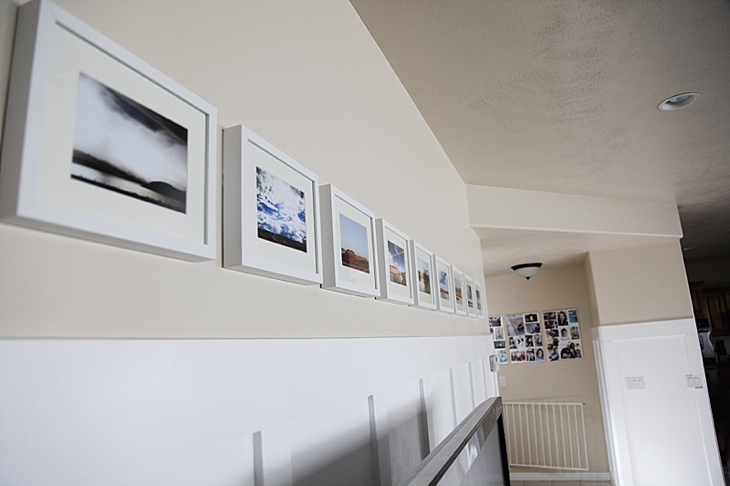
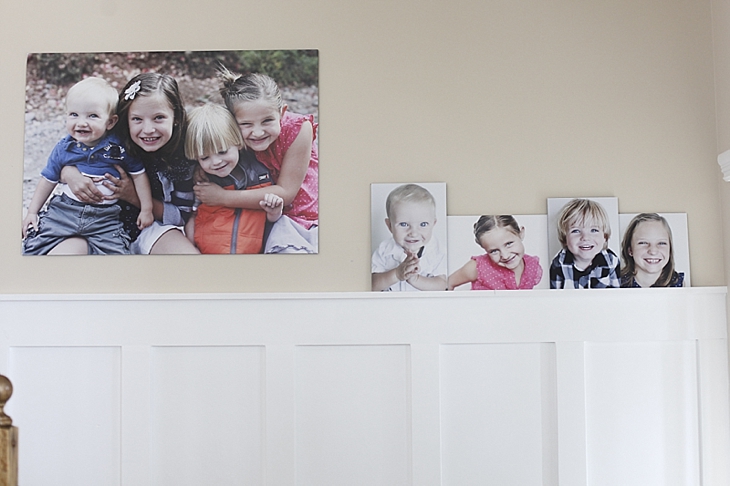
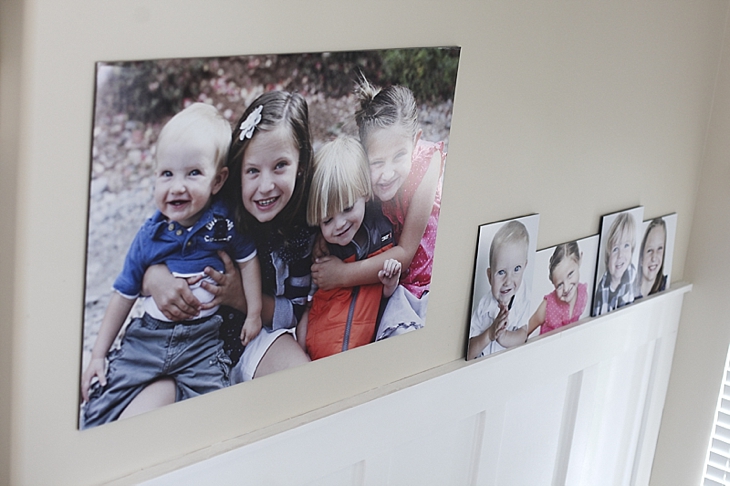
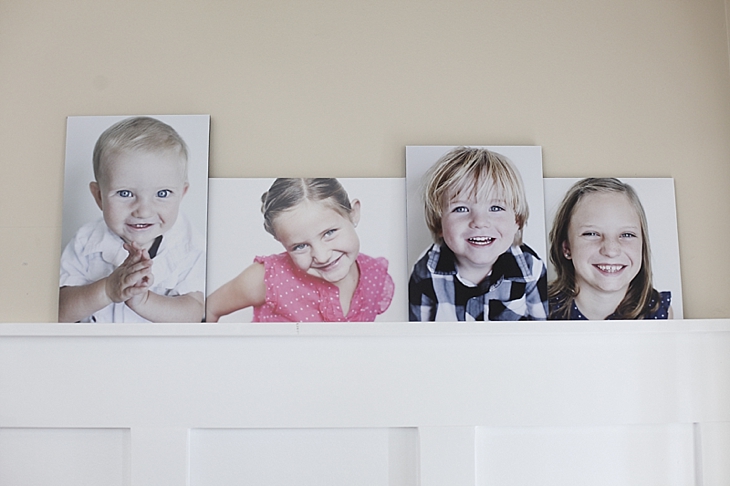
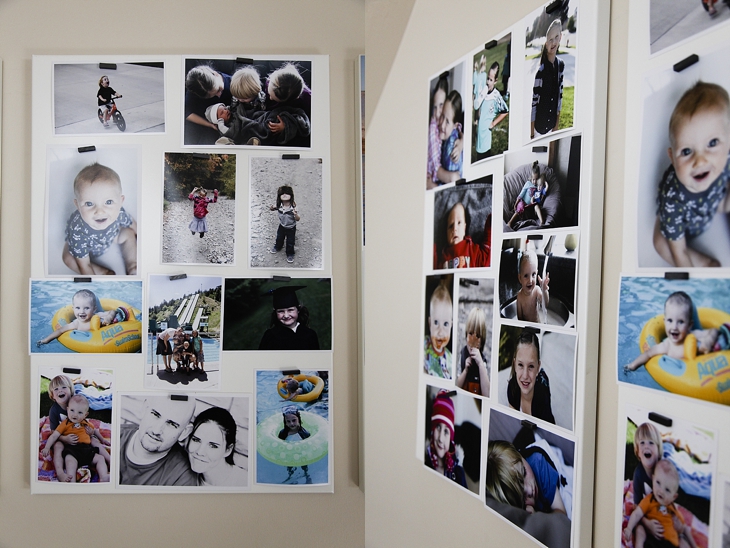
FIVE.   Use various sizes of matboard prints (can you tell I LOVE matboard prints) and attach them directly to the wall.  The large picture on the left is attached using velcro in all four corners and in the middle.  The bottom 4 pictures have velcro on the top and are resting on the shelf on the bottom.

2014-10-13_0152014-10-13_0162014-10-13_018


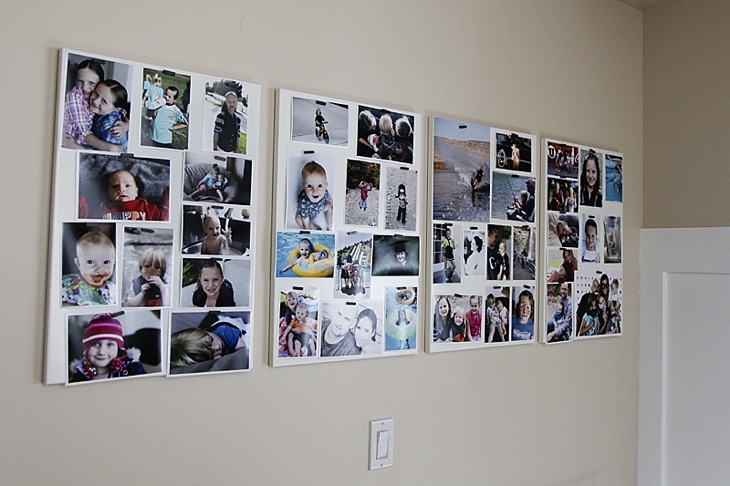
SIX.    Use magnet boards (these are from IKEA) and print off various sizes (4×6, 5×7, and a few 8×10–you could also do square prints) and attach them to the magnet board.  I just have plain rectangular magnets but you could get cool fancy ones.

Every six months or so I print off new ones and rotate them in.

2014-10-13_0102014-10-13_001

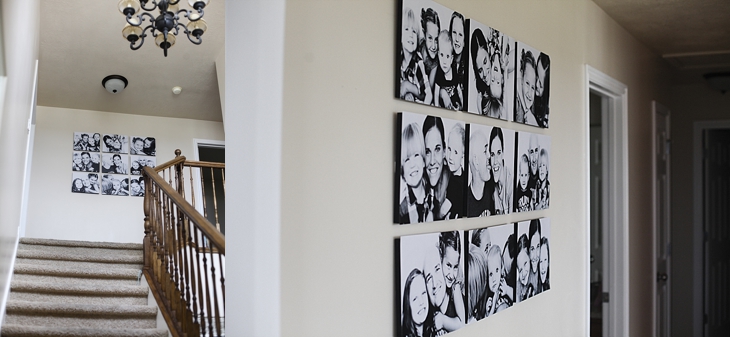
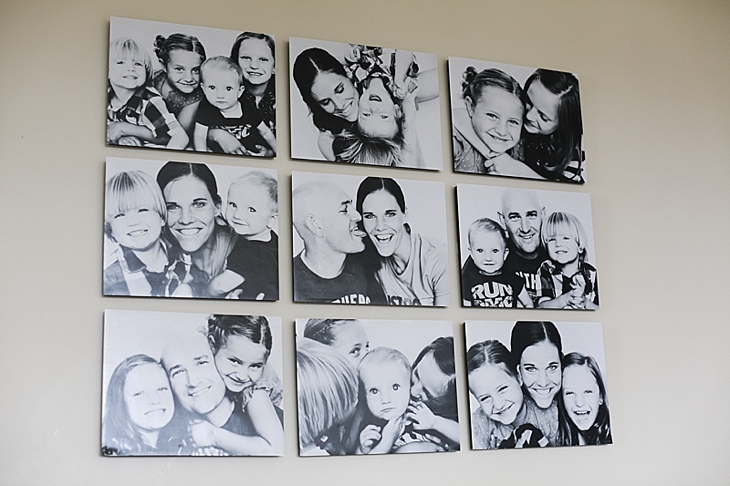
SEVEN.   One of my favorite wall displays.  These are printed on standout boards (stick 1/2 ” out from the wall) but you could easily do this on matboard.  These are a series of pictures from my Funbooth session.  Just grouped them together.  

2014-10-13_0022014-10-13_019

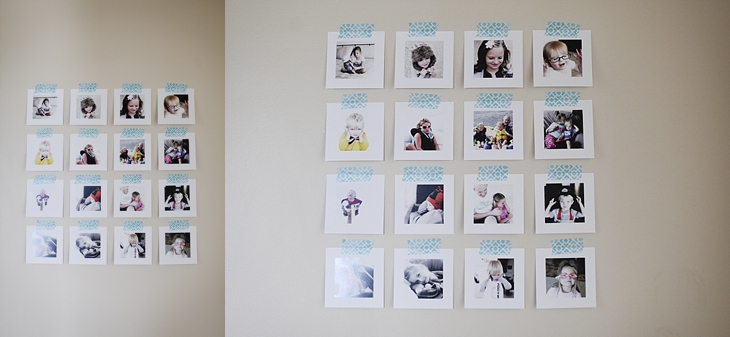
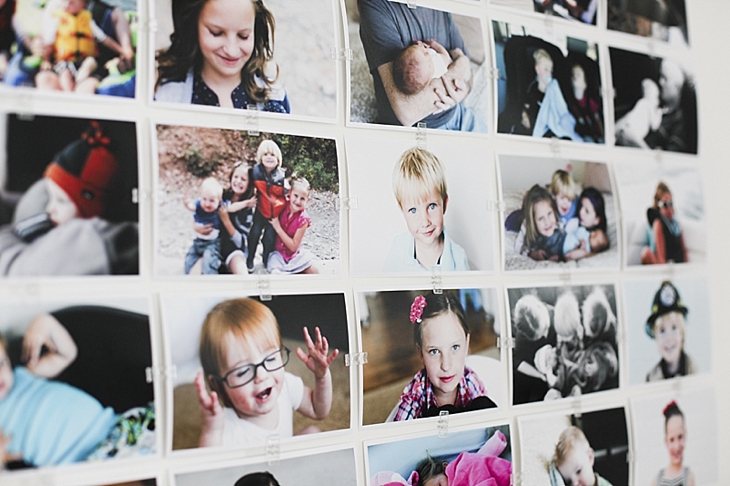
EIGHT.   Printed 16 random pictures at Persnickety Prints in 2×2 squares.  Attached them to a wall by our toy room using Washi tape I bought at Target.

2014-10-13_003

For a BONUS wall display idea, click HERE and see what I did with hundreds of my 4×6 photos to make a super call wall display in my office.

2014-10-13_020

For more info on how to Organize, Print, and Display your photos, click HERE to read the Picture Display Movement series.


And if you want to stay up to date on future photo tips and other great life stuff, enter your e-mail and name in the sidebar (under “subscribe here”) to stay connected and get TEN free tips to improve your phone photography.

Why it’s so hard to take “good” pictures of your own kids

There’s a reason, well several reasons, why professional photographers tell you not to attempt taking certain types of photos of your own kids. 

The every day stuff is one thing.  But when you try to gather them in one place and have them look semi-normal and do what you ask them to do, that’s entirely different.

My kids will never behave for me like they would for someone else.  And my guess is, yours won’t either.

These photos should speak for themselves.

My kids:

Her kids:


Next time I’m hiring a professional.  🙂

More details on the reason behind these Funbooth photos in a future post.


He couldn’t wait to get here.

Newborn shoots are easily one of my favorites.  And now that I’m (hopefully) done having newborns, I get to enjoy them for a few hours and then give them back to their moms.  

This little guy belongs to one of our family’s close friends, and people we really like to spend time with!  He put his mom on bedrest for over a week and then decided to make an early appearance.  He came EIGHT WEEKS early, landing himself a date with the NICU nurses for several weeks.

Modern medicine saved his life.  So thankful I live in a time when we have SO many resources to save lives.

Welcome to the world little man.  You obviously couldn’t wait to get here.  And we’re glad to have you.

3 tips to improve your phone photography.

A few tips to improve your phone photography.

First, when you open up your camera to take a picture, a little box lights up.  That’s where the camera chooses to focus AND how it sets your exposure.

If you touch somewhere on the screen, that box moves and that is where the camera focus’s and sets its exposure.

Examples.

In the picture below, I touched the screen on the phone where my daughter was standing.  In the middle of her body.  So the camera exposed for HER.


In the picture below, I touched the screen on the phone where the window is.  Up on the waves of the ocean. So the camera exposed for the WAVES outside in the bright sun (and underexposed everything inside)


Here I touched the screen on the phone where the sun was.  So it exposed for the bright sun and left my kids dark.


And here I touched the screen on my phone where my kids were standing.  So it exposed for the kids and over-exposed the setting sun (which is why it’s so bright and you can’t even see the sun setting).  But you can see the surfers which were so fun to watch.


Another tip.  The camera on the back of your phone (the one intended for taking photos) has MORE megapixels than the forward facing camera on your phone (the one intended for facetime).  So when you take “selfies” or pictures with your kids where the phone is facing you, they will be lower quality (so you can’t print them as big) than they would be if you took them with the camera on the back of the phone.  So whenever possible, use the camera on the back of the phone.


And the last tip.  You can use the volume control on headphones to act as a remote for your camera.  Plug the headphones in and press the + or – button on the headphones and it will take a picture.  No more gumby arms.


And.  A bonus tip.  If you get the Camera + app, it has a timer option so the mom can stay in the picture!

For some tips on improving your photography in general, check out this post.

It never gets old.

Sometimes if we’re having a particularly grumpy day, we have the Monday blues, or we just need a good laugh, we play around on the Photo Booth on my computer.  

I die laughing every time.  
It never gets old.


Related Posts Plugin for WordPress, Blogger...