I get asked this question alot.
My answer: It depends on what you’re using the pictures for.
I know most professional photographers will say to only get your photos printed at a professional lab. The only time I disagree with this, is based on your answer to the question, “What are you using the pictures for?”
If I am printing pictures 5×7 or smaller and they are intended for an album, like Project Life, I print my photos at Costco.
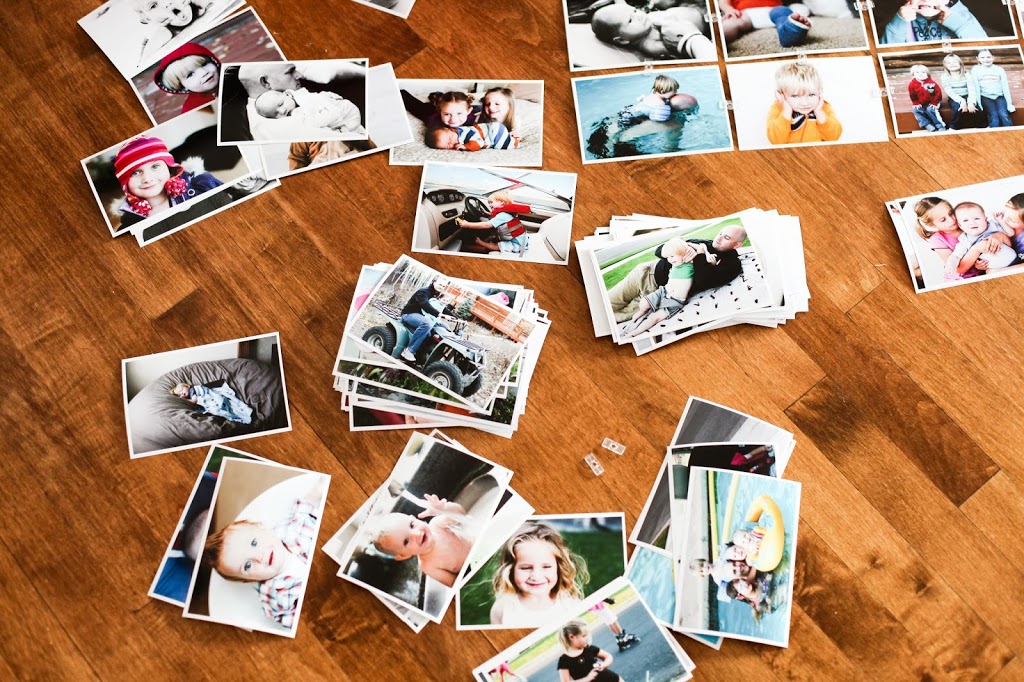
I did a test print of several different photos at four different printing labs: Costco, Walmart, Walgreens, and a professional lab. The photos at Walgreens turned out a little green because I forgot to uncheck the “auto-correct” button on their site (I always recommend turning OFF the auto-correct). The quality of the 4 different places was comparable but the coloring and “brightness” of each photo varied a bit. The key is to do a test print first and make sure you like the “look” of the printers there. It’s hard to see a comparison accurately over a computer screen since all monitors show colors differently. But this gives you an idea of how the photos can look a little different from place to place. Some people who are looking to decorate their homes might look into getting printed wall art to had that extra bit of art to their walls. If you are interested in finding out more about about getting
your photo printed on acrylic to add your wall art, there are some companies out there that could help you to achieve this method.

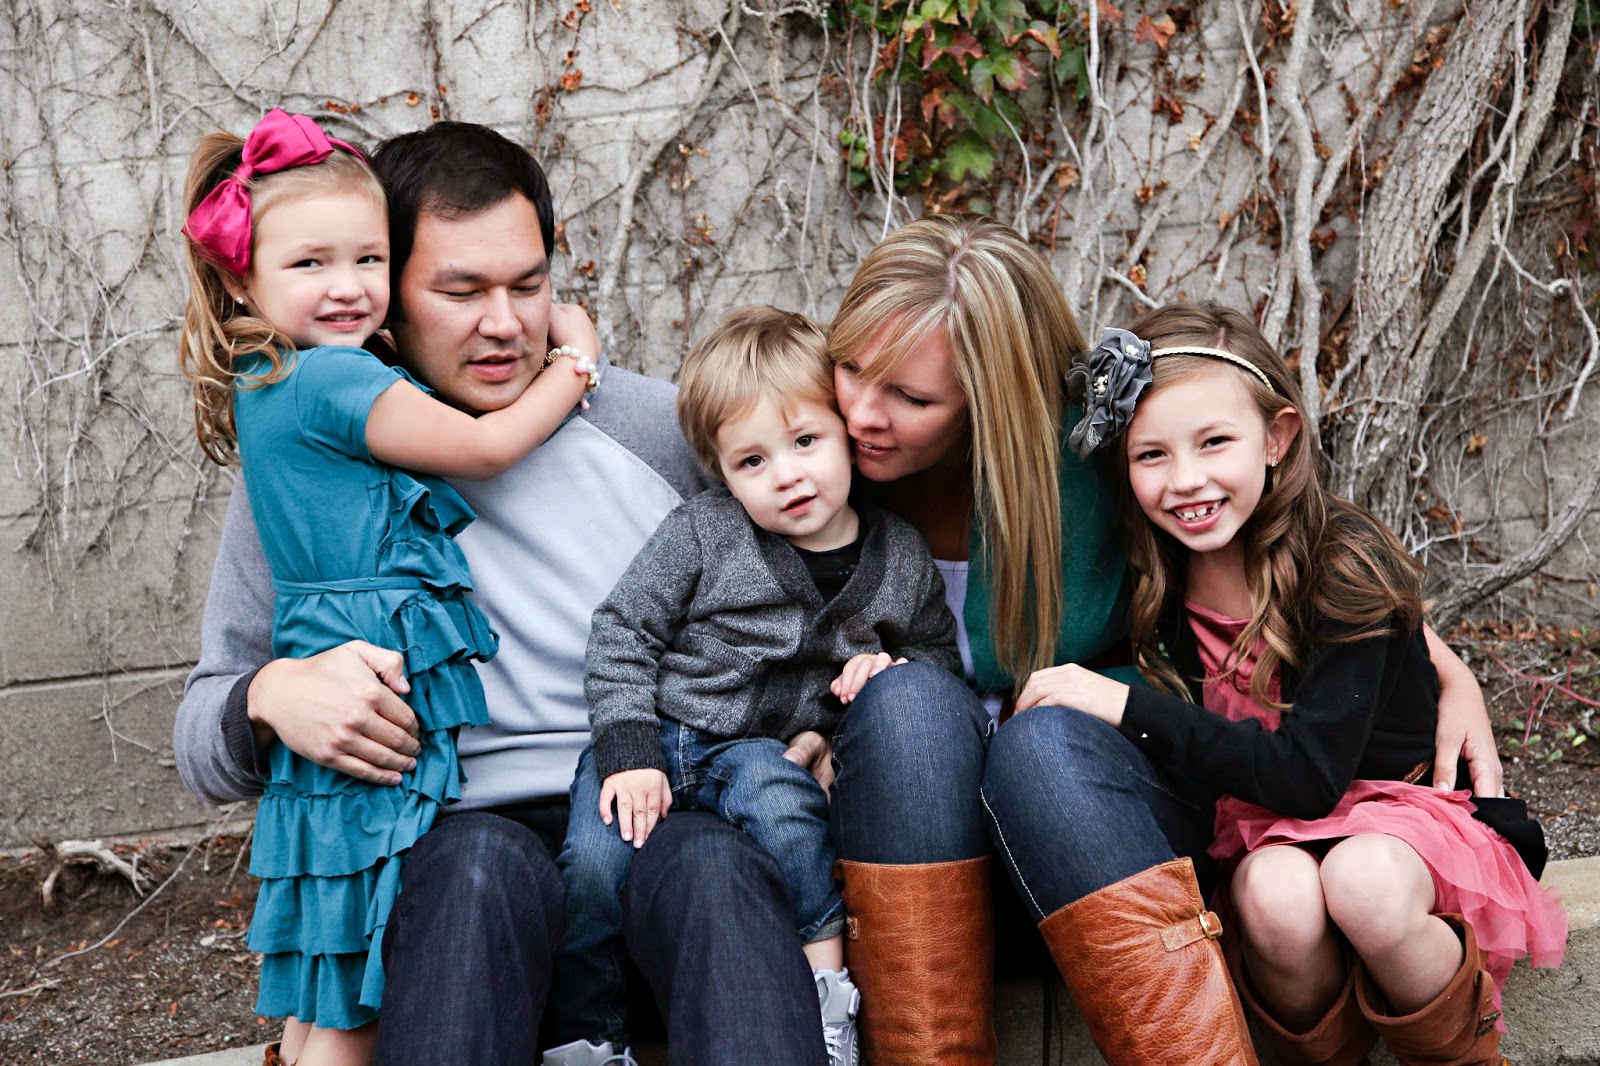
Keep in mind when printing anywhere, what you see on your screen isn’t necessarily what you get from the printer (unless your monitor is calibrated to that specific printer). I have learned that Costco prints tend to be a little “dark”. So before I send them to Costco I lighten them up a little (bump up the exposure) through some editing software. All of the photos in this
wall collage I did are from Costco.
OR I print my 4×6 photos at York Photo online. If you google “free 4×6 prints” a code for 100 free prints to york photo should pop up. You can use that the first time you order prints from them. They also have sales on their prints all the time so I have a folder on my desktop with pictures I want to print and I wait until there is a sale and then send a batch of those pictures in to be printed.
If I am printing bigger than 5×7 or printing anything large that will be hung on my walls, I use Pixels Foto and Frame (for the Utah readers, it’s on 90th S. and State Street in Sandy) or Persnickety Prints (in Orem, Utah)–Persnickety also ships for a flat rate and their customer service is unbeatable. Online I use Persnickety Prints or Mpix. These are all professional printing labs with affordable prices.
I use Persnickety for regular prints (they’ll do custom sizes which I love to do) and I also use them for matboard prints like this one:
Mpix has a bunch of novelty photo items like calendars and photo books and cards along with regular prints. I also use them for printing stickers and business cards.
Any photos I print I use a matte or lustre finish instead of glossy. Makes them look better in my opinion.
If you have never printed somewhere before and don’t know what the prints will end up looking like, just send a few photos to be printed. Then if you like how they look, you can send a bigger batch for prints.
I have been using Persnickety Prints the most lately. They do printing for Instagram pics (square photos) as well as Project Life album sizes (3×4’s). I also love their polaroid type prints and various sizes of square prints. They specialize in 12×12 prints (that work great with the Project Life app) and they make 5×5 mini photo books that work perfect with Instagram prints or as a custom book.
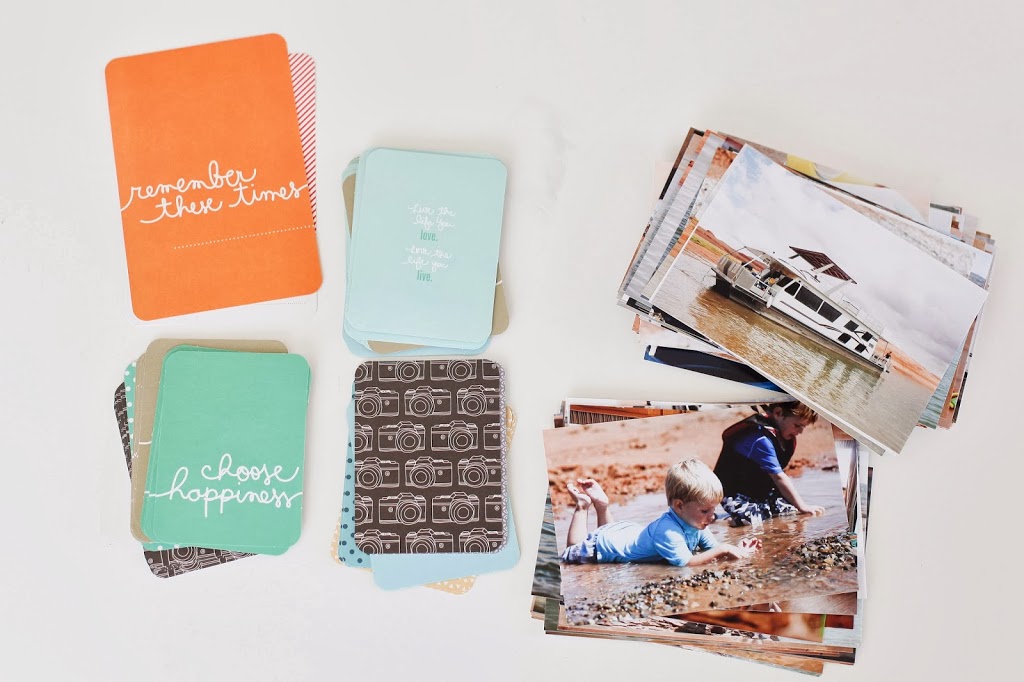
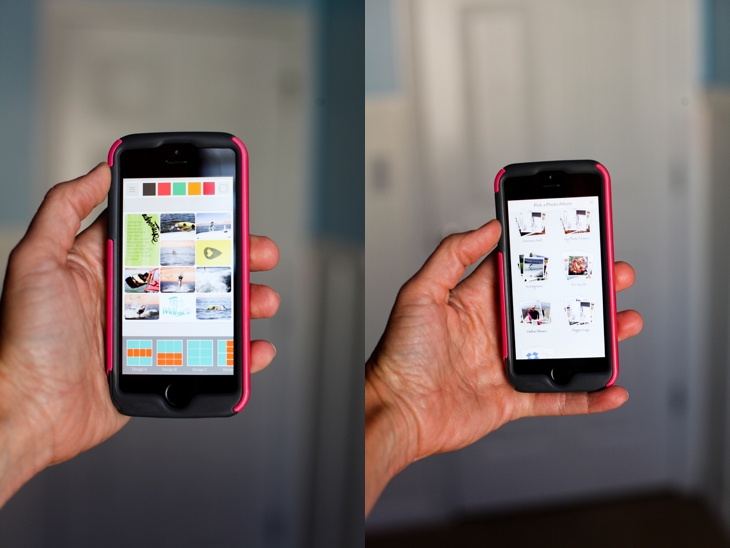
For some ideas on an incredibly easy way to document your family story, check out the Project Life App. It’s “scrapbook” cheating in the palm of your hand.
And for ideas on how to display photos in your home, you can check out several ideas of Wall Displays using photos here. And for even more, you can follow my Pinterest board “Photo display ideas”.