Photo Display for your wall

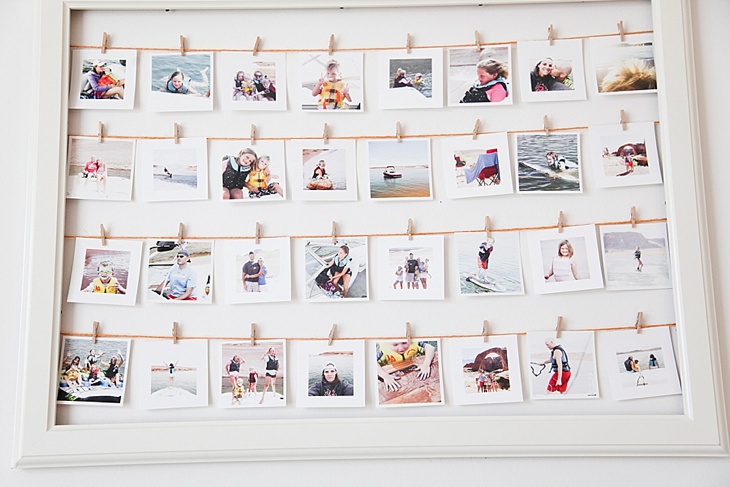
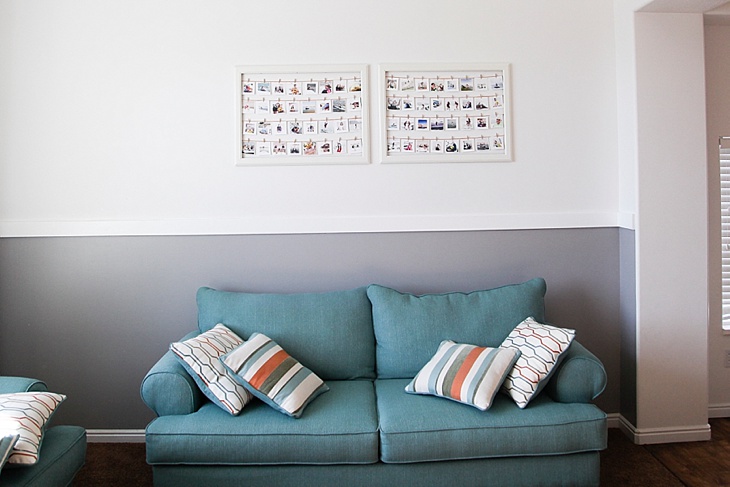
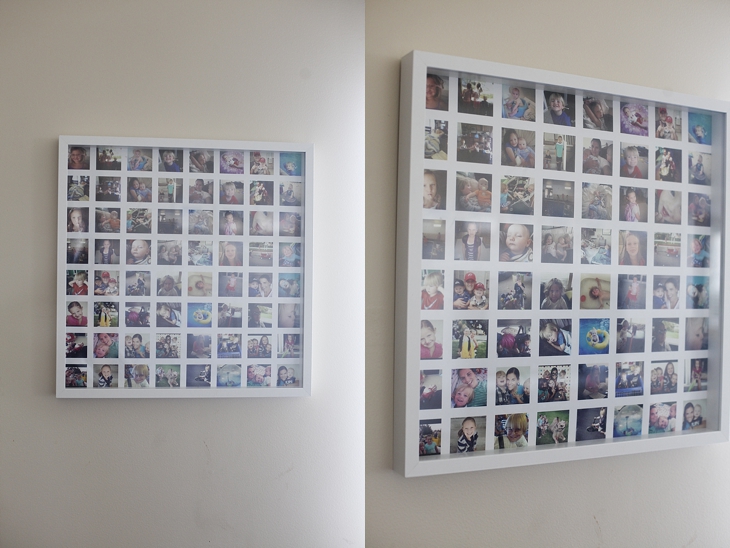
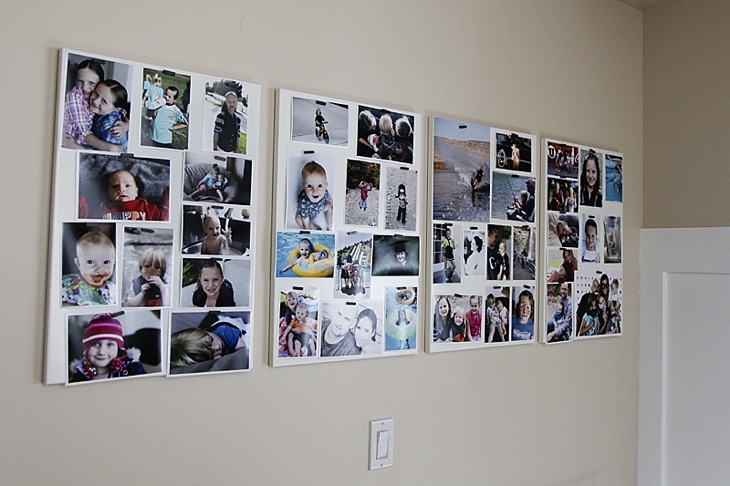
The wall in our front room was bare for a long time.  I couldn’t come up with the perfect thing to put there.  And then I saw a version of this idea and decided to give it a try.  It’s a fun, unique way to display photos and easy to switch them out over time.

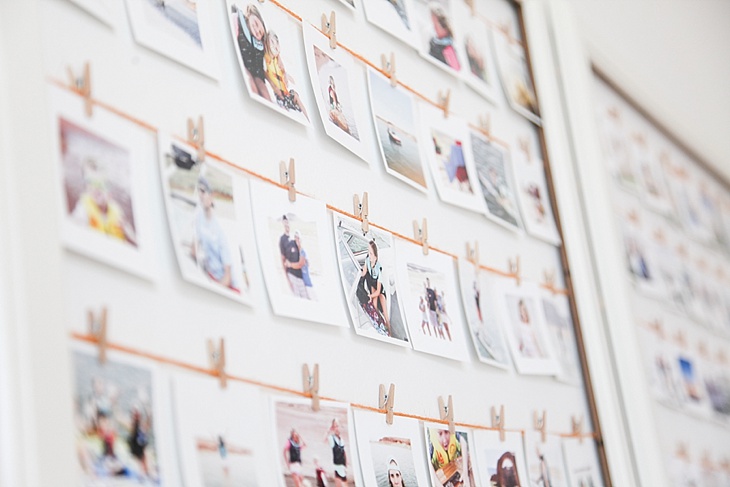
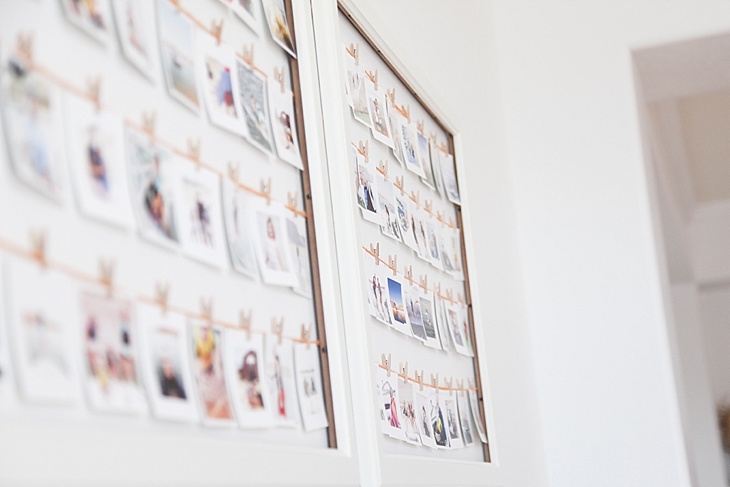
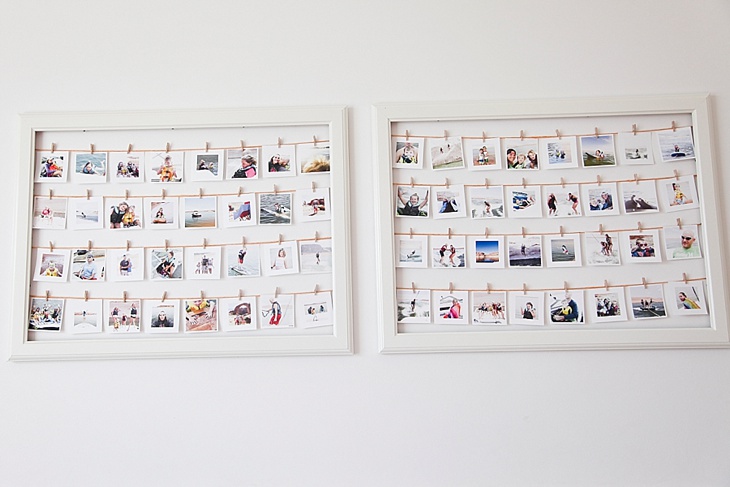
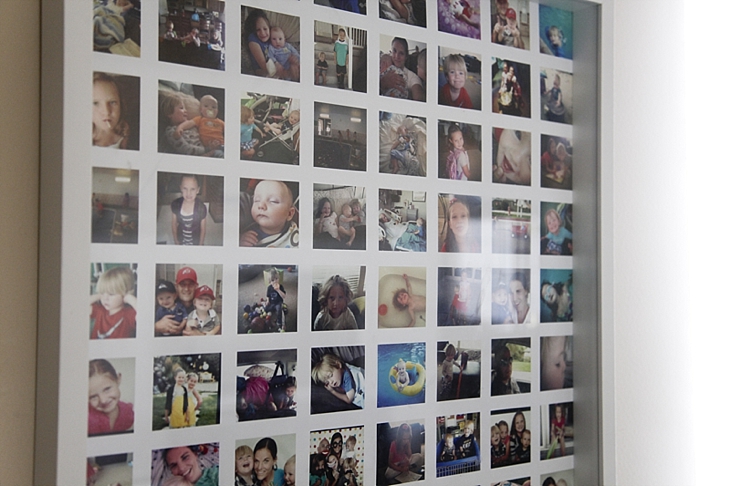
I got two big frames from Ikea and took out the glass.  The photos I printed were 3 inch by 3 inch from Persnickety Prints  so I measured the space I had in the frame and divided out how many strings I could have to make each row even (explaining math on a blog post isn’t my strength).

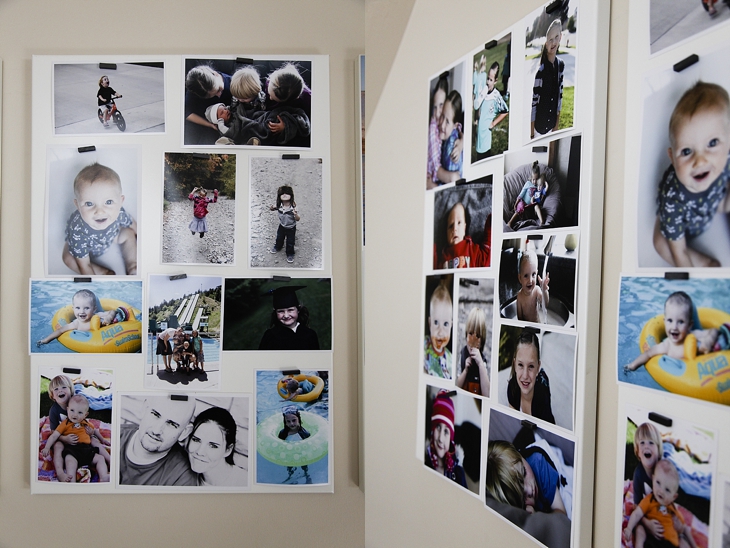
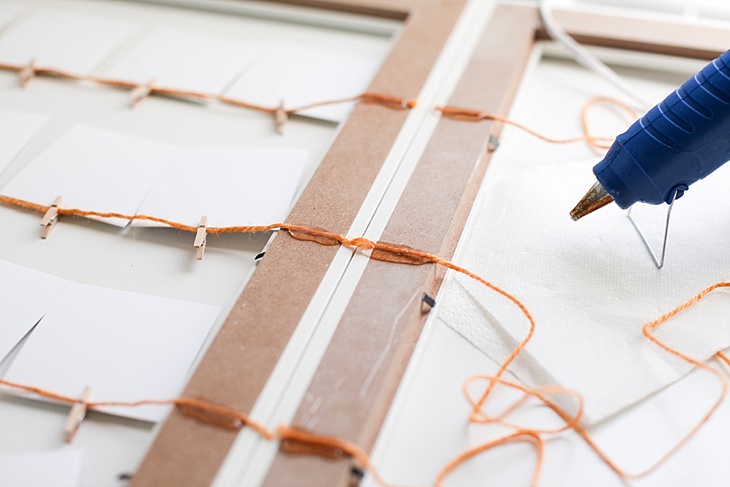
I used a hot-glue gun (and burned myself at least a dozen times) to attach thick string to the frames.  I glued one side first, let it dry, then pulled the string as tight as I could and glued the other end while I held the string there until it dried (thus the reason I burned myself over, and over, and over–there’s probably a smarter way to do this, but when I pull out the glue gun, my brain falls out of my head).  If you don’t pull the string tight, it will sag once you start putting all the pictures on.

wall photo display

Once the glue is completely dry, I started adding photos.  I got the itty bitty clothes pins from Hobby Lobby.  They have multi-colored ones as well.  Or you could spray paint them a different color if you were feeling extra ambitious (I clearly was not).

wall photo display2016-03-28_0005

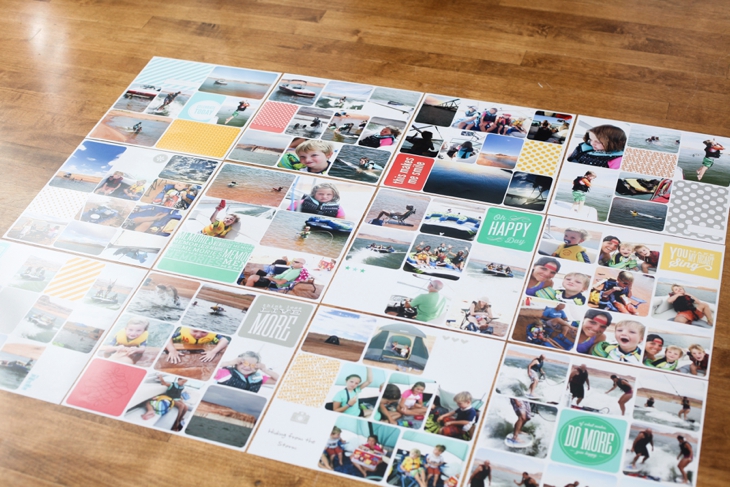
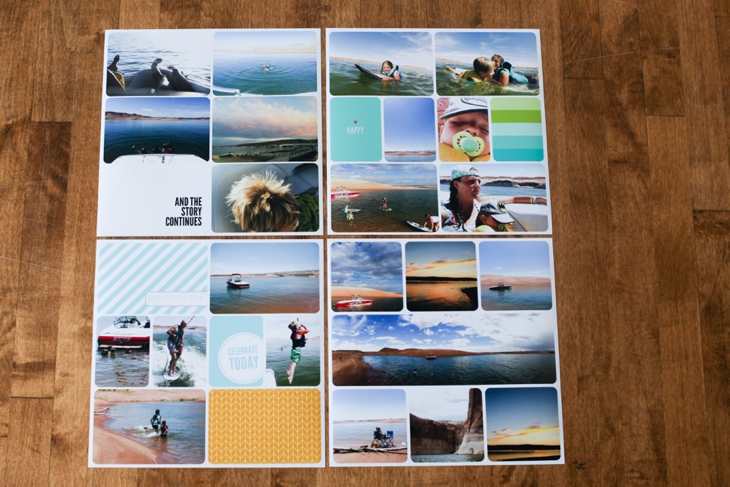
All of the photos are from trips we have taken to Lake Powell over the years.  Powell is my happy place so I wanted something that would make me happy every time I looked at it (although in the dead of winter in Utah, it sometimes makes me want to cry).

2016-03-28_00032016-03-28_0002

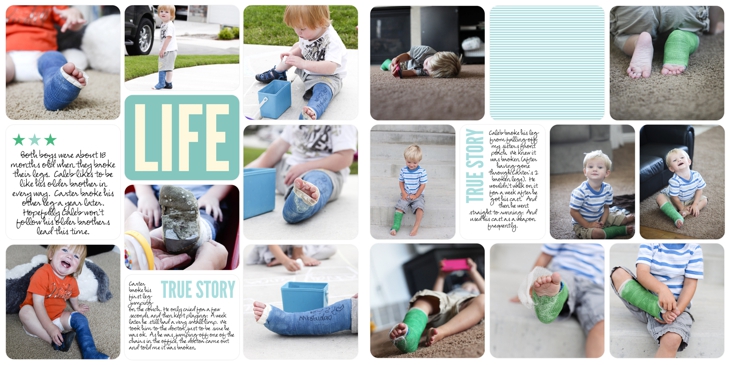
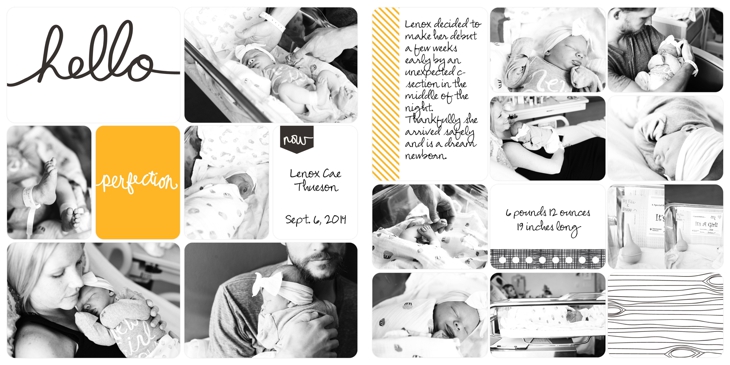
And there they sit over my couches.  My plan is to swap out the pictures with various vacations we take over the years.

2016-03-28_0001

If you want some more ideas for photo displays you can put on your walls, check out these eight ideas I’ve used in my home.

Or, check out this wall display that is my favorite wall in my house!

And here’s my opinion on where you should print your photos!

The best way to hang your photos

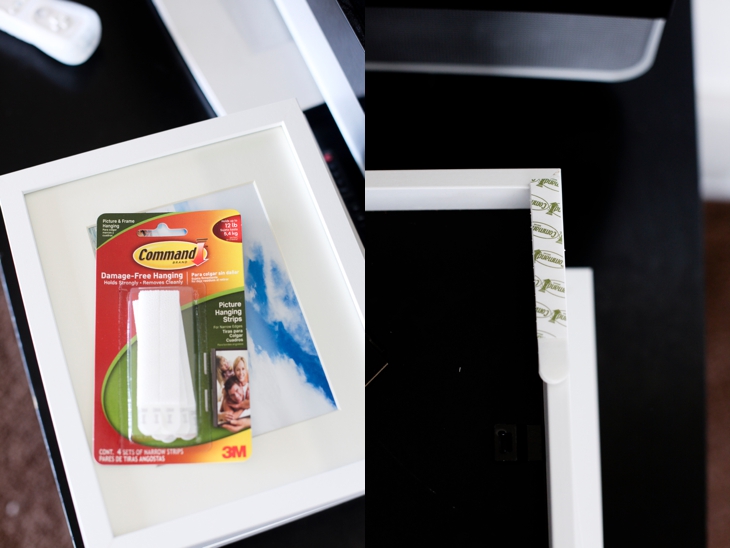
Hanging photos can be a big pain.  Unless you do it this way.  I use Velcro strips.  On this project I use Command strips, but there are a lot of choices in the picture hanging aisle of any store that sells that kind of stuff (Walmart, Target, Home Depot, Lowe’s).

The huge advantage of velcro (instead of the double sticky type hanging stuff) is that you can adjust the photo once you press it to the wall.  So if it’s not quite level, or not lined up, you can pull the photo off and one side of the velcro stays attached to the wall.  Then you can adjust the photo to the right place, and press it back against the velcro still on the wall.  Works like a champ.


I use this on matboard prints like these:

2014-10-13_016

It also works on frames.  If the frames are bigger and heavier, I would just add more velcro strips.


The how to.  Get your strips and attach them to the frame.   This frame wasn’t super heavy so I just used 4 strips, one in each corner.  On my matboard prints I use one in each corner, one on top and bottom and one in the middle.

2015-02-27_0010

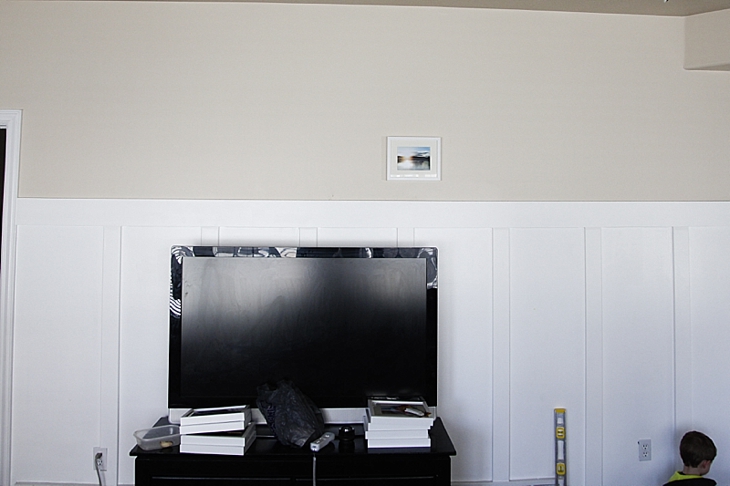
Figure out where you want to hang them on the wall and mark with a pencil.  If you’re lining up a bunch of frames, get the first one on there and then line them up from there.

2015-02-27_002

Once the strips are on the frame or matboard, press the photo firmly to the wall and hold for about 30 seconds just to make sure it sticks well.

If the photo isn’t where you want it, carefully peel it off the velcro and adjust.

2015-02-27_005

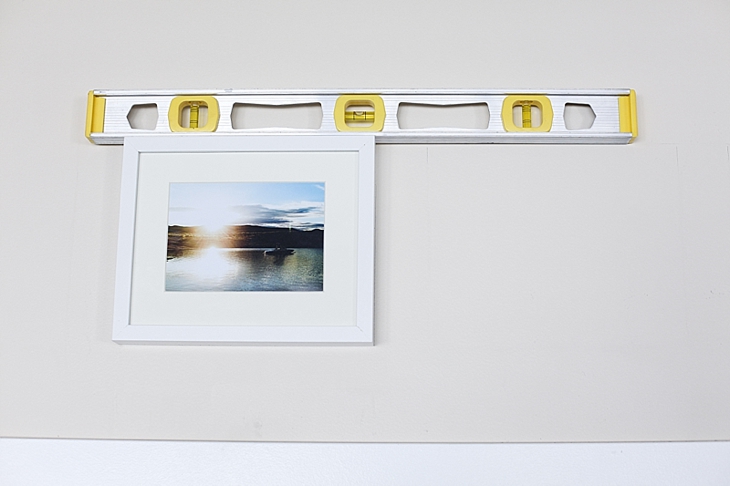
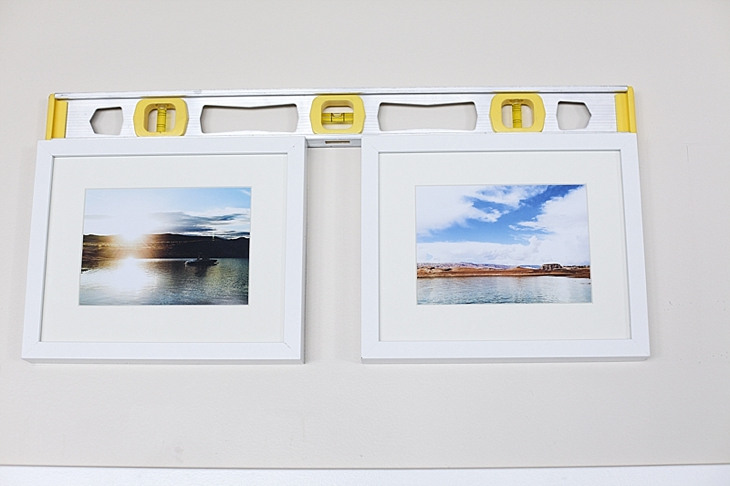
Once you get that first one where you want it, then you can use a level to hang the others (if there are others).  If you aren’t lining up the frames, just use a level to make pencil marks where you want each frame to go.

2015-02-27_006

Easy.  Relatively fast.  No hammers or nails.  I’ve had to remove the strips from one wall and those ones came off clean without removing paint.  I peeled verrrrry slowly.

2015-02-27_007

2015-02-27_008

For more ideas on how to display photos in your home go here.

You can also check out some ideas on my Photo Display Ideas Pinterest Board.

For tips on WHERE to print your photos, check this out.

And if you want ten super awesome tips on how to take better photos with your phone, check out this.

The Project Life App. A game changer.

Never in my wildest dreams did I think I’d be excited about a scrapbooking tool.  I’m not a scrapbooker.  Never have been. Too much….stuff.  Too much time.  Too expensive.  And I’m honestly not creative or patient enough to come up with a variety of worthwhile page layouts.


My other complaint with scrapbooking.  There often seemed to be so many different papers, and buttons, and ribbon, and other stuff I can’t even identify, the pictures looked lost.  And for me, the photographs are what matter.  And the STORIES those photos tell.


So when I came across Project Life, I was sold.  To me, Project Life is about the STORY, not the stuff.

It’s SIMPLE.  I’m a simple kind of girl.


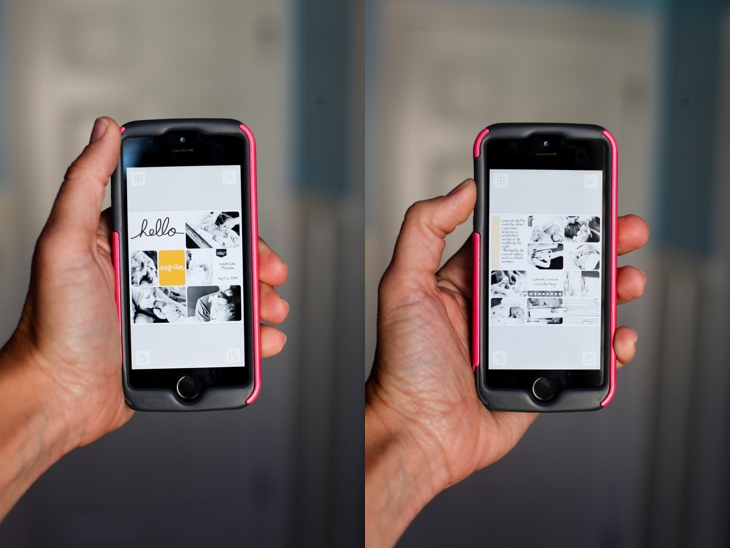
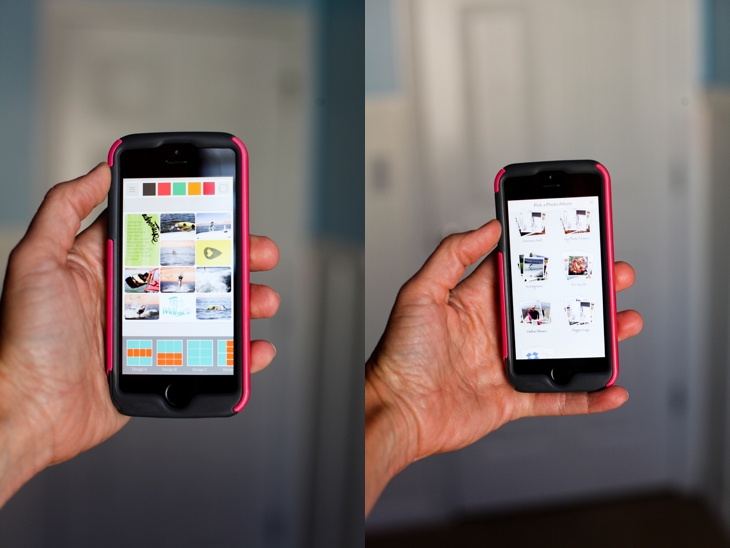
I started using the Project Life physical products and completed 5 albums.  And then.  Then the game changer.  The team at Project Life came out with the Project Life app.  And now I can “scrapbook”, document, memory-keep, story tell, with my THUMBS.  While I’m in the carpool lane, or watching TV, or waiting at the soccer field.  Anywhere.  Everywhere.  No mess.  No fuss.  No getting stuff out.  No cleaning stuff up.  And it’s all safely stored where my two year old can’t mess it up while in production.

It’s ridiculously simple.  And fast.  And easy.  And everything I’m looking for when I’m documenting our family’s story.  The pictures take the lead, and the journaling cards and filler cards add a little extra touch.  My goal is to have the pictures tell the story, then add a little with words if I have to.


If you watch this quick 7 minute video and you’ll see how EASY it is to make a page layout and document your stories.  If you watch the entire thing you’ll see how:

to add photos, add kit journaling cards and filler cards, add and resize text and change fonts, resize photos, move photos from one spot to another, edit photos right in the app, and I’ll show you how to seamlessly PRINT those pages you create as well.

The app is so easy to use I didn’t even have to talk on the video.  You can figure it out just by watching.  So you get to listen to music instead.


Once you finish the pages and export them, you can print them wherever you want.  Then you just get some 12×12 sheet protectors (use 40% off coupons on Michaels or Hobby Lobby) and put them in an album.  Project Life has great albums you can get at Michaels or Hobby Lobby (again, use the coupon) OR you can use any album that will hold 12×12 sheet protectors.

If you want to see a FULL VIDEO TUTORIAL (with words) on how to use the App along with some tips and tricks I’ve learned along the way, check out this Project Life App Video Tutorial.

A few tips.

**The app comes with a few free “kits” (journaling cards and filler cards) as well as some page layouts.  The app only costs $2.99 and even if you buy ALL of the available kits and page layouts, it’s still only around $20.  And once you have them, you can use them over and over and over and over again.  And they’re adding more kits and page layouts with updates.

**If you want to use pictures that are not on your phone, you can put them in a Dropbox folder.  You have to install the Dropbox app on your phone.  Dropbox can walk you through that.

**If you use the Dropbox feature, I recommend putting your pictures in different folders based on what pages you want them grouped together with.  Makes it easier to keep track of which pictures you’ve used if you have them in smaller folder groups rather than one big huge folder with all the pictures in it.

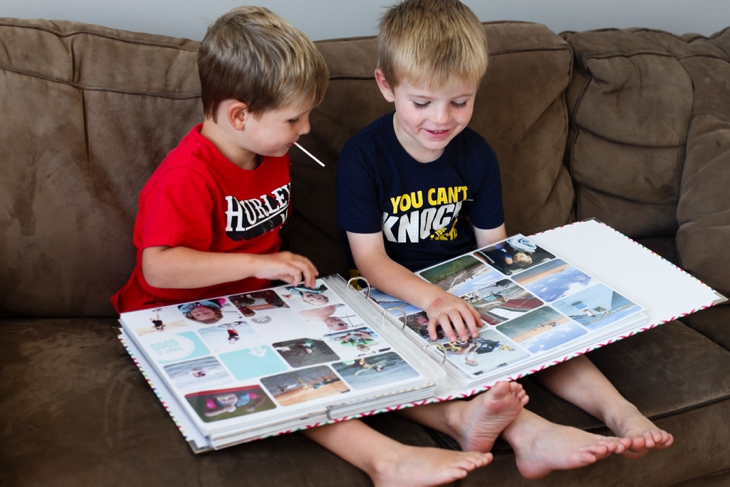
**When you export your pages, you can print them or share them online.  Definitely don’t skip the printing part.  Kids loooooove looking at pictures of themselves in an actual physical album.

**The app DOES sync to other devices.  So if you buy things on your phone, you can access them on your iPad and vice-versa.  If you buy a kit or page layout on one device, you can then click on that same kit/page layout on the other device and click “restore previous purchase” or “Buy now”.  Once you’ve bought it, it won’t let you buy it twice.  It will ask if you want to download it again.

**When you print the 12×12 pages, the font is MUCH bigger than it looks (because you’re going from a tiny screen to a full-sized 12×12 print.  Just something to keep in mind when doing fonts and font sizes.


A few things about Printing your pages.

When you export your photos from the app, they are automatically saved as high-resolution 12×12 photos.  The quality of the pages will depend on the quality of your photos AND where you choose to print the 12×12 pages.

DO NOT send your photos to Instagram and then export from Instagram to print.  Instagram reduces the size of pictures to 612 pixels by 612 pixels (so people can scroll through the feed fast without having to wait for large images to load) so your resolution will NOT be good as a 12×12.  When you export from the app, export to your camera roll and order prints from there as well.

You can now print straight from the App.  If you click on “order prints” at the bottom of the opening page it will walk you through ordering prints.  The App prints through a professional photo company so the pages look excellent and are high-quality.

If you don’t want to print through the app, I also recommend using Persnickety Prints.  This is why the owner, Chari, started the company in the first place. They were born to print scrapbooking pages.  The prints are archival (meaning your ancestors will thank you because the pages will still be around) AND they are water-proof.  Seriously!!!  Waterproof.  I had my doubts about that one so when I got my first order of 12×12 prints, I put one under the kitchen faucet just to see.  And sure enough, waterproof.  They also have a 100% money-back guarantee.

I recommend doing a batch of prints (every few weeks or every month) to save on shipping costs.


You can see on the video how to order prints at Persnickety directly from your phone.


And for those of you who like photographs, here are a few.
2014-10-18_00122014-10-18_0011

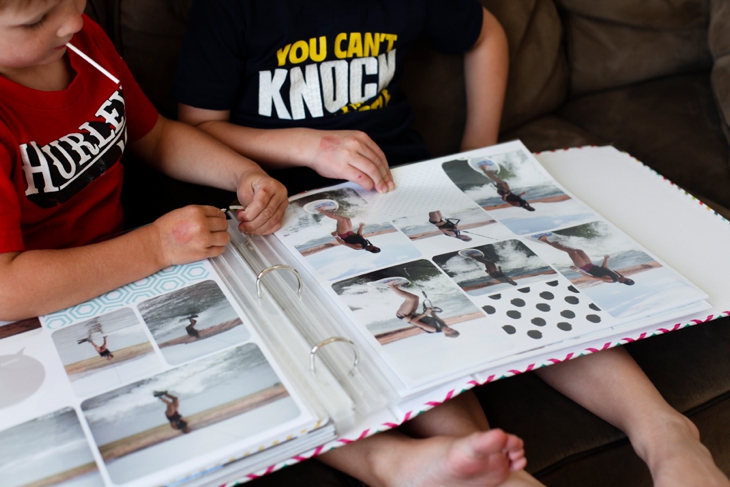
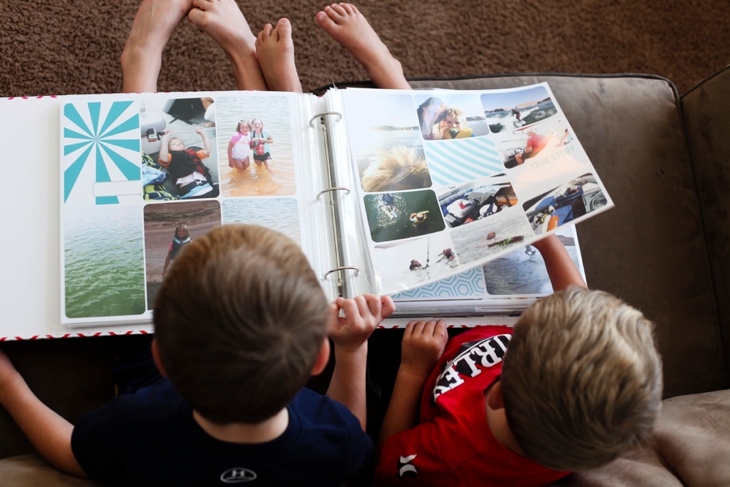
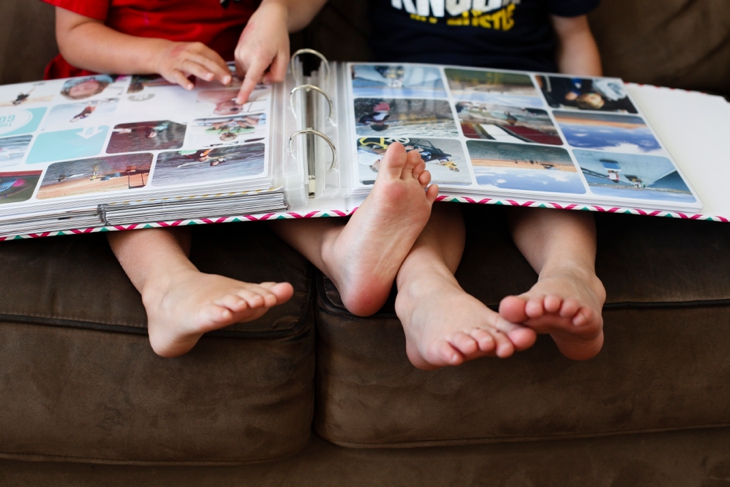
My kids love looking at pictures.  Especially if they’re in them.
2014-10-18_00212014-10-18_0022

2014-10-18_0023 2014-10-18_0020When I get my prints back, I lay them all out so I can see what order I want them to go in the album.  I generally have a “helper” when I do this.
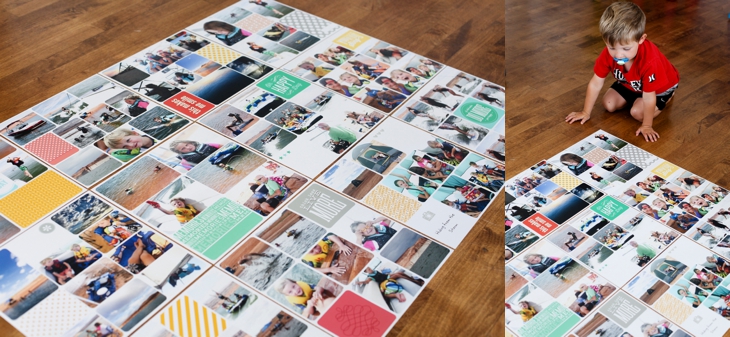
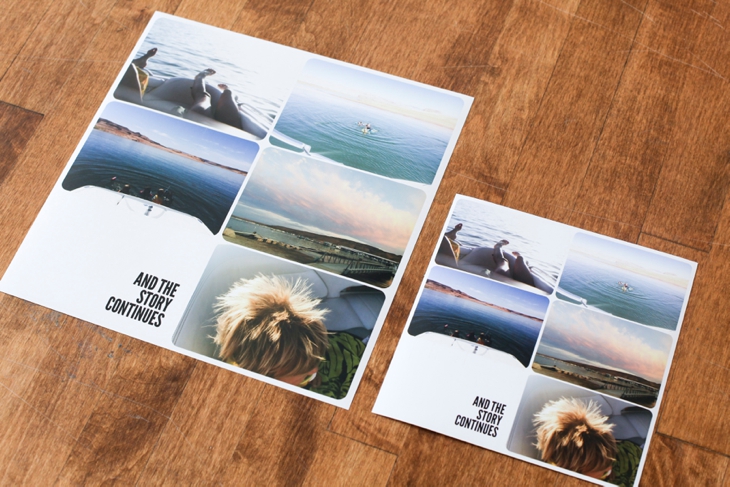
2014-10-18_00192014-10-18_00182014-10-18_0014Here’s a comparison of the 12×12 print and the 8×8 print
2014-10-18_0015

And then they go into the albums.

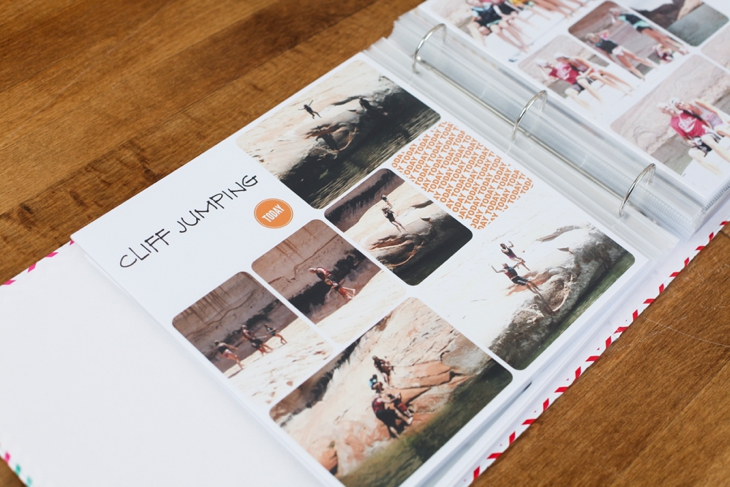
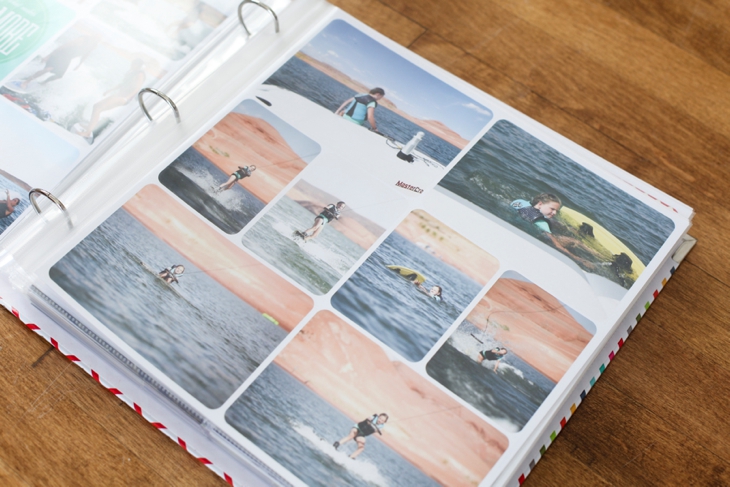
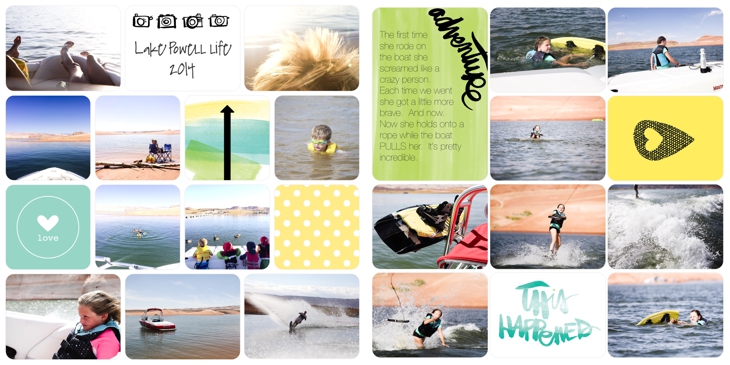
2014-10-18_00172014-10-18_0016And for a closer view of some of the spreads I’ve done using the Project Life App
2014-10-18_00262014-10-18_00252014-10-18_0024

$.99.  That’s what you pay to get started documenting your stories.  It’s so so easy.  I am not a lover of scrapbooking.  I love having my stories documented and displayed.  This process makes it bearable and dare I say fun.


One last tip.  If you’re WAY behind on getting your digital photos in albums (like me) I recommend you START WHERE YOU ARE.  Start with the present (or go back to the beginning of this year).  Then if you have extra time here and there, you can go back and play catch up.  Or, you can start with certain categories.  I started by documenting all our vacations in layouts.  Then I’ll go back and do holidays.  Then I’ll try to keep current with each year.


You can do this!!!


If you have any questions, leave them in the comments below and I’ll do my best to answer them!


And, if you want to improve the quality of photos you take with your phone, get access to my TEN tips on immediately improving your phone photography so your Project Life pages will look even better!!!


You can go here for more ideas on displaying photos in your home.

If you’d like to see more ideas on how to organize, back-up, sort, print, your digital photos, you can check out my Picture Display Movement series. 
EIGHT Photo Display ideas for your home

I’ve been working REALLY hard the past year to take more photos of our every day lives, get our photos organized, backed up, documented, printed, and displayed.

I posted a series about how I’ve been doing this called “Picture Display Movement”.

I’ll be the first to admit it’s not easy and it certainly takes some time.  BUT.  It’s a HUGE priority for me so I’m making time.  Scheduling time.  And making things happen.

And now the walls of my home are filled with photographs that make my spirit happy.  And remind my children they are loved.  And remind our family of how amazing, funny, (and sometimes heartbreaking and disappointing) life can be.

Here are EIGHT different ideas (and a bonus at the bottom) on how to display photos in your own home to hopefully inspire some of you to get them printed and displayed.  

{For suggestions on where to print your photos, click HERE}

And if you want some great tips on how to immediately improve your phone photography, enter your name and e-mail in the side margin and I’ll send you TEN free tips you’ll love.


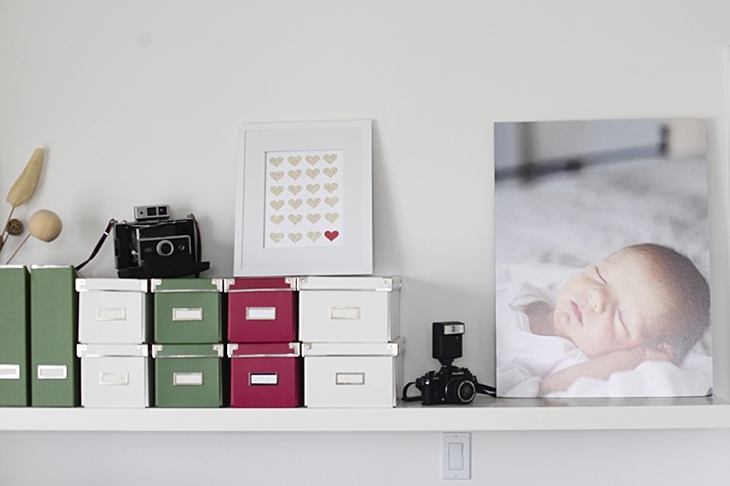
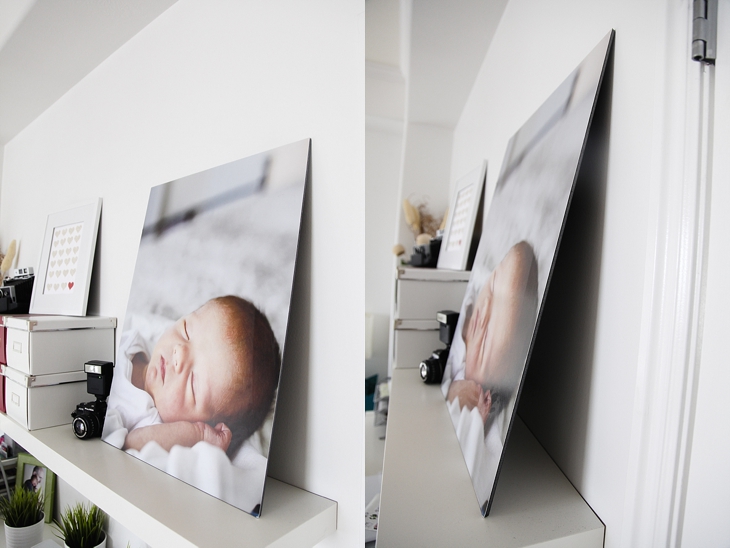
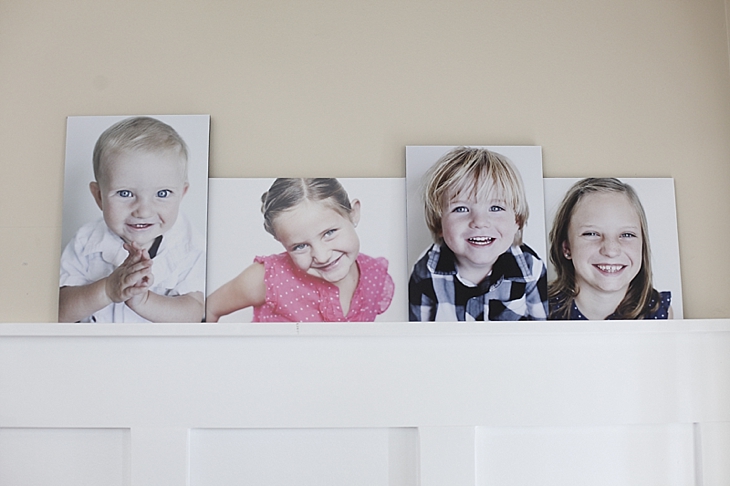
ONE.   Print your photos on matboard and display them on a shelf.  I like doing non-traditional sizes for my matboard prints.  This is 20×26.

2014-10-13_013

2014-10-13_006

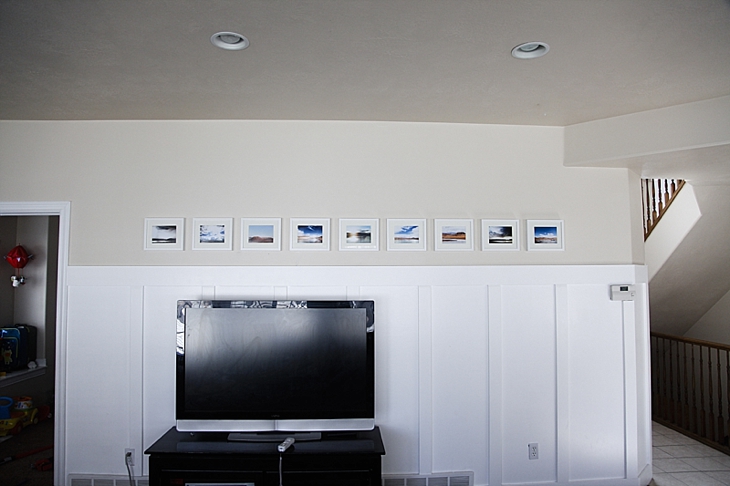
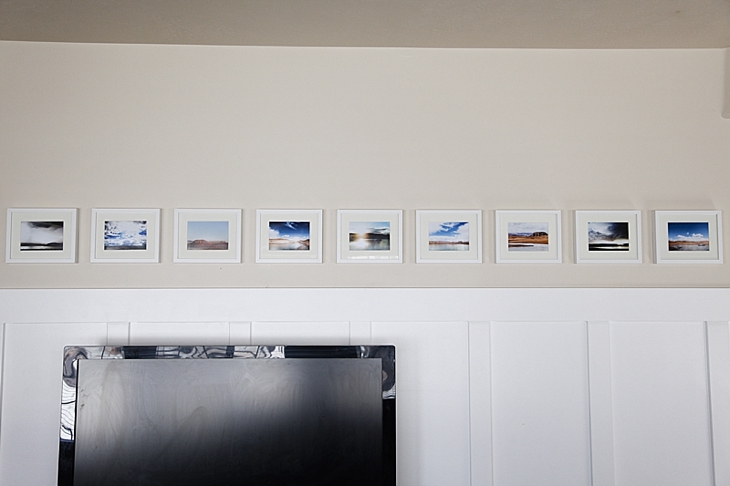
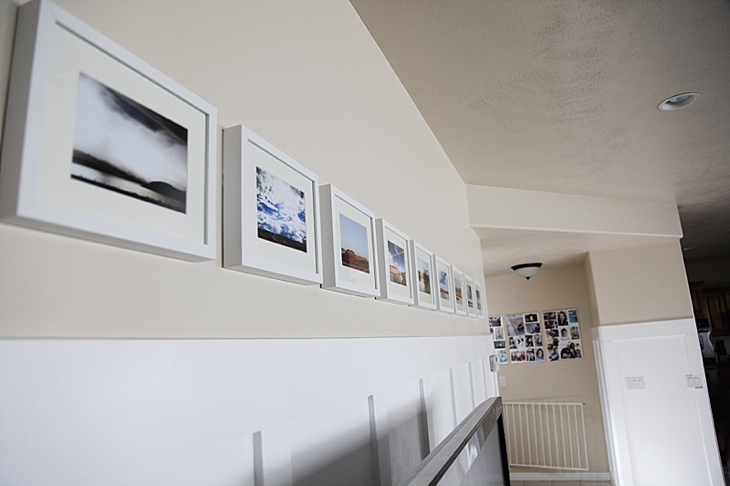
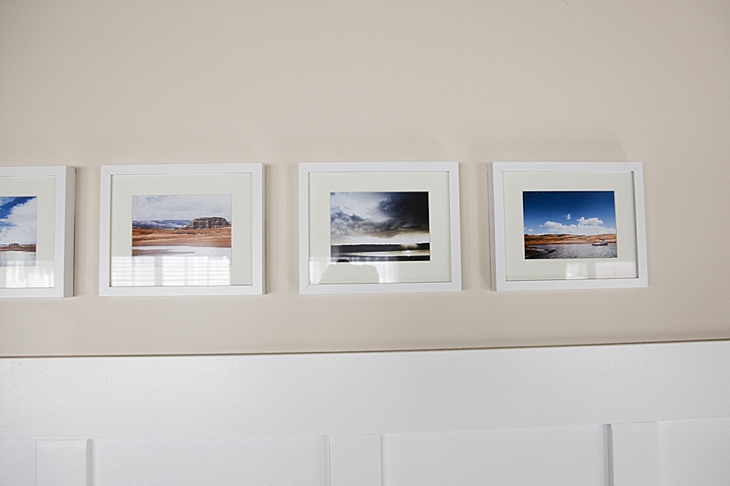
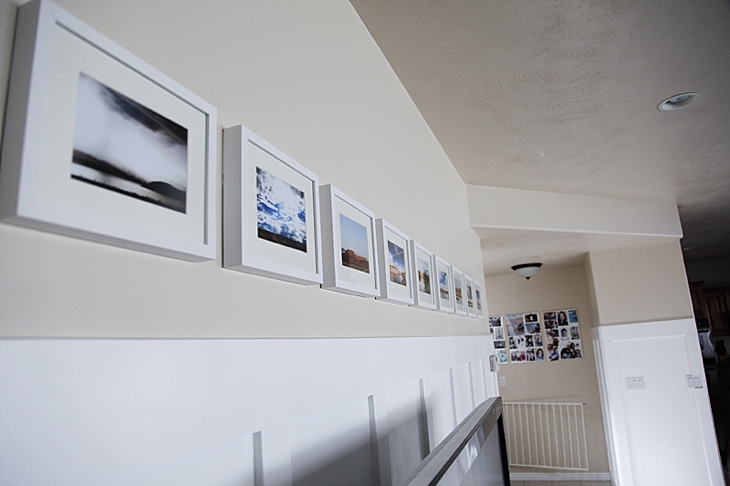
TWO.   Get a series of pictures (these are all photos I took at Lake Powell–my happy place) and put them in frames to hang on the wall in a row (horizontally or vertically).

I hung these on the wall using Velcro.  There’s a sticky side that sticks to the frame and a sticky side that sticks to the wall and then it Velcro’s together.  Easiest way to make sure the pictures are level and in line with each other.

2014-10-13_0072014-10-13_0082014-10-13_009


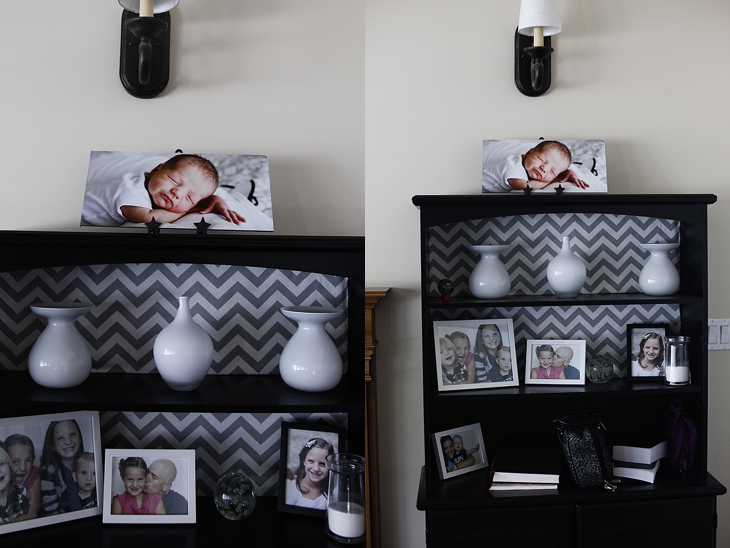
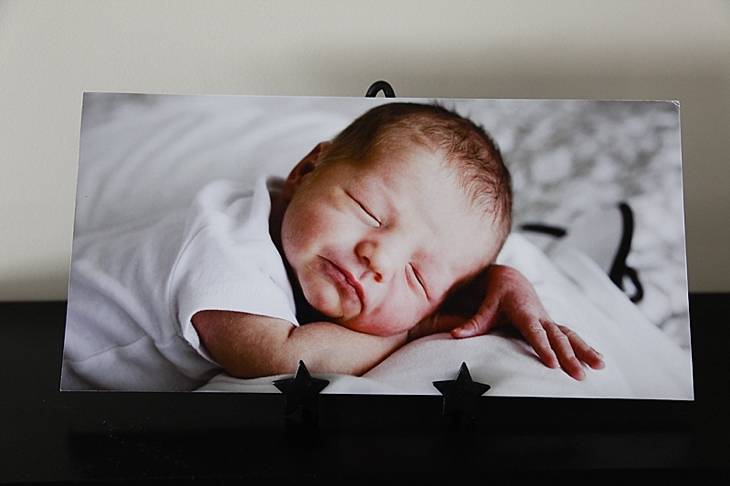
THREE.   Print on matboard and display it on an easel.

2014-10-13_0052014-10-13_012


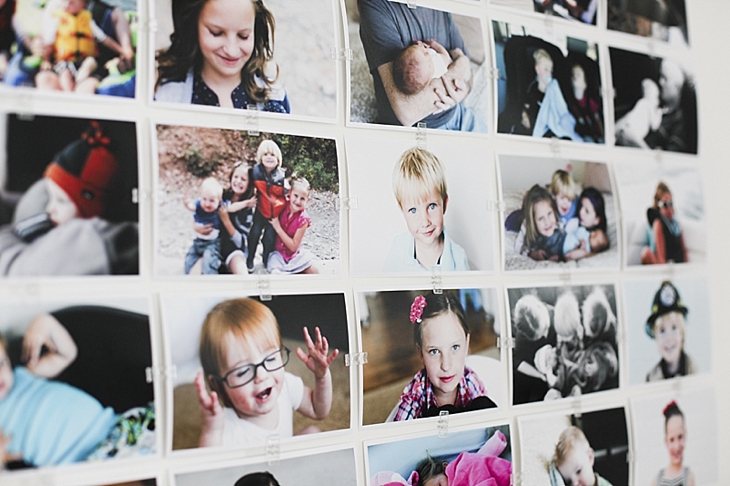
FOUR.   Put all your Instagram prints on a print (using Photoshop or other photo-editing software) and display in a frame on the wall.

2014-10-13_0042014-10-13_011

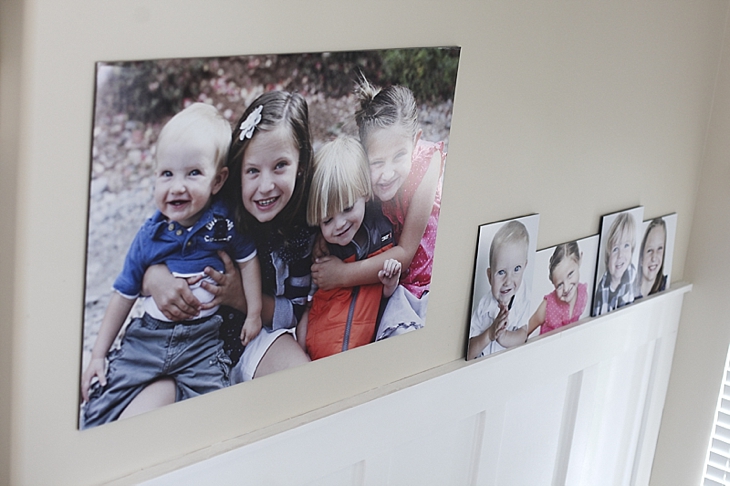
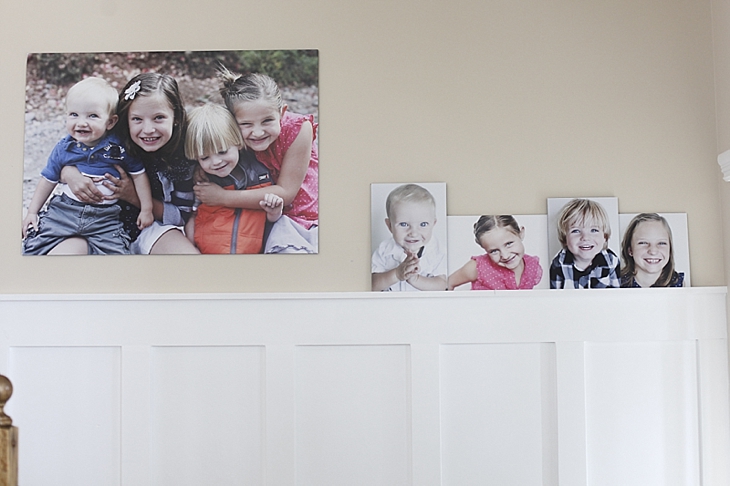
FIVE.   Use various sizes of matboard prints (can you tell I LOVE matboard prints) and attach them directly to the wall.  The large picture on the left is attached using velcro in all four corners and in the middle.  The bottom 4 pictures have velcro on the top and are resting on the shelf on the bottom.

2014-10-13_0152014-10-13_0162014-10-13_018


SIX.    Use magnet boards (these are from IKEA) and print off various sizes (4×6, 5×7, and a few 8×10–you could also do square prints) and attach them to the magnet board.  I just have plain rectangular magnets but you could get cool fancy ones.

Every six months or so I print off new ones and rotate them in.

2014-10-13_0102014-10-13_001

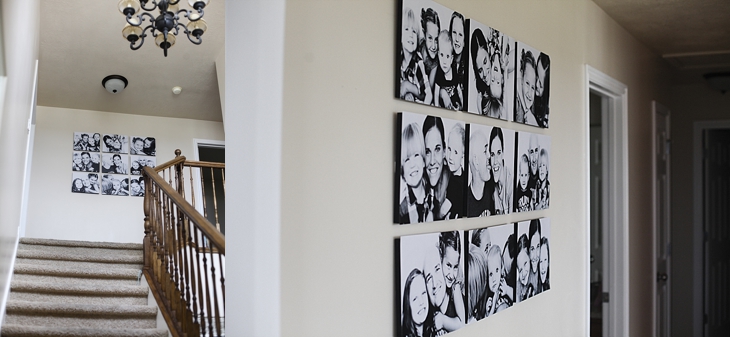
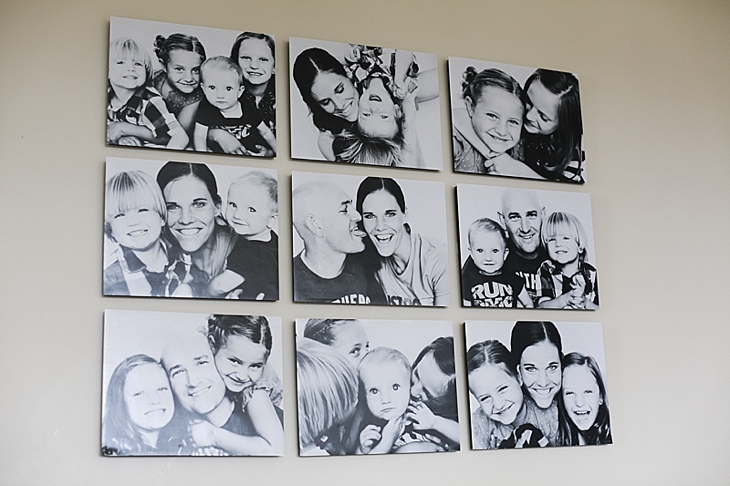
SEVEN.   One of my favorite wall displays.  These are printed on standout boards (stick 1/2 ” out from the wall) but you could easily do this on matboard.  These are a series of pictures from my Funbooth session.  Just grouped them together.  

2014-10-13_0022014-10-13_019

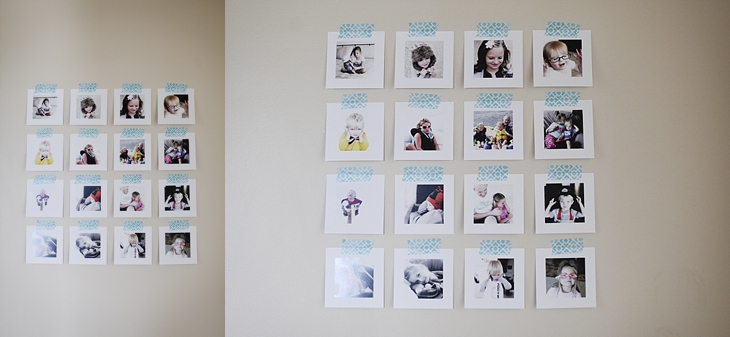
EIGHT.   Printed 16 random pictures at Persnickety Prints in 2×2 squares.  Attached them to a wall by our toy room using Washi tape I bought at Target.

2014-10-13_003

For a BONUS wall display idea, click HERE and see what I did with hundreds of my 4×6 photos to make a super call wall display in my office.

2014-10-13_020

For more info on how to Organize, Print, and Display your photos, click HERE to read the Picture Display Movement series.
 

And if you want to stay up to date on future photo tips and other great life stuff, enter your e-mail and name in the sidebar (under “subscribe here”) to stay connected and get TEN free tips to improve your phone photography.

Picture Display Movement. Step 4. PRINT

{Click the links for Step 1, Step 2, or Step 3 if you missed any of the previous posts}

Ah.  The step that seems to give me the most trouble.  Well, at least it used to.  Cause things are changing around here.  And I already have a good start.

I take loads of pictures.  I get them on my computer.  And now I have them all organized.  But what a bummer if it ends there.  What’s the point of taking them if no one ever gets to see them?  All those memories, emotions, and STORIES of our lives sit on a hard drive and remain untold.  And add to my mom-guilt that is already never ending.

So one of my bigger priorities this year is to print and display the pictures I take of our family.  In albums, and other forms of display.

When deciding what to print, I start with the END in mind.  I do this before I even take some of the pictures I take.  What is the point of taking this picture?  What story am I trying to tell? And how am I going to share it?  Will it be on the wall? The magnet board? In a slideshow? Or a photo album?

Let’s start with just basic prints for a photo album.  I have recently discovered a new way for displaying my photos.  It’s called Project Life.  And I’m kind of obsessed because it is exactly what I’ve been looking for.   (You can visit the website here)

But let’s talk printing for just any photo album OR a photo book you can create online through Blurb or Shutterfly or similar companies.

Here’s a quick and easy way (because those are my most important criteria in pretty much everything these days) to pick the pictures you want to print.

Since I’m still playing “catch up”, here’s how I’m doing it right now.

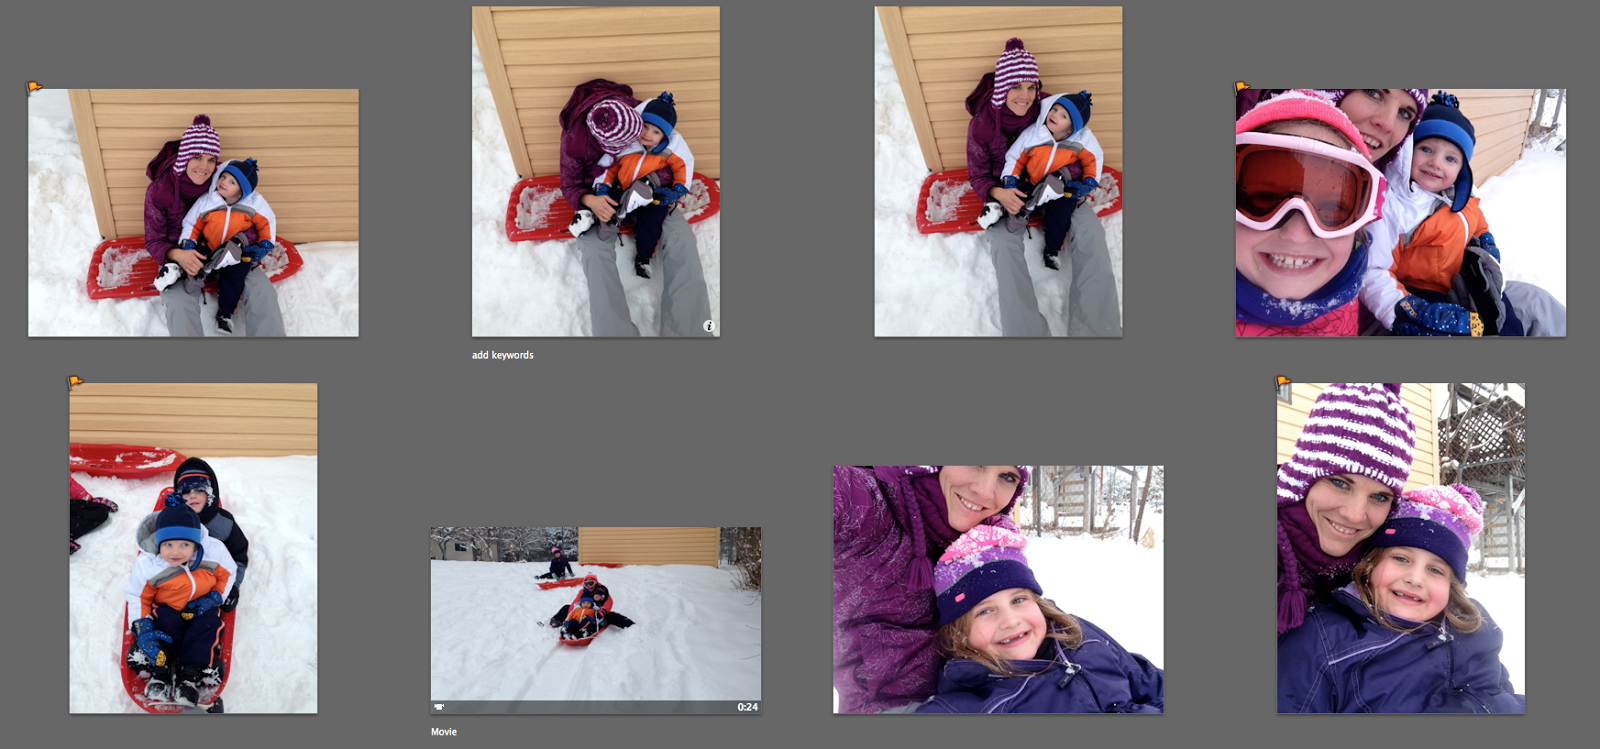
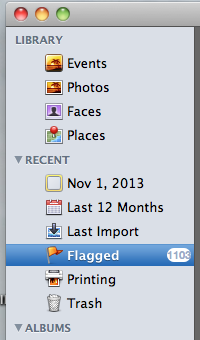
In iPhoto, I clicked on the folder for 2013 ( I’m starting with the most recent and working my way backwards.)  All the pictures from 2013 show up in my screen.  I started at the top and scrolled through the pictures.  I click on the pictures I want to print and “flag” them.

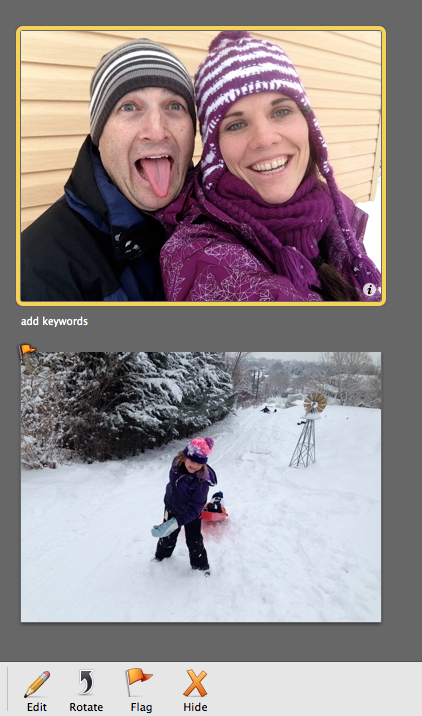
See how some of those pictures have a little orange flag in the top left corner.  To “flag” a picture, you select it (you can select multiple pictures by clicking on one, then clicking on another while holding the “command” key) and then click “flag” at the bottom left of the screen.

Once I scrolled through the whole year, I clicked on the “Flagged” tab on the left of the screen so I can see all the pictures I have flagged.
It also tells you how many photos you have flagged.  So for 2013 I have 1103 pictures I want to print.
The next step is to select all those pictures that I flagged and put them in a folder on my desktop. Click on the first picture, hold down Shift and click on the last picture to select them all.  Then drag and drop them into a folder.  My folder is labeled “TO PRINT“.
Once I have them in the folder, I do a quick edit on those pictures.  And by quick edit, I mean quick.  I don’t spend hours editing photos.  Because if I do, they’ll never get printed.  I know this about me.  It has to be simple. It has to be quick.  It’s just the way I work.
Once edited, I upload them for printing.  I’ll have to do this in batches so it doesn’t feel as expensive.
My plan is to stay current with the year I’m on, and add in photos from previous years until I have them all printed.  But I have to stay current with this year so I don’t just keep falling further and further behind.
So at the end of January, I will print January’s pictures using this process.  I will also print a bundle of the photos from last year.  Previous years pictures will go into a Project Life album in no particular order.  I just want them where we can see them.  Just gettin’ it done.
But the current year will go into albums according to month.
I will have a date set to print pictures each month and a date set to put those pictures in the Project Life albums.  Scheduling a consistent and regular time to organize and print photos is more important to me than just about anything else I can schedule.
Step 4.  Print those pictures!!!
{To see my suggestions on where to Print pictures, both for an album and for display in other ways in the home, go to this post.}
{To learn more about Project Life, check out my post here for the physical products, or here to learn how to use the Project Life APP, or go to the Project Life website here}
{To stay connected, receive periodic newsletters, and exclusive tips and tricks you can subscribe to the blog in the right margin.  Your e-mail is safe with me.  Promise}
Related Posts Plugin for WordPress, Blogger...