Project Life

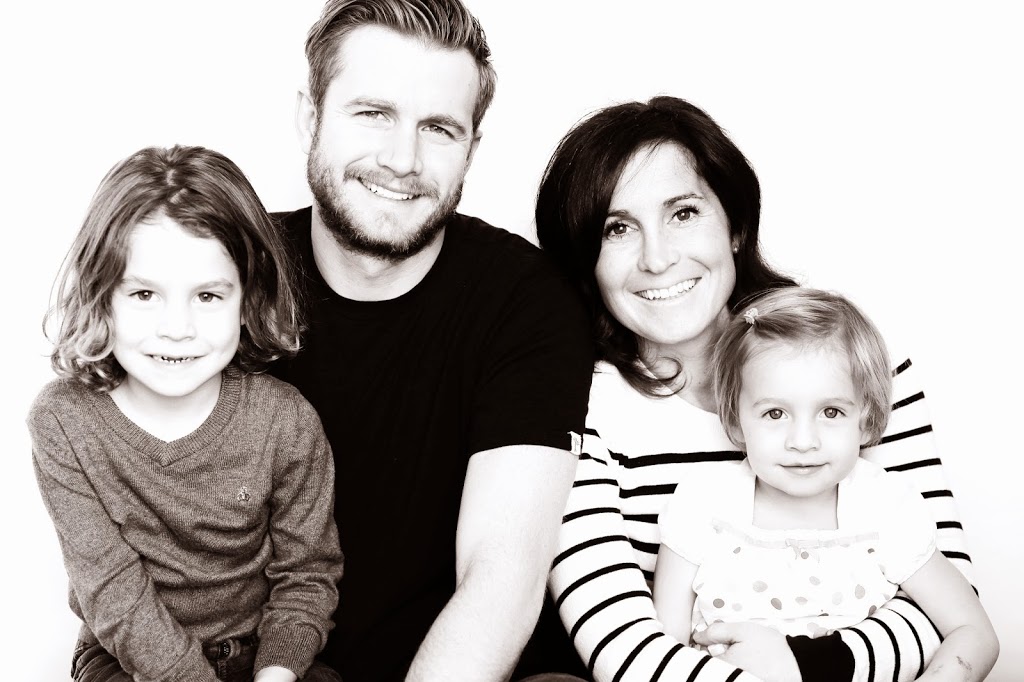
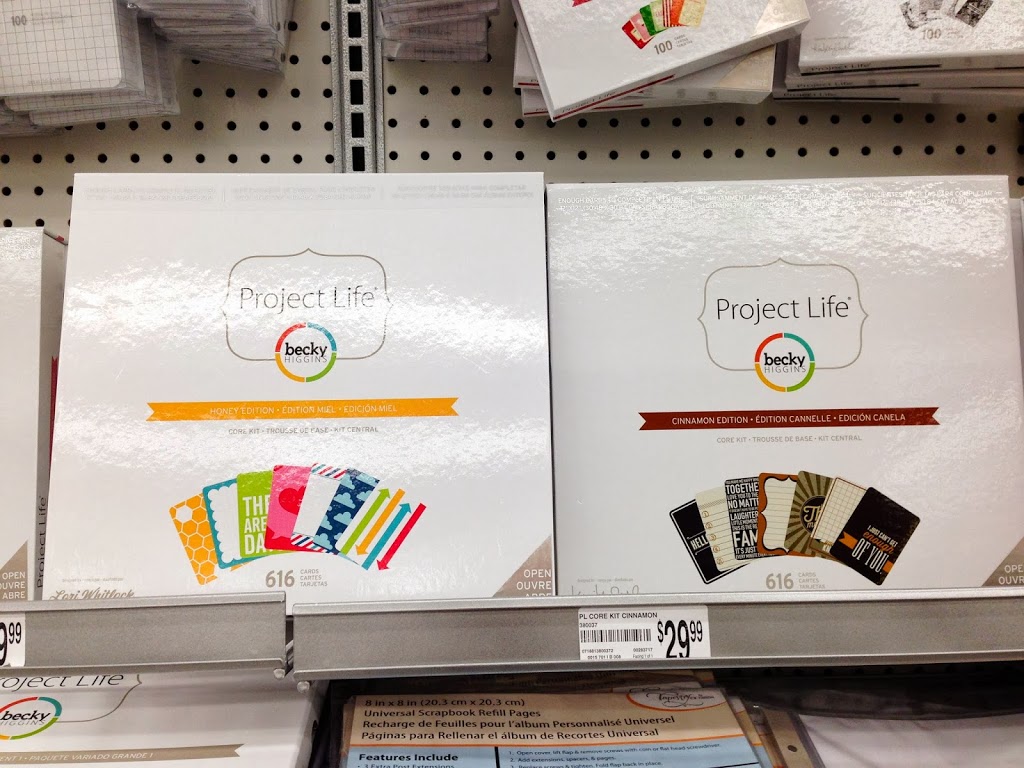
“Cultivate a good life and document it”

That’s the slogan of Project Life.  And I can’t believe it has taken me this long to find out about it.

I am NOT a scrapbooker.  The thought of designing and even worse, creating a scrapbook page makes me want to cut my fingers off.  It does not appeal to me.

Sure, I love the end product.  But even then, I always had an “issue” with scrapbooking because it felt like it was more about the “stuff” than it was about the pictures.  And I want my displays to be about the pictures.  About the people.  About the story.

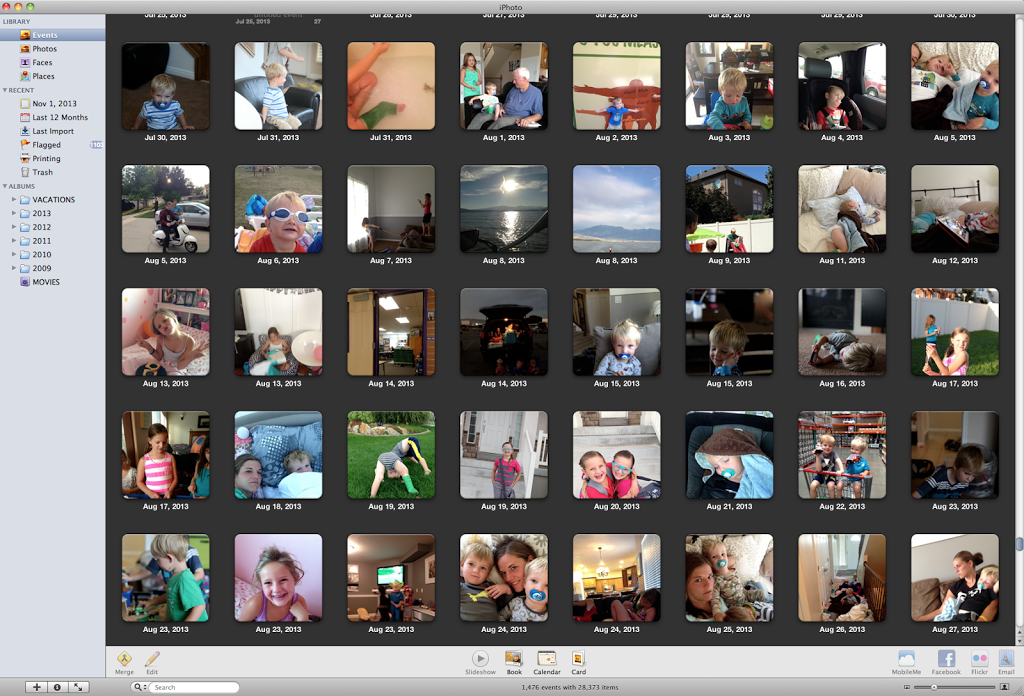
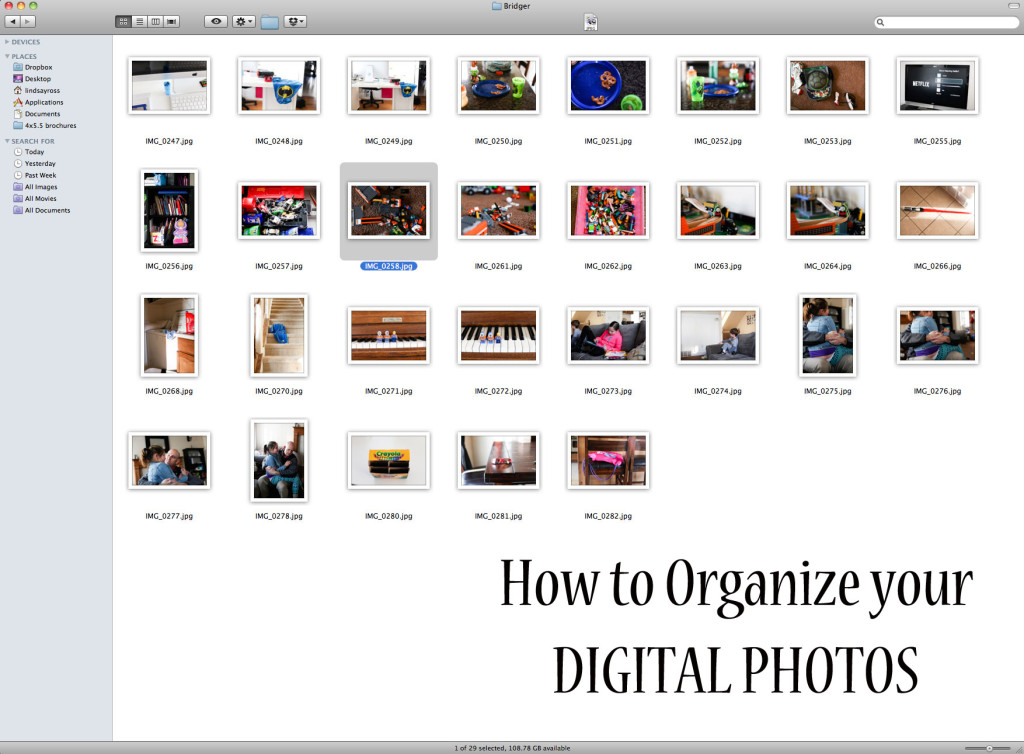
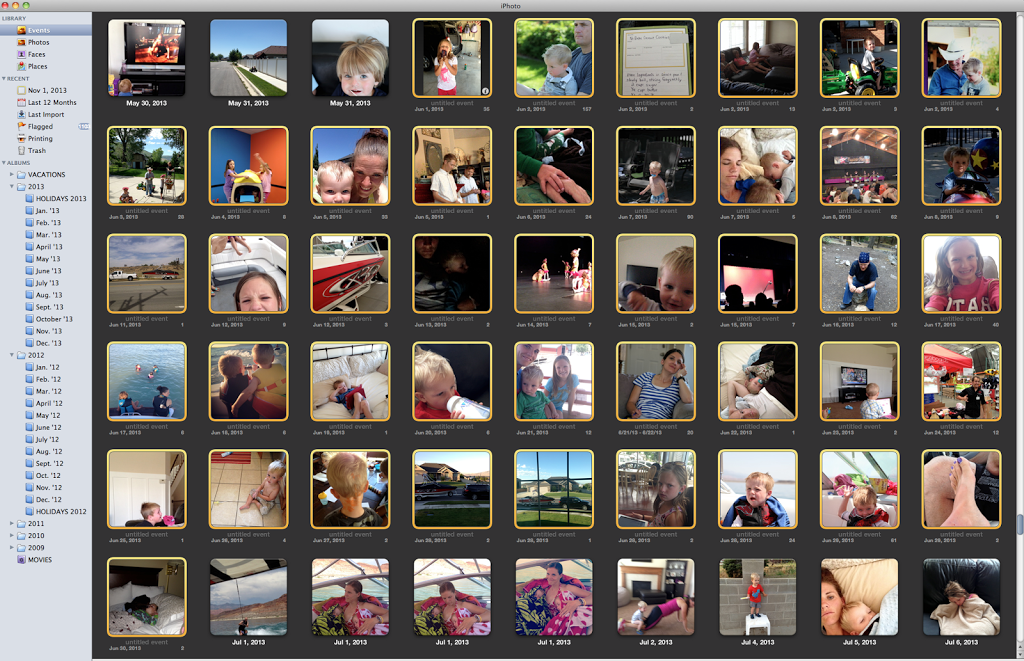
So I’ve tried several different ways of displaying photos.  And, unfortunately, I’ve just left a lot of my photos on my computer where no one gets to see them but me.

Until I found Project Life.  It’s exactly what I’ve been looking for.  Simple.  Affordable.  And something I can keep current with.   And it supports my intent to display photos that will enrich our family’s life.  Project life is about the STORY, not about the STUFF.


I listened to a 3 day conference Becky Higgins (the creator of Project life) did online and decided we should probably be friends.  Because our mission is the same.  Document your life.  Tell a story.  CREATE a story/life (cultivate a good life).  And in the process of doing that, you become more grateful, more aware, and more intentional.

“The truth is, if what we choose to do with our lives won’t make a story meaningful, it won’t make a life meaningful either.”  Donald Miller

Cultivate a good life, and then tell the story by documenting it.


Project Life goes hand-in-hand with the Tell My Story class.


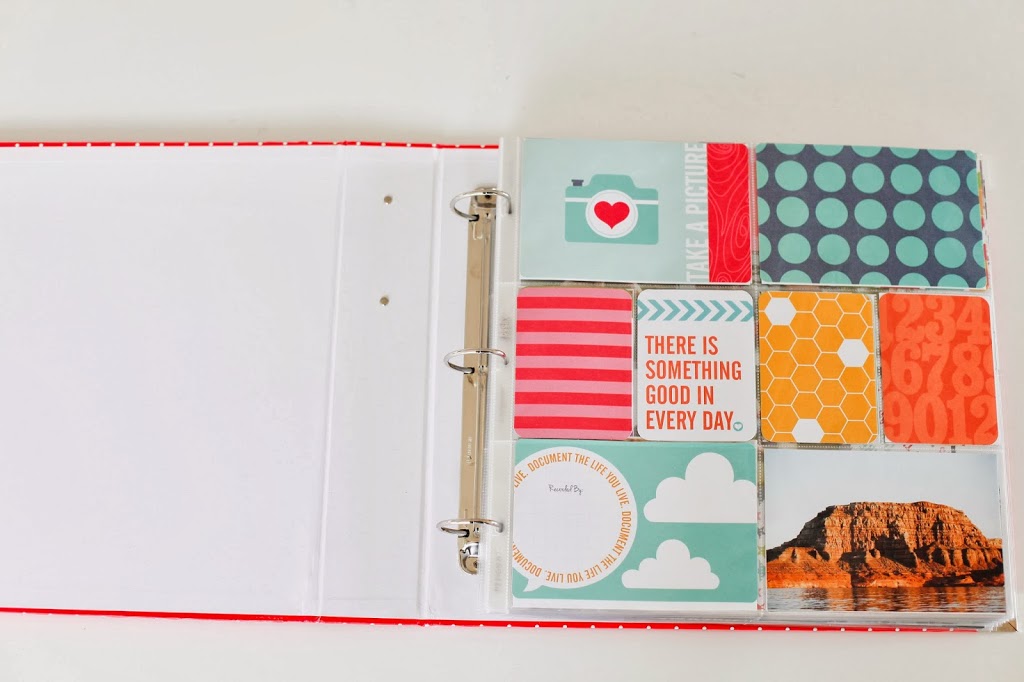
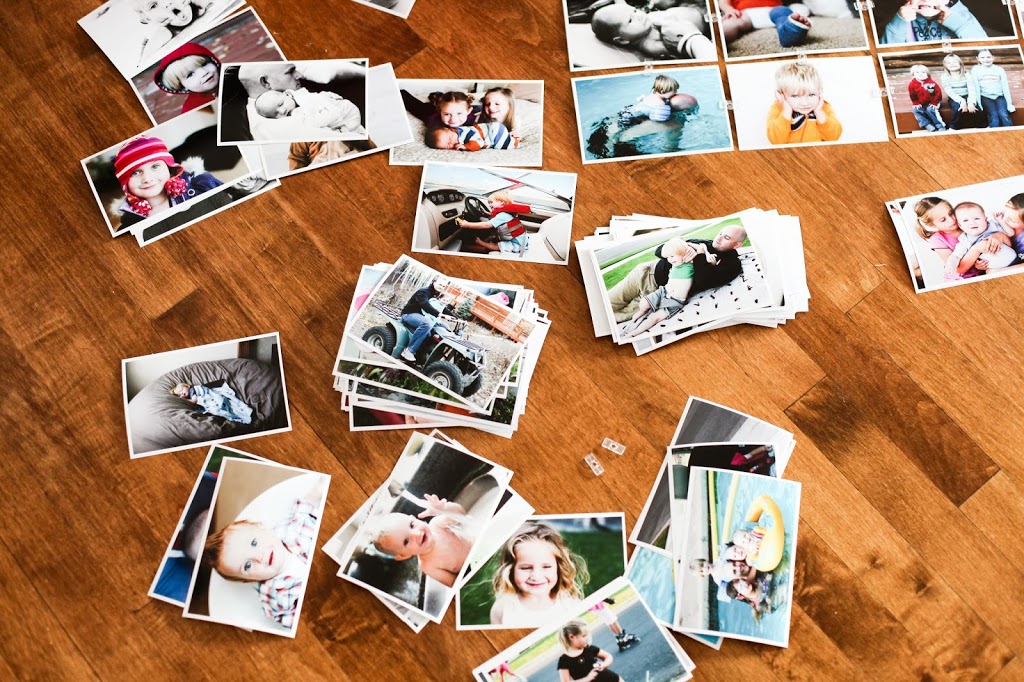
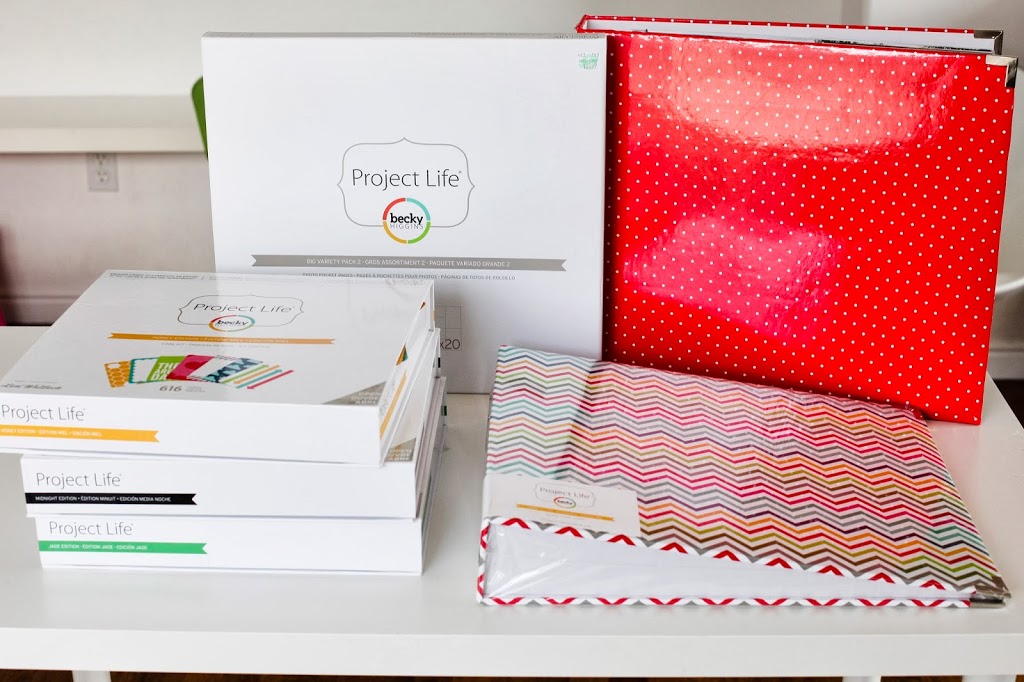
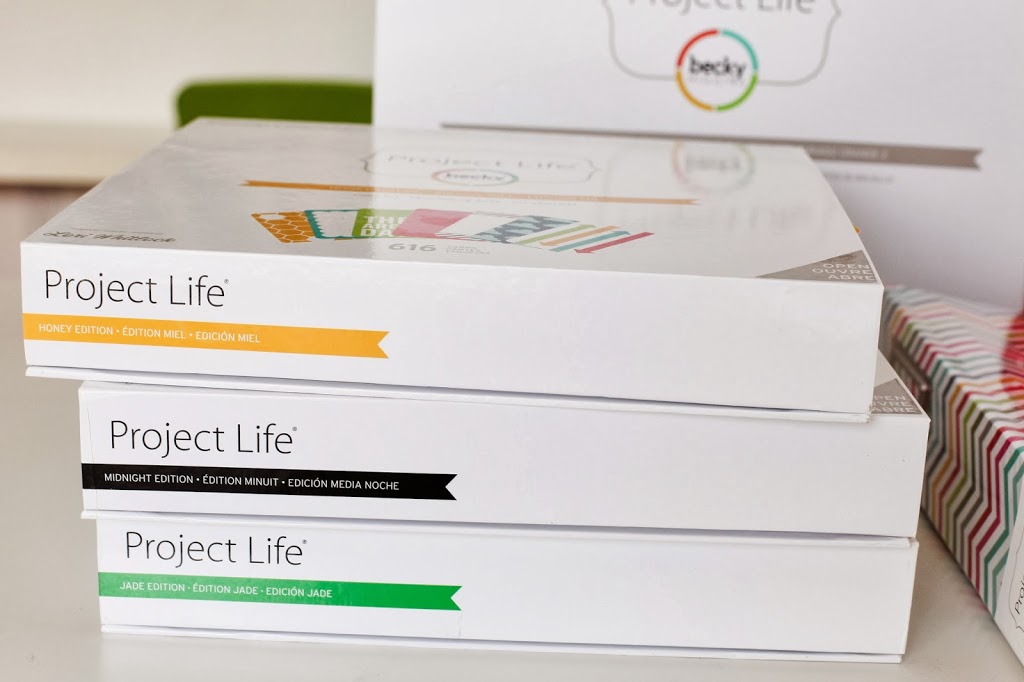
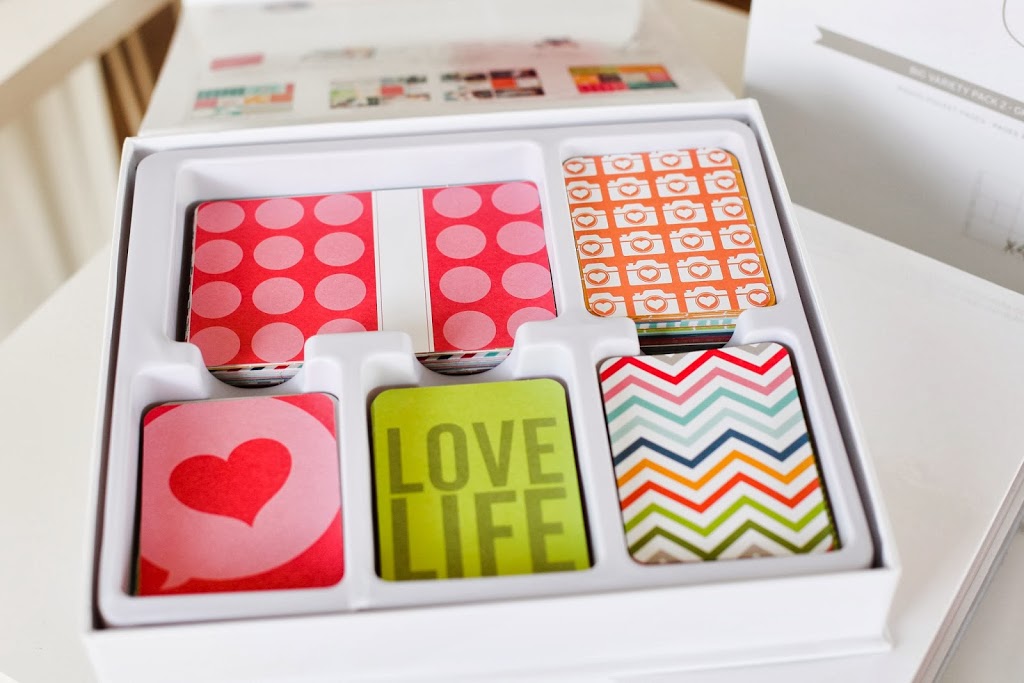
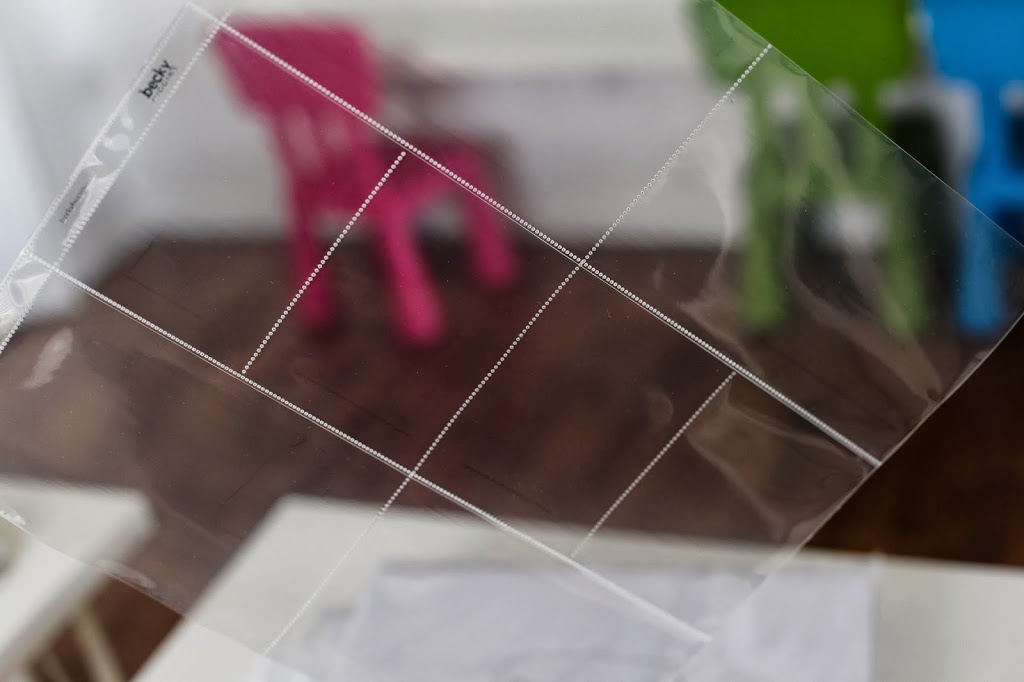
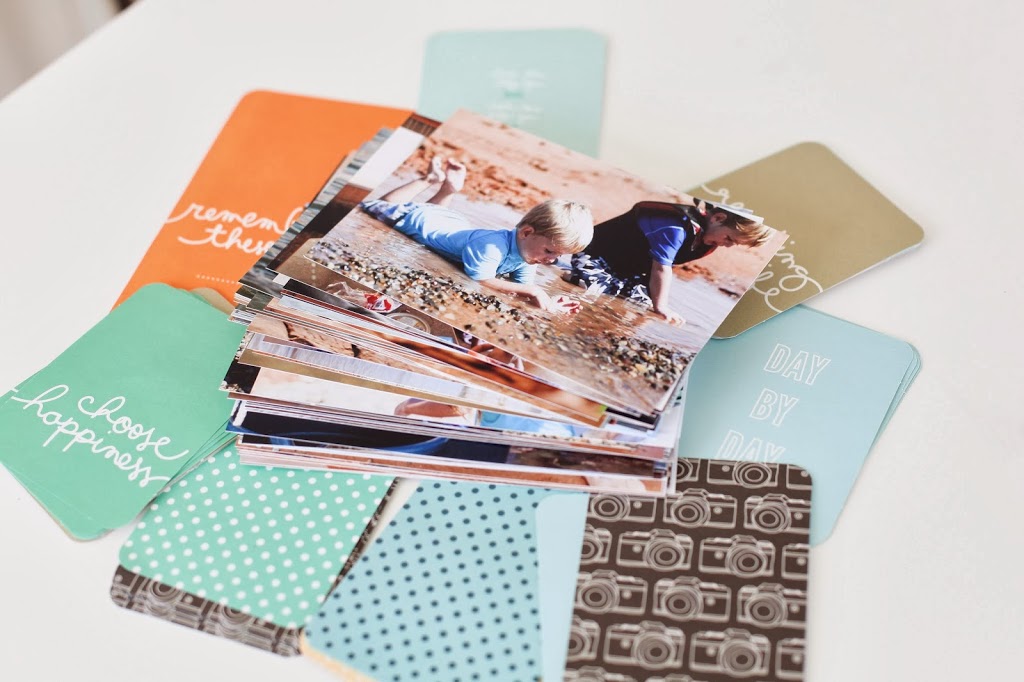
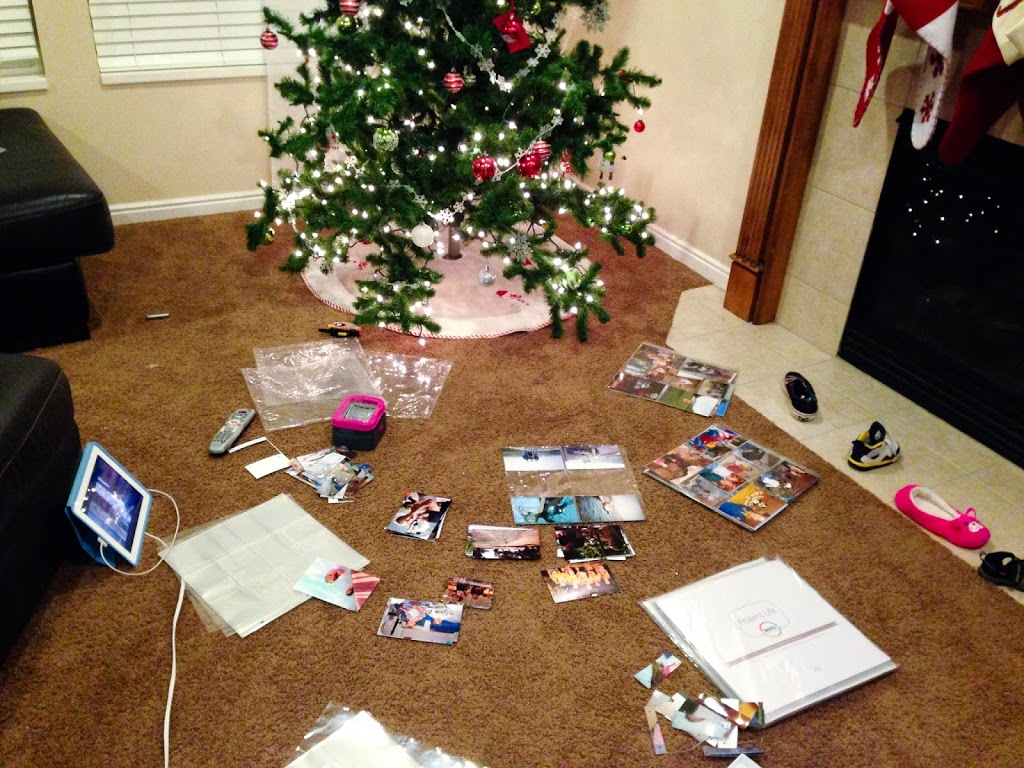
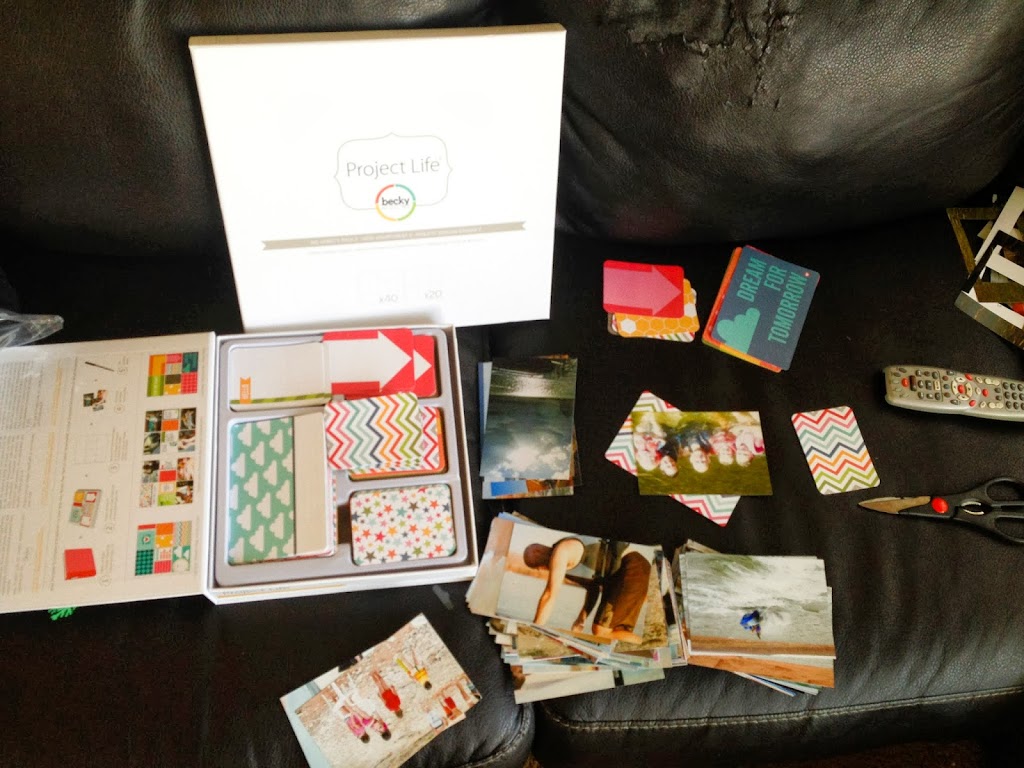
Here’s how it works.  You buy a Core Kit, an Album, and Sheet protectors (I use 40% off coupons and get them at Hobby Lobby or Michaels).  Select and print your photos.  Then it’s simple.  You just slide pictures and journaling cards in pockets.  And in no time, you have a completed album.  (You can watch video demonstrations on the Project Life website)


There are a few reasons I prefer Project Life over an album you design digitally online.

First, I sit in front of a computer far longer than I’d like to for my business.  Any more hours in front of the computer and my eyeballs might fall out.

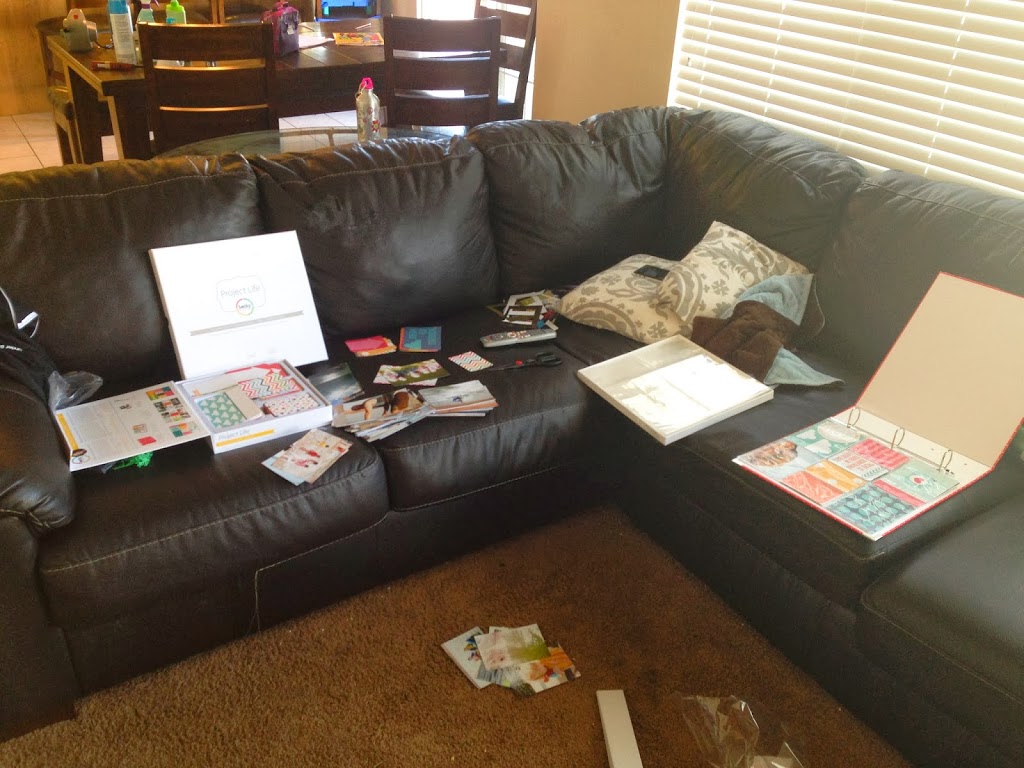
Second, I like to be able to do it while I’m doing something else (like catching up on all my DVR shows, or sitting by kids while they do homework).

Third, it’s FAST.  And super simple.  Both of which are requirements in pretty much anything I do these days.


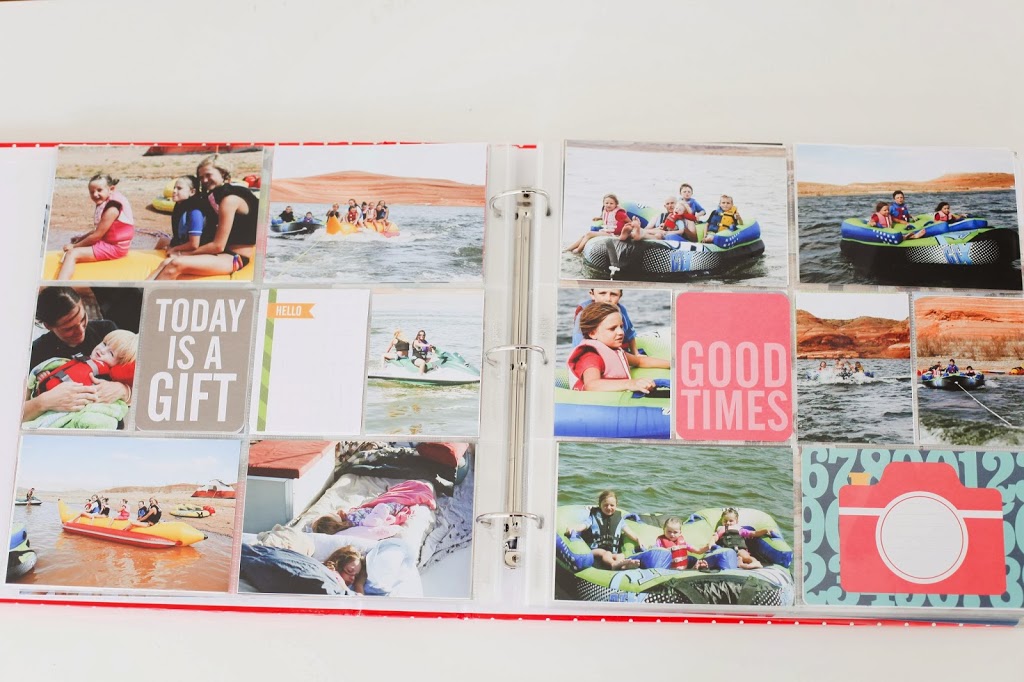
Fourth, they look AWESOME when they’re done.  More visually interesting than a traditional photo album with pictures in pockets.

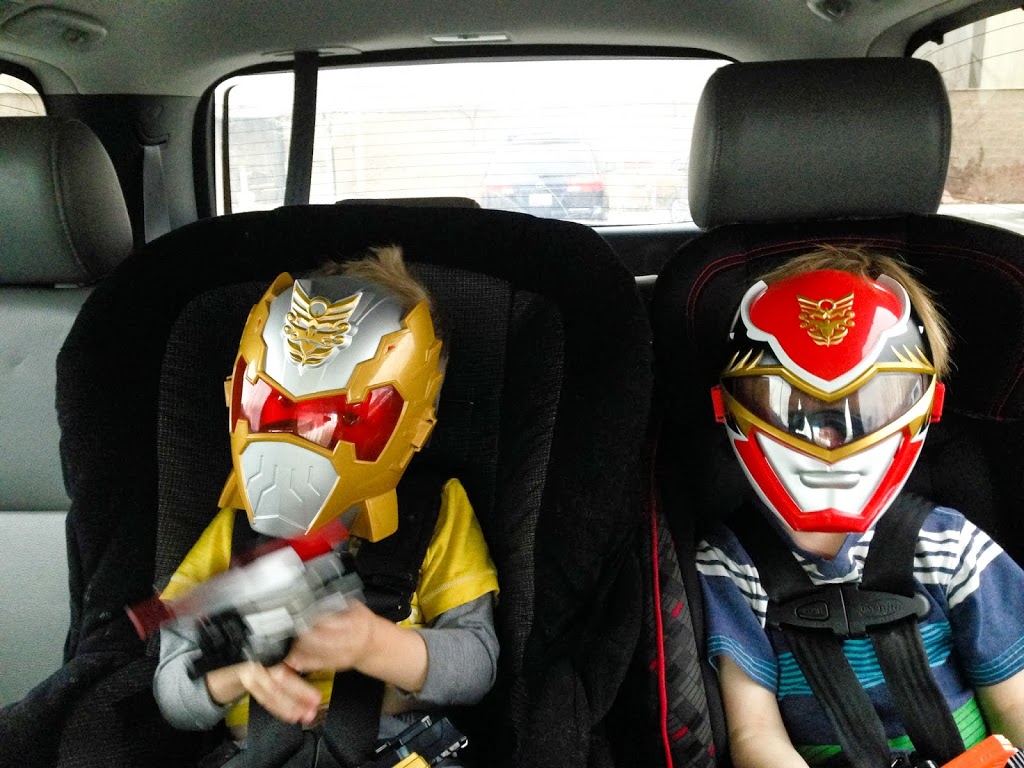
Fifth, my kids can get involved and help.  They become invested in the project.


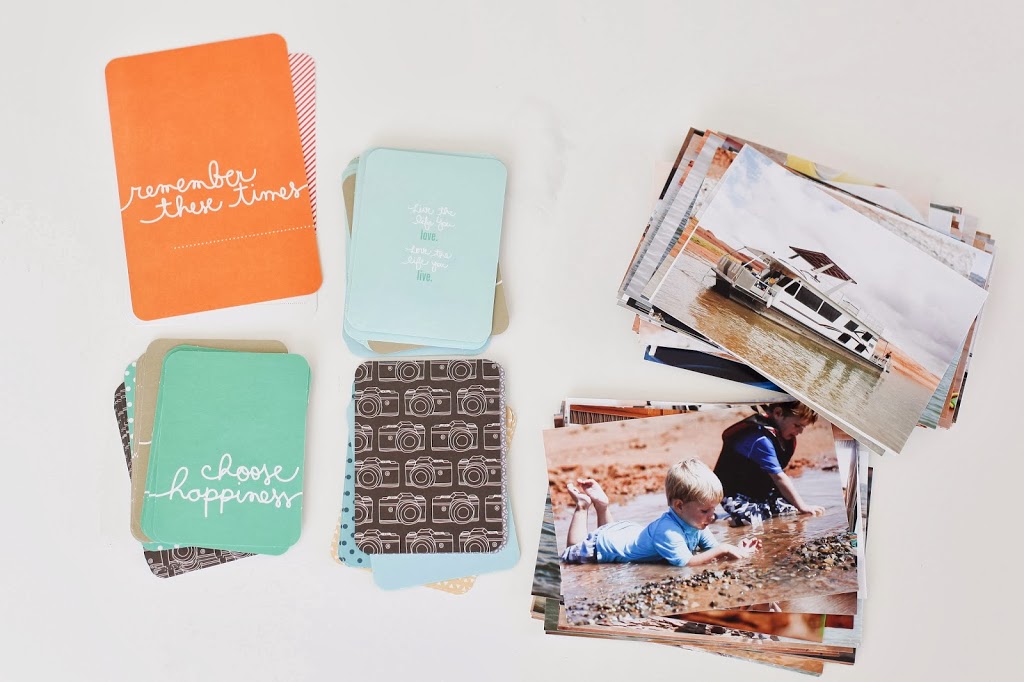
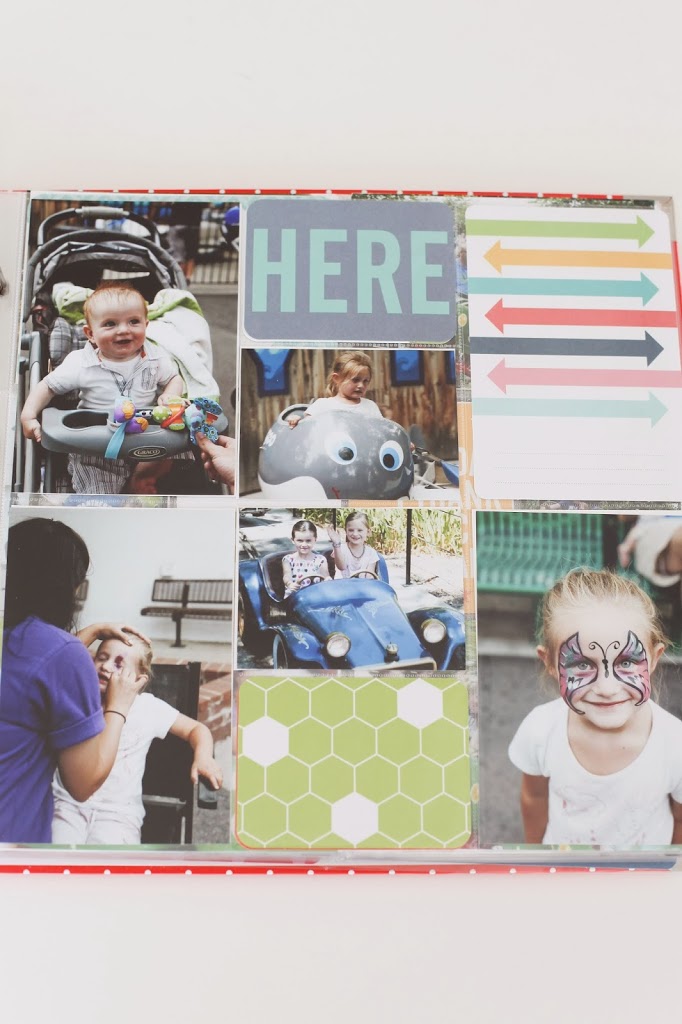
Sixth, you can also journal in the albums.  There are “journaling cards” where you can write small amounts of information to supplement (note I said supplement as the pictures are the main focus of the album for me) the pictures.

Seven, you can make some killer unique gifts with Project Life.  I’ll post some things I’ve done with them so far in a separate post.


But the biggest reason I appreciate Project Life is that I’m able to look through my albums and see what we’ve accomplished and what efforts we’ve made at living a good life story, but it also helps me see what we’re missing so we can be more intentional about our future and live the life we want to live.


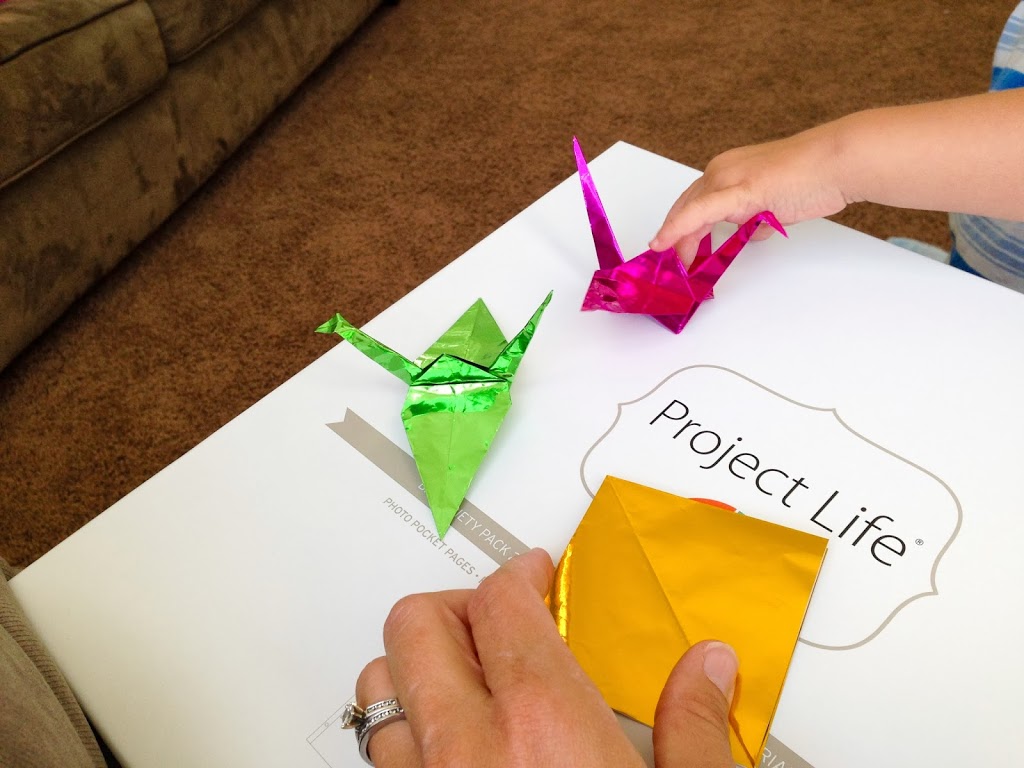
The boxes also make a great spot for folding paper cranes.  Folded 30ish of those (out of 1000) for a friend fighting stage 4 Lymphoma.  

Try it out.  I’m pretty sure you’ll fall in love like I have.
And your kids will love you!


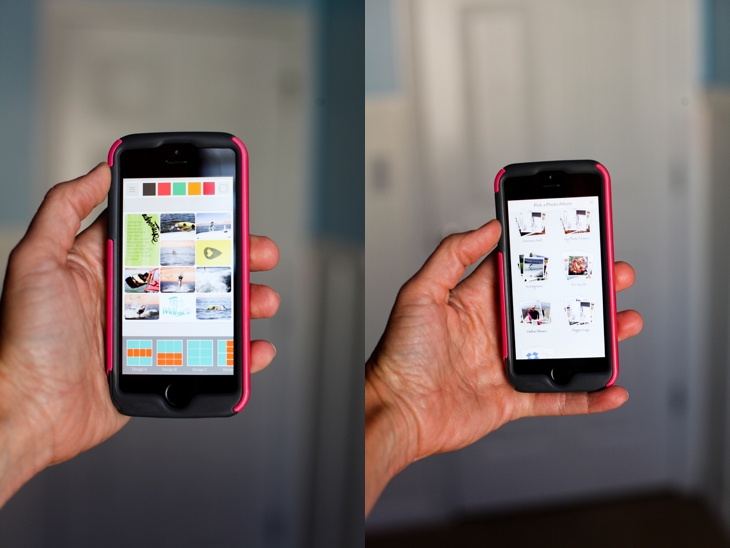
And for those of you who aren’t really the scrapbooking type (which I’m totally not) check out the Project Life App.  It’s a game changer!!


Click here to visit the Project Life website.

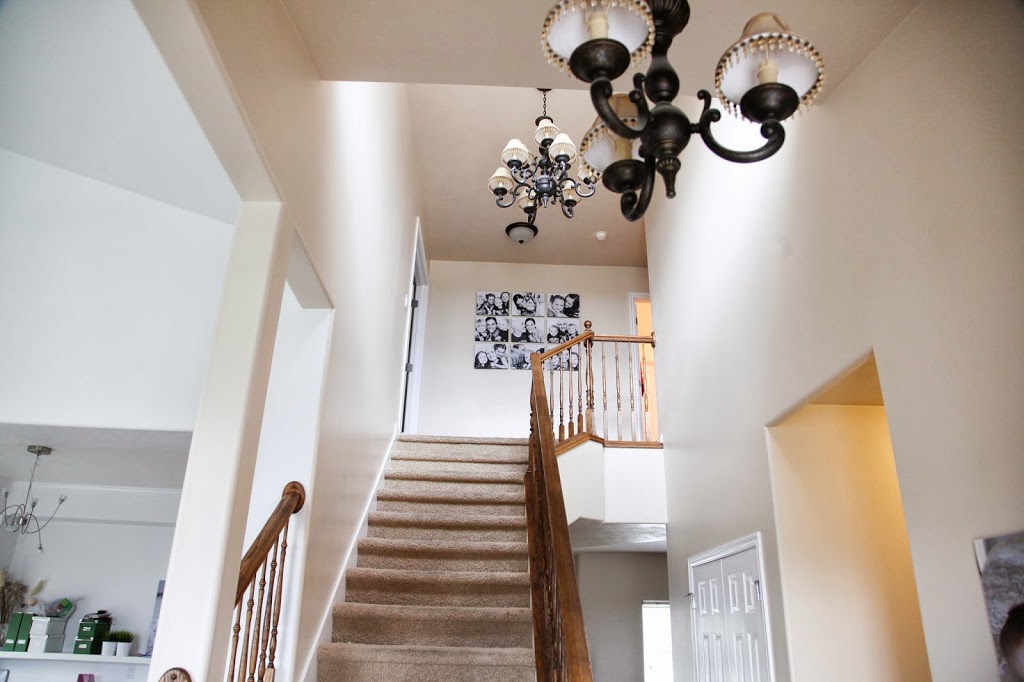
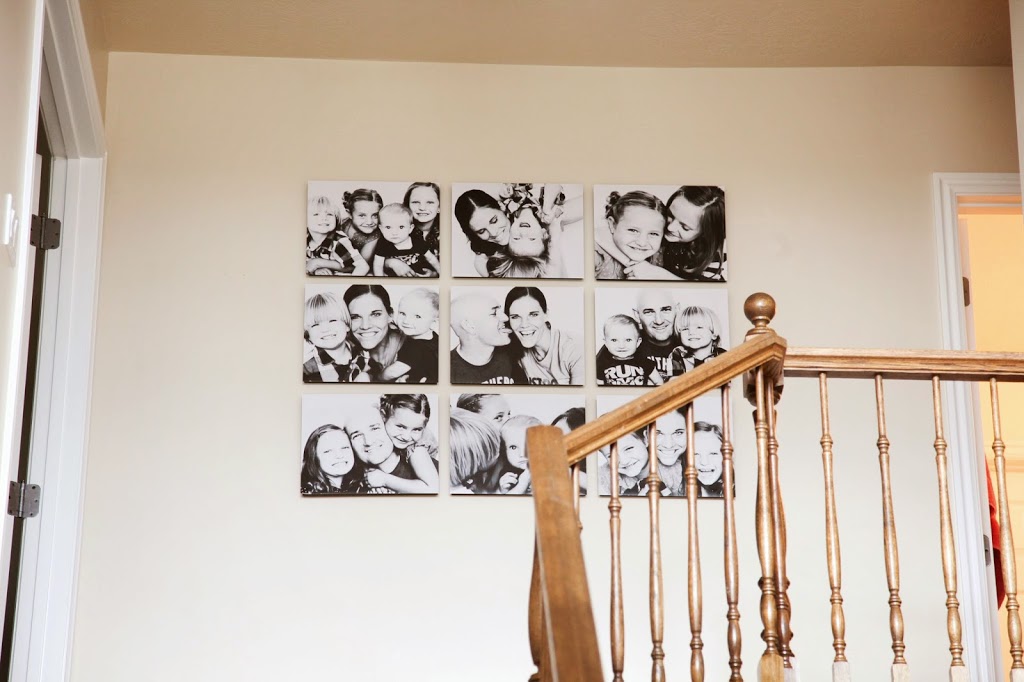
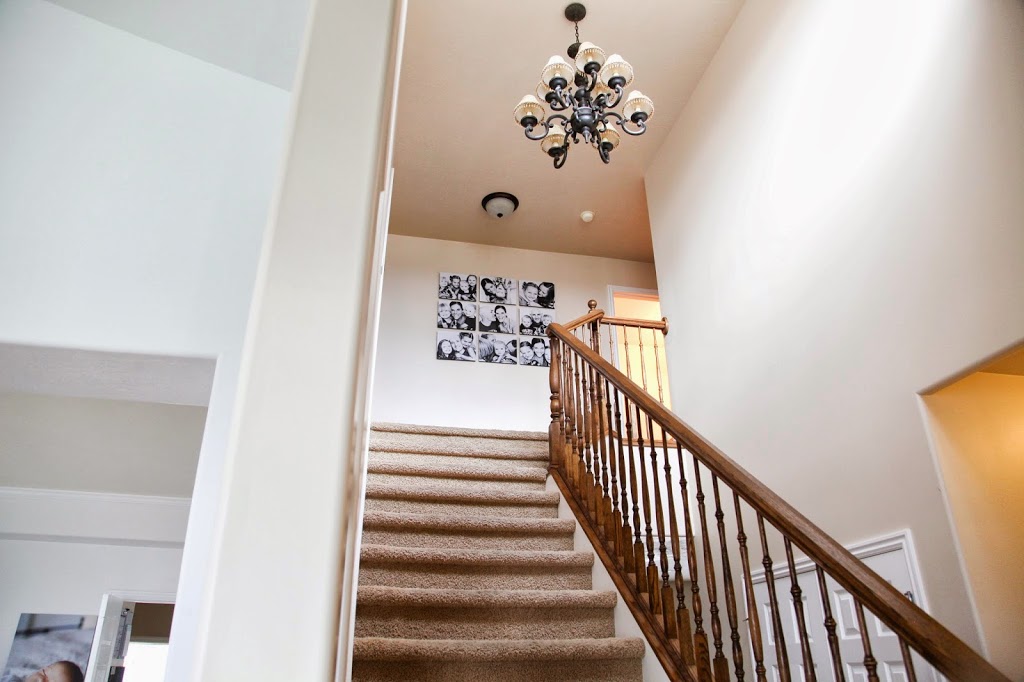
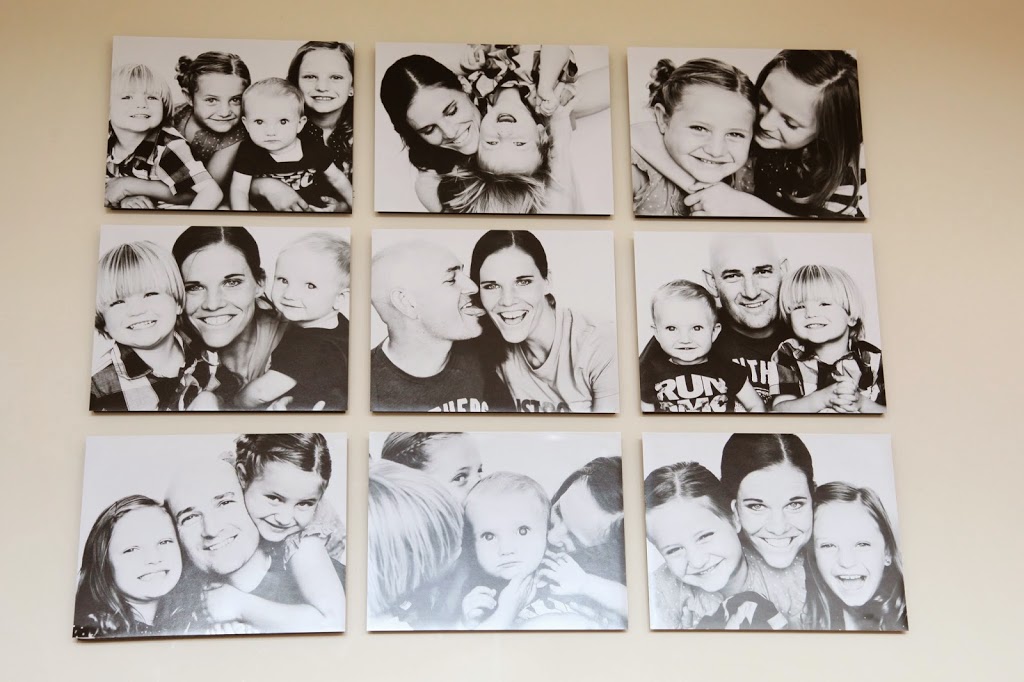
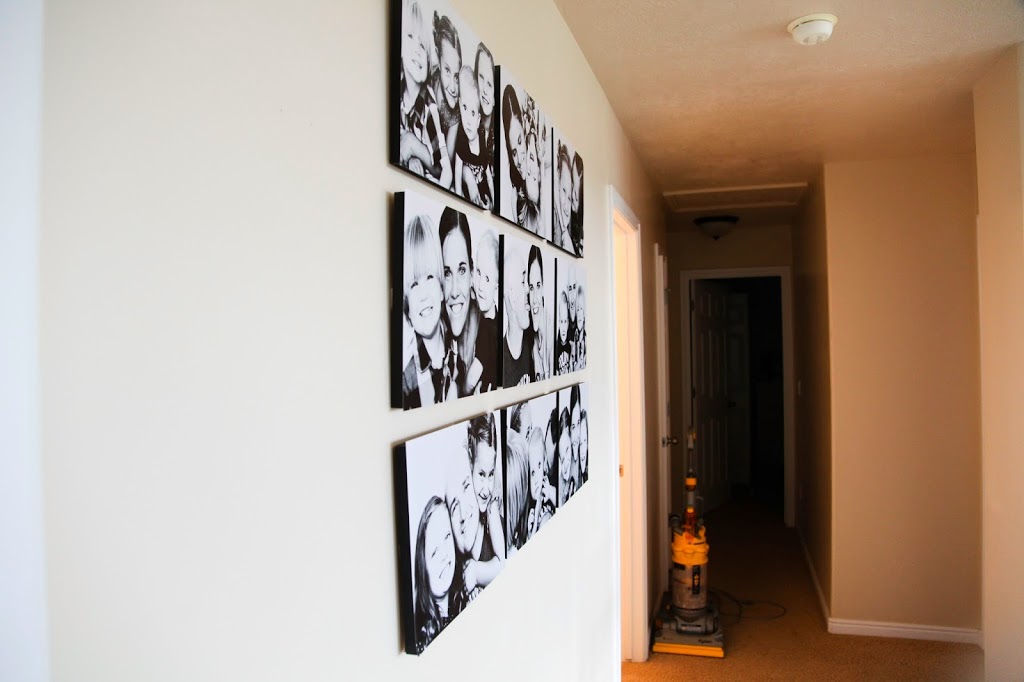
And for another idea on displaying photos in your home, click here for a super awesome wall display.

FUNBOOTH. The perfect alternative to traditional family pictures.

I get it.  Getting family pictures can be super stressful.  Finding the right clothes.  Getting everyone ready.  Finding a location.  Getting there on time.  Making sure the kids don’t still have ketchup on their face.  Trying to act calm and happy while your kids are being terrors.  
I get it.  Trust me.  I do.  
But.  Family pictures are SO important.  So so important.  One of those things you’ll always be glad you have and never regret that you did.
I also realize sometimes the stress is too much.  Too overwhelming.  And you have a kid that simply will NOT cooperate during family pictures.  So you just never get them done.  Even though you want to.
Which is why I came up with Funbooth sessions.

They’re fun.  They’re FAST.  They’re easy.  And they work for kids with all different types of personalities.
The point is to be casual.  Crazy.  Fun.  Like a photobooth.  
Low stress.  No weather elements.  Sessions only take about 25 minutes.  And you end up with a bunch of photographs with your family, your kids, and their personalities.
I’m doing a Funbooth sale during the month of April.  Book a funbooth shoot in April for only $150 (normally $225).  That includes the session fee as well as a disc with about 50 images in color AND black and white and a print release to make whatever prints you want.
Here are some samples of a session I did recently.

And here are a few I did with my own little family.  We did these on a whim on a Sunday afternoon.  We just wore the clothes we already had on.  Simple.  Easy.  These are my favorite sessions to do with my own kids.  The pictures I am in were taken by my husband.  I know he’ll want proper photo credit.  🙂

Here’s how I displayed them in my own home.  This is the first thing people see when people walk into my house.  And people LOVE IT!!  So do I.

Maybe I should have moved the vacuum.  Oh well.  Not taking it again.  🙂
So if you’ve been feeling guilty (or better yet, excited) about getting family pictures but haven’t done them for awhile, this is a great option.
Or, if you get family pictures regularly (GOOD FOR YOU) this may be a good alternative to change things up a little bit.
To book a Funbooth session, e-mail me at [email protected]
Sale runs until April 30th, 2014!

Picture Display Movement. Step 3. Organize

{For Step 2 in the Picture Display Movement, click here}

ORGANIZE YOUR PHOTOS:

For me, this step initially felt the most overwhelming.  But once I got started, it turned out to be no big deal and went really fast.

Digitalphotos2

I use iphoto for all my photo organizing.  BUT.  You don’t have to have iphoto to organize photos like this.  You can use the same “folder” system on any computer, Mac or PC.

The problem for me initially was the lack of organization within iPhoto and being able to effectively choose what I wanted to print and keep some sense of order in doing that.


All my pictures were in iPhoto, but that’s it.  If you don’t use iPhoto, your pictures are all sitting somewhere on your computer waiting to be organized (probably in a native “Pictures” folder).  I started using iPhoto in 2009 so I had 5 years worth of photos in there and was overwhelmed by the prospect of organizing them.

Until I came up with this system.


Keep in mind there are hundreds of different ways you can organize photos.  Which is what overwhelms me. So I had to pick something simple. That I know I would do and that I would maintain.


To organize the photos that were already in iPhoto, 5 years worth,  I created folders for each year as well as a “vacations” folder.  See the photo below, under “albums” where it has folders for each year and one for vacations.  If you aren’t using iPhoto, just create these folders right on your desktop or in your “Pictures” folder.

I then created an album for each month in that year as well as an album for Holidays in that year.  Then I moved those albums into the folder for that year.  If you aren’t using iPhoto, just create another folder for EACH month and put those months in the individual years folder (so each year will have 12 folders–one for each month).

Then I clicked on “Events” in my library so all the pictures in my iPhoto library would come up and went month by month and put the pictures in their corresponding folder.  The physical pictures don’t move so they are all still visible in the events part of your library.  But then when you click on one of the months folder, only that month shows (which can make it easier to find certain photos).  If you aren’t using iPhoto, you can sort the photos on your computer according to the “date created” and then drag and drop the pictures into the correct months.
To do this quickly in iPhoto, you can click on the box with pictures from the first of the month, then hold down the shift key and click on the box with pictures from the last of the month.  Then just drag and drop them into the appropriate album.  You can also drag and drop if you aren’t using iPhoto.  Just look at the date on each photo and drag them into the appropriate folder.
{See how the boxes for July are highlighted in yellow.  Then just drag those into the “July” album.}
After each month, I would look through that month for any holidays or vacations, highlight those pictures and drag those into the appropriate albums as well.  You can have the same picture in multiple albums without moving the original file.  It just makes a “copy” of those pictures which takes up very  minimal space on your hard drive.
This entire process of organizing 5 years worth of photos (I have about 30,000 photos in my iPhoto library) took me about one hour.  Quick.  Easy.  And simple.
And I feel So. Much.Better now that it’s done.
When I first tried organizing my photos I was doing it by events and dates and each individual kid and it was taking forever.  I chose the month-by-month system because I have a general idea when we did certain things so when I’m trying to find a photo, any photo, I just search in the month folder it would have taken place and there it is.
Now to maintain.  At the end of each month (on a SET date) I will move those files into their album for the month and put them in the folder for their year.  Should take about 2 minutes.
If you don’t have iPhoto, figure out a photo organizing system that works for your family.  Just keep it simple and schedule regular times to maintain it.  If you have the right system, it really doesn’t take very long.
You can still set up a Folder for each year, then folders for each month and drag the photos into those folders. This works on a PC or a MAC.
Step 3.  Organize those photos
Now don’t stop there!  Step 4 is to PRINT THOSE PICTURES!!!!
If you have questions, please feel free to contact me!  I’m happy to help where I can.
And.  I’d love if you joined the blog community!  Right now, you’ll get my TEN PHONE PHOTOGRAPHY TIPS that will immediately improve the photos you take with your phone.  It’s free!  And you’ll also get periodic blog news, tips and tricks, and exclusive blog members only info.  Just enter your name and e-mail below!  (You’ll get a separate e-mail asking you to confirm your e-mail.  Shortly after you’ll get your ten free tips!)

Where should I print my pictures?

I get asked this question alot.

My answer: It depends on what you’re using the pictures for.

I know most professional photographers will say to only get your photos printed at a professional lab. The only time I disagree with this, is based on your answer to the question, “What are you using the pictures for?”

If I am printing pictures 5×7 or smaller and they are intended for an album, like Project Life, I print my photos at Costco.

I did a test print of several different photos at four different printing labs: Costco, Walmart, Walgreens, and a professional lab. The photos at Walgreens turned out a little green because I forgot to uncheck the “auto-correct” button on their site (I always recommend turning OFF the auto-correct). The quality of the 4 different places was comparable but the coloring and “brightness” of each photo varied a bit. The key is to do a test print first and make sure you like the “look” of the printers there. It’s hard to see a comparison accurately over a computer screen since all monitors show colors differently. But this gives you an idea of how the photos can look a little different from place to place. Some people who are looking to decorate their homes might look into getting printed wall art to had that extra bit of art to their walls. If you are interested in finding out more about about getting your photo printed on acrylic to add your wall art, there are some companies out there that could help you to achieve this method.
2015-01-29_002
Keep in mind when printing anywhere, what you see on your screen isn’t necessarily what you get from the printer (unless your monitor is calibrated to that specific printer). I have learned that Costco prints tend to be a little “dark”. So before I send them to Costco I lighten them up a little (bump up the exposure) through some editing software. All of the photos in this wall collage I did are from Costco.

OR I print my 4×6 photos at York Photo online. If you google “free 4×6 prints” a code for 100 free prints to york photo should pop up. You can use that the first time you order prints from them. They also have sales on their prints all the time so I have a folder on my desktop with pictures I want to print and I wait until there is a sale and then send a batch of those pictures in to be printed.

If I am printing bigger than 5×7 or printing anything large that will be hung on my walls, I use Pixels Foto and Frame (for the Utah readers, it’s on 90th S. and State Street in Sandy) or Persnickety Prints (in Orem, Utah)–Persnickety also ships for a flat rate and their customer service is unbeatable. Online I use Persnickety Prints or Mpix. These are all professional printing labs with affordable prices.

I use Persnickety for regular prints (they’ll do custom sizes which I love to do) and I also use them for matboard prints like this one:

Mpix has a bunch of novelty photo items like calendars and photo books and cards along with regular prints. I also use them for printing stickers and business cards.


Any photos I print I use a matte or lustre finish instead of glossy. Makes them look better in my opinion.


If you have never printed somewhere before and don’t know what the prints will end up looking like, just send a few photos to be printed. Then if you like how they look, you can send a bigger batch for prints.


I have been using Persnickety Prints the most lately. They do printing for Instagram pics (square photos) as well as Project Life album sizes (3×4’s). I also love their polaroid type prints and various sizes of square prints. They specialize in 12×12 prints (that work great with the Project Life app) and they make 5×5 mini photo books that work perfect with Instagram prints or as a custom book.


For some ideas on an incredibly easy way to document your family story, check out the Project Life App. It’s “scrapbook” cheating in the palm of your hand.

2014-10-18_0012

And for ideas on how to display photos in your home, you can check out several ideas of Wall Displays using photos here. And for even more, you can follow my Pinterest board “Photo display ideas”.

Picture Display Movement. Step 1. Take pictures!!

I was talking to a friend the other day and she said she had misplaced her SD card with an entire years worth of photos on it.  I skipped right over the part about her saying she lost the card and couldn’t wrap my head around the fact she had an entire years worth of photos on one card.  I can fill up a 4GB card in about 20 minutes taking pictures of my kids.

And after seeing how often my sister and a few other relatives who will remain nameless take pictures, and by often I mean never, I realized maybe this is an issue for a lot of people.

So I decided Step 1 for most people would have to be TAKE MORE PICTURES!!! This applies to me as well.  And probably a lot of other professional photographers I know.  Because we’re so busy taking other people’s pictures, we sometimes forget (or choose not to) pick up the camera and take pictures of our own people.

The actual process of taking a picture costs me nothing.  Monetarily speaking.  So why not take more?

Even if they aren’t always (or ever) “great quality” photos.  The few pictures I have of my childhood won’t ever make it into a magazine, but I’m so grateful I have them 🙂

And the benefits of photographs in our lives is so great, I should be taking as many as I can!

When I pick up my camera and take a picture of something, intentionally or unintentionally I send a message.  A message that whatever I am taking a picture of is important to me.  Because taking a picture of something signifies I want to remember it, whatever “it” is.  A person, a moment, a feeling.

So without saying anything, when I stop what I’m doing and take a picture of something, I show that moment/person/thing/feeling/event was worth stopping for, was worth my time, and was worth documenting.

Photographs tell the story of who I love.  What relationships I cherish.  Moments that make me laugh.  And moments that make me want to cry.  What daily life events I find value in.

If I don’t have those photographs, what story do I have to tell?  And what message do I unintentionally send when I choose not to photograph anything (or many things?)

I’m not saying I need to spend my life and every waking moment taking pictures.  But I definitely think I should be intentional about the photographs I DO take and to make it a priority to document our stories.

So.  Step 1.  Take a lot of pictures.  🙂

Click here for Step 2.

Related Posts Plugin for WordPress, Blogger...