A few tips to improve your phone photography.
First, when you open up your camera to take a picture, a little box lights up. That’s where the camera chooses to focus AND how it sets your exposure.
If you touch somewhere on the screen, that box moves and that is where the camera focus’s and sets its exposure.
Examples.
In the picture below, I touched the screen on the phone where my daughter was standing. In the middle of her body. So the camera exposed for HER.
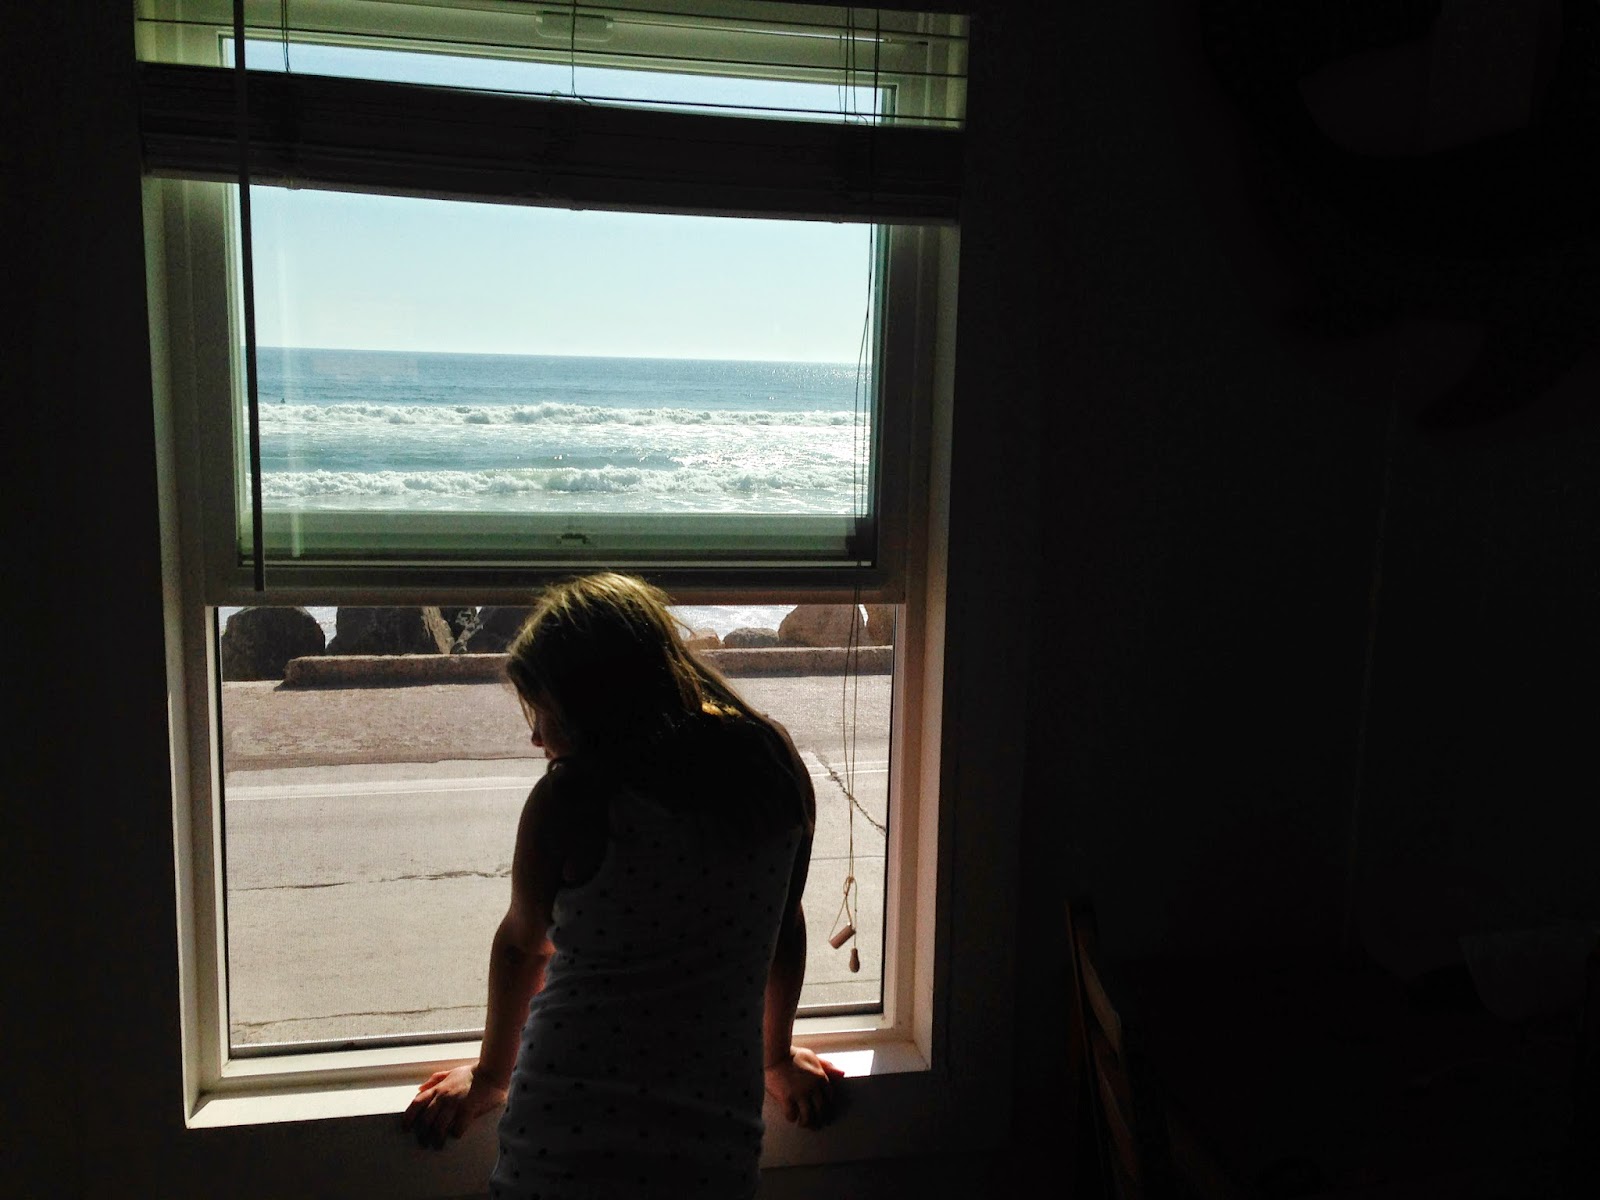
In the picture below, I touched the screen on the phone where the window is. Up on the waves of the ocean. So the camera exposed for the WAVES outside in the bright sun (and underexposed everything inside)
Here I touched the screen on the phone where the sun was. So it exposed for the bright sun and left my kids dark.
And here I touched the screen on my phone where my kids were standing. So it exposed for the kids and over-exposed the setting sun (which is why it’s so bright and you can’t even see the sun setting). But you can see the surfers which were so fun to watch.
Another tip. The camera on the back of your phone (the one intended for taking photos) has MORE megapixels than the forward facing camera on your phone (the one intended for facetime). So when you take “selfies” or pictures with your kids where the phone is facing you, they will be lower quality (so you can’t print them as big) than they would be if you took them with the camera on the back of the phone. So whenever possible, use the camera on the back of the phone.
And the last tip. You can use the volume control on headphones to act as a remote for your camera. Plug the headphones in and press the + or – button on the headphones and it will take a picture. No more gumby arms.
And. A bonus tip. If you get the Camera + app, it has a timer option so the mom can stay in the picture!
For some tips on improving your photography in general, check out this post.


