Lessons learned running a half-marathon

It’s still funny to me that thousands and thousands of people PAY money to run.  There’s a good chunk of the population that doesn’t get this at all.  We be crazy is all they think.  There’s another chunk who totally gets it.  I used to think running for the sake of running was ridiculous.  And then one day, I don’t know what changed, but I decided I was going to train for and run a marathon.  That was 16 years ago.  Since then running has saved me a lot of therapy bills.  I have no explanation for why, but it helps me find my happy.

I had plans to run the Ogden marathon this year, but changed my mind as I’ve been focusing more on strength training to prepare for the Spartan race I signed up for in August (may heaven have mercy on my ridiculously weak arms).  But a week before the race, my sister-in-law text me to come run the half-marathon with her.

Now, I exercise 5-6 times a week (30-60 minutes each day), but I’ve only been running once every few weeks.  And the farthest I’ve run in the last several months is about 7 miles.  I wasn’t prepared for a half.  At all.  And prepare (more like OVER prepare) is what I do best.  I don’t like doing things I’m not prepared for.  But I’ve been in a bit of a funk the last few months and thought I could use a good dose of racing “spirit” (if you’ve been in any type of race, you know what I’m talking about).  So on a whim, I signed up–6 days before the race.

I was nervous all week long.  I wasn’t nervous about not finishing.  They’d have to carry my cold dead body off the race course before I didn’t finish.  But I’m competitive.  I have certain expectations of myself and didn’t want to get a slower time than I’m used to.  I tried to get to the mental space of “just finish” but I never did.

This was really a test to see where my mental strength was at.  Could I push myself through discomfort, pain, probably some suffering?  I’m admittedly not as mentally strong as I’d like to be so I saw this as an opportunity to strengthen that a little.

I read a quote once from Amelia Boone, one of the toughest obstacle course racers on the planet (she wins Spartan races all over the country–she’s legit).  She said “I’m not the strongest.  I’m not the fastest.  I’m just really good at suffering.”  This quote sticks with me.  Sometimes getting where we want and what we want has less to do with being the strongest or fastest (or smartest) and more to do with pushing through whatever fear, pain, or discomfort we may have to get where we want and what we want.

So race day came and went and I learned a few things from the experience:

**Being prepared is definitely not overrated.  There’s people who seem to be good at winging things throughout life.  I’m not one of them.  Being prepared matters.  I NEED a lot of preparation time for things.

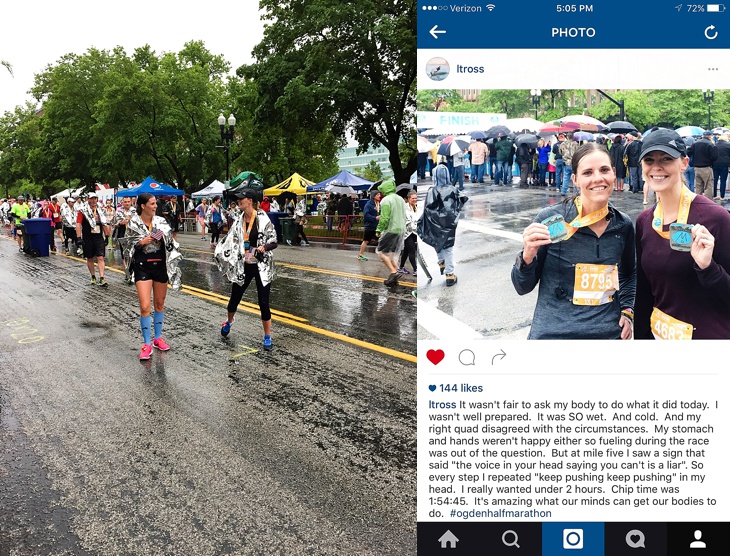
**Though our mind can push us through things, there’s always a cost.  I was hurting through much of this race.  At mile 5 I saw a sign that said “That voice in your head saying you can’t is a liar”.  I held on to that through the rest of the race and kept telling myself “Keep pushing.  Keep pushing”.  And I did.  I pushed.  And I finished with a decent time (for me).  But there was definitely a physical price to pay for doing so.  My muscles weren’t prepared for a run that far.  My body in general wasn’t prepared for a run that far.  There are some people who seem to be built for running and endurance sports.  I am not one of them.  I normally have to train, a lot, to do these type of races.  I paid for this in the days after (and am still paying for it).  Our minds can push us to do amazing things, but if we haven’t properly prepared, there is a cost.

**The aforementioned “cost” was worth it.  Sure I couldn’t walk down stairs for 3 days, I had a horrible stomach ache for several days, my right quad still screams at me when I move it certain ways, I still can’t squat, and a few other physical ailments I don’t want to discuss on the www, BUT I proved to myself I can push myself through pain.  I can push myself to do things I wasn’t sure I could do.  I learned just how powerful the mind is.

**Many times, I hold myself back from doing great things because I’m afraid to fail.  Or afraid to look dumb.  But in the end, it’s almost always worth taking the risk.  I miss out on too much for fear of not doing well when I try.  I don’t like not being good at something.  But I have to start somewhere if I want to get anywhere.  Life opens up when I get rid of the fear of looking dumb (even if it’s just to myself–most people aren’t paying any attention to what I’m doing anyway).

**This isn’t new to me, but every time I run a race I’m reminded how amazing the running community is.  People are just nice.  And encouraging.  And excited.  And positive.  I really dig the running community.

**Knowing someone is at the end of a race waiting for you makes a difference.  My husband and kids weren’t able to come because, Hi, I signed up for the race 6 days before and we had too many scheduling conflicts to get them there.  But my little brother was there and I knew he’d be at the end.  Not the same as having my husband and kids, but still made a difference knowing someone was there.  Having people is a HUGE blessing.  It rained the entire race and there was my brother at the end with a towel and blanket which I’m pretty sure saved me from hypothermia.

**Rain mixed with long runs makes you chafe in places you’d never dream possible.  Just so you’re aware next time you run in the rain for 2 hours.

**The crowd in general matters.  There’s a few points in races where your mind starts to think “Whyyyyy am I doing this?”  And then you respond to yourself “I really don’t know”.  And then the conversation continues with thoughts I probably shouldn’t type.  But then you see people.  Volunteers who came to hand you water, and bananas, and….pancakes (why was someone handing out pancakes at one of the stations–I got nauseous just smelling them, but then again, my stomach was not pleased during the entire race so coulda been that.  I’m curious if anyone actually grabbed one of those pancakes dangling from some strangers hand as we trudged past….).  And streets lined with people holding signs and cheering for people they don’t even know.  For those of you who go to races and cheer, you matter.  Trust me.  You matter a lot.

**We, all of us, can DO more than we think we can.  I’d say the majority of us are our own worst enemy.  We’re the ones keeping ourselves from doing those things we want to do.  We can do more.  We just have to believe we can and then we just have to DO.

And what’s a life event without photos.  I would have loved to snap a few during the run but my hands weren’t working at all.  I couldn’t grip or hold on to anything.  I couldn’t even unzip my ziploc to eat the gels I had.  I tried.  It wasn’t happening.  No food for me.

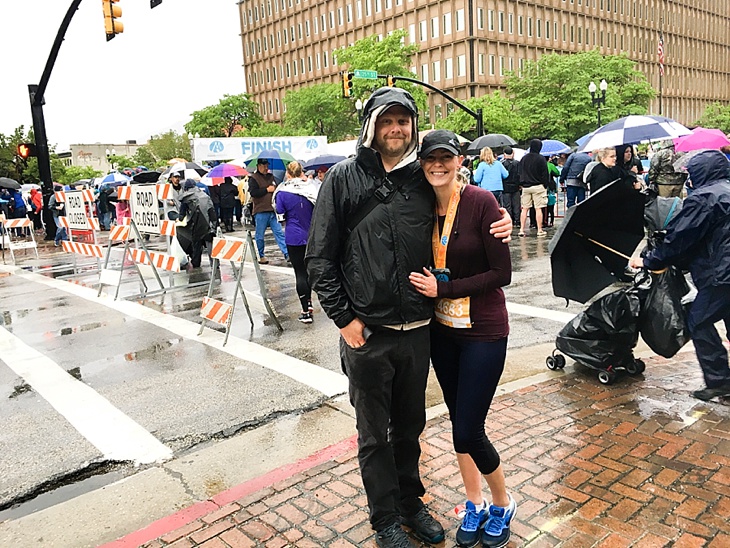
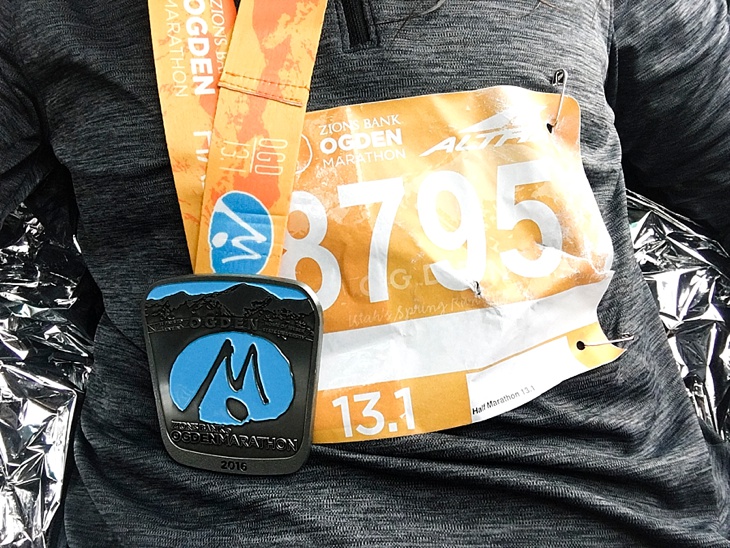
But I got a few pics before the race and a few after.

The finish line street when we got there to catch the bus.  At 4:30am.  An hour that no one should ever be awake.
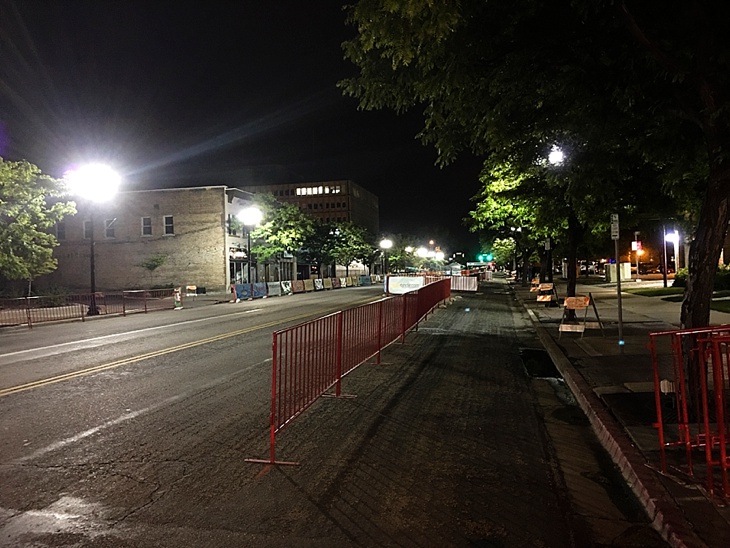
2016-05-26_0002

Starting line at Eden park.  I need a cabin in Eden.  That place is SO pretty.
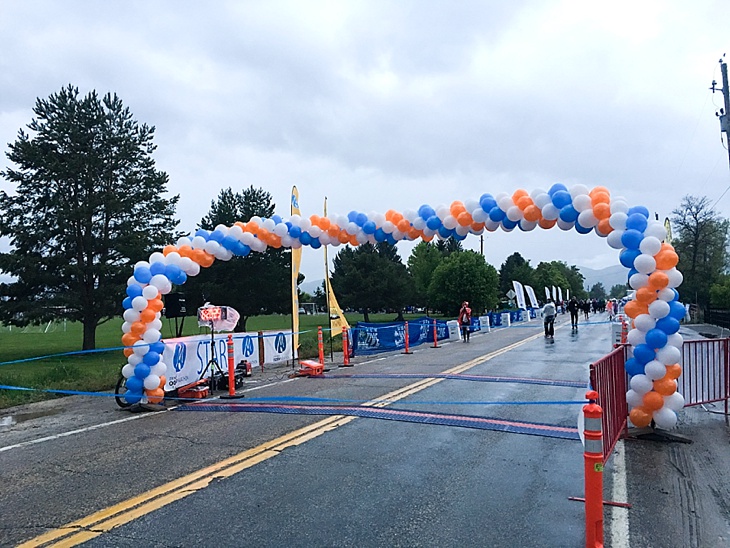
2016-05-26_0001

Pre-race shot.  When our hands still had feeling and our quads weren’t screaming “I hate you”.
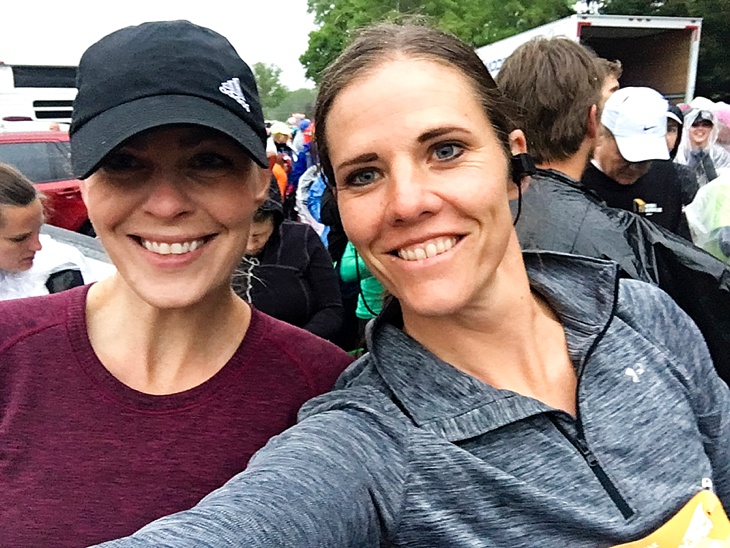
2016-05-26_0003

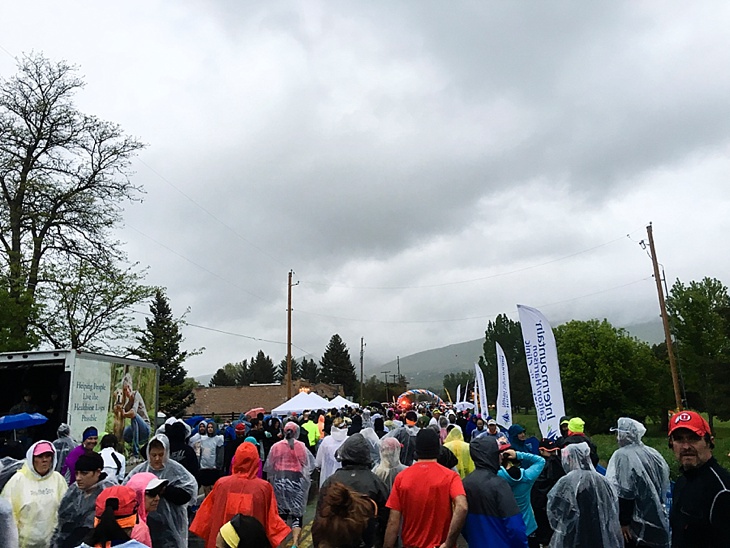
All of the crazy people who joined me and payed to do this.  Love the shot of the masses.  Lots of good, hard-working, goal driven people in this crowd (with a side of crazy).
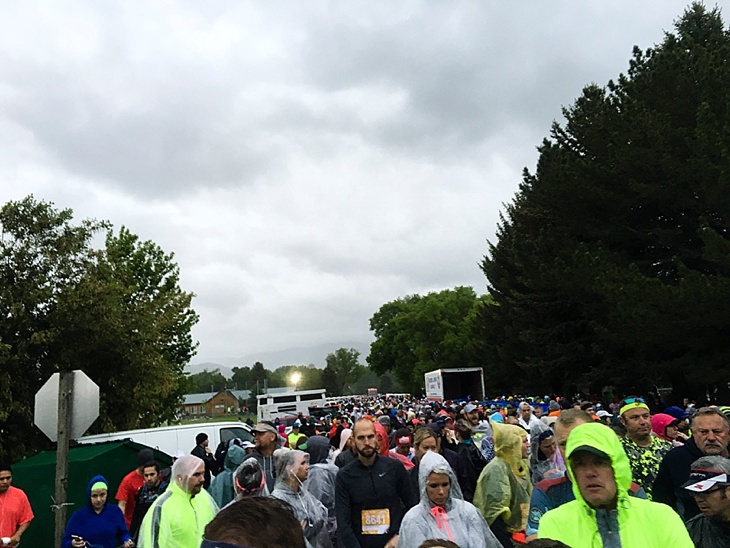
2016-05-26_00042016-05-26_0005

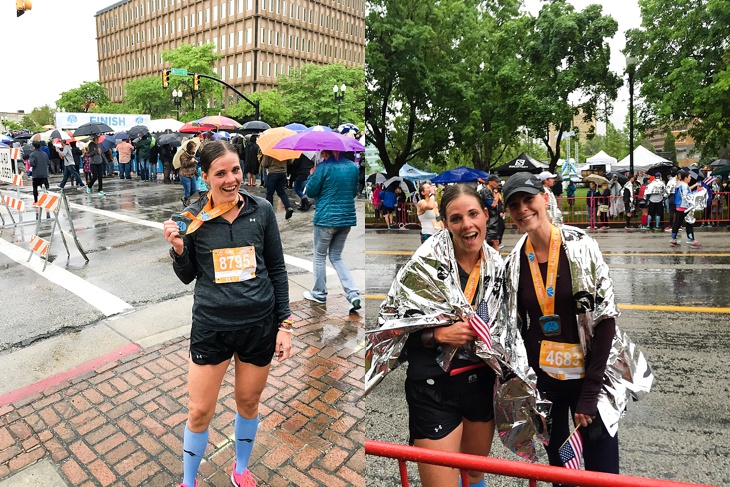
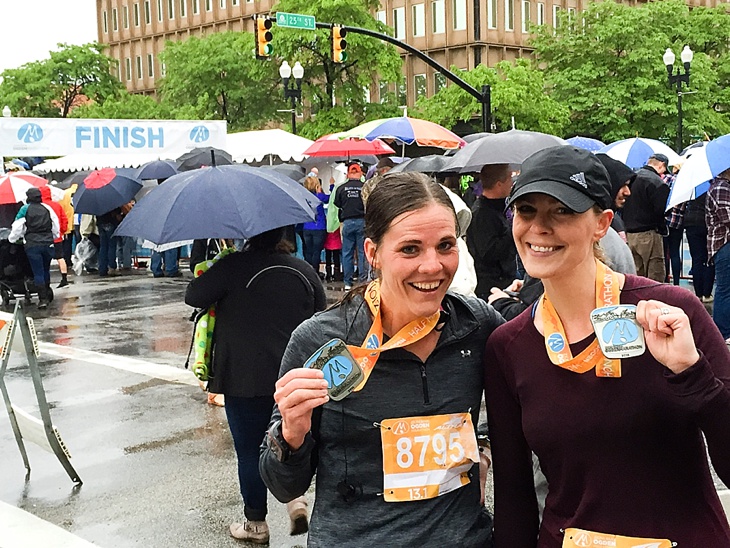
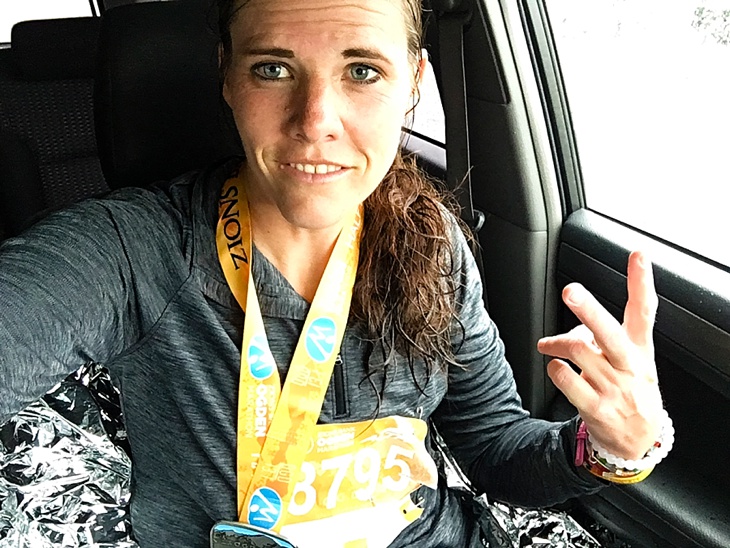
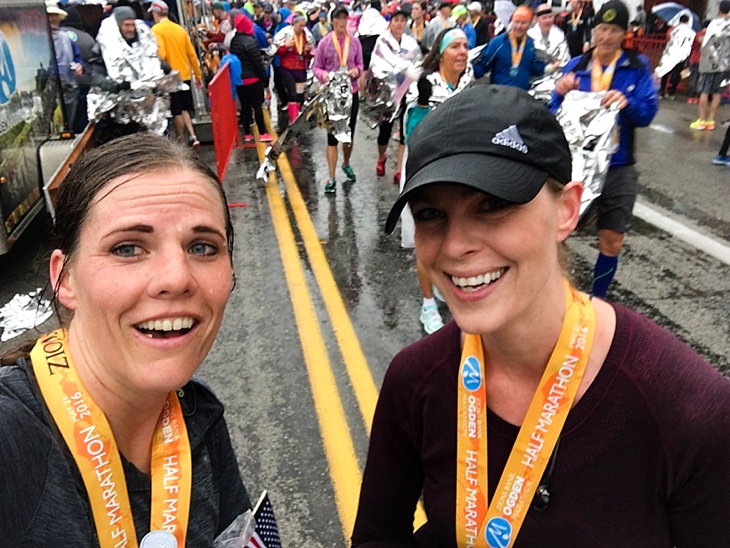
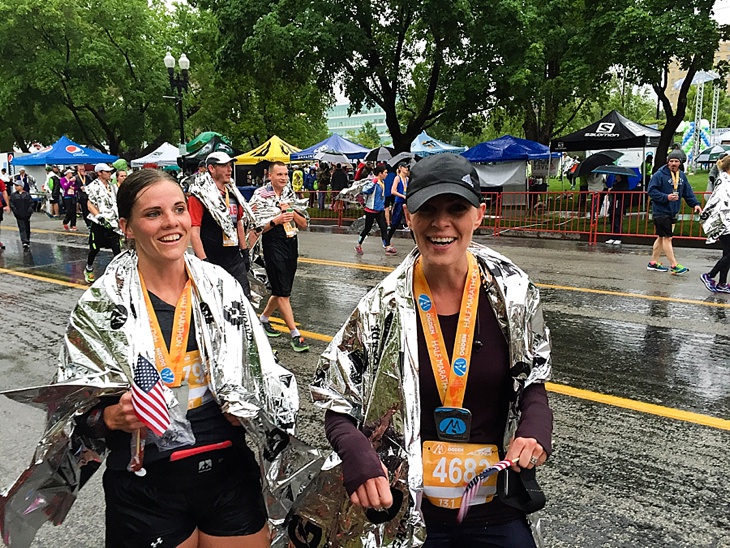
Annnnnd after the race.  As we ran down the final stretch (longest mile ever), there were what I assumed to be some older war vets on the course handing out little American flags.  Totally brought tears to my eyes (or maybe that was just rain on my face) and gave me just the boost I needed at the end (I love this country SO much) although it was incredibly difficult to keep hold of the tiny wooden stick.
2016-05-26_0006

2016-05-26_00082016-05-26_0009

Those thin silver whatever they are (emergency blankets?) provide a surprising amount of warmth.  Maybe it’s just in your head, but it doesn’t matter.  I was really grateful for that thing.
2016-05-26_00142016-05-26_00152016-05-26_0017

We didn’t linger after the race at all.  It was straight to the car.  I had to sit in there with the heater full blast for a good 20 minutes before I could grip the steering wheel to head home.
2016-05-26_0012

I ran my first marathon with NO music and NO time tracker.  No idea how I did that.  I’m super inconsistent with my pace so it’s really helpful to have my Garmin to keep track of how fast (or in most cases how slow) I’m running.  Helps me know how hard I can push without completely tanking at the end.  Although I still always run too fast in the beginning.
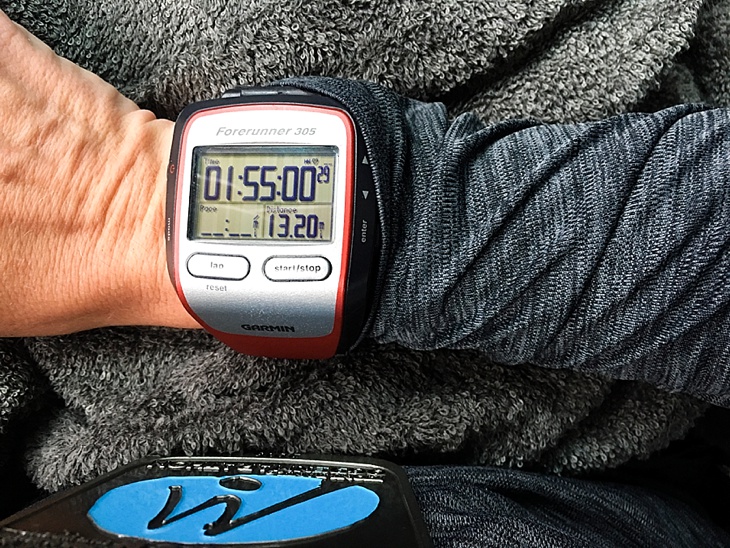
2016-05-26_0011

Always interesting to have the heart rate monitor results.   I stopped it when I made it back to the car.  My heart rate was actually higher than it usually is.  Nerves maybe?  Or the cold?  No idea.  But when the race started, my heart rate was already around 175.  And it hovered around 185 the rest of the race.  Normally when I run it’s around 170 (yes, that’s still high but normal for me.  I have a resting heart rate a little below 60 but when I exercise it goes crazy high).
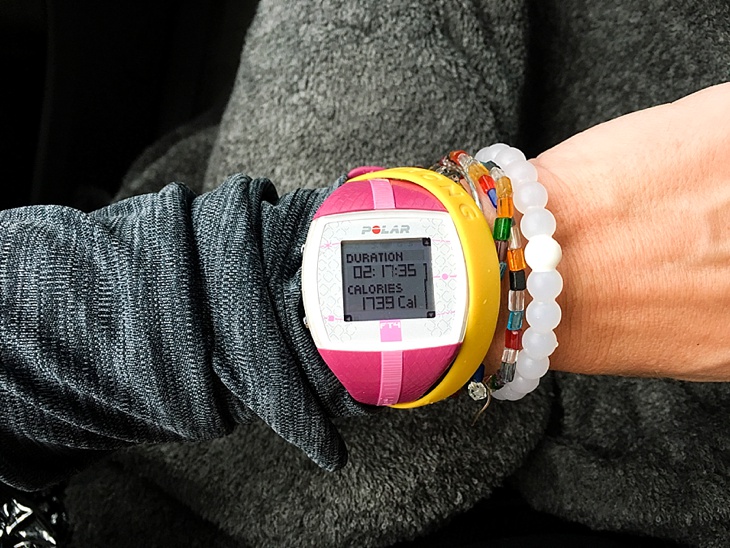
2016-05-26_00102016-05-26_0013

My legs were crazy sore the next few days.  Sore to walk.  Sore to the touch.  I never realized how much my 4 year old touches my legs until it brought tears to my eyes every time he touched me.
2016-05-26_0016

Definitely a race I won’t forget and one that taught me a few things along the way.  Trying to say “yes” to more things than I say “no” to.   “You know all those things you’ve wanted to do?  You should go do them.”
2 easy ways to share photos with your iPhone

A friend of mine was going to share some photos with me she had taken on her camera.  She started to e-mail them to me in batches until I stopped her.  Sweet mercy.  Please don’t send me 10 e-mails (or text messages) with 5 photos in each e-mail (or text).  That was the only way she knew how to send me the photos and I have come to realize there are many people who don’t know an easier way to share photos.

So today I’m going to show you two really easy ways to share photos with your friends and family from your iPhone.  E-mailing photos is certainly still an option, but when you want to share a bunch of photos, there are easier, more efficient ways to do it.  And easy and efficient are my jam.  Here are two easy ways to share photos with your iPhone (not emailing or texting them batch by batch).

photosharing

Share option Number One:  Create a Shared Album.  Here’s how you do that:

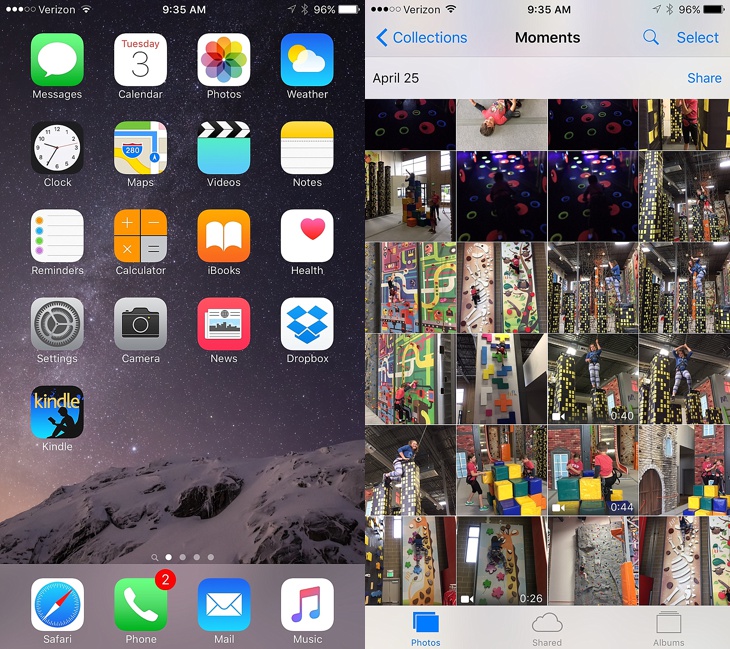
Click on the “Photos” icon on your iPhone.  This will bring up all of the photos on your camera roll.  At the bottom of the screen below all your photos, click on the cloud with “shared” underneath it.

2016-05-03_0001

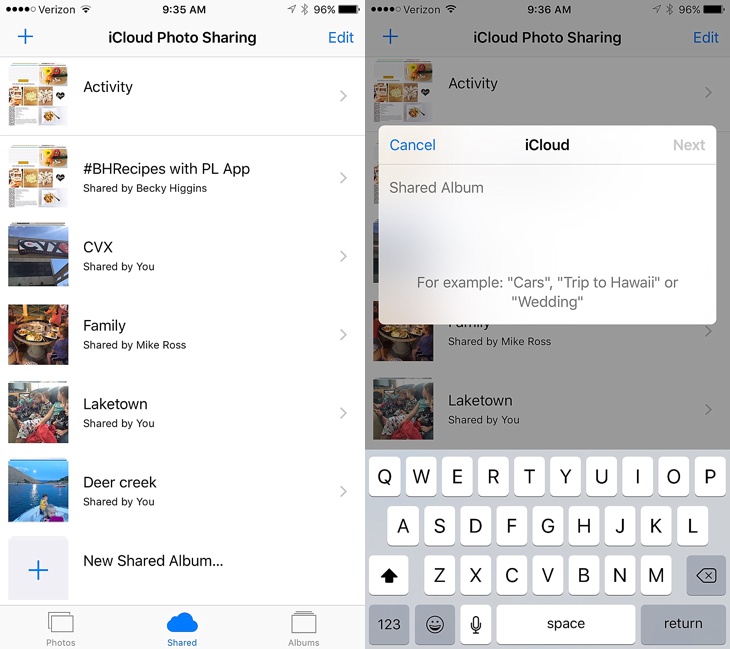
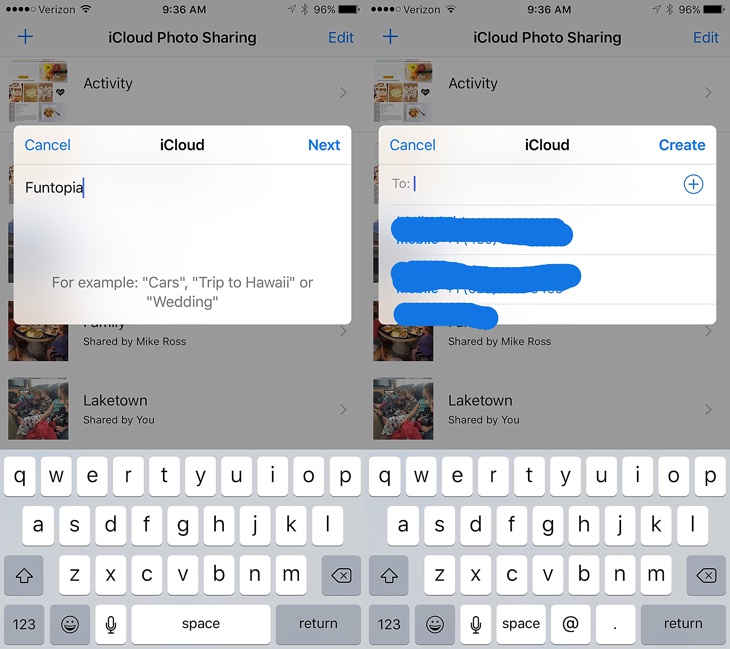
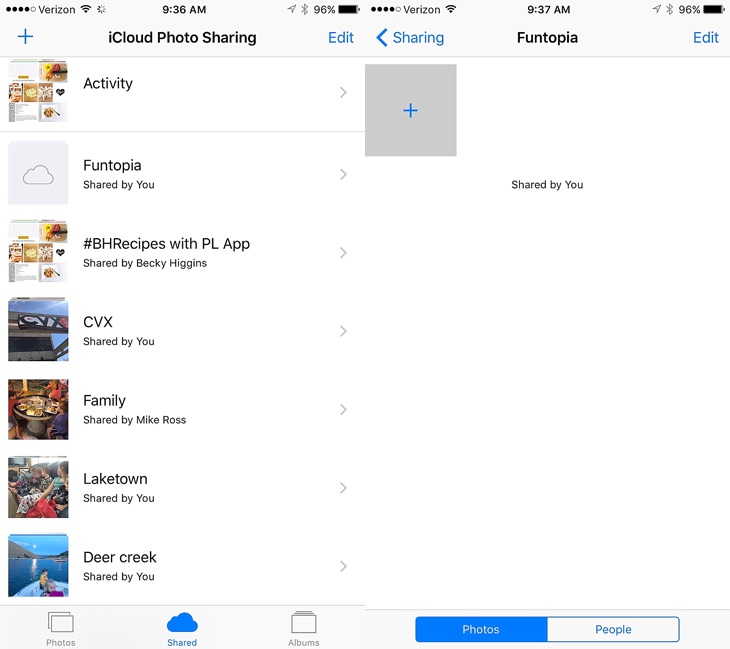
This will bring up all of your “shared” folders.  You may not have any folders in there are this point, but if you do, you’ll see them all listed here.  Click on the “+” icon either in the top left of the screen OR click on the “+” by “New Shared Album” to create a new album to share with someone (or multiple people).  This will bring up a screen where you can name the album.

2016-05-03_0002

Give the album whatever name you want and click “Next”.  This will give you the chance to add the numbers of the people you want to share the album with.  It will pull up numbers of people you’ve recently shared with (I crossed them out so people don’t randomly start pranking my friends), or you can click the “+” in the circle to the right to add more people from your contact list.  Or just type in the number if they aren’t in your contacts or if you actually know their number (my friends and I were laughing about how many numbers we don’t know these days–they’re all saved in our phones but not memorized.  But we can still call our childhood friends parents house if we needed to).

You can add people now, or do it later.  Once you have the numbers in for the people you want (or don’t add any numbers at this point if you want to add them later), click “Create”.

2016-05-03_0003

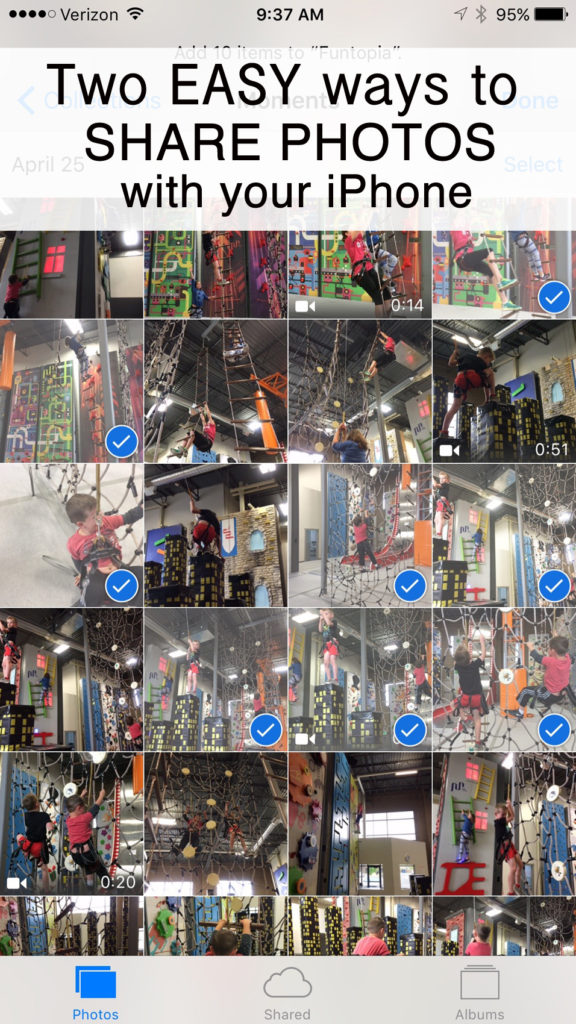
You’ve now created a new album.  Mine is titled “Funtopia”, a climbing place I recently took my kids to.  And yes, it was fun.  Once you have your album created, click on it and it will bring up a screen where you can start adding photos to share.  To do this, click on the “+” on the screen.

2016-05-03_0004

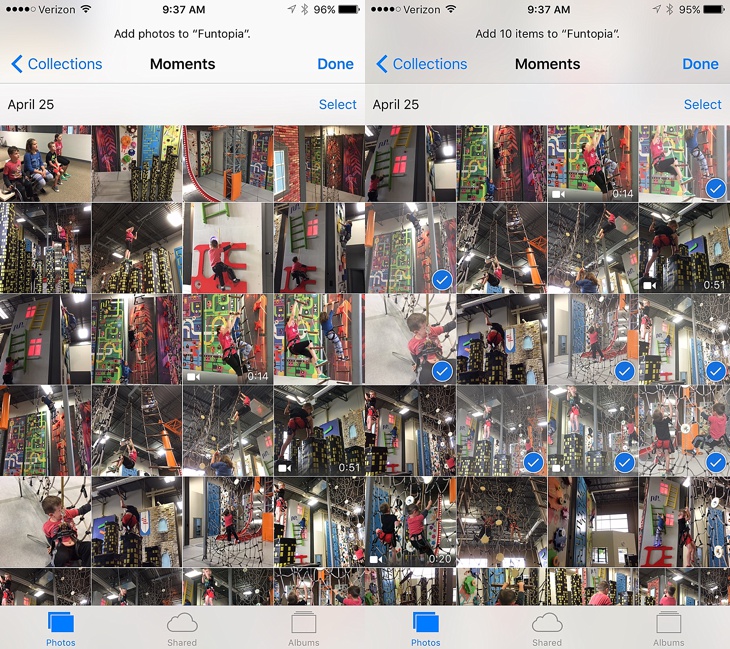
When you click on the “+” it will bring up your camera roll.  Click on “select” in the upper right corner and scroll through your photos and tap on all the ones you want to include in the album.  You can also include video.

2016-05-03_0005

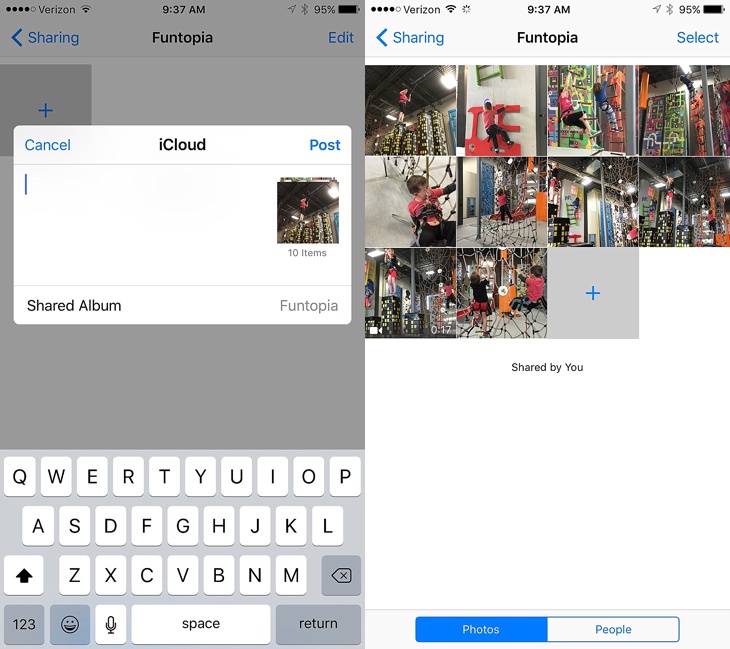
Once you’ve selected all the photos you want, click “Done”.  It will bring up a white screen where you can add a comment/text if you want, or just click “Post”.  All the photos will then appear in the shared folder.  You can add more photos at any time by clicking the “+” icon in the grey square.

2016-05-03_0006

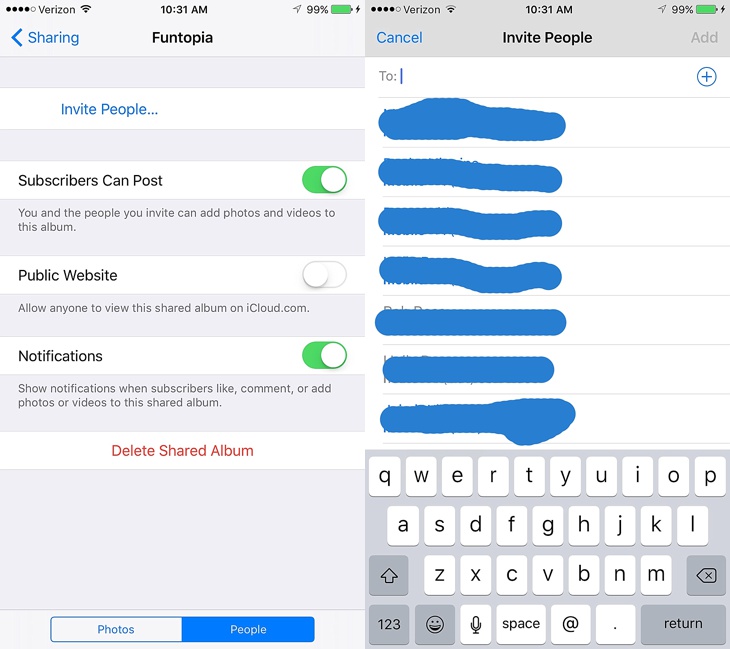
Now that you have the photos in the shared album, you can invite people to share the photos with (if you haven’t already done so).  Click on the “People” in the bottom right.  This will show you who you’ve already invited and allow you to invite more people.  You can allow the people you invite to share photos as well (keep the slider on that says “Subscribers can post”).  They can then add photos to the same album by clicking the “+”.  This is a great way to gather everyone’s photos at an event or on a vacation.  Before everyone leaves, quickly set up a shared album and get everyone’s photos.  Then download those photos to your own camera roll to save them.  Or set up the shared album at the beginning and people can add the photos as the event/vacation goes along.

2016-05-03_0007

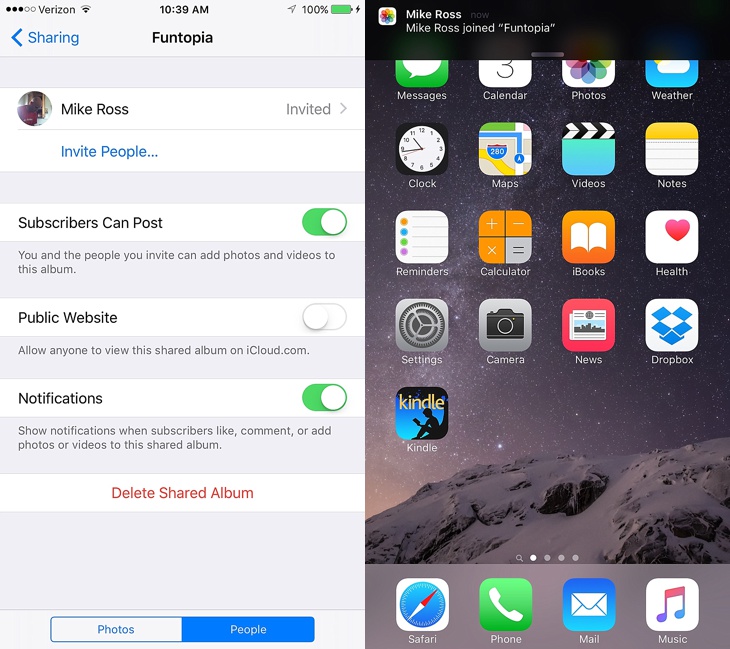
When you invite someone to the group, it will show they’ve been invited.  They will get a notification allowing them to accept or decline the invitation.  When they accept, you’ll get a notification letting you know and the “invited” next to their name will go away.  You can invite more people at any time as well as add more photos from anyone who is in the group (as long as you chose to let subscribers add photos).

2016-05-03_0009

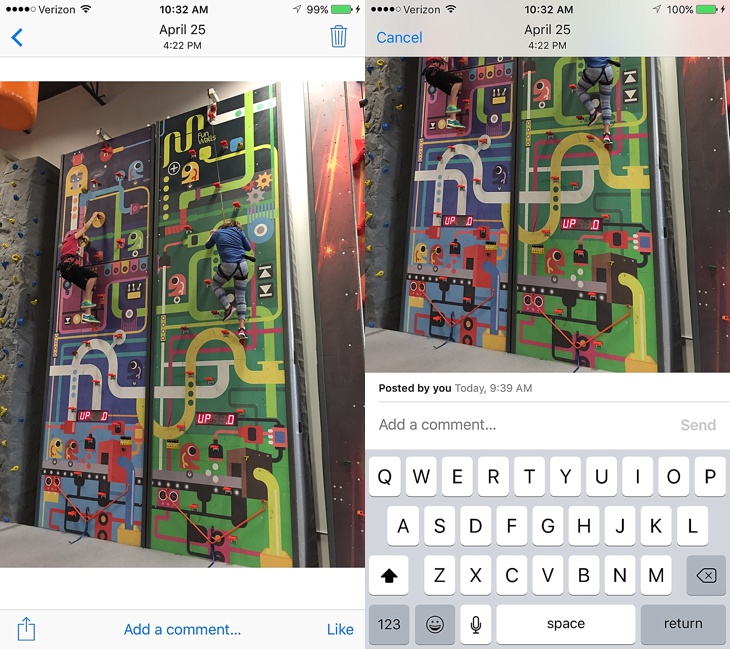
Once a photo has been added and people have been invited to share, you can leave comments on photos by choosing one photo, then clicking “add a comment” at the bottom of photo.  Then just type your comment and hit “Send”.  You can also “like” photos by clicking “like” in the bottom right of the photo.  These comments and likes are only seem by those who belong to the shared album.  It’s sort of a mini social media sharing experience but only with the people invited to the album.

2016-05-03_0008

If multiple people are adding photos to a shared album, be sure to save the photos to your camera roll by clicking on the square with an upward arrow on it in the bottom left corner of each photo you want saved.  If the shared album is ever removed, you no longer have access to the photos in it unless you’ve saved them to your own camera roll.

That’s it.  You can now share large volumes of photos/videos easily with your friends and family.

On to the second way to quickly share photos.

Share Option Number 2.  “AirDrop” your photos to someone close by (the catch here is that you have to be in the same vicinity to share).  Here’s how you do that:

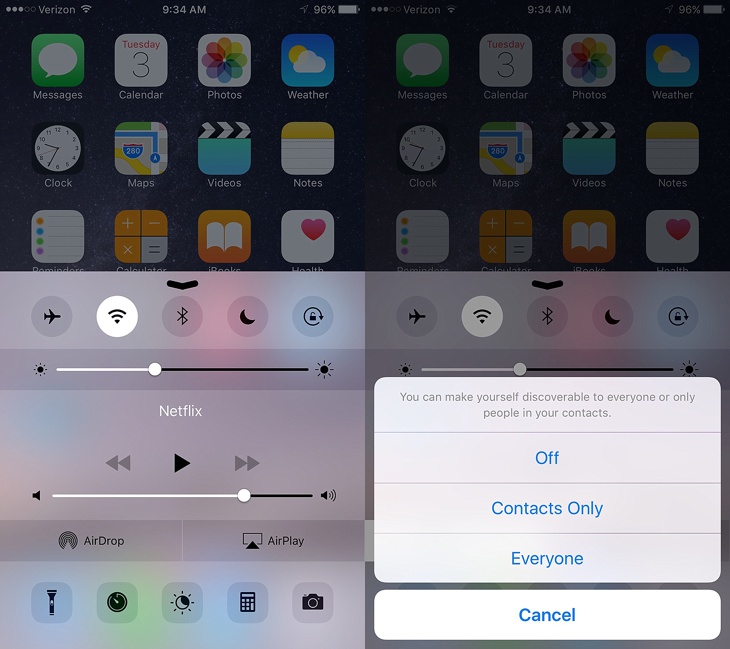
Put your finger at the bottom of your screen and slide up to bring up the menu shown below.  In the bottom left choose “AirDrop”.  Another menu will pop up where you can choose to keep AirDrop “off”, choose “contacts only” (only people in your contacts), or choose “everyone” (anyone who has airdrop on who is close by you regardless of whether they’re in your contacts or not).  Choose “contacts only” or “everyone”.

2016-05-03_0011

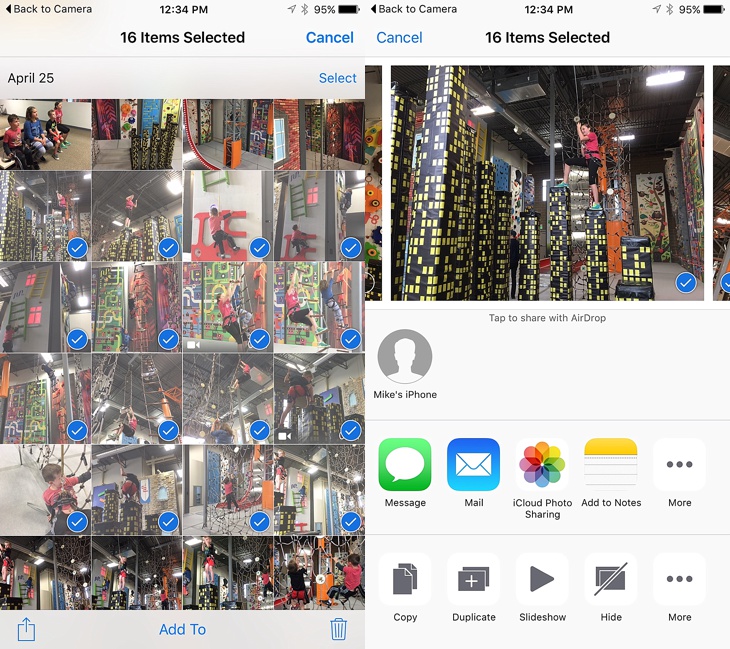
Whoever you are airdropping photos to also has to have their AirDrop turned on (by following the above step).  Once you both have air drop turned on, go in to your camera roll, choose “all photos”, then click “select” and choose the photos you want to send by tapping on each one.  Once selected, click on the square with the upward arrow in the bottom left corner.  This will pull up a screen where you choose what to do with the photos.  Anyone who is relatively close to you who also has AirDrop turned on will pop up in your screen (see “Mike’s iPhone” icon below).  Click on whoever’s name you want to send the photos to.

2016-05-03_0012

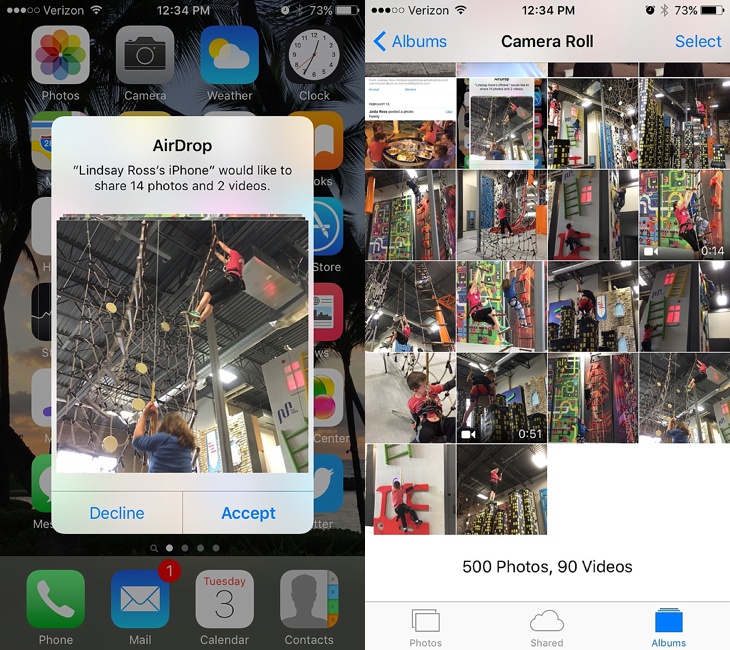
The person (or people) you chose will get a notification letting them know someone is trying to AirDrop photos to them.  They can choose to accept or decline.  When they choose accept, the photos then go straight into their camera roll and your done.

2016-05-03_0010

Two easy ways to share photos!

If you’re looking to improve the photos you take with your phone, be sure to check out these Ten photo tips that will immediately improve the photos you take with your phone.

And if you want to take better every day photos that document your days better, be sure to check out the Every Day Photos guide: ideas, tips and tricks to take better every day photos to tell the stories of our lives.


Happy photo sharing.

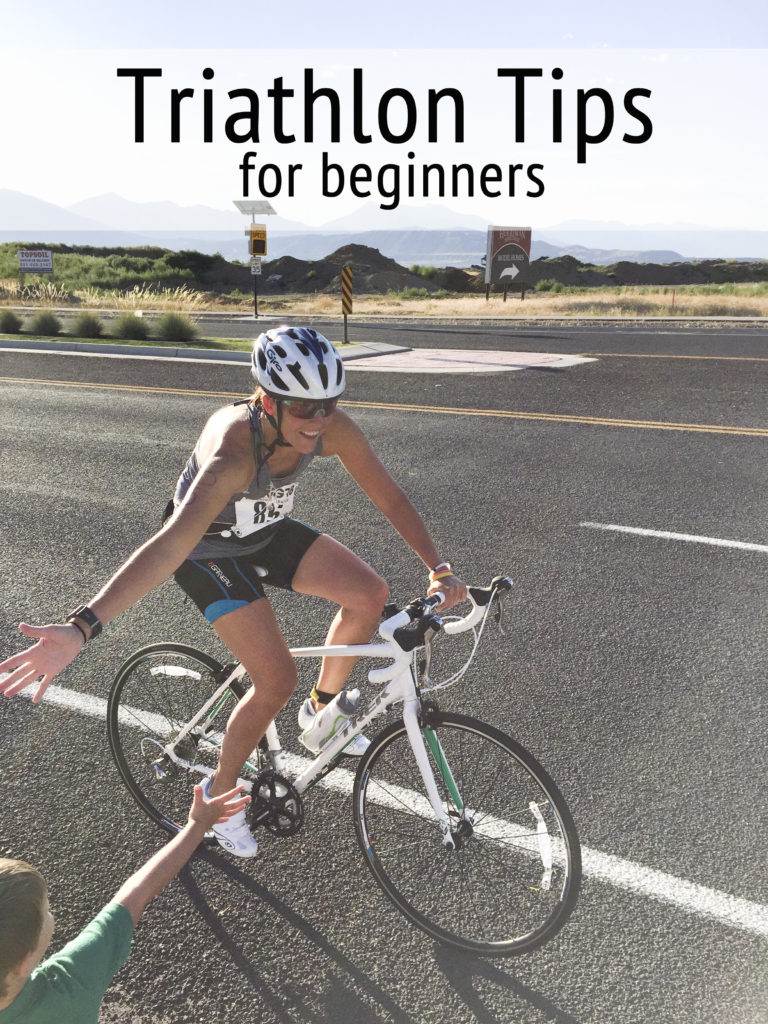
My first triathlon–plus beginner triathlon tips!

{I included a bunch of triathlon tips for beginners from beginners at the bottom of the post–if you’re interested in doing one, this will be super helpful}

Last summer I got a wild idea (truly, it was wild for me) to compete in my first triathlon. This may sound like no big deal to some people, but it turns out, I’m not a swimmer. Not as in “I don’t like to swim” but as in “I really don’t know how to swim”. I can get in the water and get from point A to point B, but I certainly don’t do it correctly and I usually have my face out of the water. Because putting my face in the water, with goggles on, and all my breathing holes (i.e nose and mouth) submerged is the perfect storm for a panic attack. I can’t explain why exactly, I just don’t like having my face in the water. And I’m a classic nose plugger (plug my nose when I jump in the water, plug my nose when I fall on the water ski, plug my nose always). Plugging your nose during a triathlon seemed like it was off the table. But I’m getting ahead of myself.

I got the idea, decided I was going to do it, and signed up for my first sprint triathlon. There three moderate hurdles I had to get over: 1. The race was only about a month away. 2. I didn’t have a road bike nor had I ever ridden a road bike. 3. I didn’t know how to swim. Minor details.

At this point, I look pretty foolish signing up for this. But I’ve secretly wanted to do one for a while and truth be told, I was sick of fear pushing me around. Sick of being scared to try things I wouldn’t automatically be good at. And sick of being SO panicked about swimming. The only way to get over these fears was to just DO it. Jump in with both feet. Without plugging my nose of course.

Usually when I’m faced with something “scary” like this, I talk a friend or family member in to doing whatever it is with me. Instead, I talked my girls into doing the kids triathlon. This would be their first race of any kind and they were both really excited about it (they’re already good swimmers–I started swimming lessons when they were young determined not to let any of my kids turn out like me when it comes to swimming).

Once I signed up and was committed, I asked a good friend (who is a great swimmer) to teach me how to freestyle properly. At first I used a nose plug but it rubbed my nose raw and didn’t work well and was serving as a crutch for my real problem. So I ditched it. She worked with me for several hours helping me figure out the stroke and breathing. Then it was up to me to practice practice practice. Which I did as little of as possible because every single time I got in the pool, I got anxious and panicky about what was ahead. But I did as much as I could tolerate and enough so I could make it the distance without having to flip too much on my back so I could catch my breath.

Next step was to get a bike. I’d been saving to get a road bike at some point anyway so this was a good push. I decided to go all in on this as well and get clip in pedals. I was really nervous about this because hello, your feet are clipped in to the pedals. For me, this has disaster written all over it. But I got some great pedals that are easy to clip in and out of (Shimano Look pedals if anyone is interested). I got the bike about 3 weeks before race day so I had a little time to practice out on the road and practice clipping my feet in and out. The great thing about the race, if all goes right, is that you really only have to clip your feet out once, at the end of the ride, when you’re transitioning to the run. Clipping my feet in and out turned out to not be a big deal at all.

If you’re interested in doing a triathlon and don’t have a bike, my guess is there are places around you that rent them. Don’t let no bike be a deal breaker.

I went on maybe 6 or 7 training rides before the race including one time where I rode the bike and then immediately went on a run so I could see what my legs felt like running right after a bike ride. If I had more time before the race I would have done this more. I also made sure I read up on Food Habits and Hacks for Runners so I could take part in the whole race and not faint halfway through!

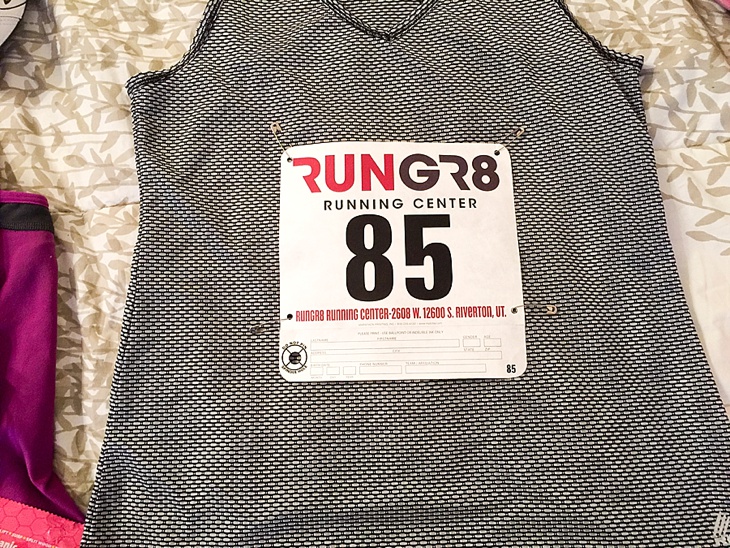
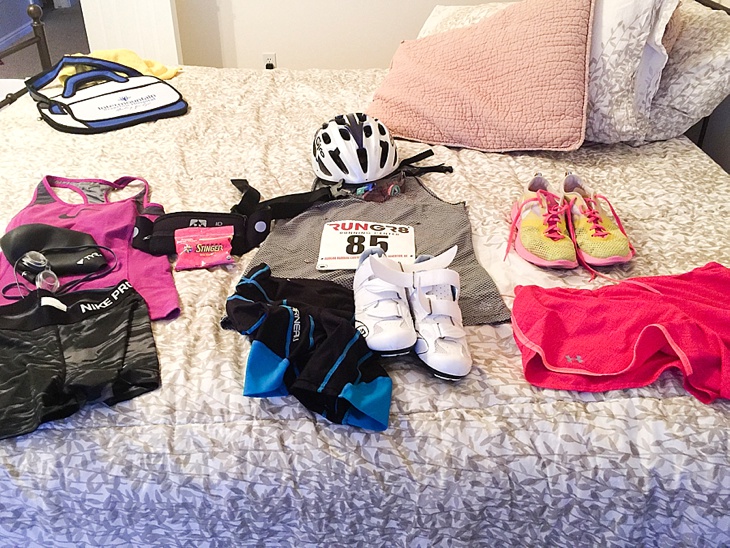
After the bike investment, I didn’t want to spend more money on a triathlon “suit” so I just wore spandex shorts and a tight tank-top in the water for the swim, hurried and put bike shorts on during the first transition, then took the bike shorts off and put running shorts on during the last transition. Yes, that added to my total time but I wasn’t in this for any sort of time. I just wanted to DO it and see how everything works. I wasn’t terribly concerned about doing it fast.

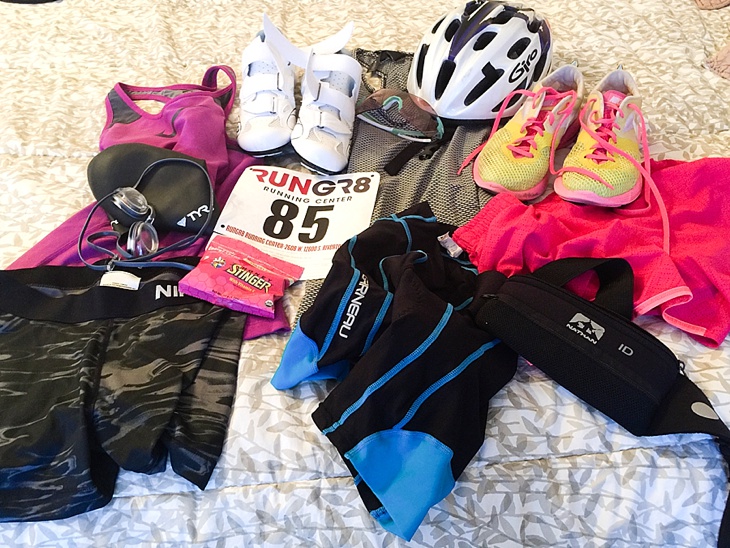
I was incredibly nervous the night before. I laid all my stuff out by sections of the race (swim, bike, run) before I packed it in my bag. Checked and double checked to make sure I wasn’t missing a critical piece (like my biking shoes, or helmet, or goggles or any piece of equipment for that matter).

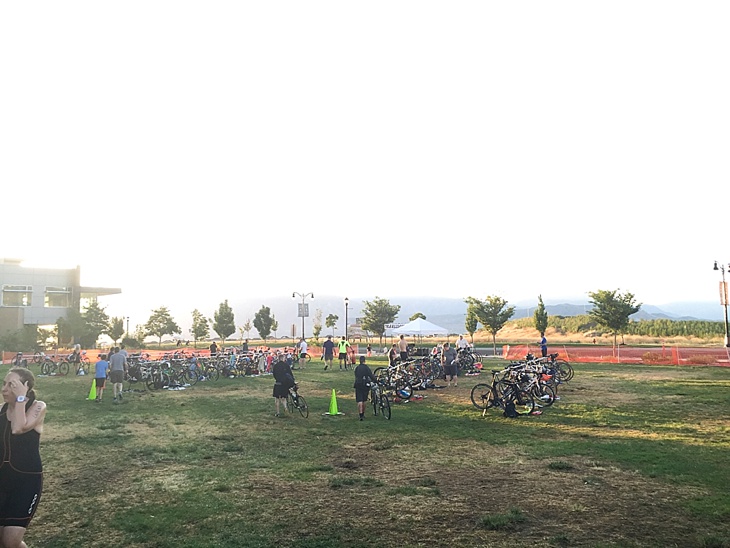
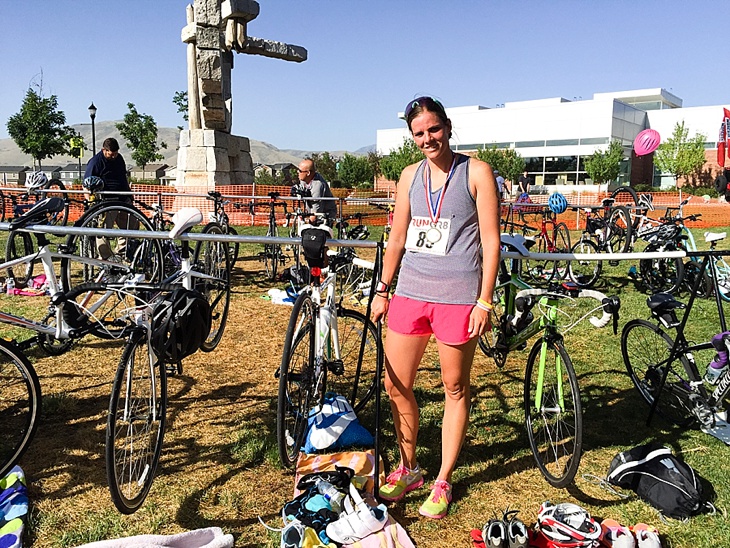
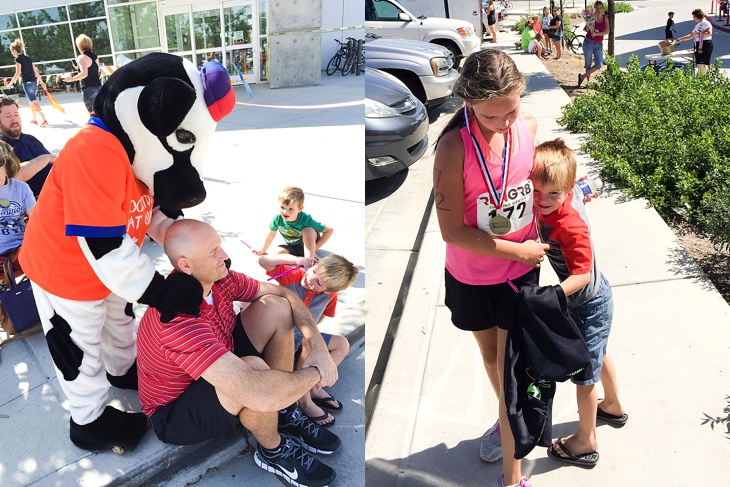
2016-04-21_00192016-04-21_00202016-04-21_0021I got to the race early so I could find a good spot to put my bike. I deliberately chose a race that didn’t have a lot of competitors in it so the transition areas weren’t total chaos, but I still wanted my bike somewhere it would be easy to find. Once I picked my spot, I hung the bike seat up on the bar and laid out all my stuff so I could get to what I needed to during each transition (more tips on this at the end).
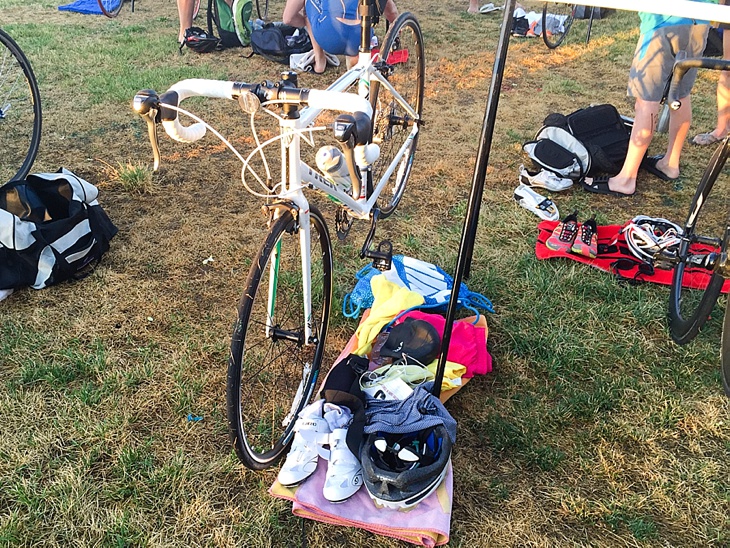
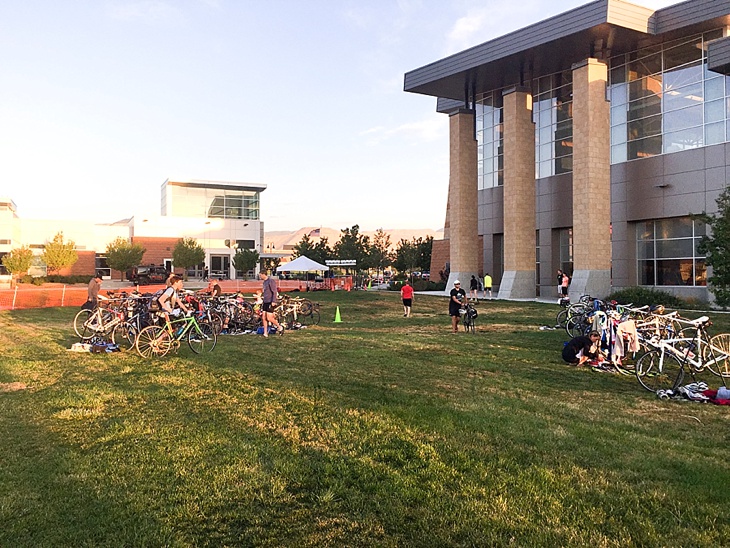
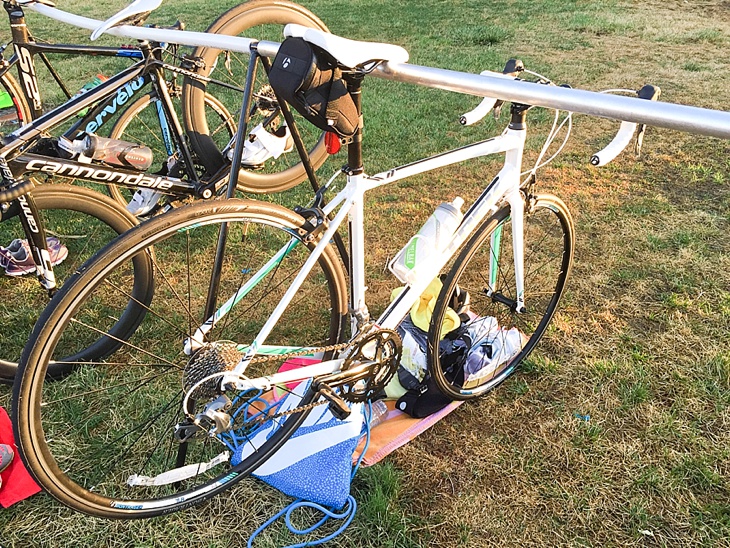
2016-04-21_00222016-04-21_00232016-04-21_0027

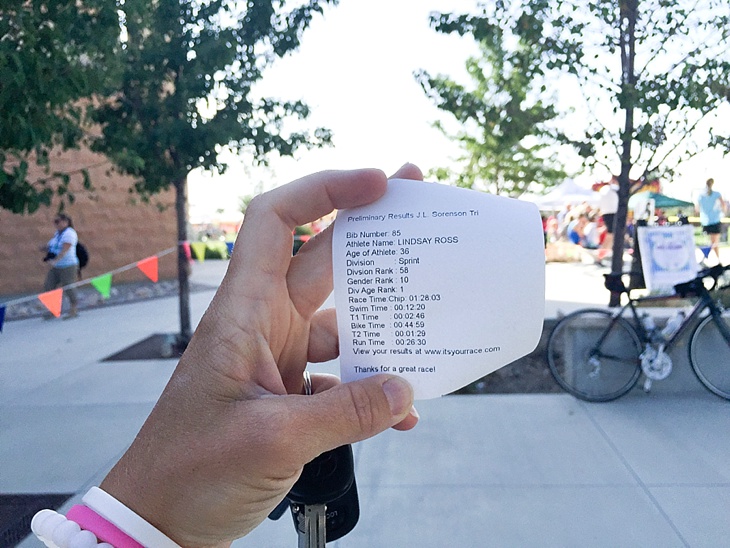
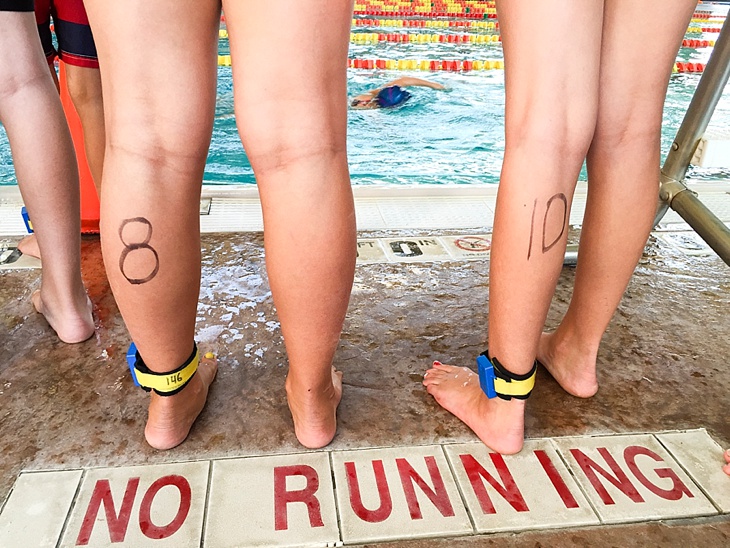
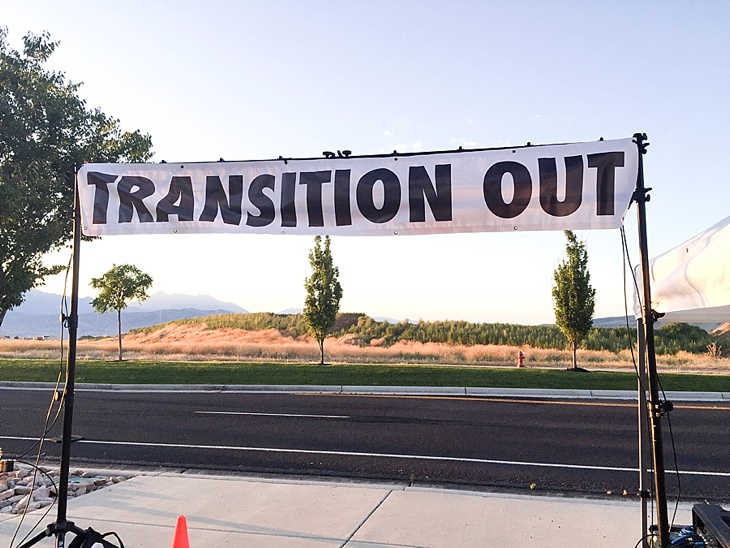
2016-04-21_0026In this race the trackers were on our ankles and you ran through a “transition in” and “transition out” spot so you knew your time for your swim, your first transition, your bike, your second transition, and your run. This is helpful if you plan on being competitive about your time while racing and helps you know where you can shave time off in the future.
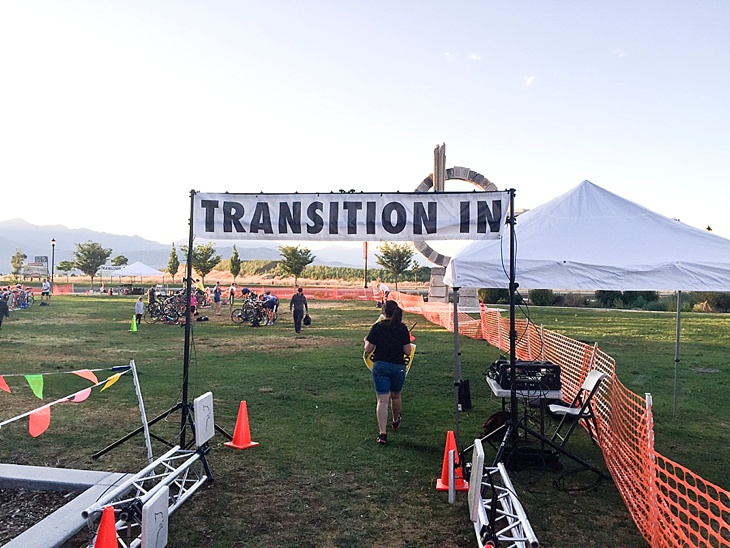
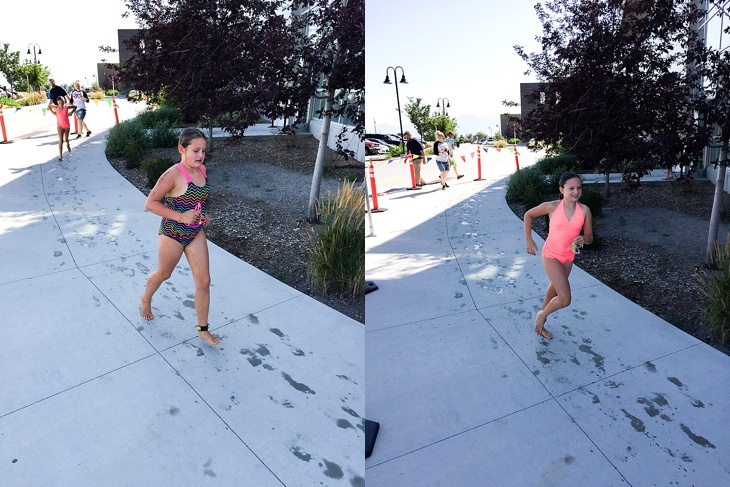
2016-04-21_00252016-04-21_0024Thankfully for me the swim was first so I could get it over with. Most of the people in line with me disagreed and weren’t looking forward to the run. The run was the one part I felt completely comfortable with. I’m not a fast runner, but I enjoy running.
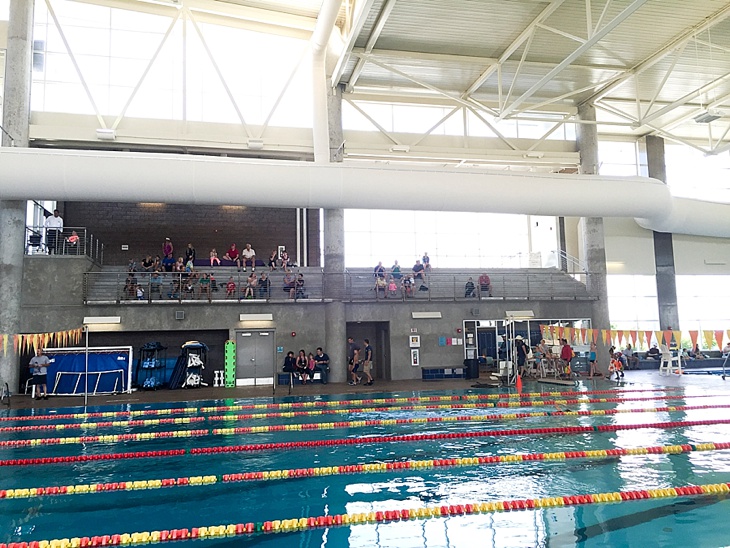
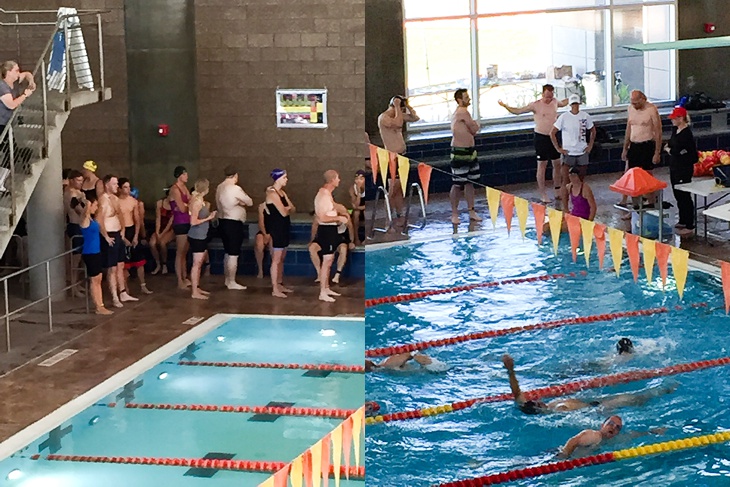
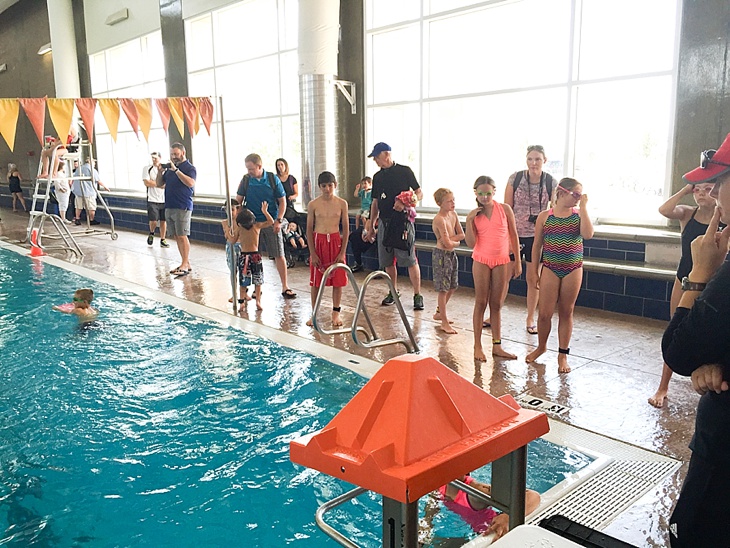
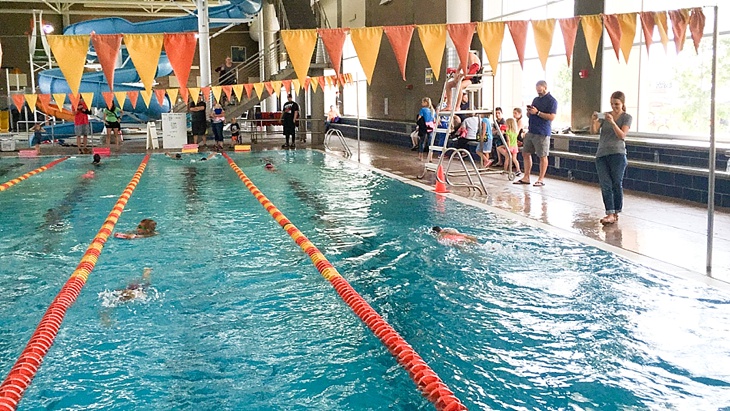
I was towards the back of the line so I didn’t have to stress about swimming too slow and having people trying to swim over the top of me. When you swim in a pool, they stagger each person about 10 seconds apart. Because you’re being timed by a chip, they don’t start your time until you get in the pool and they tell you to go. So the time at the finish line isn’t accurate for anyone but the person who started very first. Your real time is determined by the chip you wear around your ankle.

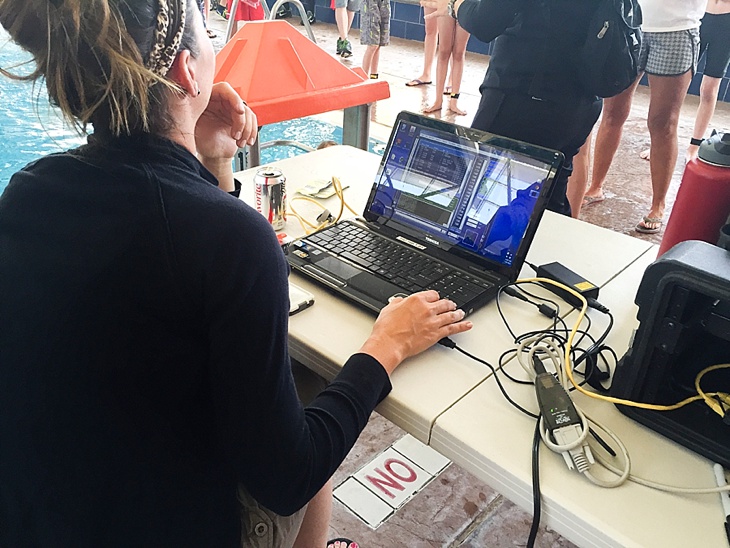
I either got a chip too big or didn’t put it on tight enough so it fell off while I was swimming. I dove around trying to find it (and yes, I was plugging my nose while doing this)–finally found it a lane over floating on the water. I had to hold it in my hand until the end of the lane, jump out of the pool and someone helped me get it back on tight, then jumped back in and finished the swim.

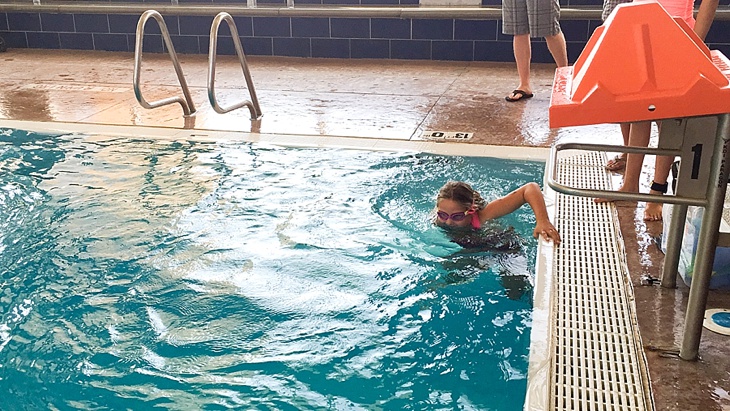
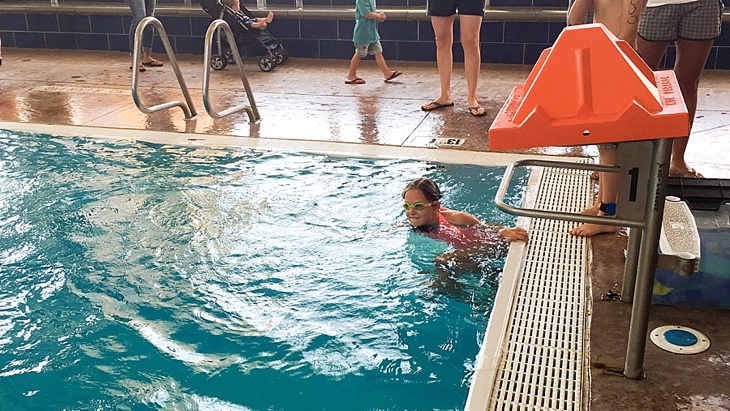
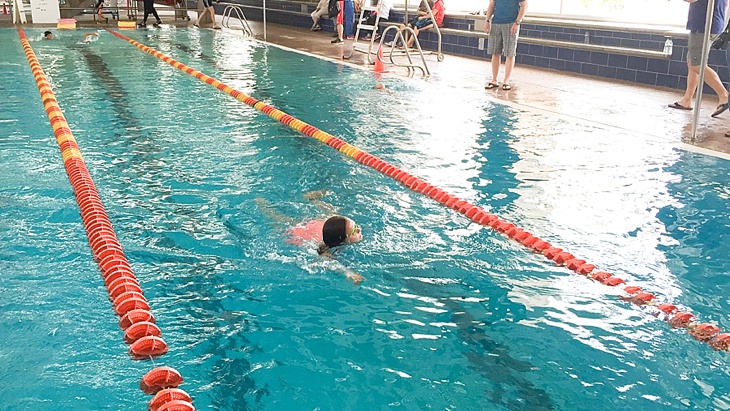
The swim part ended up not being as bad as I feared. I honestly just wanted to finish under 15 minutes (it was a 400m swim–yes I realize if you’re a swimmer 15 minutes for that distance is slow, but I was just hoping not to have a panic attack about my breathing or get kicked in the face by someone. Neither of those happened so I claim success). My swim was somewhere around 12 minutes. Definitely room for improvement but I got in the freaking pool….

2016-04-21_00422016-04-25_0006When you swim in a pool, there are people going each direction in each lane. I was worried about people climbing over the top of me in the water (I’ve heard some horror stories) but because I was toward the back of the pack on starting, it wasn’t bad at all.
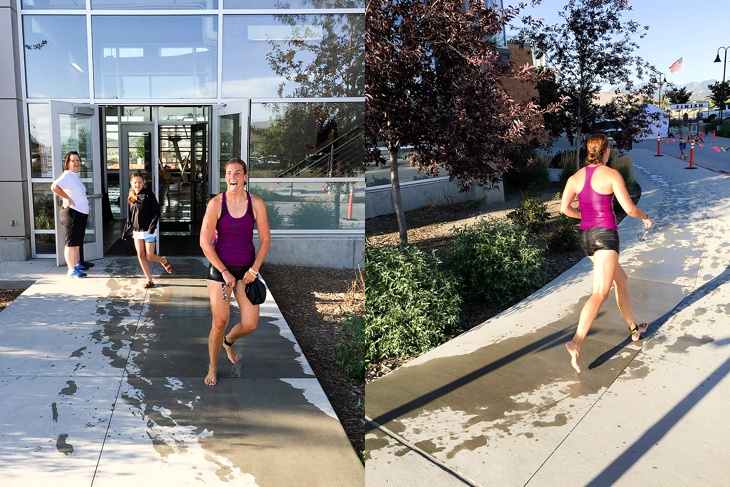
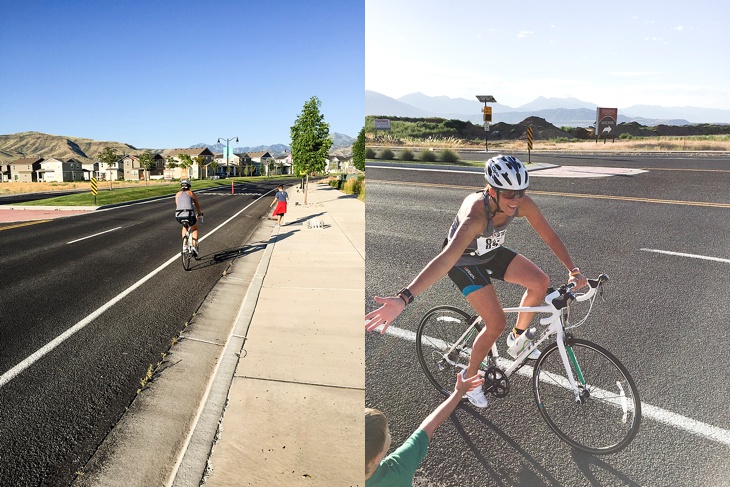
After the swim, I jumped out of the pool and headed toward the first transition. This is where I put on my biking gear (put biking shorts on over my spandex shorts, put a loose tank top over the one I swam in, socks and biking shoes, helmet, a pack with my phone and headphones. Some races won’t let you listen to music but this one did. It was a huge relief for me to be out of the pool.

2016-04-25_0007

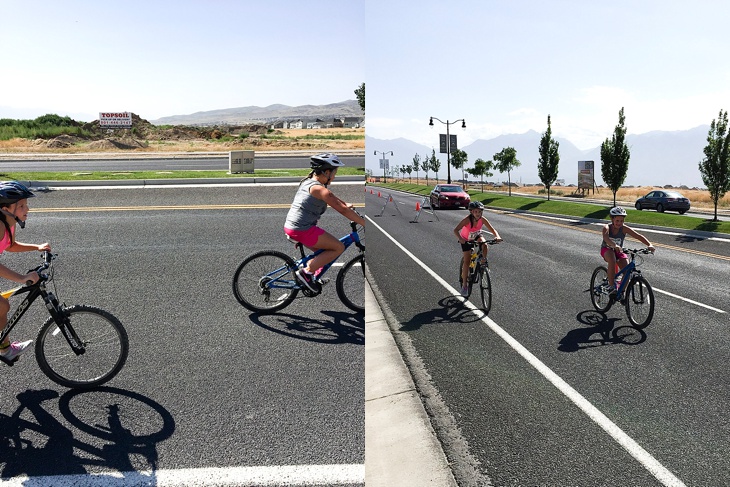
Then it was off on the bike. I believe it was 12 or 13 miles. I’m still so new to biking I haven’t figured out how hard I can push or what speed is good for me so I just rode. I drove the course of the race the night before so I knew kind of what to expect. There was one really big hill climb about half way in–mentally it was good to know that was coming. It was suuuuuper windy the last half of the race. Enough that the front of my bike was wobbling pretty bad. Thankfully crashing wasn’t on the agenda. My bike time was slower than I anticipated but not terrible.

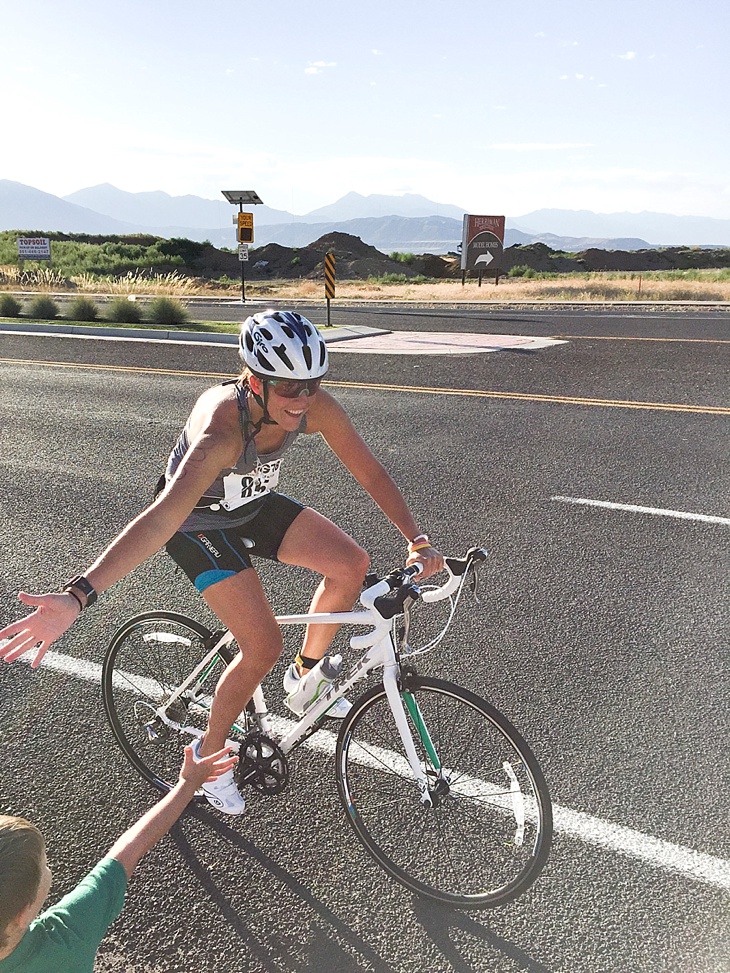
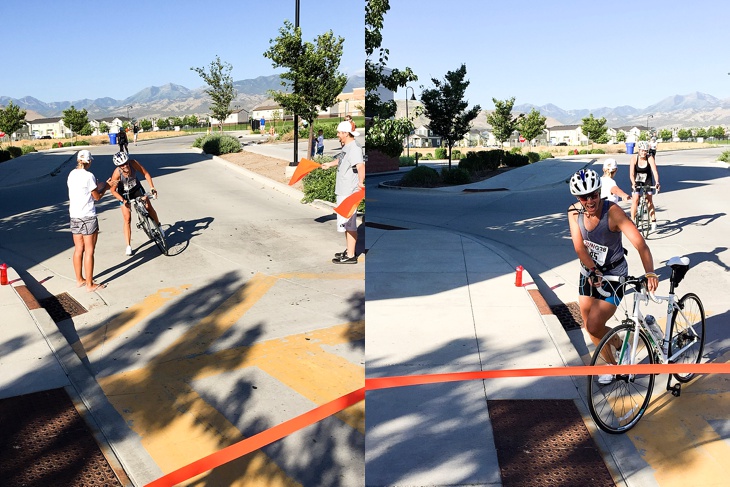
2016-04-25_00022016-04-25_0005After the bike it was on to the run. My legs were a little wobbly after the bike ride, but not bad. And it wore off fast. As I was running through the transition one of the volunteers noticed I still had my bike helmet on. In my haste to get a good transition time I forgot to take it off. I didn’t feel dumb at all. Sheesh. I just tore it off and left it with him to retrieve later.
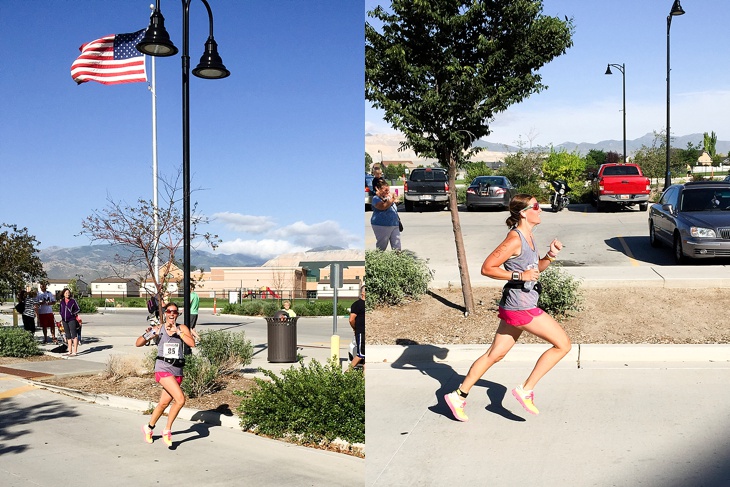
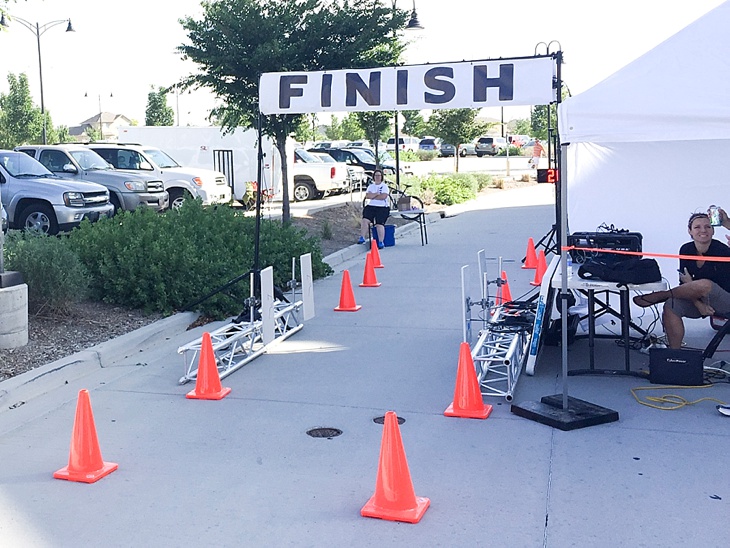
2016-04-25_0004

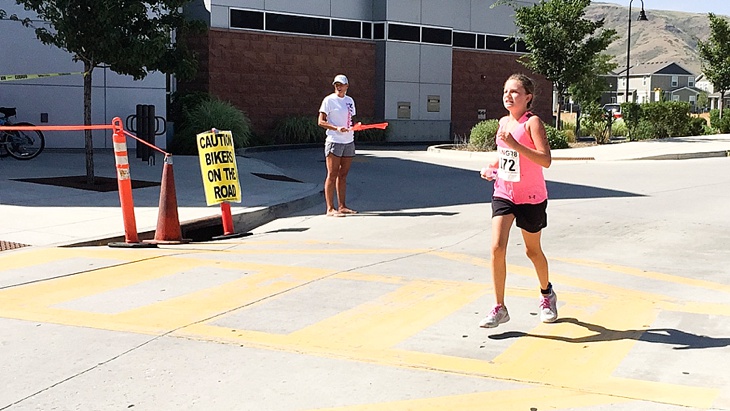
The run felt good. Like I mentioned, I’m not a fast runner. But I like to run so I was looking forward to this at the end. Now that I’ve done it, I know I can push harder on the bike and run (and the swim for that matter).

2016-04-21_0037

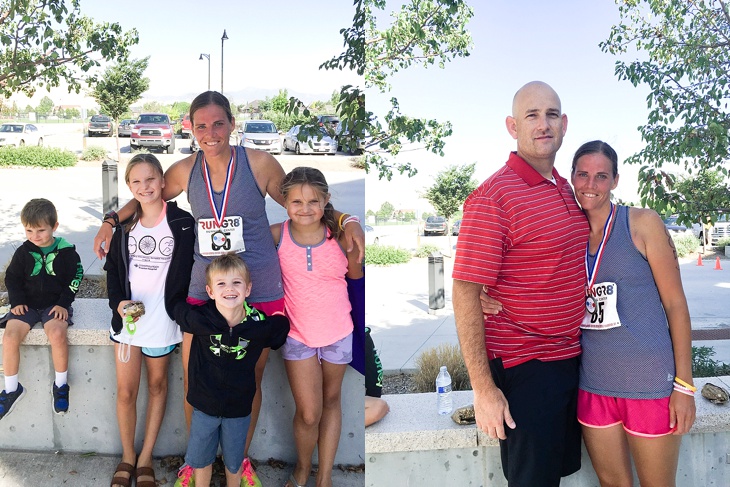
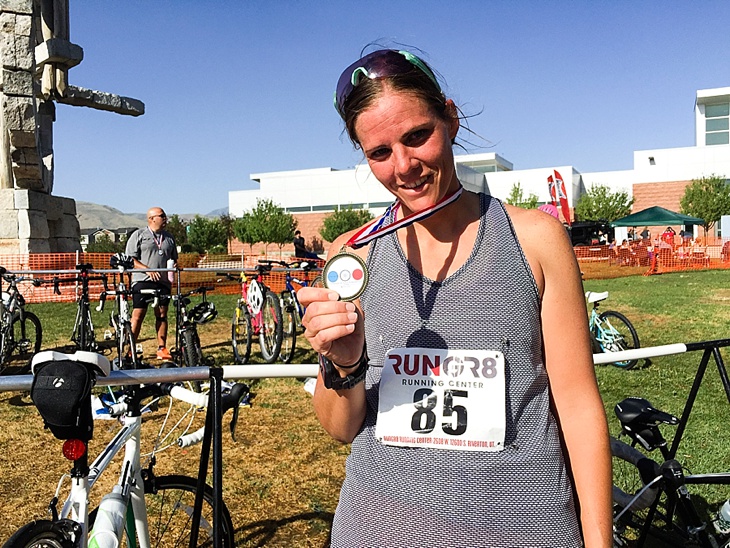
I’m always happy to finish the race, but I was especially happy (relieved) to finish this one. I love the racing spirit and it was even stronger this time. Crossing the finish line after you’ve trained hard and did something you weren’t 100% sure you could do is a feeling I haven’t been able to get any other way. My husband was there with our four young kids (who he had to drag out of bed insanely early). It’s a huge boost to have your people there cheering for you.

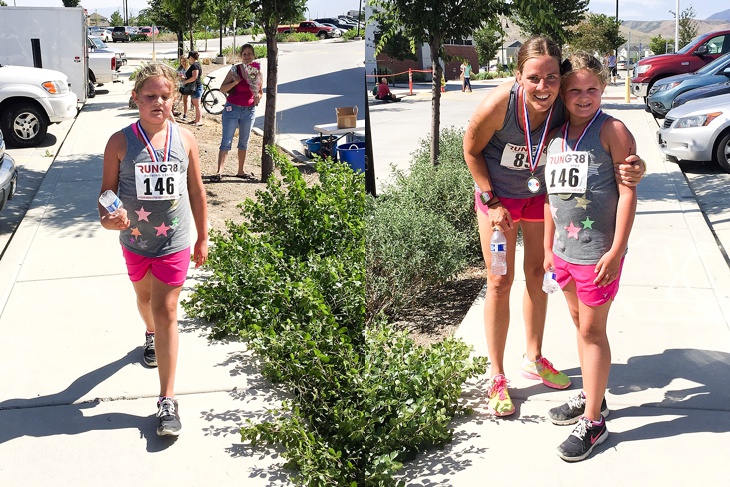
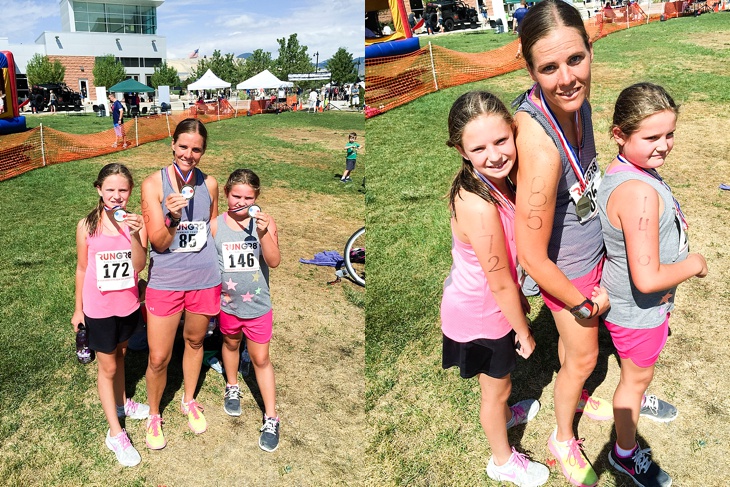
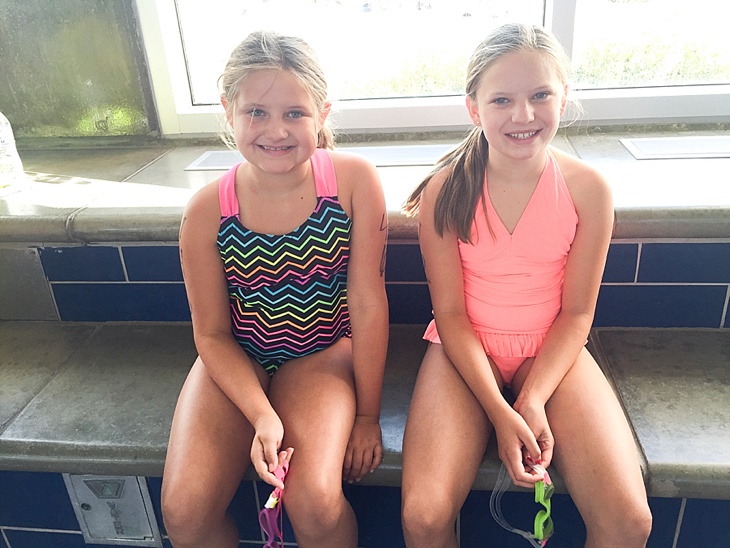
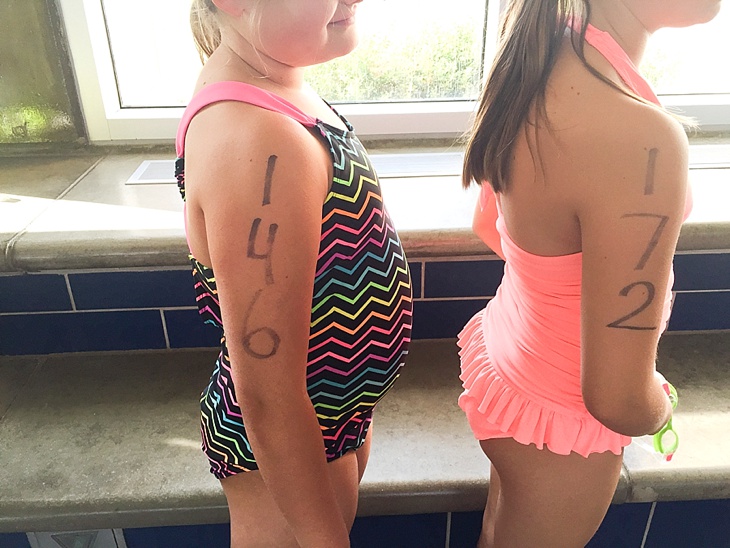
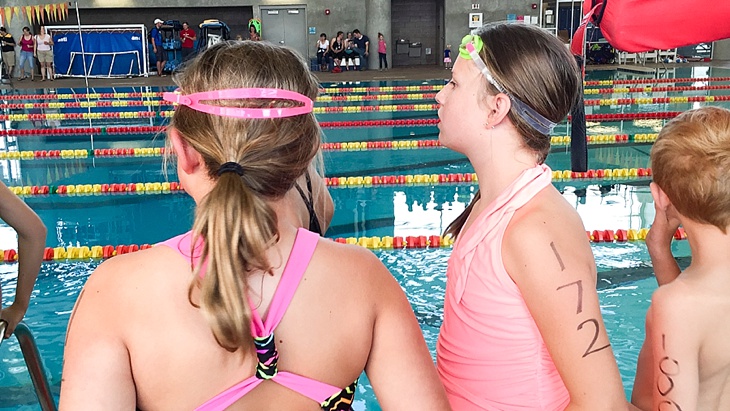
2016-04-21_00352016-04-21_00342016-04-21_00382016-04-21_0028The best part is when I finished, I still had my girls race to look forward to. Watching them stand in line, painfully nervous, but inching their way forward in the swim line anyway was incredibly inspiring. This was their first race of any kind and they had no idea what to expect. But they were doing it anyway. Once they got in the water, the nerves washed away and it was nothing but smiles after that. I was more nervous for them than I was for me. There’s one level of satisfaction accomplishing something like this myself. It’s an entirely different level of satisfaction watching my kids be brave and accomplish hard things.
2016-04-21_00392016-04-21_00402016-04-21_00432016-04-21_00442016-04-21_00452016-04-21_00462016-04-21_00472016-04-21_00482016-04-21_00492016-04-21_00502016-04-25_00032016-04-25_00012016-04-21_00512016-04-21_00522016-04-21_00542016-04-21_00562016-04-21_00582016-04-21_00322016-04-21_00302016-04-21_0031

A day we’ll certainly never forget and one I’m grateful we got to do together. I’m looking forward to doing another triathlon in the future. Just have to talk myself into that dang swim again.

Before I did this race, I searched the internet for all the tips and advice I could find. I read blogs and articles and watched YouTube videos to get a sense for what the race would be like. I’m an over-preparer and I like to know what I’m getting in to. So I thought I’d pass on some of the things I learned. I’ve only done one triathlon. I’m obviously not an expert but sometimes tips from a beginner for beginners can be helpful. I also asked my brother-in-law and sister-in-law who also did their first triathlons last year to help me. Together we compiled a small list of tips.

triathlontips

**If this is your first triathlon, don’t stress too much about time. There’s a bit of a learning curve and the only way to really learn is to DO. I’m competitive and didn’t want to get a crappy time, but I also knew part of this process was enjoying it and learning what I could.

**Do at least a few training runs in the same clothes you’ll wear on race day. You’ll want to know ahead of time if certain clothing is going to bug. And everything changes when things are wet. Hello rashes.

**If your race is longer than 45 minutes to an hour, you’ll need some sort of nutrition. Whatever you plan to eat on race day is what you need to train with. Some foods upset people’s stomach when exercising. That’s not something you want to discover on race day. Trust me on that one. When you eat and how often is pretty personal based on how your body responds. I usually eat about 50 minutes in and then every 30-45 minutes after that depending on how I feel. If your body starts to tank, you waited too long. I like the Honey Stingers Energy Chews during the race.

Also figure out what you’ll eat before the race. Eat this same thing before training runs to make sure it settles well in your stomach. I like bagels, peanut butter on toast, or a protein bar. You’ll probably feel nervous the day of the race and may not feel like eating. Try to at least get something in your body for energy.

**Try to do a few training runs where you do 2 of the 3 events (called a brick). So bike and then immediately run. Or, if you have the time, do all three events for a training run. Map out a course and practice doing your transitions. It’s helpful to know what your body will feel like moving from one event to the next.

**Practice the transitions. Once you’ve trained a lot, it gets harder and harder to shave time off any one event. One place you can really save time is in the transitions. Lay your clothing out so it’s easy to find and get on in the order you need to get it on. Open the velcro on your shoes, put the helmet upside down with the buckle open, have your sunglasses open and glove straps undone, untie the laces on your running shoes, etc.

**Have something to wipe your feet off with after the swim. Putting socks on wet feet is stupid hard. Having a towel to dry them quickly is a huge help. If you run in sand after your swim, you may want a bucket of water to rinse your feet quickly and then wipe them off.

**I brought a towel to lay under all my gear so it wouldn’t get wet or muddy in the transition area

**Make sure you know the course–knowledge is power and can help eliminate confusion and keep your time down. Know what direction you are swimming, are there any turns, if so how many. In open water swimming make sure you practice sighting so you do not go off course and swim further then you have too. Drive the bike course so you know exactly where you are going and if there is a turnaround where it is. Drive the running course so you have an idea of where you are at all times and when you’re getting close to the end. PPPPPP (proper prior planning prevents poor performance).

**get to the race early so you can get a good spot for your bike. After the swim, you’re dripping wet and can be a little disoriented. It’s helpful to have your bike somewhere it’s easy to find.

**make sure you have good goggles that fit and don’t leak. You don’t want to have leaky goggles when you’re trying not to die swimming like Michael Phelps.

**if you’re doing an open water swim, try to practice swimming in open water. If you’re allowed to wear a wet suit on your swim, try practicing swimming in that as well. And, practice taking your wet suit off after the swim. I didn’t wear a wet suit in my race, but I’ve worn one at the lake before and I swear I almost dislocated a shoulder trying to get that thing off. Practice. (I’ve heard spraying yourself with cooking oil helps when you take it off–I have never done this so don’t take my word for it).

**If there’s a kids triathlon and you have kids, sign them up for the race as well. This was huge motivation to get me through my race quickly-ish so I could be there to watch theirs. And it was a day we’ll never forget.

If anyone has questions, please feel free to ask. I was so nervous about doing this and did a TON of research before I did. No question is dumb. I’m sure I had the same question before I did my race.


If you’ve ever thought about doing a triathlon, DO IT. If I can do it, trust me, you can too. Go get it!

Periscoping with Becky Higgins.

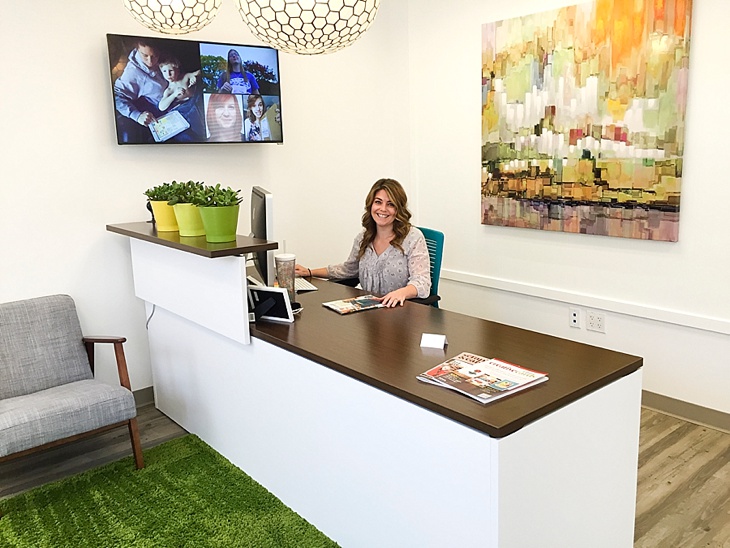
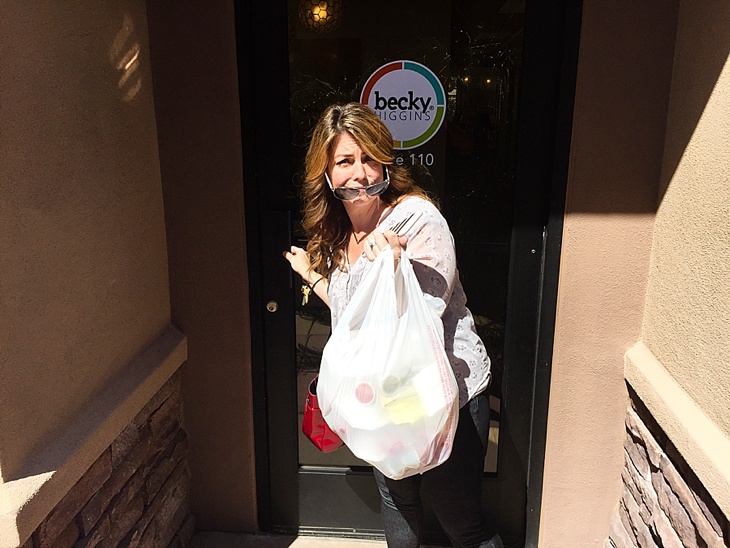
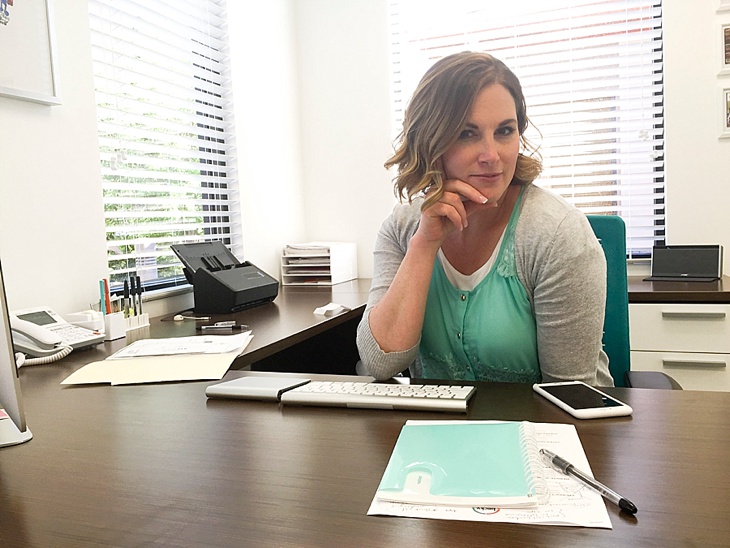
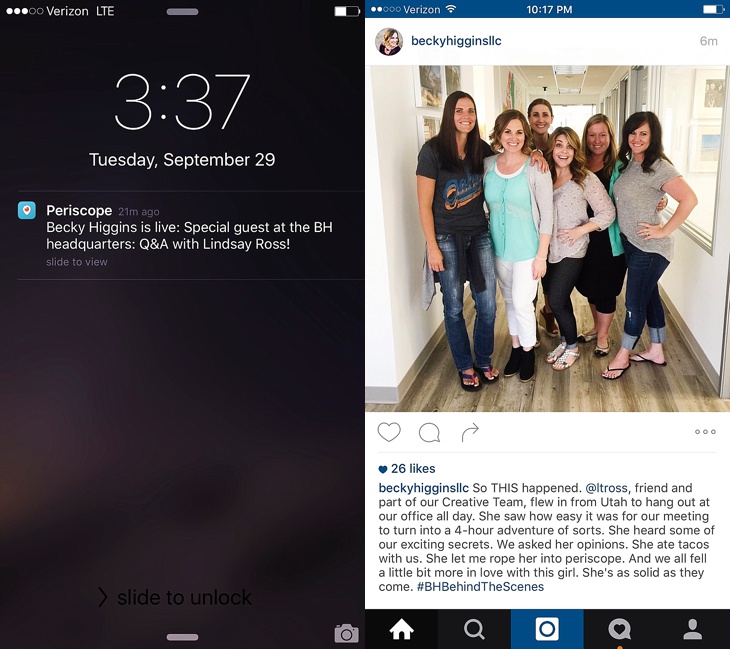
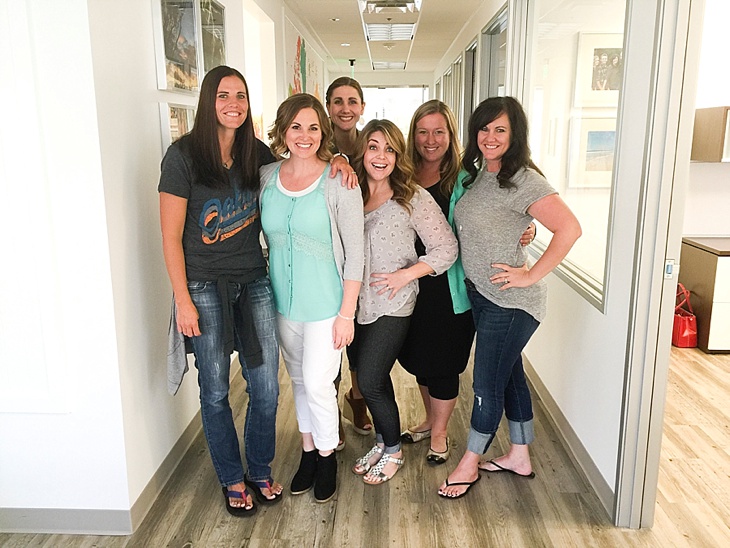
Last October I had a chance to take a quick trip to Arizona and spend a day at Becky Higgins office with her and her team.

If you’ve never heard of Becky, she’s the creator of Project Life.  I didn’t know her when I first found out about the Project Life system.  But it was just what I had been looking for to help me get my photos off my computer and phone and printed where my family could enjoy them.

Over time I connected with Becky via Instagram, was chosen to be on her 2015 Creative Team, worked at her booth for Pinners conference last November, and now manage her Pinterest account.  This is one of my favorite things about social media–the ability to make life-long friends.  We were complete strangers and now I consider her a dear friend.  And with her, I’ve made several more friends with women on her team who I connect with in ways I never imagined I could having just met someone.

Becky’s solid gold as is every single member of her team.  She’s incredibly creative, has a great sense of humor, and is a talented businesswoman who I have nothing but respect for.

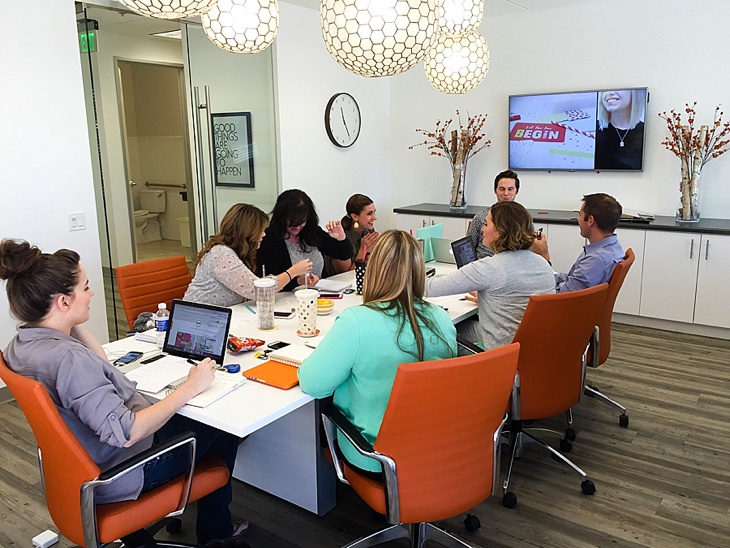
I got the chance to see behind-the-scenes in the office, sit in on a team meeting, ask ANY questions I wanted to (invaluable to someone trying to run her own small business), and hang out with the BH team for a day.  Truly a day I’ll never forget and I’m nothing but grateful for them accepting me with open arms and making me feel like I belonged.

2016-04-11_00012016-04-11_00022016-04-11_00032016-04-11_00042016-04-11_00052016-04-11_00062016-04-11_00072016-04-11_00082016-04-11_00092016-04-11_00102016-04-11_00112016-04-11_00122016-04-11_00132016-04-11_00142016-04-11_00152016-04-11_00192016-04-11_00172016-04-11_00182016-04-11_00162016-04-11_0020

While I was there Becky talked me into being on Periscope with her.  I’m not sure there was an option to say No.  As you can see in the video I was wildly uncomfortable not knowing exactly what to expect.  But I managed to bumble my way through it.  Another great experience watching how things like that work within her company.  Becky’s great on video and completely comfortable doing it.  I learn so much just by watching how she does things.  She’s a great example of someone who gives, gives, gives and was more than willing to share her knowledge and great advice.
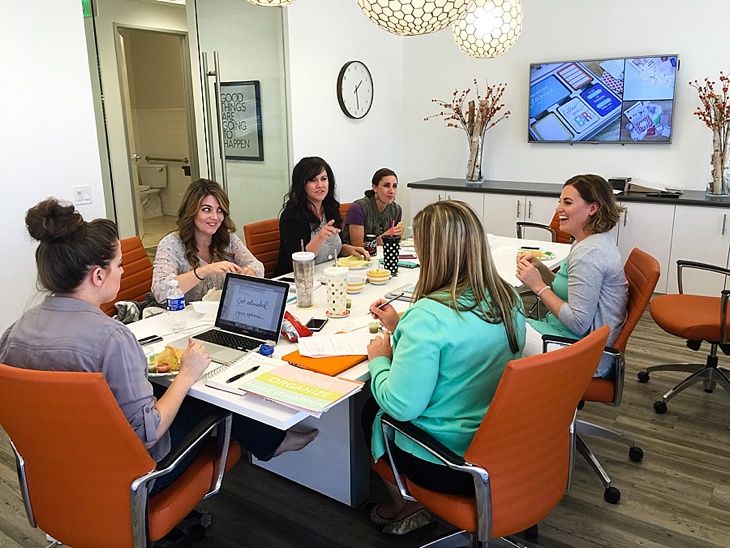
Photo Display for your wall

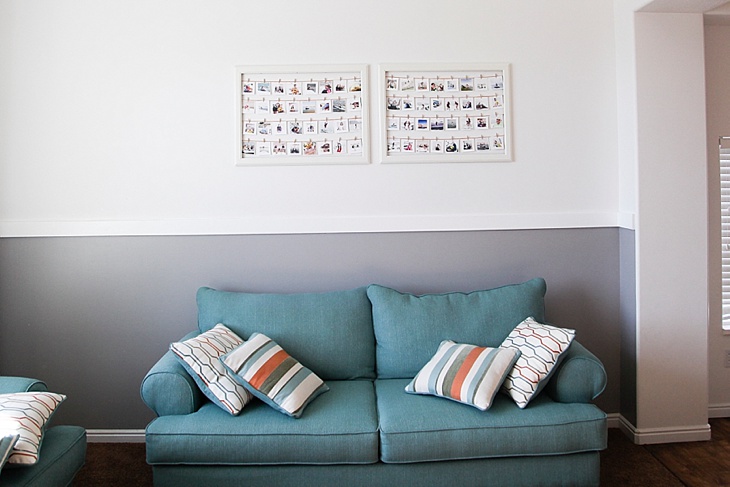
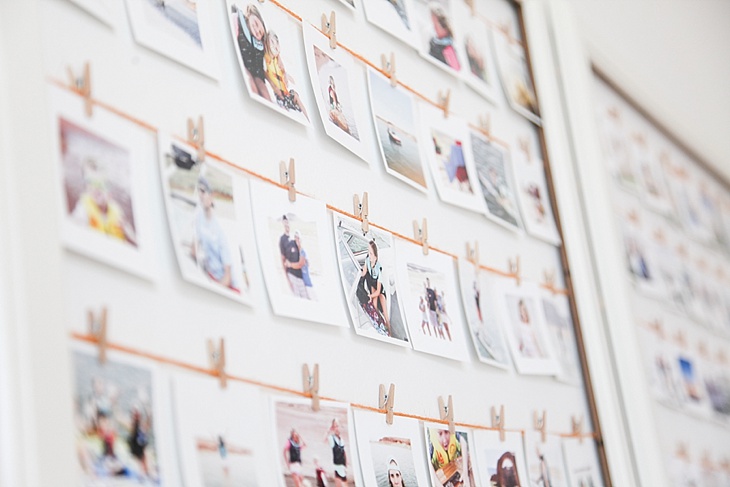
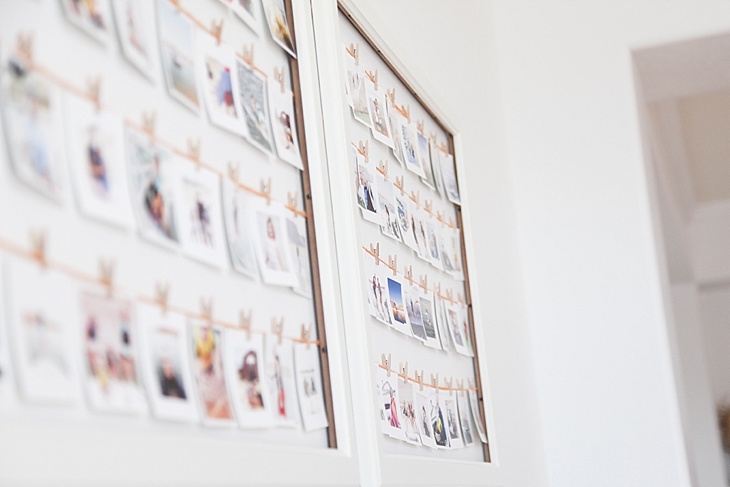
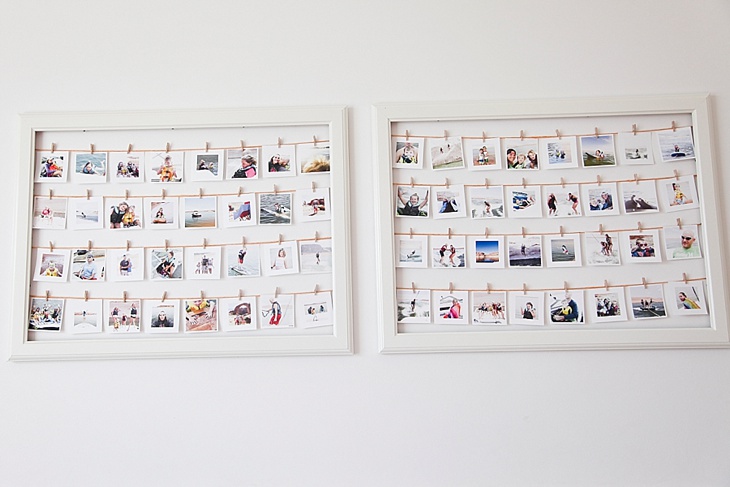
The wall in our front room was bare for a long time.  I couldn’t come up with the perfect thing to put there.  And then I saw a version of this idea and decided to give it a try.  It’s a fun, unique way to display photos and easy to switch them out over time.

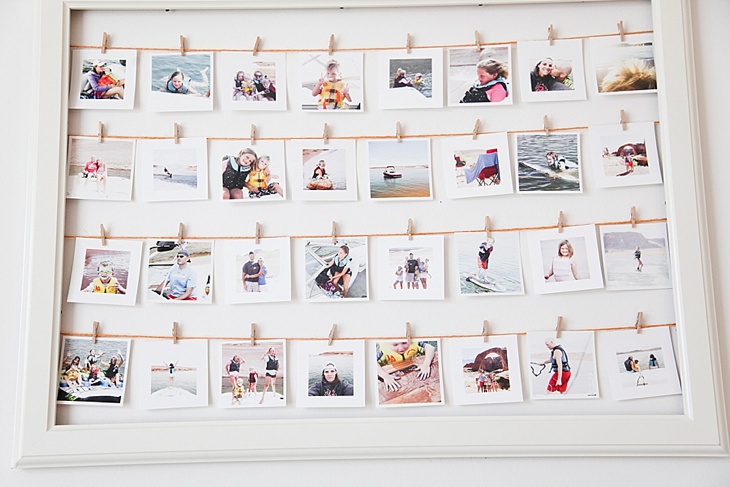
I got two big frames from Ikea and took out the glass.  The photos I printed were 3 inch by 3 inch from Persnickety Prints  so I measured the space I had in the frame and divided out how many strings I could have to make each row even (explaining math on a blog post isn’t my strength).
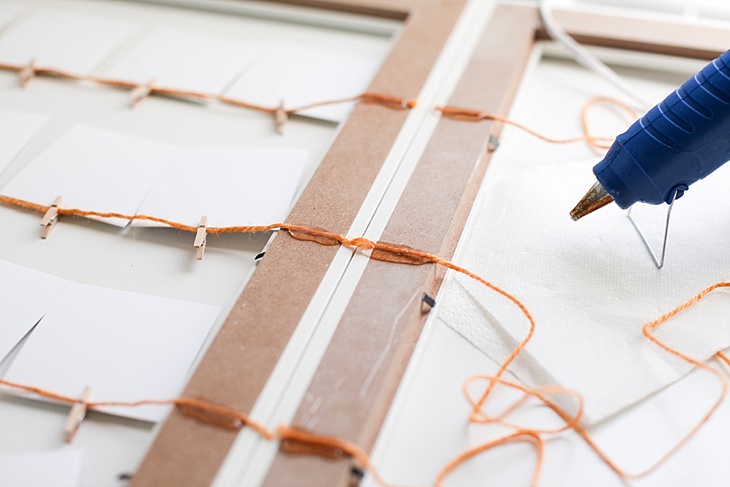
I used a hot-glue gun (and burned myself at least a dozen times) to attach thick string to the frames.  I glued one side first, let it dry, then pulled the string as tight as I could and glued the other end while I held the string there until it dried (thus the reason I burned myself over, and over, and over–there’s probably a smarter way to do this, but when I pull out the glue gun, my brain falls out of my head).  If you don’t pull the string tight, it will sag once you start putting all the pictures on.

wall photo display

Once the glue is completely dry, I started adding photos.  I got the itty bitty clothes pins from Hobby Lobby.  They have multi-colored ones as well.  Or you could spray paint them a different color if you were feeling extra ambitious (I clearly was not).

wall photo display2016-03-28_0005

All of the photos are from trips we have taken to Lake Powell over the years.  Powell is my happy place so I wanted something that would make me happy every time I looked at it (although in the dead of winter in Utah, it sometimes makes me want to cry).

2016-03-28_00032016-03-28_0002

And there they sit over my couches.  My plan is to swap out the pictures with various vacations we take over the years.

2016-03-28_0001

If you want some more ideas for photo displays you can put on your walls, check out these eight ideas I’ve used in my home.

Or, check out this wall display that is my favorite wall in my house!

And here’s my opinion on where you should print your photos!

Related Posts Plugin for WordPress, Blogger...