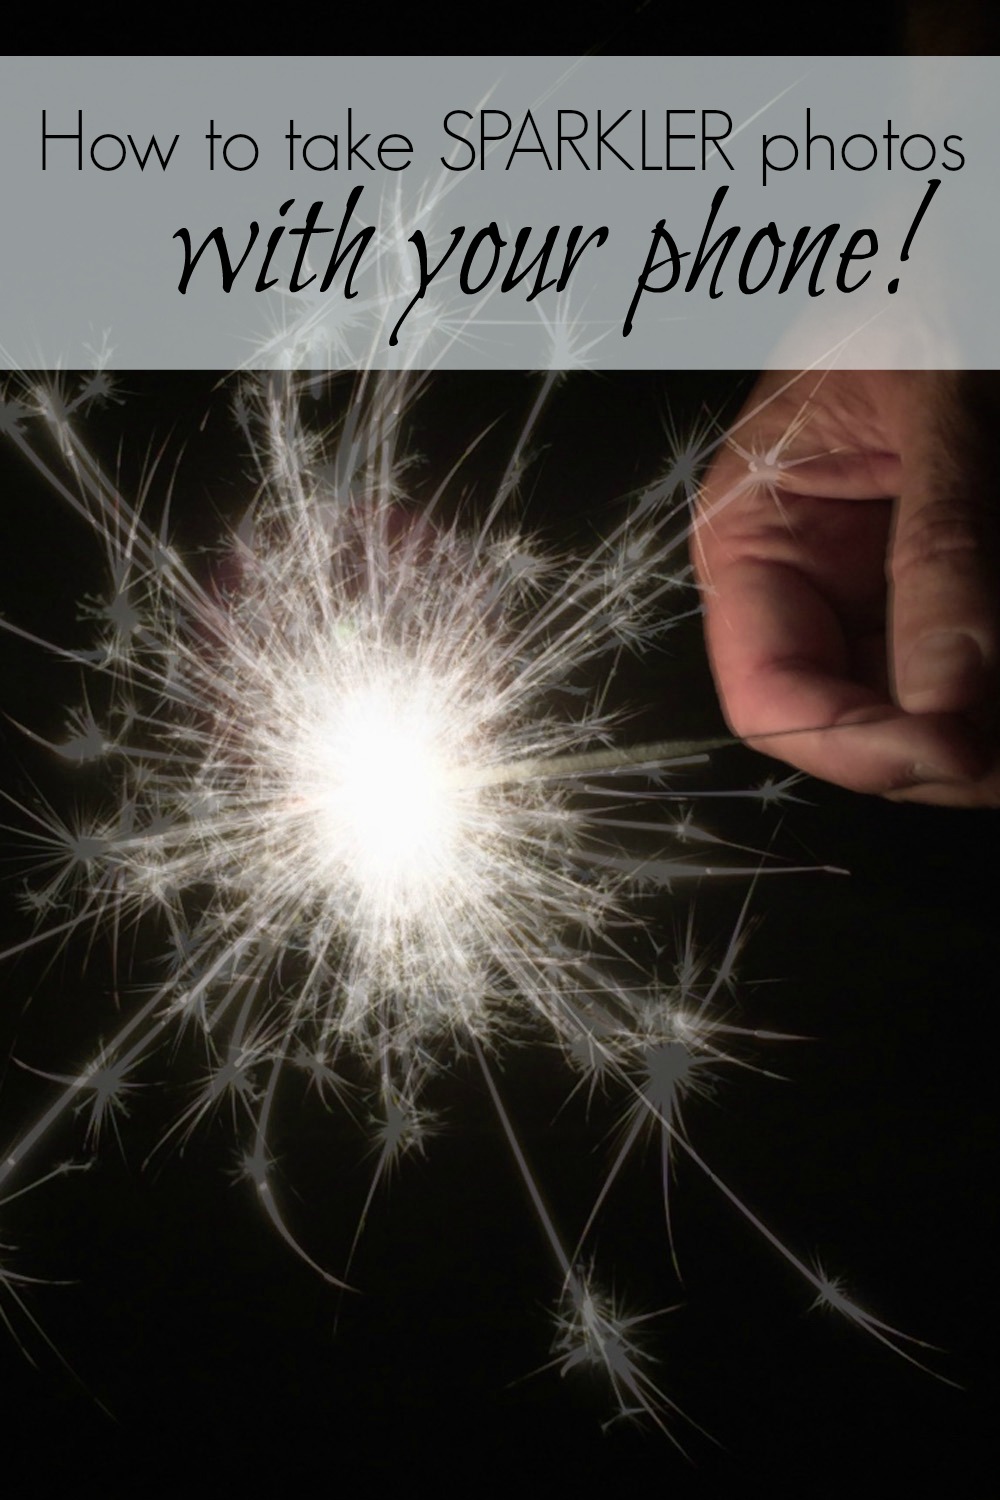
This time of year is easily one of my favorites. Summer, hotness, playing all day, crashing at night, and doing it over the next day. And the 4th of July is one of my favorite holidays. Last year I played around with my dSLR camera and took some photos of sparklers. Because sparkler photos are just fun. And I thought about doing a quick little tutorial on how to do that with a dSLR, but then I realized you can take sparkler photos with your PHONE! And you don’t have to understand how to do manual settings on a camera. I was actually doubtful you could really do it, but then I made my husband go out front at midnight and light sparkler after sparkler after sparkler (which he super loved doing) and sure enough, I took sparkler photos with my phone!!
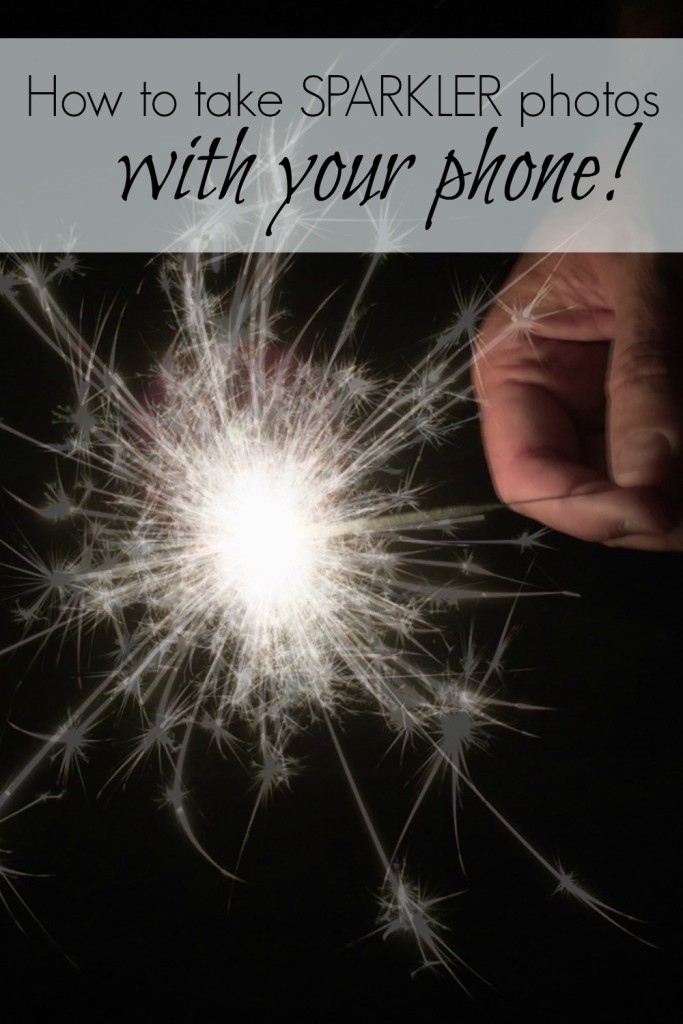
(Oh hey, you can hover over this photo (or any photo on the blog) and Pin it for future reference–you know, so you can remember how to do this on the next firework holiday in your state.)
So. How to take photos of sparklers with your phone.
For the record, ALL of the photos I’m sharing in this post are straight-out-of-the-camera. I didn’t edit anything. Just to show what it looks like coming directly out of the camera without any work after.
First things first, you need an app to do this. And you’ll probably want to get the longer lasting sparklers. If you just have regular sparklers, they burn out real quick and it’s harder to get many photos. Whyyyy are sparklers so hard to light??
Also, you can’t take sparkler photos with the native camera in the phone. This is what it looks like if you just try to take a photo of a sparkler in the dark:
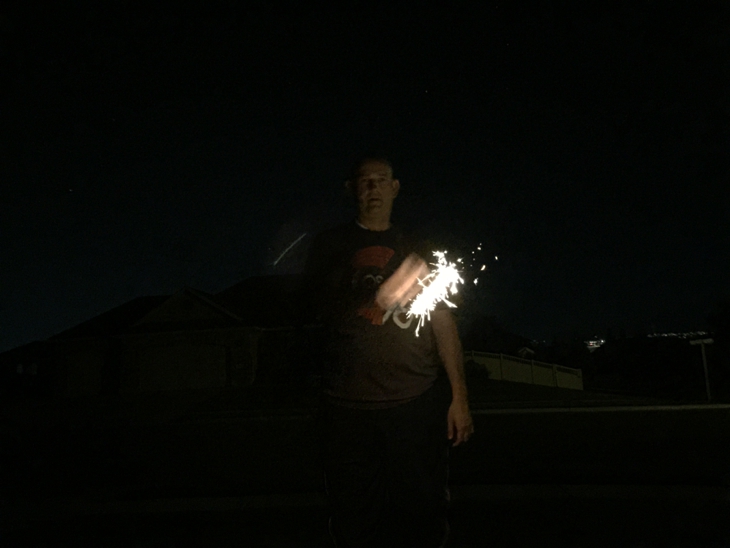
Pretty bad. Because you can’t manually set the camera on your phone, the shutter doesn’t stay open long enough to record the light from the sparkler.
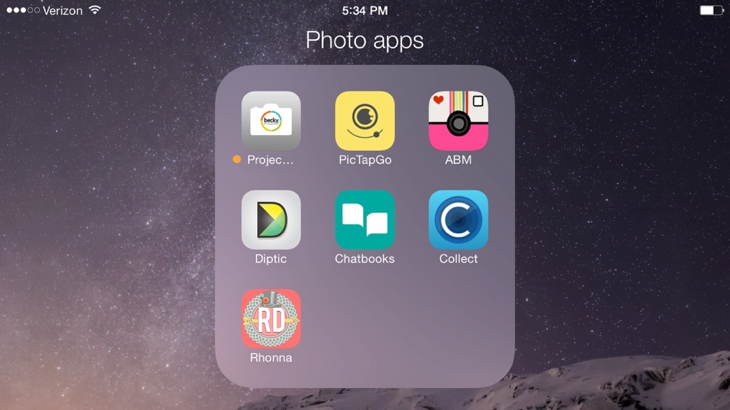
I downloaded the Slow Shutter Cam app for my iPhone 6 plus. It’s worth the 99 cents if you want to be able to take the sparkler photos using just your phone. When you open the app, you click on the icon in the lower corner (right corner in this photo) and choose “light trail”. Adjust the “shutter speed” to around 15 seconds so you have plenty of time to capture the light.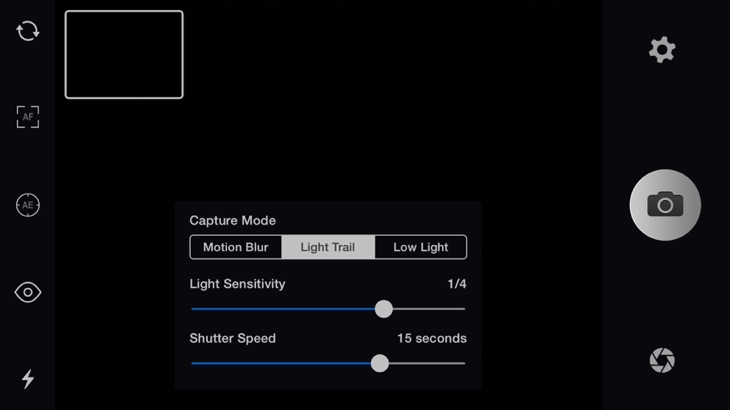
The next step is to get your camera steady on something. I don’t have a tripod for my “phablet” (as my husband affectionately calls it) yet, but if you have a tripod for your phone, use it. If not, make sure you rest your phone on something so it’s not moving at all. I took a small table outside and set the phone on that to keep it steady while I held the sides. This step is crucial. If you try to just hold the phone without stabilizing it, you’ll move to much and the photo will be blurry.
Touch on the screen where the sparkler is (you’ll have to do this after the sparkler is already lit so the camera can focus on the sparkler area). The blue box with yellow circle in the middle will appear. That’s how you set your focus.
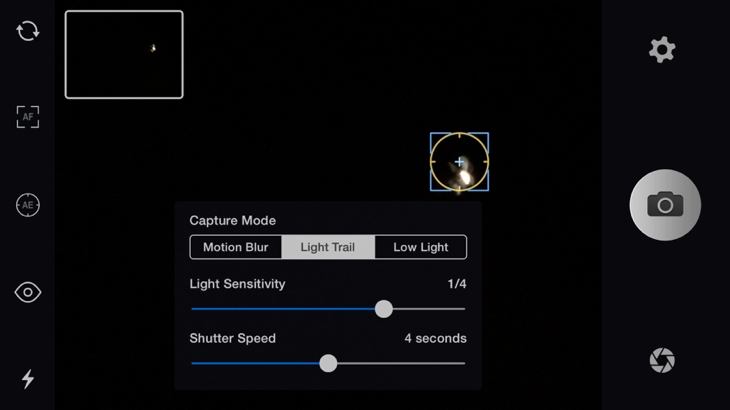
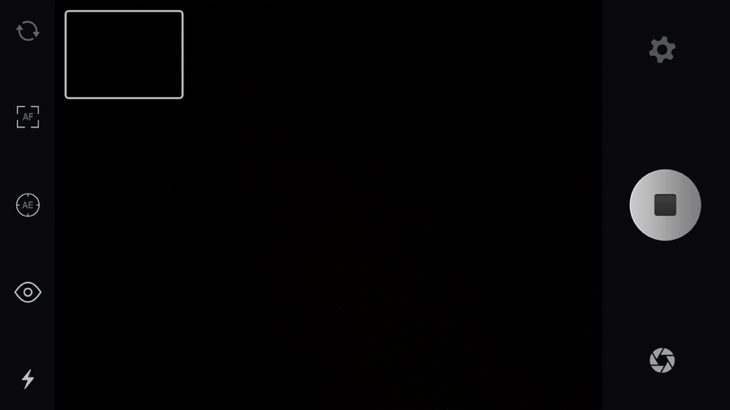
Now just push the camera icon to start the photo. Once you push it, the camera icon will turn to a “stop” button (dark square in the gray circle) as in the photo below.
This is one of the cool parts. You can start and stop the photo for the entire 15 seconds (or whatever seconds your shutter speed is set on) and it all stays as one photo. So when you’re writing a word, you can do one letter at a time by starting the camera, stopping it and then starting it again. For example, in this photo of XOX, I started the camera while he went down on the “X”, then stopped the camera, then started it again after he had raised his hand to go down again. Then once the first “X” was done, I stopped the camera, he moved over a little, then I started the camera and he did the “O”. Then I stopped the camera and we did the same thing for the last “X”. So the photo ends up looking like this:

Instead of like this:
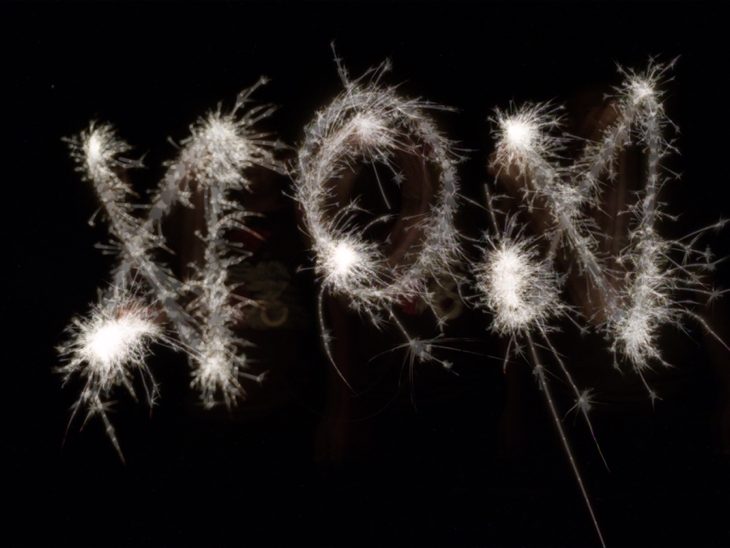
See the light trail on the right side of both “X’s” when he raises his hand to do the other line in the “X”? If you stop and start the camera, you can get rid of that line that shouldn’t be there on the “X’s”.
The stopping and starting feature was one of my favorite parts about the app. Really cool feature and allows for a lot of creativity and experimenting.
Once you’re done with the photo, you hit the “stop” button (you don’t have to wait for the full “shutter exposure” time to run out). Then choose “save” and it will save the photo to your camera roll. After you save the photo, choose “clear” and this box will pop up:
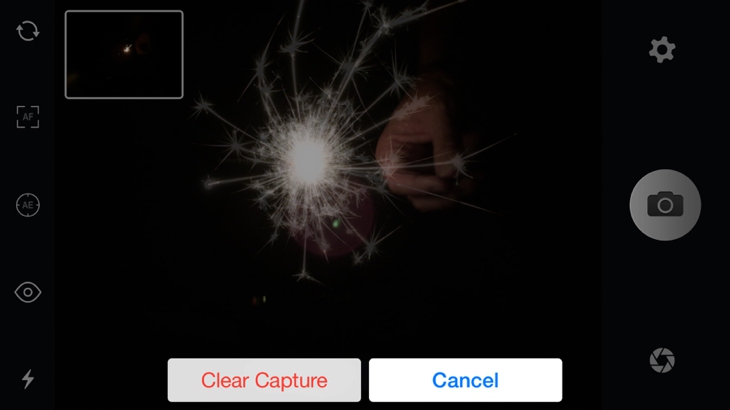
Choose “clear capture” and then you can start with your next photo.
It’s all really simple to use and I was amazed the phone was able to take pretty good photos of sparklers!
A sampling of some of the photos we took in the quick midnight shoot in the front yard where I really just wanted to see if the phone was actually capable of doing this (I’m still surprised it worked). And again, all of these photos are straight-out-of-the-camera. I didn’t do any sort of editing on the backend.
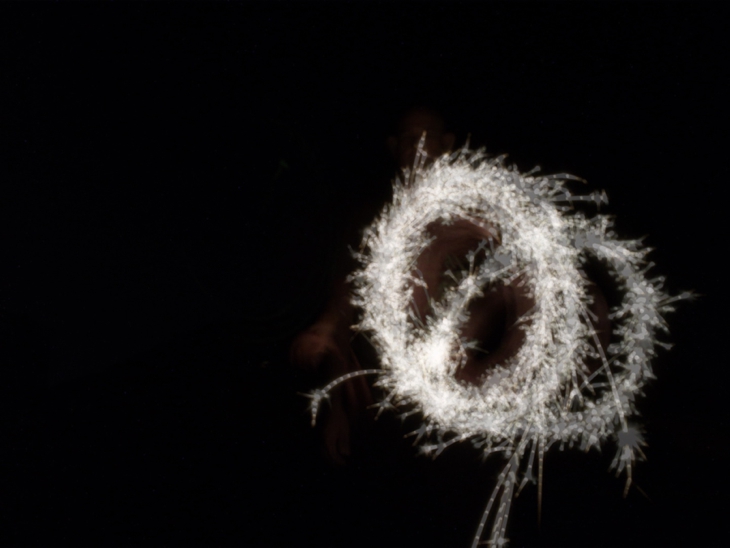
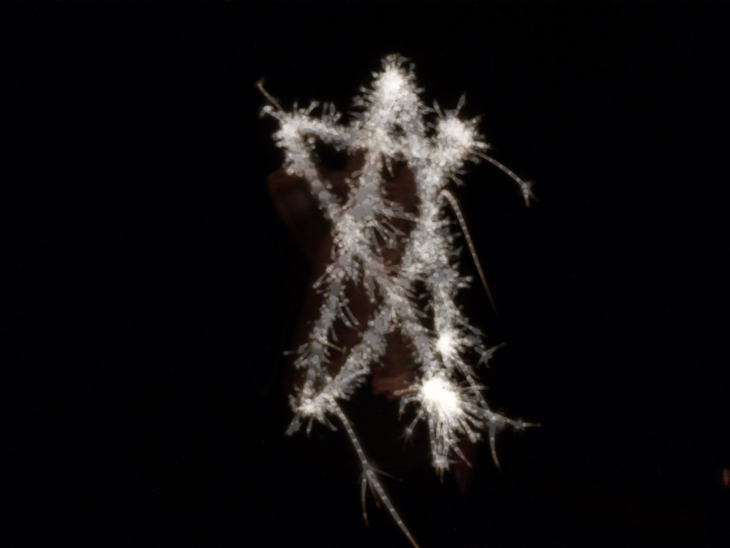
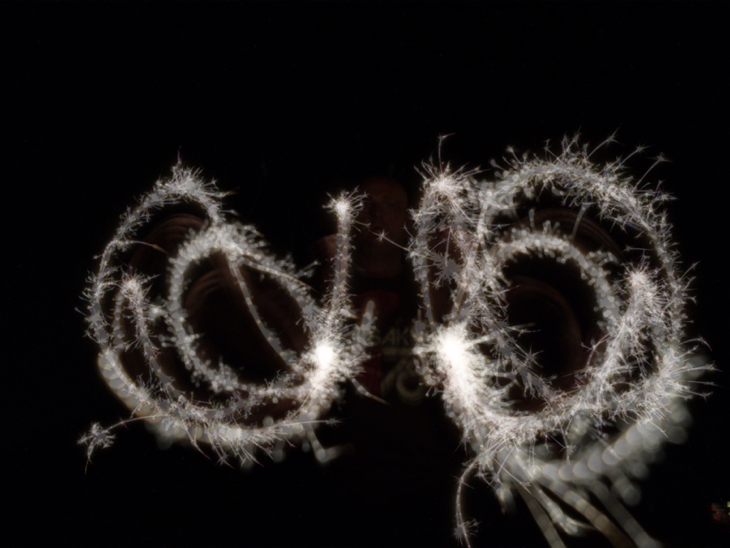
If you try to write words, remember the person writing them has to do the letters backwards so it looks right to the camera. This takes some skill and practice. And the words are a little blurry because I wasn’t holding the camera steady enough. A tripod or something really stable is KEY in getting the photo in focus.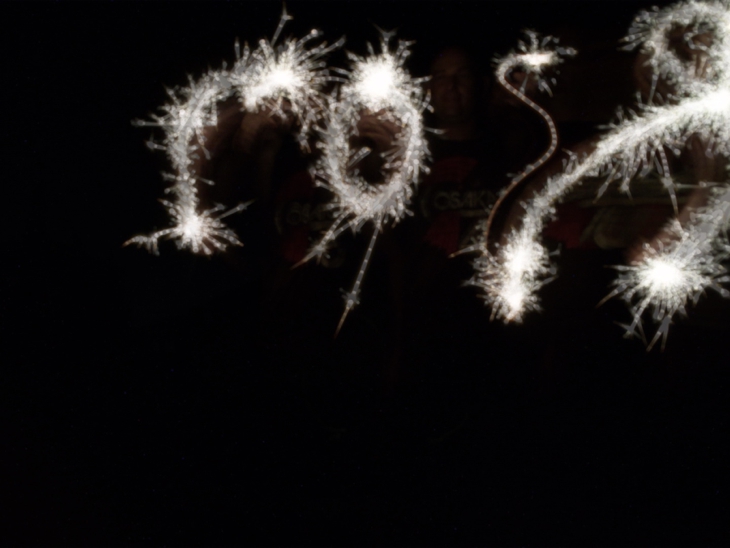
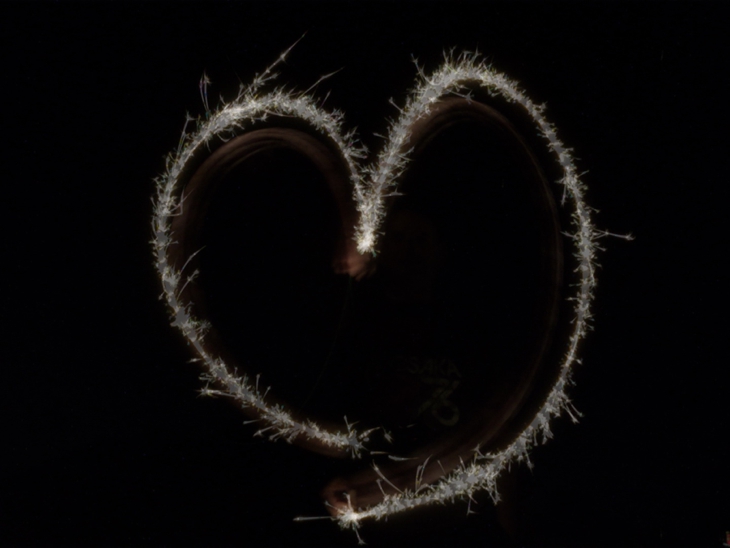

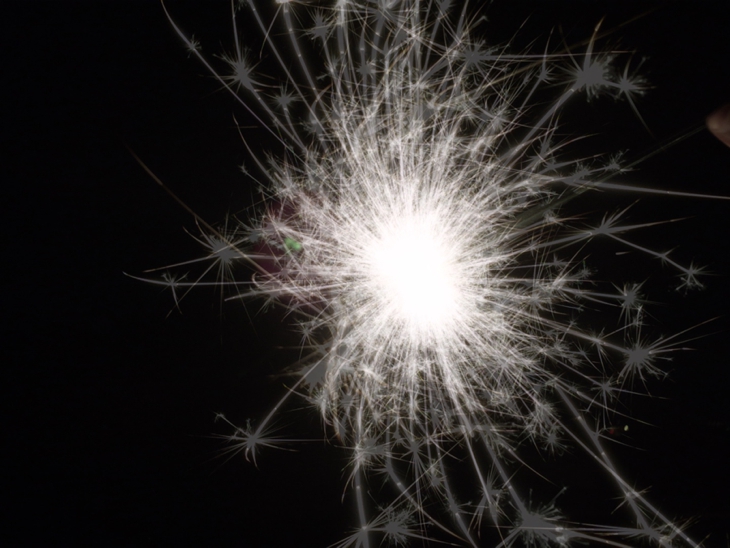
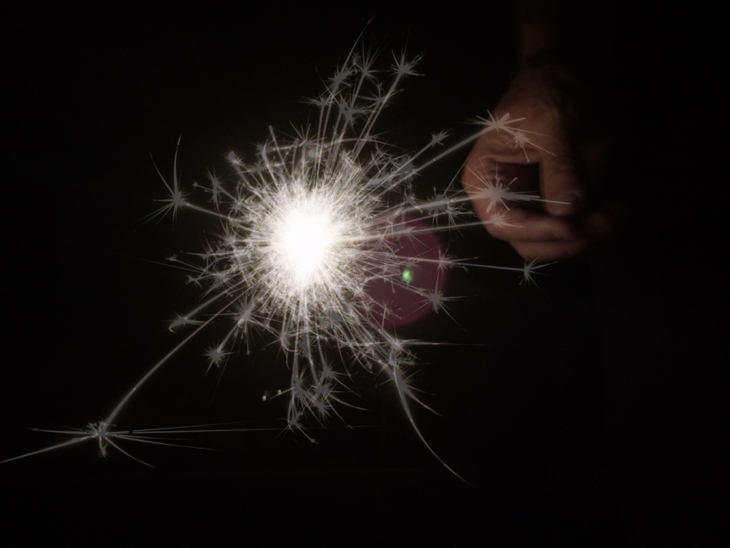
The longer you leave the shutter open (set the seconds higher on the “shutter speed” settings), the more light it collects. I let this photo go for about 3 seconds which is why there’s a lot of light in the middle. And the sparkler was really close to the camera.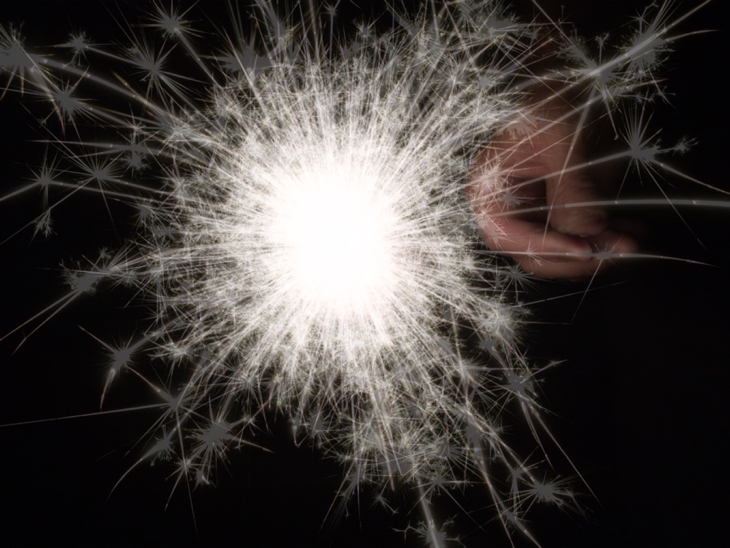
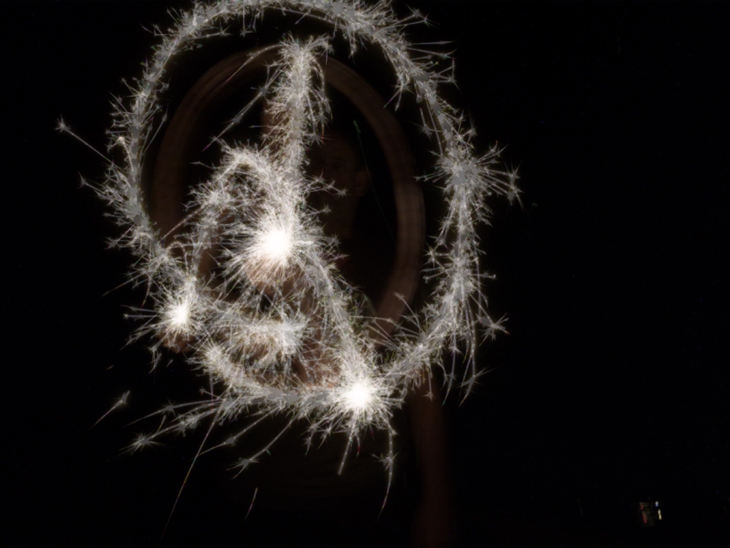
And this is when I told Mike to lay down on his bike and write the word “dream” in cursive (he was on his back with his head by me and his arm in the air so he could spell the word without having to do it backwards). The shoot ended right after this. Can’t imagine why (he really is such a good sport).

I’m looking forward to playing around with this on the 4th of July with the kids sparklers. Although I plan to get some fun photos that day, my main goal is to get everyone through the day with no broken bones and no burns. I call that a success.
Since we’re on the topic of fireworks, for all my Utah county readers, there’s a new firework company in town I recently found out about. When I was a kid, I remember begging my dad to get more and more (and more) fireworks. I LOVED sitting around as a family and lighting fireworks (except for the time one of them went under my grandpa’s car and I was sure it was going to explode–I’m still traumatized by it). The more the better. I have many fond memories of the fourth of July in our little cul-de-sac. So I appreciate people who work to make this possible for other families. This new company is kind of different and I love the concept behind it. It’s called Provo Fireworks and it’s based entirely online. No firework tent. No physical location to go buy fireworks. You do all the shopping online, pick out what you want, then pick it up in Provo, OR if you live in Utah county, they’ll deliver the fireworks to you for $5. On their site it says they’ll also deliver “further north and south.”
The great part about doing this online (I think this is SO smart) is the videos they have of the different fireworks. So you can see what they actually look like when they go off. Last year we bought one of those medium-sized packages of fireworks at some grocery store and it was expensive. Most of the fireworks were lame-o (that’s a real word). I would have rather had less fireworks with each firework being “worth it” instead of a bunch of dumb ones. On this site, you can see what the fireworks are AND watch a video of what the firework looks like when it goes off so you know if it’s worth it or not. Love this idea. And if you get one that doesn’t work (a dud), you can get a refund.
Also, the firework prices are better than you can get anywhere else I’ve seen. The man who started it is super passionate about his fireworks and is working hard to make it more affordable and fun for family’s to be able to do their own fireworks.
If you’re planning to get fireworks this year for your family and you live in Utah, I definitely recommend checking them out.
Hope everyone has an awesome Fourth of July!
For more awesome ideas, follow me on Pinterest. I pin good stuff. You can also follow me on Facebook to keep up with new blog posts and stuff I share from other inspirational sources. And you can follow me on Instagram for a little more personal interaction, motherhood/parenting posts, random funny stuff and some photography tips.
For more photography tips from the blog, check out the Photography page.
And if you want some GREAT photos tips that will immediately improve the photos you take with your phone, get these TEN free phone photography tips.
. I hope that can get me motivated to start my days a little earlier and get to bed at a decent hour.
