What kind of camera should I buy? What kind of lenses should I buy?
I get asked these questions a lot so here’s what I suggest. Let me be upfront and say I am by no means an expert on cameras. There are a bajillion cameras out there these days and most of them are probably pretty good and will do what you need them to do. This is all MY opinion and what I would do if I were looking for an entry level digital camera (dSLR–camera that can change lenses).
I also need to add the disclaimer that I shoot with a Canon camera so I’m mostly familiar with the Canon brand. I’m not looking for a debate on which brand is better. Canon, Nikon. They’re both good. My dad bought me a film Canon camera in high school and when I switched to digital, I stuck with Canon so I could still use my lenses (since Canon lenses fit on any Canon dSLR camera). And I do not get paid by Canon to promote their products (although that would be nice).
When I first started out, I bought a Canon Rebel and started my business with that camera. They have changed that camera around a bit since I bought one. But here are some things I would look for.
1. Don’t get fooled by megapixels. People think that a camera with more megapixels is a better camera. Not necessarily true. All megapixels means is that you can make larger prints. So higher megapixels means you can make bigger prints. You don’t need a 20 megapixel camera unless you’re planning to print pictures the size of billboards. Seriously.
2. The lenses for a camera are
almost more important than the camera itself. I talk a bit about this in my
“tell my story” class, but the lenses that come with a camera aren’t that great. In the class, I talk about different lenses you can get after you get the camera and the lens that comes with it. So when looking at different lenses, you’ll see a number like 18-55mm or 18-200mm. That tells you how far the camera can zoom. So the larger the second number, the farther you can zoom, and the smaller the first number, the wider the angle (you can fit more in the frame).
3. If you see an “IS” that means Image Stabilization which helps keeps shots in focus if you don’t have a very steady hand. I definitely recommend those type of lenses.
4. I looked on Costco’s website and some of the camera’s come with 2 lenses. If it were me, I would just get a camera body and one lens that comes with it (looks like 18-55mm on most of them) and save my money to invest in a better second lens instead of another “kit” lens. Or you could even just buy a camera body and then buy better lenses than what come in the “kit” (“kit” meaning lenses that come in a kit with the camera body). Kit lenses aren’t great.
5. A
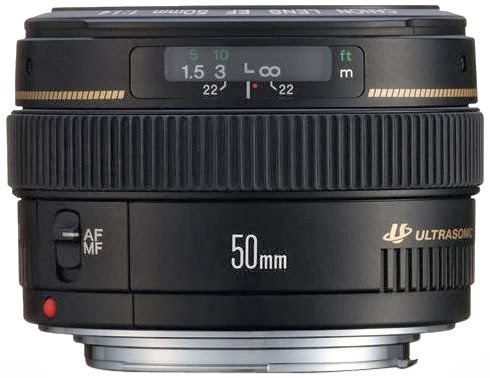
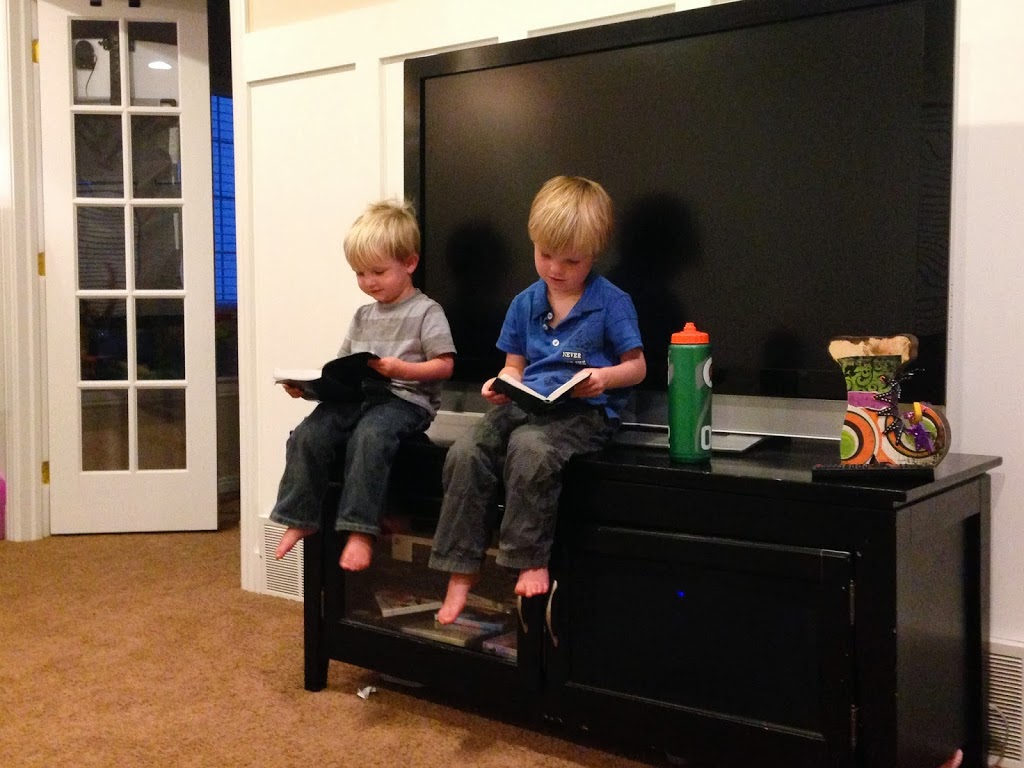
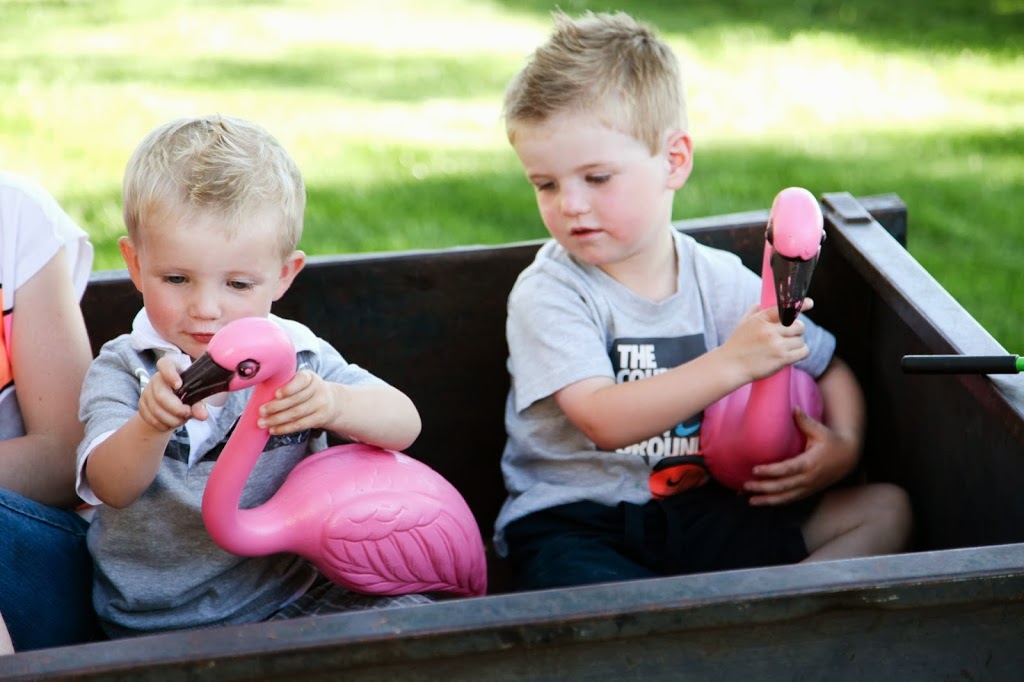
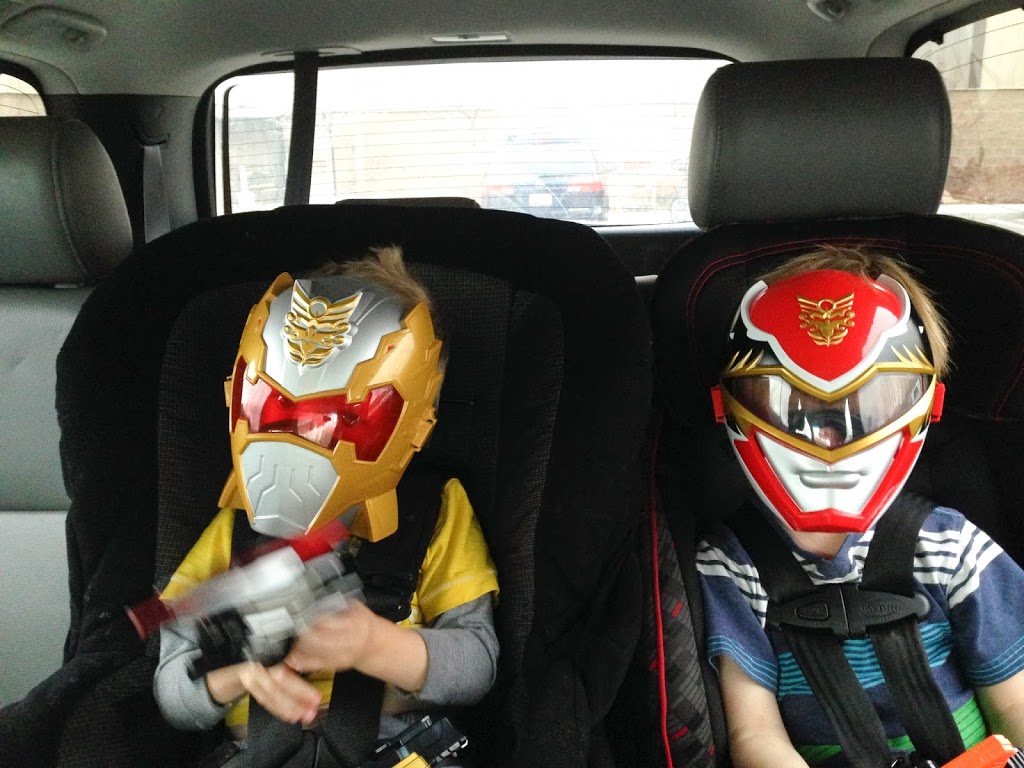
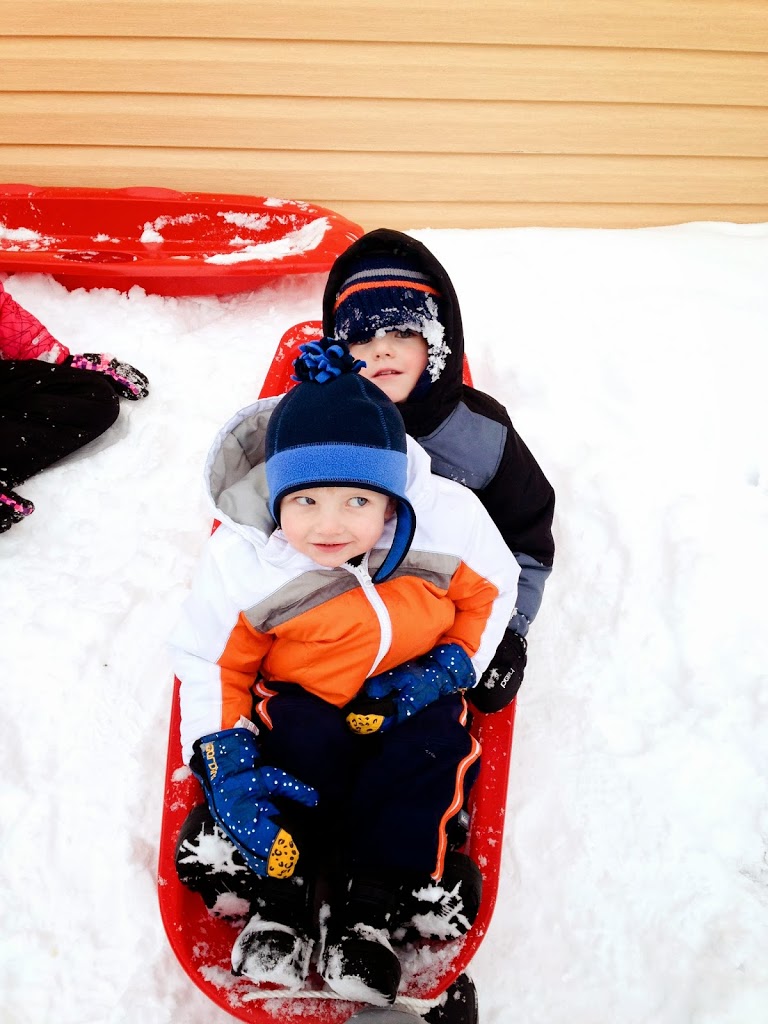
GREAT lens to get for every day photos in your home and “story telling” is a 50mm 1.8 which you can buy for around $100. I would 100% invest my money in that before I got a camera with 2 lenses. The 50mm doesn’t zoom so you have to physically move closer and farther away from a subject, BUT, the 1.8 is the aperture number. That number determines your depth of field. That is the kind of lens that allows you to take pictures where someones eyes can be in focus and by the time you get to their ear, it’s out of focus. This is the kind of lens that makes pictures look much more professional. It also helps in low light situations. So it’s great for taking
every day pictures inside your home. Most of our houses don’t have tons of natural light in all the rooms or areas of the home so this lens helps to be able to take pictures without your flash on (cause flash is almost always ugly).
Here’s a link to the 50mm on Amazon:
Canon EF 50mm f/1.8 II Standard AutoFocus Lens – Gray Market
Or, if you have the money, buy a 50mm 1.4 which is anywhere from $300-$350. This is the lens I use about 90% of the time during photoshoots and 99% of the time in my home taking pictures of my kids. It looks similar to the other lens, but it’s much higher quality and “faster” meaning it does even better in low light situations.
Canon EF 50mm f/1.4 USM Standard & Medium Telephoto Lens for Canon SLR Cameras
Nikon 50mm f/1.8D AF Nikkor Lens for Nikon Digital SLR Cameras
Please note that for a Nikon camera, you need to MAKE SURE it has autofocus capabilities. This is something I read on one of the reviews you may want to take into consideration:
{If your camera has an AF motor (d90, d300, d600, d700, d800, d7000) you need an AF lens. If it has no internal AF motor (d40, d60, d3000, d5000) you need an AF-S type lens}
These lenses are called prime lenses. Meaning you can’t zoom in or out. So if you want to get closer or farther away from your subject, you have to physically walk closer or farther away. Takes a little getting used to, but it’s SO worth it.
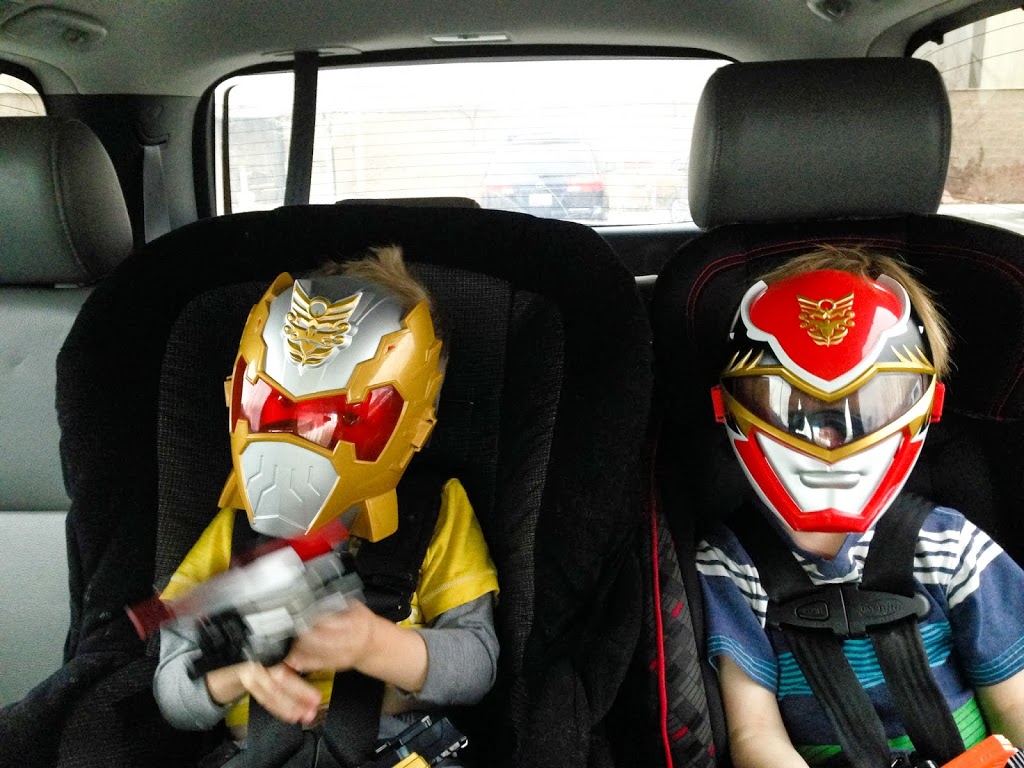
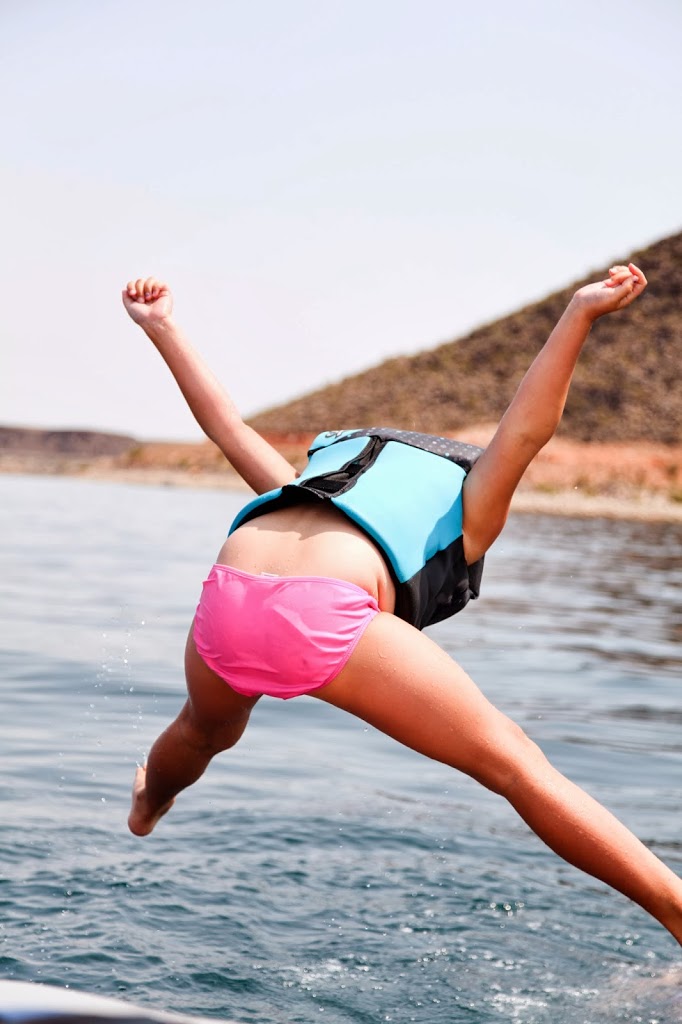
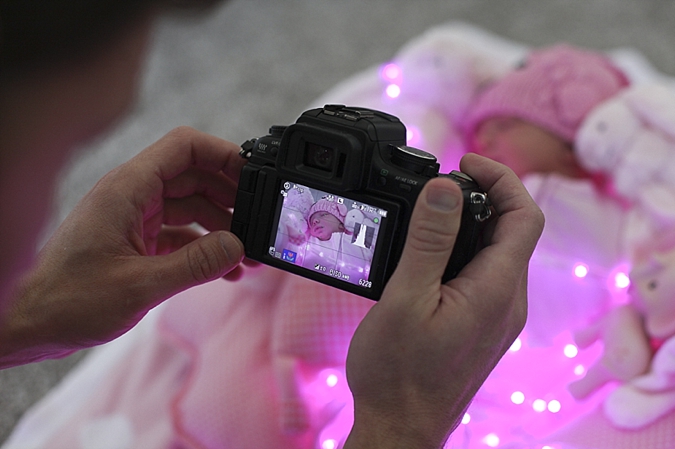
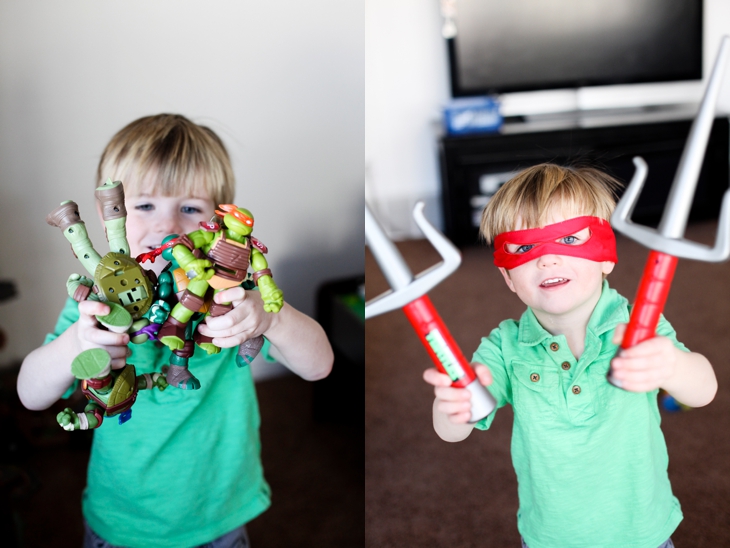
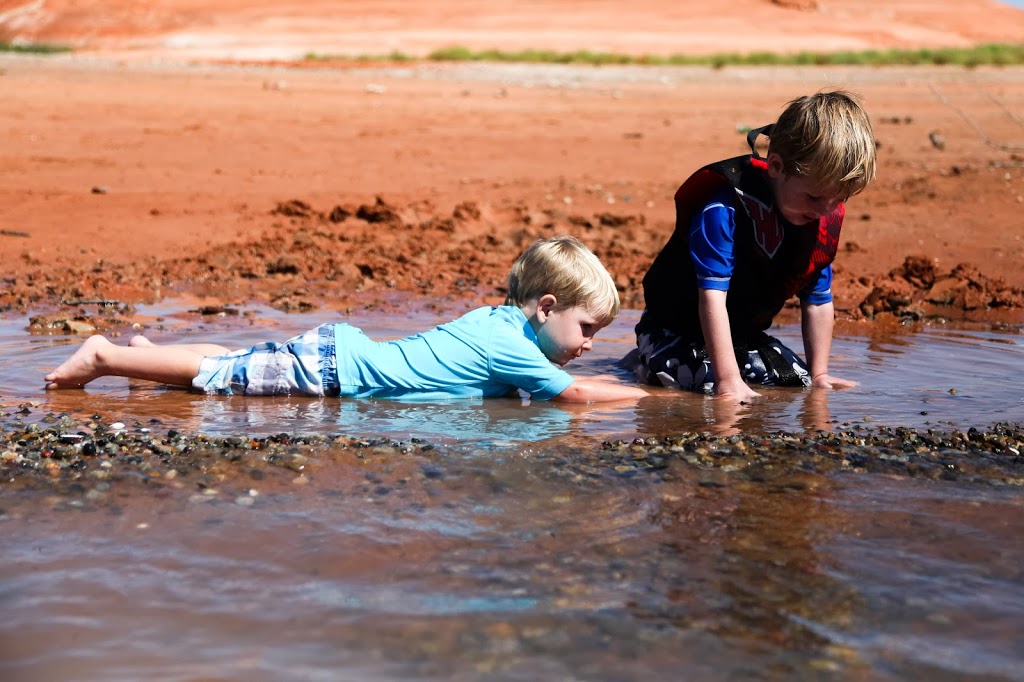
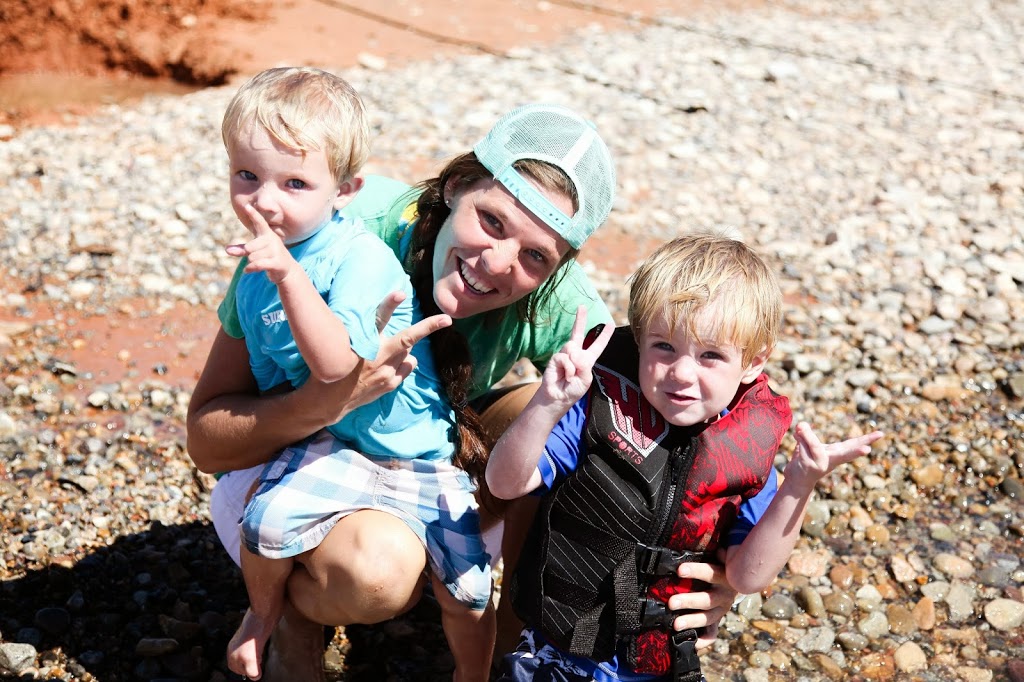
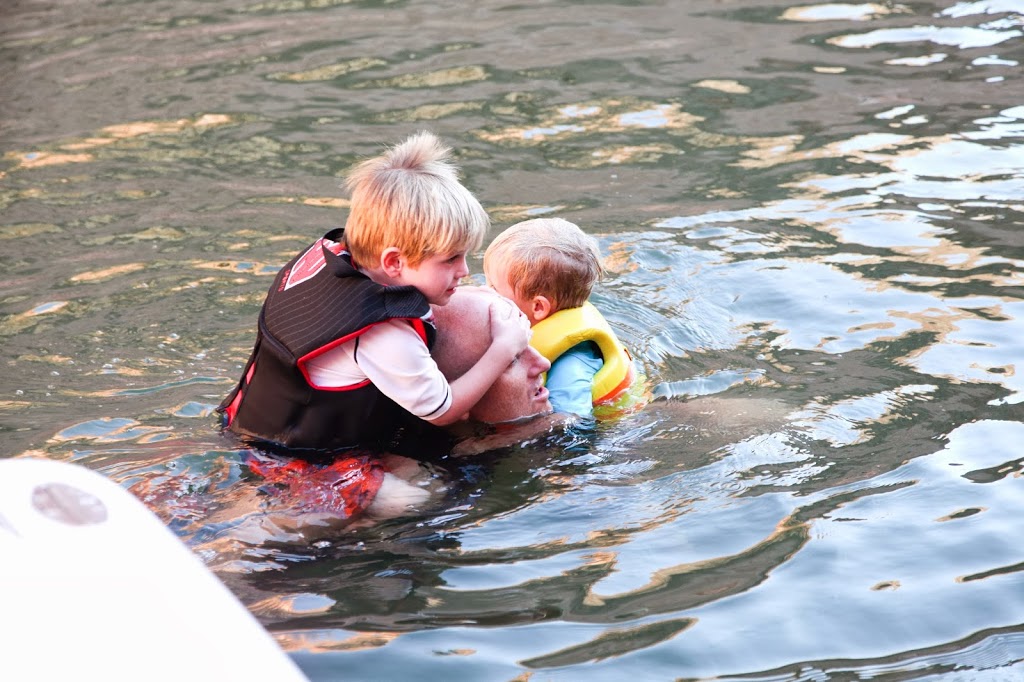
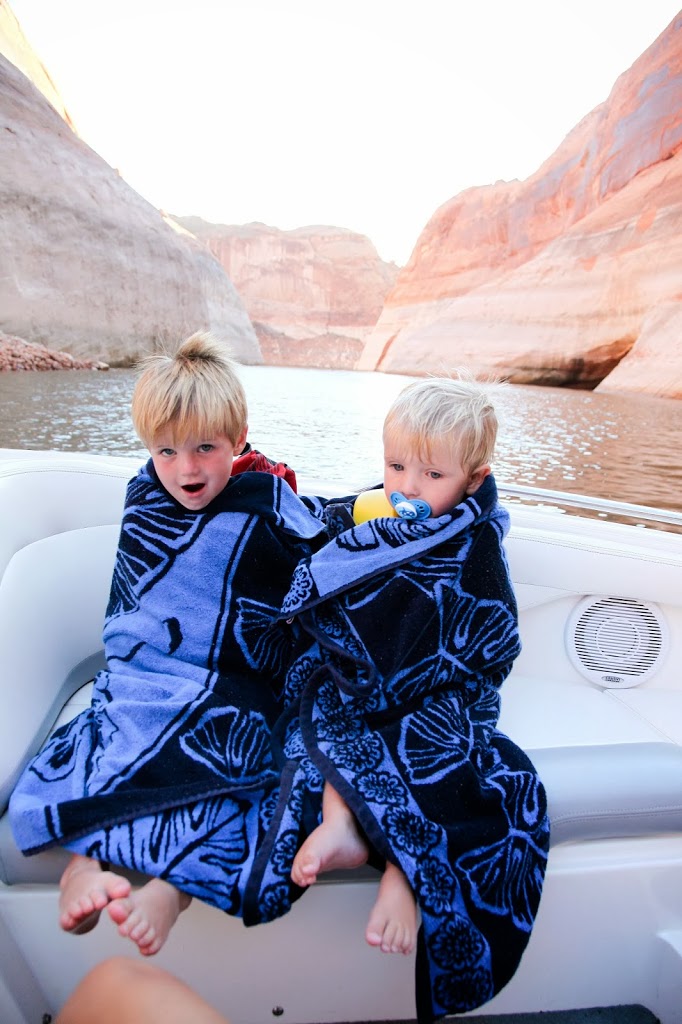
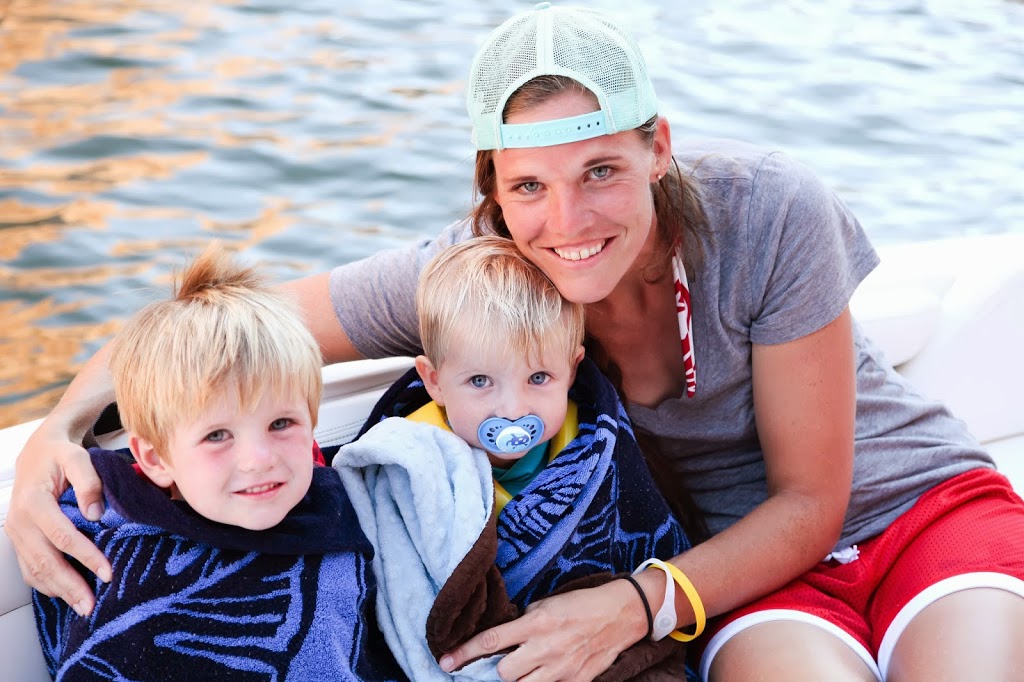
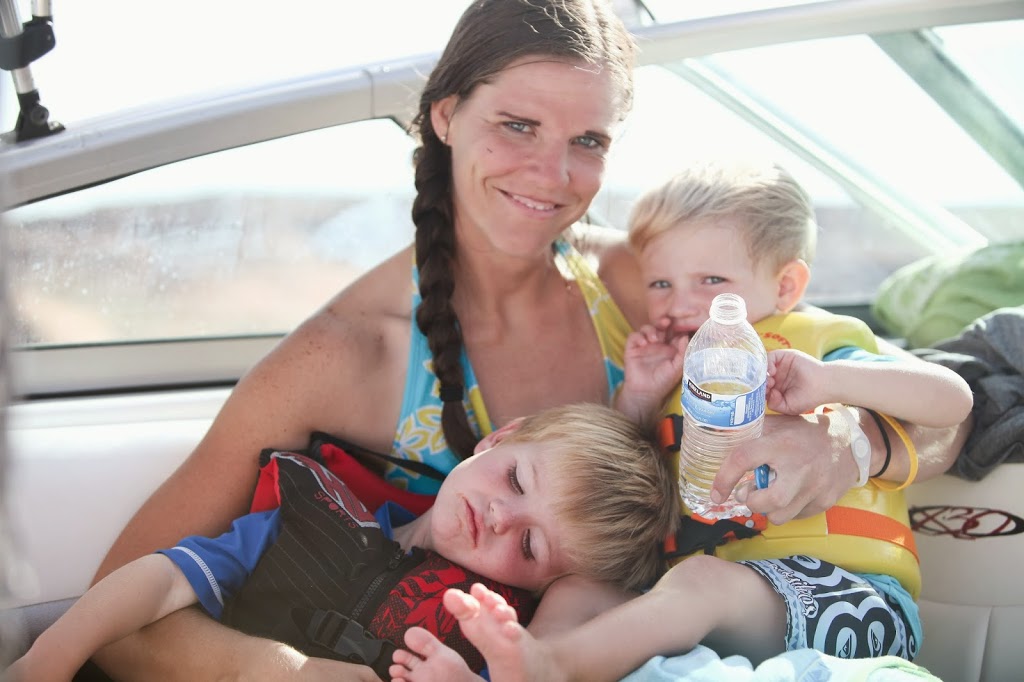
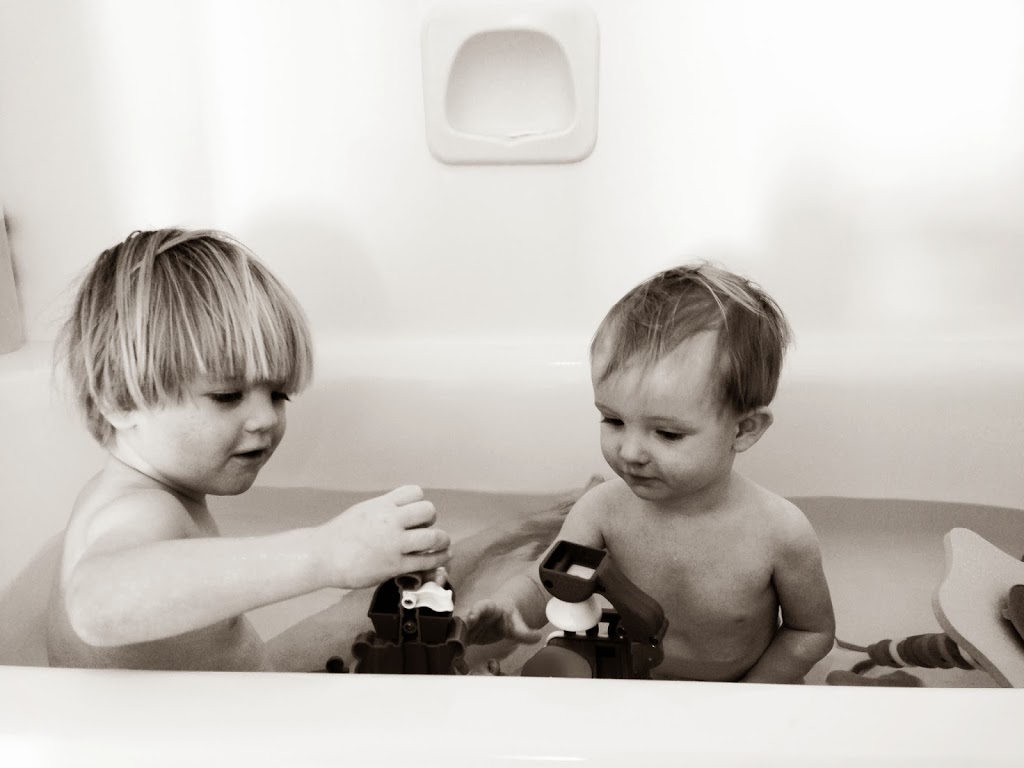
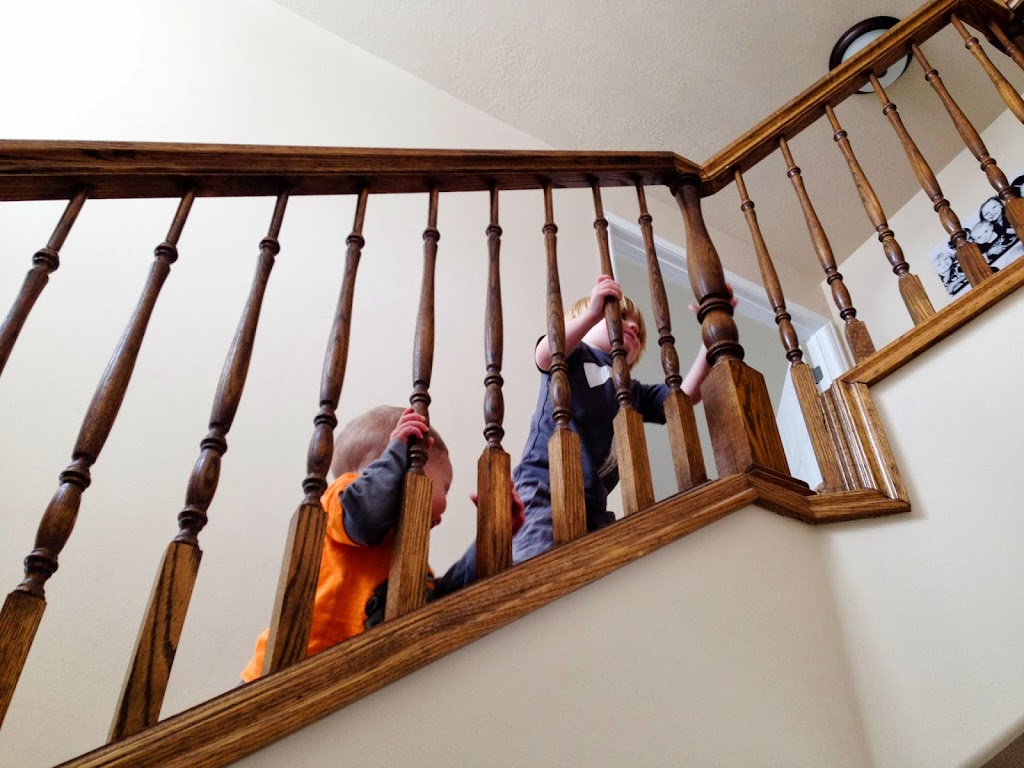
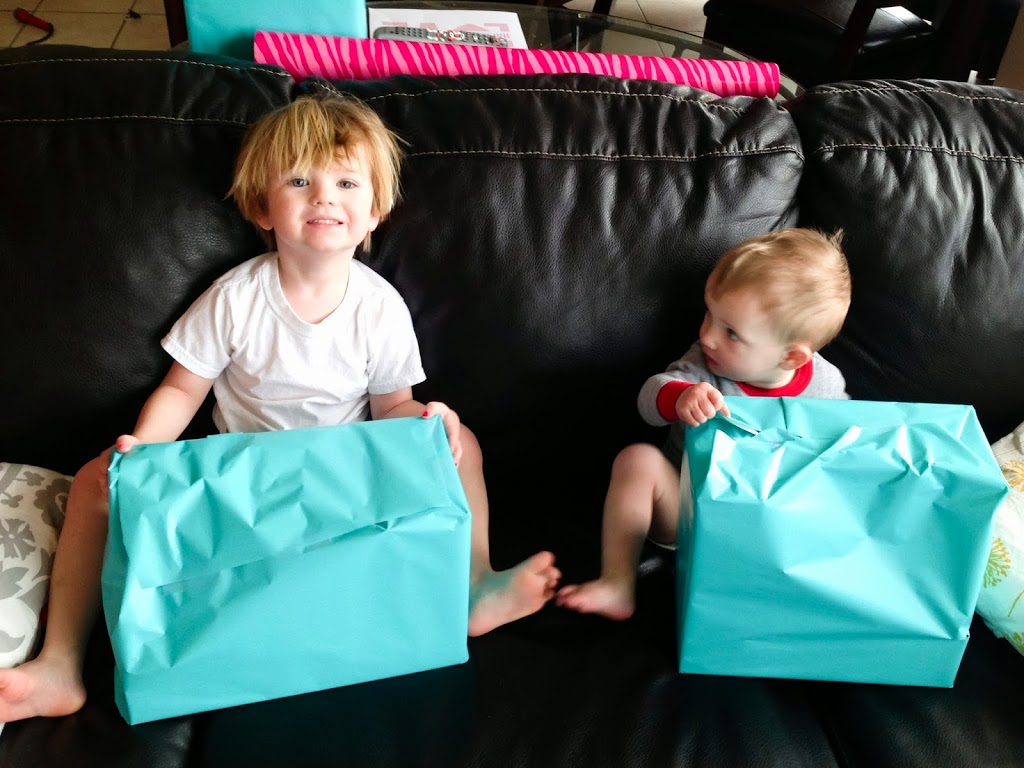
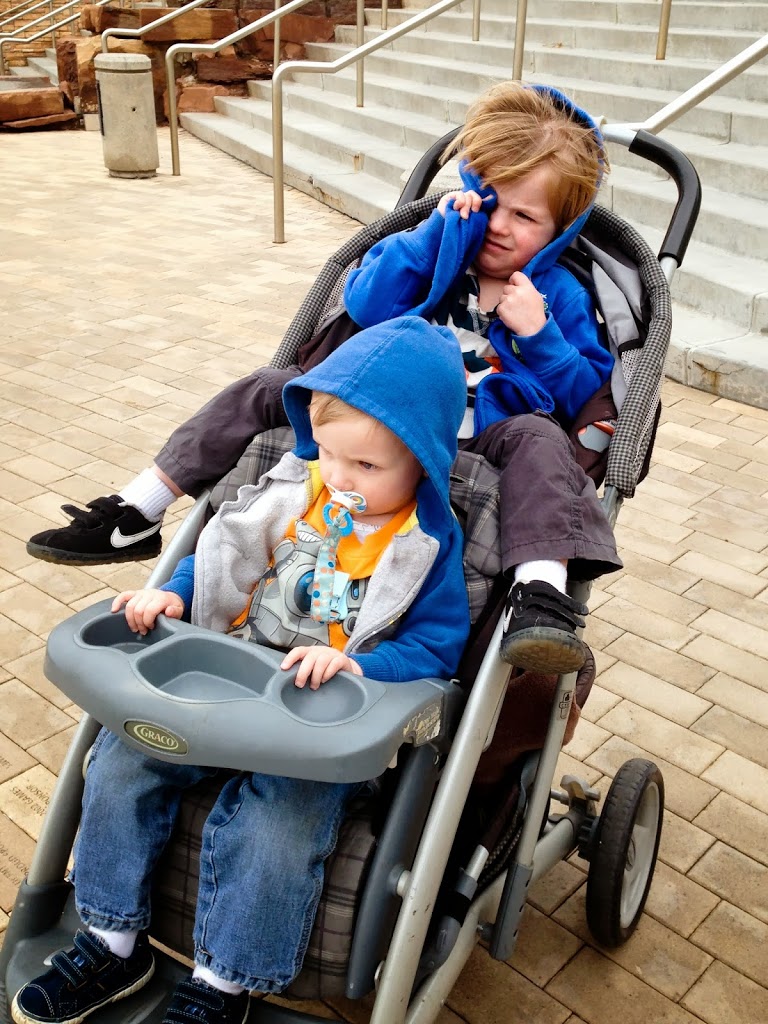
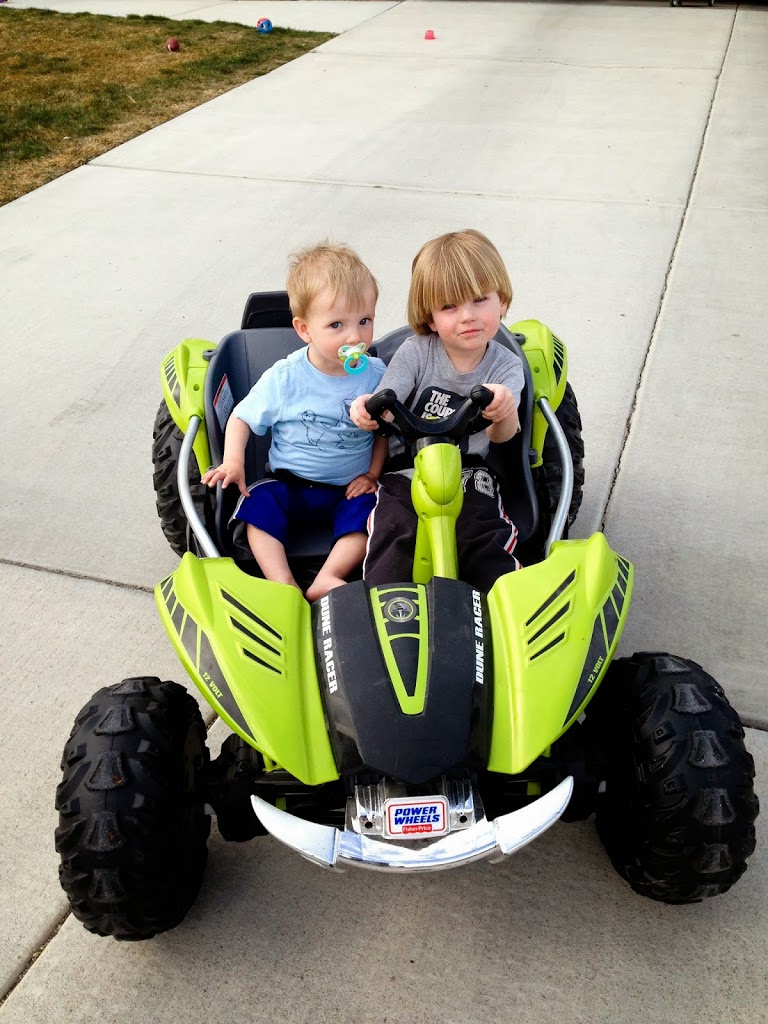
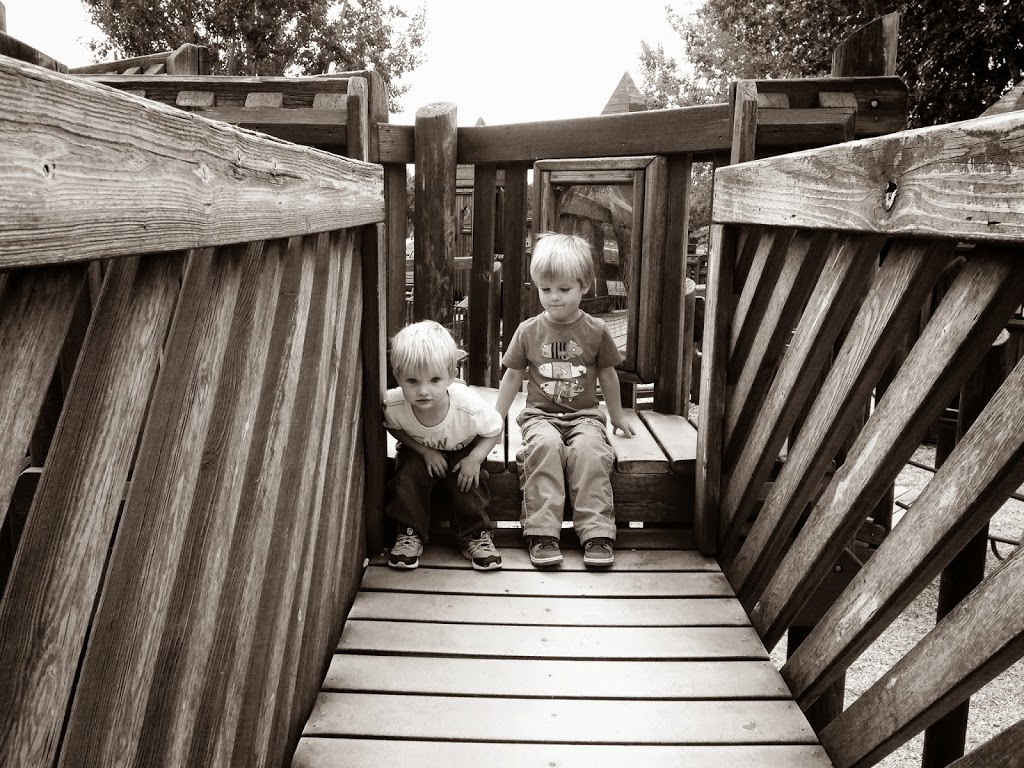
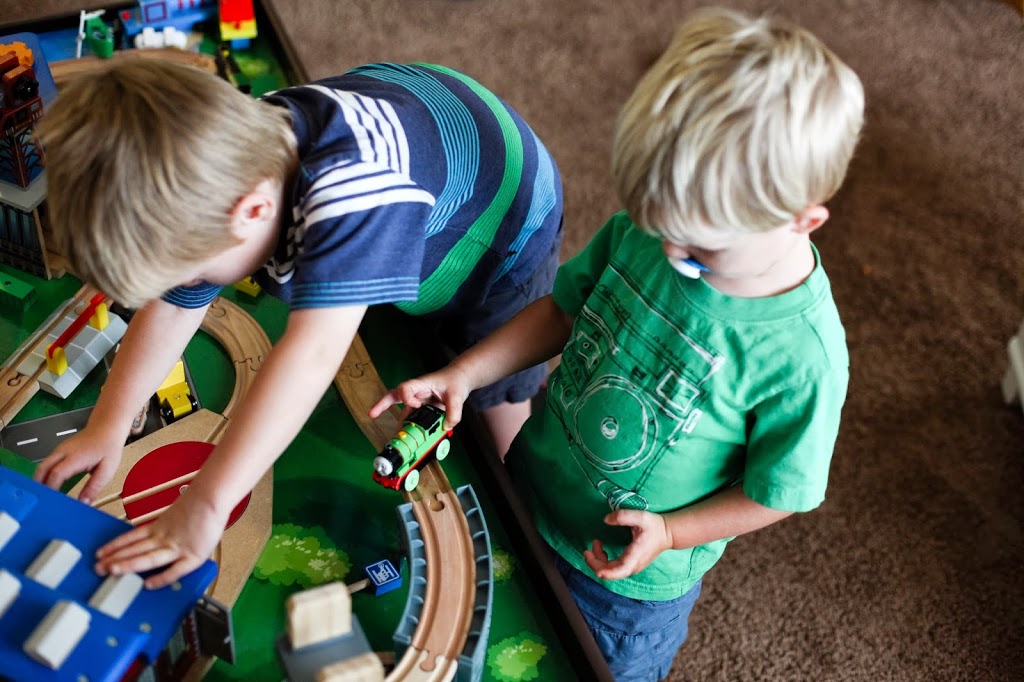
Here are some examples of what the 50mm lens can do. Keeps the subject you want in focus, and the rest blurry.
These lenses are key to “telling a story” with your photographs.
The only down side to the 50mm is it doesn’t zoom so it’s not the best lens for action photography or sports. The kit lens that comes with your camera will be a zoom lens.
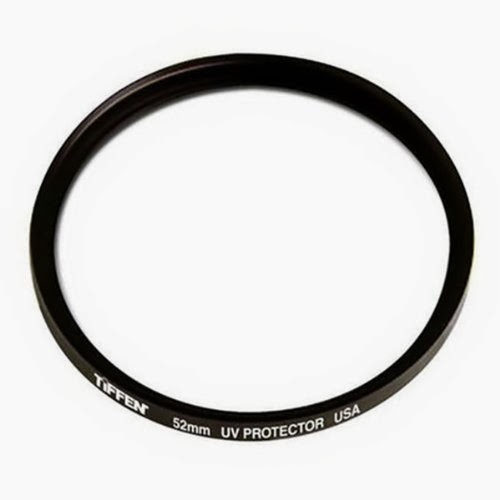
Another tip. When you buy any lenses, make sure to get a UV Protection filter to go with it. I have one on all my lenses so if I ever drop my camera (which of course I would never do, but juuuust in case), the UV filter breaks instead of the actual lens. Anytime you buy a lens, you should automatically buy one of these as well to protect your lens. They’re usually only around $5-$10 dollars.
Another thing to look for in a dSLR is HD video. I use the video capability on my camera all the time. The cool thing about video on a dSLR, is that you can switch the lenses around and “mix up” the look of your videos. You can also get shallow depth of field (only part of the frame is in focus and the rest is blurry) so it draws attention to the subject.
I would only buy cameras from a trusted source and I would never buy used. You never know what people do to those cameras. How many times they’ve been dropped, spilled on, slobbered on. You get the picture.
I would stick with Amazon, Costco, BandHphoto, or a trusted local camera store.
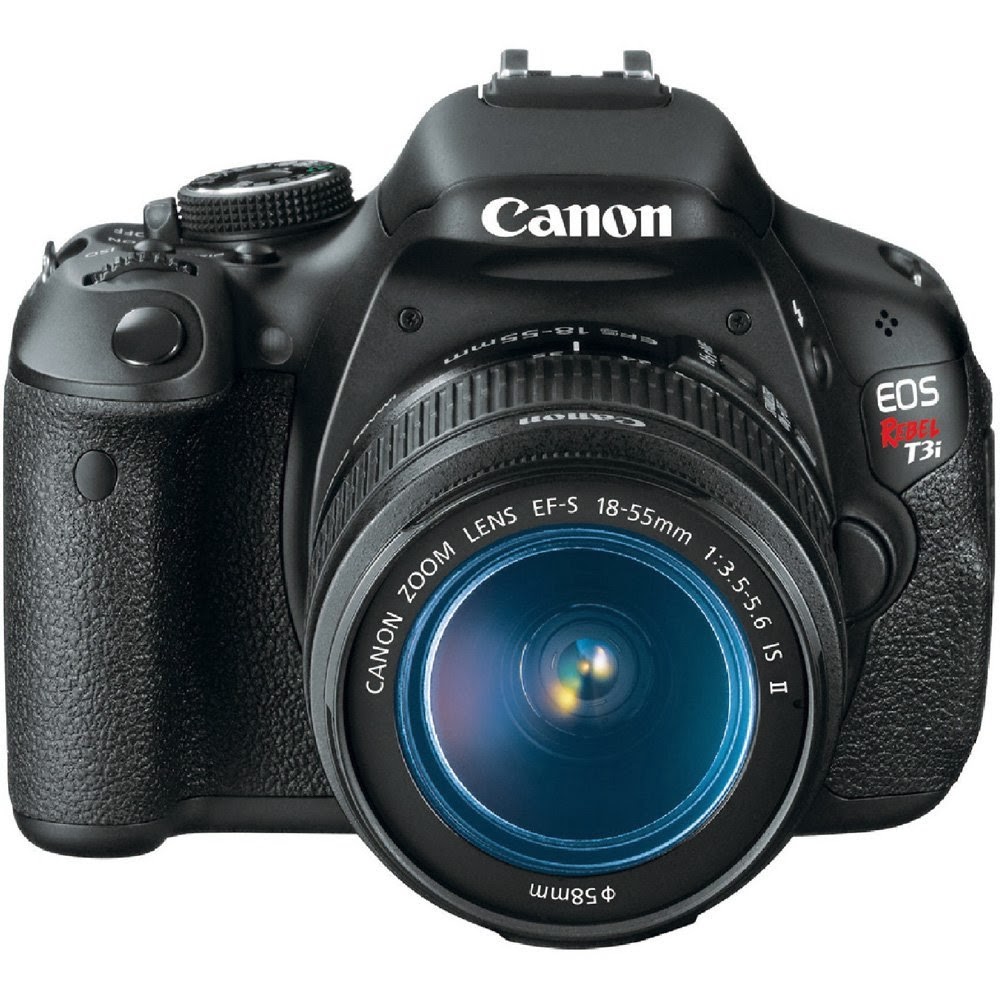
If I were to go out and buy an entry level camera (meaning you’re not looking to go Pro with that camera), I would buy the Canon T3i. It has HD video as well as the capacity to shoot in low light situations without using a flash (because flash just looks baaaaad). The ISO in a camera is one factor that can help you shoot in low light. The higher the ISO goes on the camera, the darker it could be.
The T3i can go up to 6400. For comparison, the camera I started with (Rebel) only went to 1600. And at 1600 it looked really bad.
If you don’t have that money in your budget, you could still get a Canon T3 and have a great camera. The differences seem to be megapixels, the swiveling screen, and better video quality.
You’ll also probably want a camera bag. Get a good one that will protect your camera AND hold all the gear you’ll have. They can be pricey but if you shop around, you can find a good deal.
Another thing you can consider is getting a camera coat. These things are awesome. Lots of times I just want to take my camera and one lens (almost always my 50mm) and I don’t want to haul around my big bag but I don’t want my camera to get “hurt”. Camera coats take care of that. Check them out at
www.cameracoats.com (These make good gifts too).
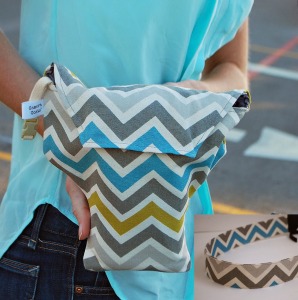
photo credit: Camera Coats
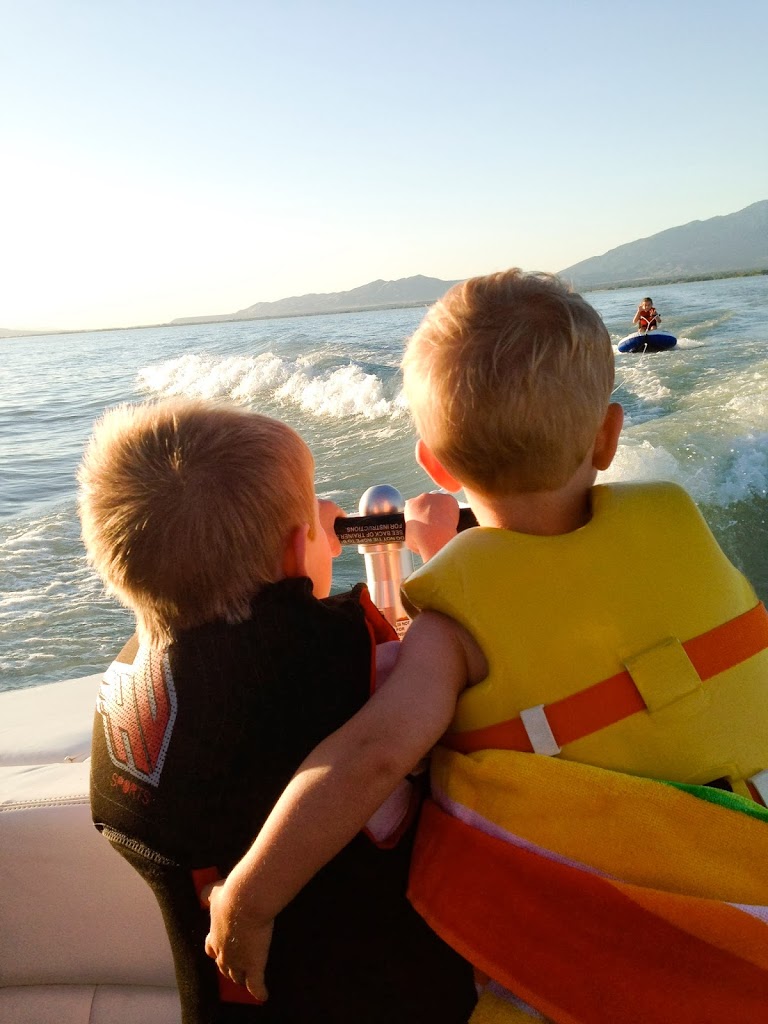
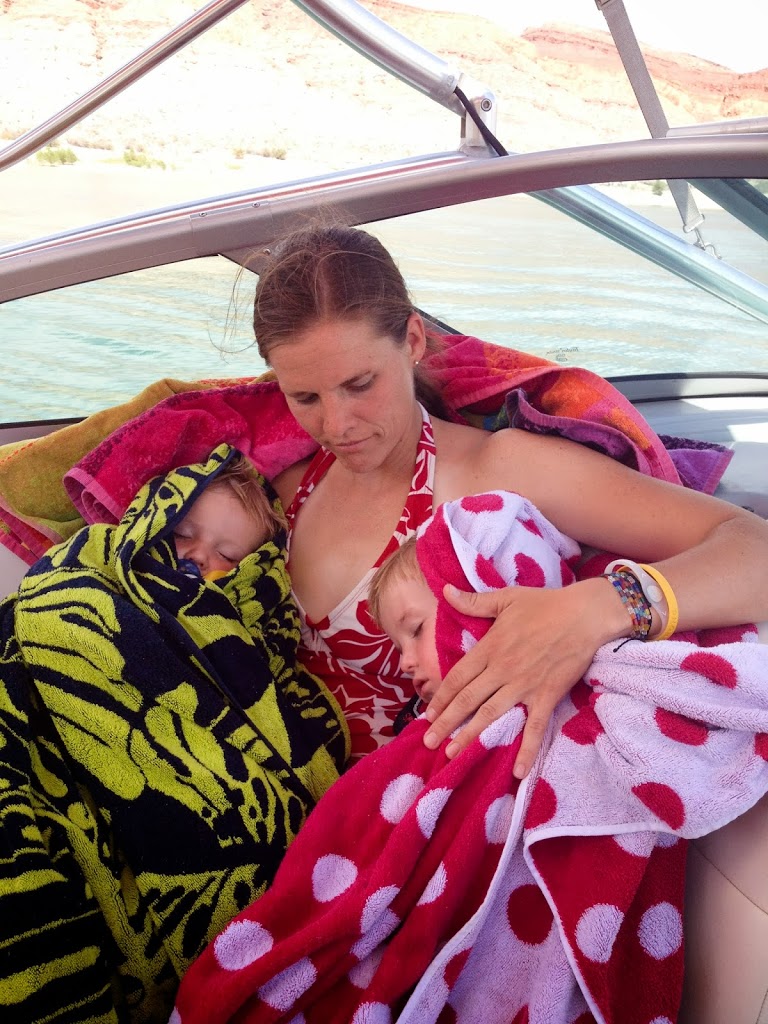
If you’re looking for a more high-adventure camera, I LOVE our GoPro. We have the GoPro HERO3+: Silver Edition and it works great for what we use it for (photos on the boat, in the water, mountain biking, skiing, and selfies of the family). If you get a GoPro I also recommend getting a GoPole REACH – Telescoping Extension Pole for GoPro HERO Cameras 17-40″
 . There are a lot of versions of extension poles. Just depends on what you’ll use it for. I like the clear ones so you can’t see the pole as much when you take selfie type videos and photos. You can also get the Go Pro accessory kit
 to mount it to your chest or head. And I would definitely buy a GoPro Floaty Backdoor
 as the GoPro itself does not float. If you plan to use it in water (like a lake or the ocean), you’re going to want to make sure it floats if (more like when) you drop it.
After all that, MAKE SURE you learn how to use it the way it was meant to be used!! You can tell the story of your family through pictures if you have a great picture and you take photographs the right way!!
If your camera or imaging technology requirements are somewhat more niche,
Edmund Optics are likely to have something for you. They have everything from USB cameras to microscopes!
If you have more specific questions, please feel free to e-mail me at ltross17@yahoo.com or comment below and I will do my best to answer them.
Good luck and Happy shopping!
PS. If you liked this article, enter your name and e-mail to join the Lindsay Ross Blog community. And get access to TEN Phone photography tips that will immediately improve your phone photography for free!!


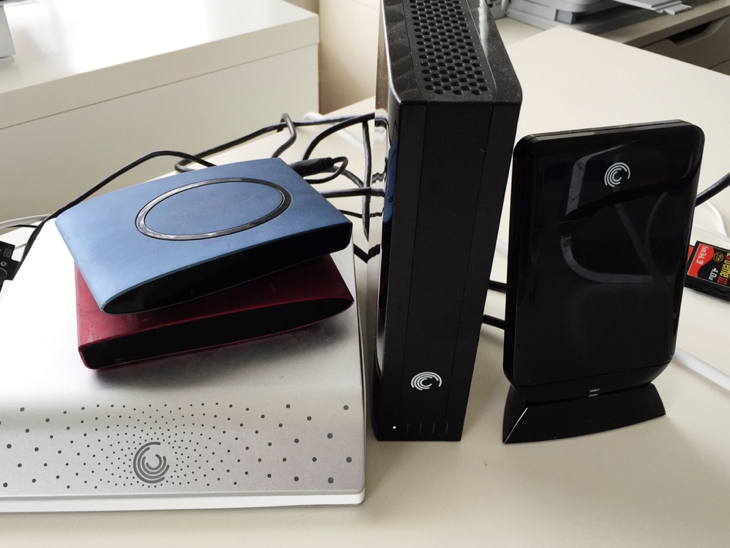 I also back up my entire computer hard-drive to an online site. I researched several online storage companies and finally settled with
 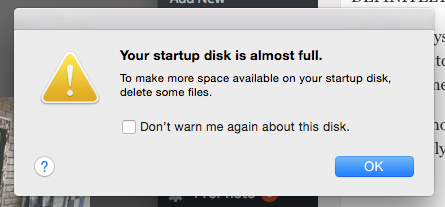 I need a lot of storage space. Backblaze backs up my entire hard drive (photos, documents, music, etc.) so if (more like when) my hard-drive crashes, I know everything is backed up on Backblaze.