How to use the Project Life App–video tutorial

If you’ve been around here on the blog at all, you know I’m a big fan of the Project Life App (and the Project Life system in general).  The Becky Higgins team took the crap out of scrapbooking and it’s kind of the best thing ever.  If it weren’t for this super simple system, there is no way I’d be catching up on the years and years of photos that need printing around here.

For those of you making an effort to take every day photos of your family and document your family stories, this is the next step in making sure those photos get printed.  It’s scrapbooking on your phone and you do everything with your thumbs.  You can do it anywhere, anytime.

Though the app is user friendly, I wanted to do a quick walk-through to maybe clear up some questions people have.  I also share a few tips-and-tricks that maybe not everyone knows, as well as some tips on how to make the photos look better when you print them.

This video will walk you through the app start to finish so you can see how easy it is to create pages (while watching tv, during half-time of sporting events, in the carpool lane…. you get the idea).

If you’d like to see me create a page from start to finish, you can check out THIS VIDEO.  There are no words (just awesome music) and you can see me create a page from beginning to end with my phone.  If you don’t have an iPhone the app is coming soon in an Android version.  In the mean-time, you could use an iPad if you have one.

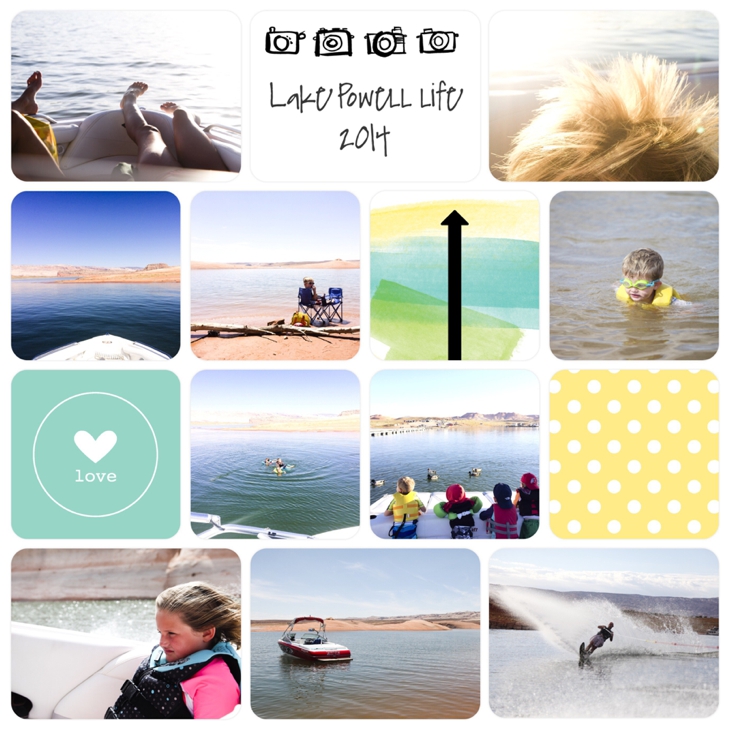
This is what a completed page ends up looking like.
2014-10-18_0013

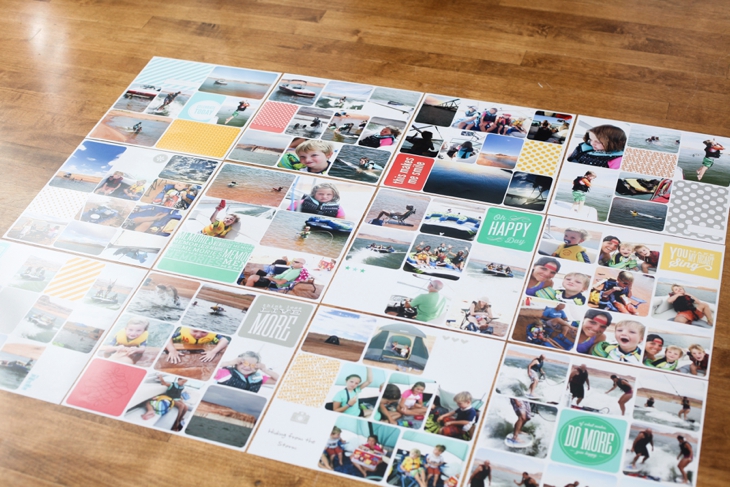
And here are a batch of printed pages.  Like I said, the quality is excellent (they print from a professional printing company).
2014-10-18_0018

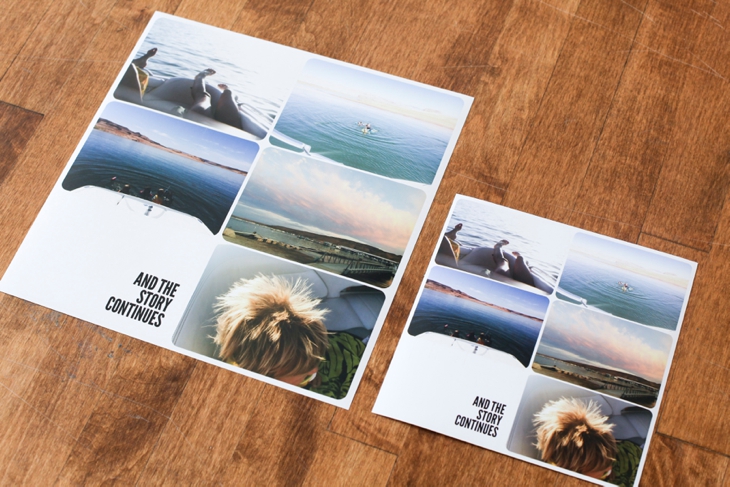
This is a comparison of 8×8 and 12×12 prints
2014-10-18_0015

And here’s the little people enjoying the finished product.  Kids (and adults) LOVE LOVE LOVE looking at physical, printed photos.  Yea, you can look at them on your phone or the computer (assuming the computer doesn’t crash or you don’t drop your phone in the lake and lose all the photos if you aren’t backing them up), but it’s just not the same as holding and feeling them in your lap.
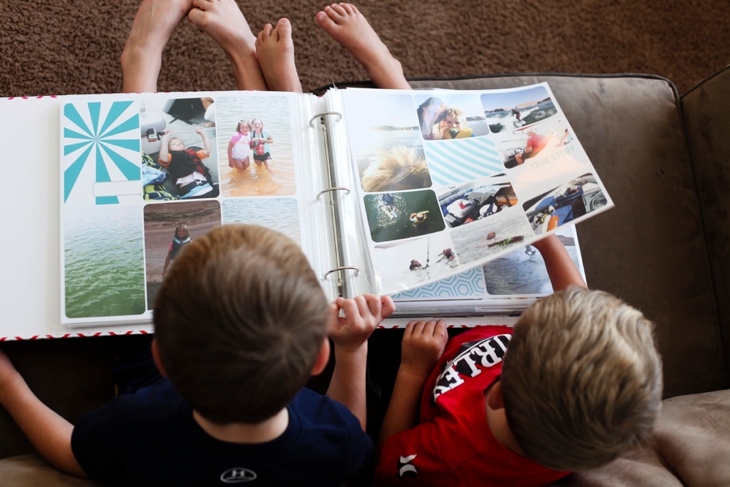
2014-10-18_0023

My BIGGEST tip:  Simplify, simplify, simplify.  Once you get started on the app, you’ll get faster and bust out pages quicker which leads to completed albums.  Printed physical family photo albums=winning.

Make it a habit to spend 10 or 15 minutes every few days and make quick pages with the photos you’ve been taking.  Then at the end of the month you can send in a batch of completed pages for printing.

If you’re easily overwhelmed (like me) pick one or two layouts and stick with those.  And pick ONE kit per album.  Not switching between kits and trying to coordinate different kits saves my sanity.  Or pick one kit per series of photos.  This saves me tons of time.

If you have ANY questions, please feel free to comment below or e-mail me at [email protected]


PS.

If you aren’t part of the community here yet, please join us (it’s growing fast and full of awesome people).  You can read all about why I blog on the About page.  And to join us, just enter your name and e-mail below.  You’ll get a confirmation e-mail.  Make sure you confirm.  Then you’ll get another e-mail with a FREE eBook:  Ten Tips to immediately improve your phone photography.  The eBook will be super helpful in taking better pictures for your Project Life pages.

If you want to take BETTER EVERY DAY PHOTOS to document your family story more effectively, be sure to check out the Every Day Photos Guide.

Thanks for being here!

 

Headshots for kids–Alternative to school pictures (2015)

{It’s that time of year again!!  I’ve been offering these headshots for a few years now and keep getting more and more requests.  So we’re doing it again!}

As awesome as school pictures are (and by awesome I mean great blackmail for the future), once my own kids started school I decided to do my own head shots and offer it to others as well.

If you’d like an alternative/replacement for the traditional school pictures that no one ever displays, this is for you.  They’re also nice to have for those times you need a picture of your kid (for a school project, grandparent, special occasion, etc) and realize you don’t have any.  🙂

The cost is $10 per kid OR $40 per family (so if you have 3 kids, it’s $30, if you have 4 or more kids it’s $40).  This will include a vertical and horizontal headshot of each kid with a white background.

If you want a GROUP photo of all of your kids together, you can add that on for $20.  

Pictures will be edited in color AND black and white and you will receive a high-resolution digital copy (via Dropbox) so you can print whatever you want.  Cheaper (and cooler) than school pictures.  And non-school age children are welcome as well.

2015-08-26_0023

Our school allows us to just buy the class photo, so my kids still get their school picture taken and we just purchase the class photo.  Then we use these alternative photos as our yearly photos.


I will be taking “school picture” head shots in LEHI (I will e-mail you the address) on Tuesday, September 1st and Thursday, September 3rd.

Click THIS LINK for Tuesday, Sept. 1st in Lehi to sign-up for a time slot.

Click THIS LINK for Thursday, Sept. 3rd in Lehi to sign-up for a time slot.

Sign-up times are first-come-first-served so if a specific time works better for you, signing up ASAP is advised (I’ve run out of time-slots each year).  Once you sign-up, please be sure to make your appointed time.  If you need to change your time for any reason, please do it as soon as possible so someone else can take your time-slot.


If these dates/times don’t work for you, I will probably be doing a make-up date for those who can’t make it.  E-mail me to let me know you are interested.


I will also be doing head shots in SANDY (I will e-mail you the address after you sign up) on Tuesday, September 8th.  

Click THIS LINK for Tuesday, September 8th in SANDY to sign-up for a time slot.


The head shots only take about 5 to 10 minutes.

Please mention in the comments when you sign-up how many kids you’ll be bringing and if you want a group shot or not.

Feel free to contact me with any questions at [email protected]

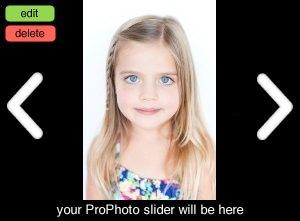
{Click the arrows to scroll through a sample of what the photos will look like}

Fall Photo Sessions.

I will be doing a VERY limited number of photo sessions this fall.  I will be doing photo sessions in September and October.  I won’t be doing any sessions in November or December. If you’re wanting family pictures OR Funbooth pictures, please e-mail me ASAP to schedule your session.  I’m working on several other projects this fall, so my time for photo-sessions is limited (and I can’t make exceptions once the schedules full).

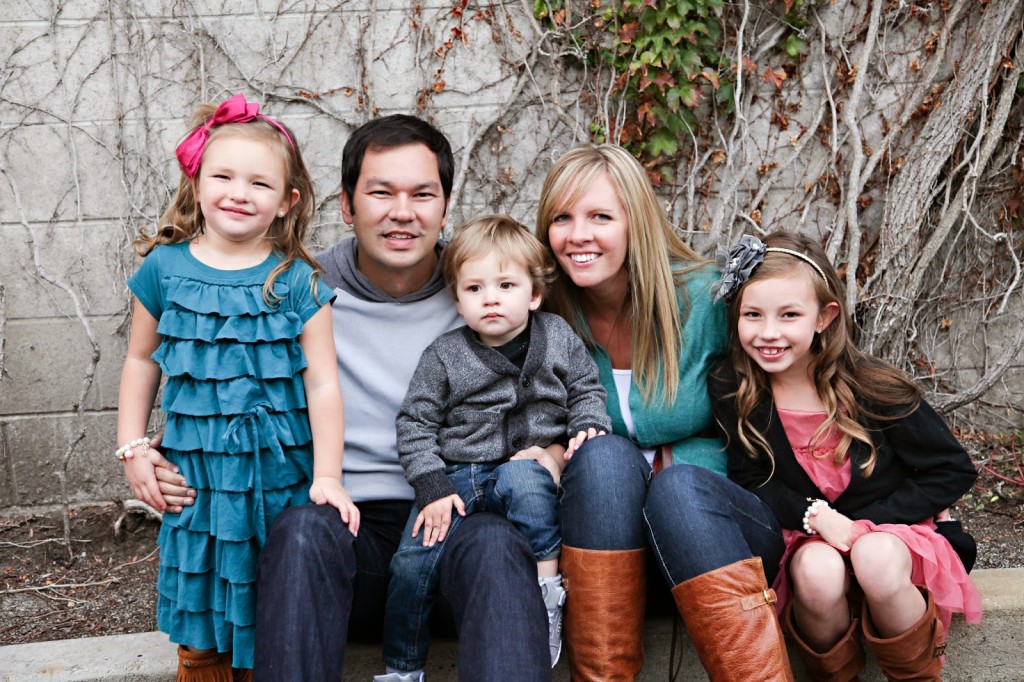
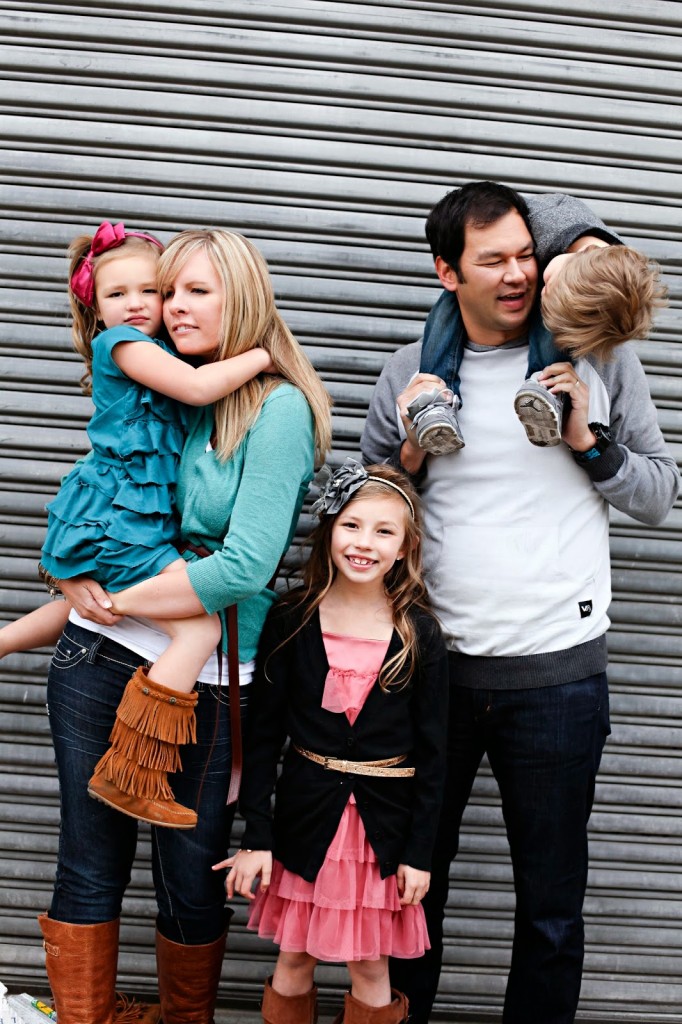
You can see samples and details of a Family Photo session HERE.

IMG_0330.jpg

IMG_0532.jpg

If the thought of family photos makes you want to crawl in a hole, you should consider a simpler, easier, less-stressful type of family photo session– a Funbooth session.

You can see samples and details of a Funbooth session HERE.

2014-09-16_028

Please e-mail me at [email protected] asap to book a session (date and time to be coordinated).


I will also be doing headshots for kids–an alternative to school photos (you can read about those from last year here) again this fall.  Details coming soon!

Freshly picked moccasins GIVEAWAY

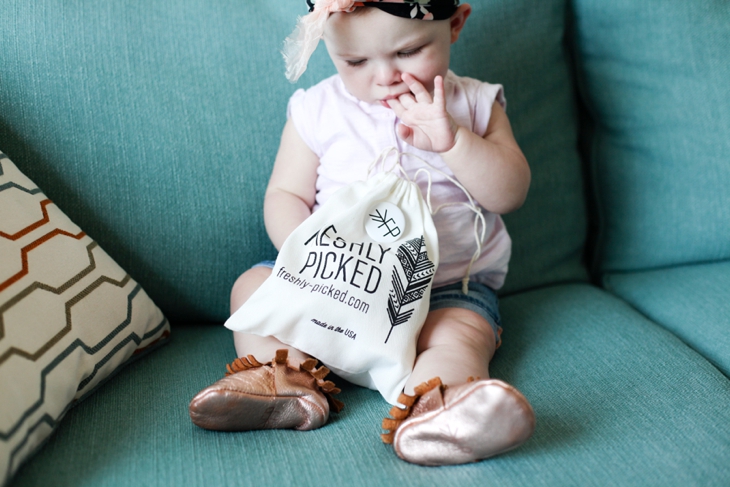
I’m doing a GIVEAWAY for TWO pairs of freshly picked moccasins.  I started following Susan Peterson on Instagram just before she appeared on Shark Tank.  I have a close friend who works with her company and they told me about her.  I’ve been really impressed with her journey and the story behind her company.  She is a real-life example of a hard-working entrepreneur with phenomenal results.

The story/brand of the company is based on memory-keeping so I’m naturally attracted to them.

You can find the company website at Freshlypicked.com.

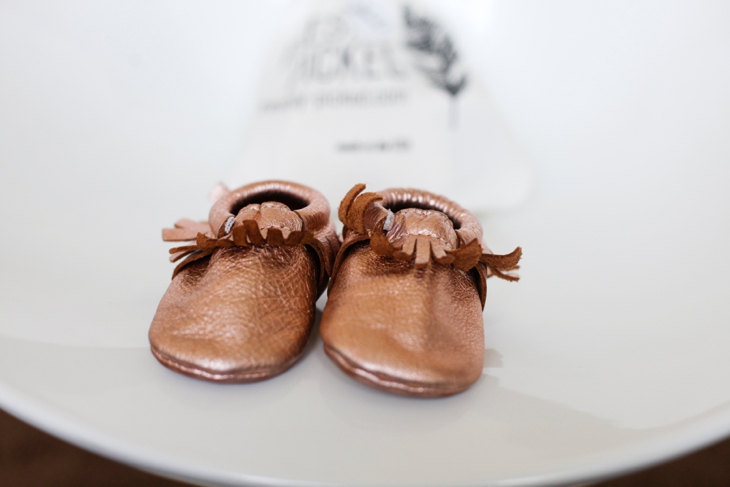
The Giveaway is for a pair of moccasins for the winner AND a pair of moccasins for a friend they tag.  You each get to pick the size and color.  The moccs aren’t just for babies.  They have sizes for toddlers as well.

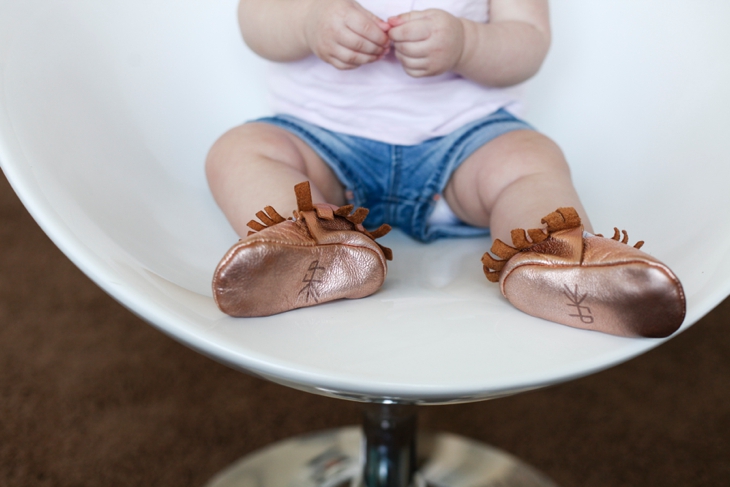
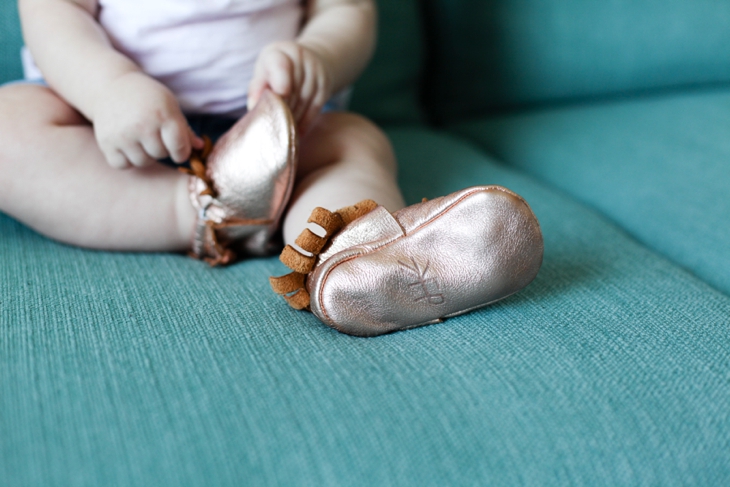
They’re super durable and the elastic around the ankles makes it so the shoes don’t fall off.  Super score on that.  And once your kid starts walking in them, it leaves their footprint in the bottom of the shoe (thus the memory-keeping part).

If you want them, head over to my Instagram account (@ltross).  It’s SUPER easy to enter.  Just have to tag a friend.  And you can enter as many times as you want (tagging different friends).  Starts today.  Ends August 14th (Friday) at 10pm.

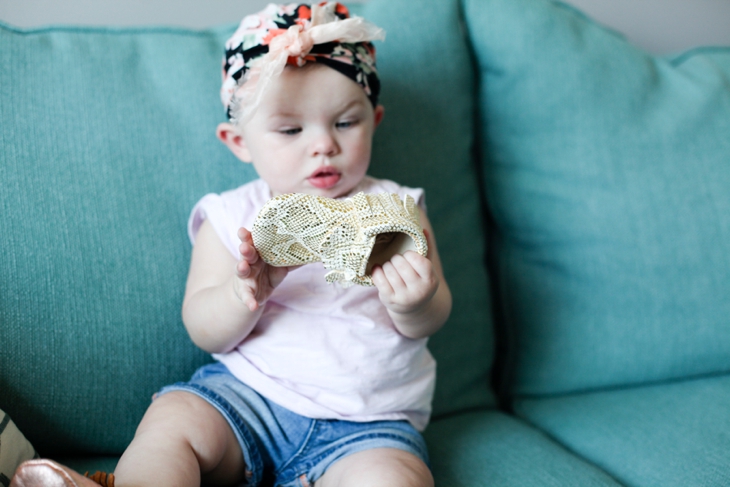
My “model” is my niece.  She’s as adorable as she looks.

2015-08-11_00032015-08-11_0004

2015-08-11_00012015-08-11_00112015-08-11_0014

2015-08-11_00062015-08-11_00102015-08-11_00132015-08-11_0015

Go get yourself some!!

Videos with your phone. What NOT to do (and what to do).

I was sitting in my sons preschool graduation this year and I looked around the room at all the parents beaming at their kids. Nearly all of them had their cell phones out taking video of the cute kids singing (and my kid trying to hold it together–he’s not a fan of people looking at him). And I noticed they were all doing the same thing. And they were doing it wrong.


I’m certainly no expert when it comes to video, but I’ve done my fair share and thought I’d pass along a few things that will make your videos better. Whether you’re trying to get your videos on somewhere like TubeV Sex or you’re just innocently filming the kids, we can all learn from a few of these tips.

videopin

First. Tuck your elbows in. I tell people to do this with their photos as well, but it also applies to video. I don’t know about you, but my arms can only be steady for about 20 seconds. Then my triceps start to burn and in comes shaking arms. Which also means a shaky video. Stabilize your arms against your body so you can hold the camera still.

Or stabilize your arms on your knees or a chair or a wall. Anything that will keep your arms and hands steady while you’re filming.


Second. This is the one I see people doing all.the.time. Don’t shoot video with your camera vertical. Start by thinking with the end in mind. When you replay a video on your phone, it looks okay when it’s shot vertical, but when you replay the video on your computer screen or TV, vertical videos don’t look good. They’re small and awkward and don’t fill the screen like a video is intended to do. When shooting video, turn your phone horizontal and film the video that way.


Warning: Once you start a video, you can’t turn your camera or the video will be shot sideways. You have to start the video with the camera already horizontal.


Here’s an example of a video shot with the camera vertical:

And here’s how it would look if you turn the camera horizontal:

These videos are a good indication of what my life will be like for the next 15 years. So. Much. Wrestling.

Once you get videos into a format people can watch them (i.e. on a disc, the computer, or hooked up to a TV screen via Apple TV, etc.) the videos will look SO much better if they’re filmed while the phone is horizontal (so it fits the screen you’re viewing it on correctly).


Another thing to note is just like photos, videos depend on good LIGHT. If you don’t have good light, the quality of the video will be diminished. So whenever possible, shoot your videos with good natural light. If you don’t have a lot of light, your videos will look more grainy.


And while we’re on the topic, I’ve had several people ask me what I do with all the videos I take. Each time I pull my camera out to take some photos of my kids, I usually try to do a little video as well. But I generally only video about 1-2 minutes at a time (sometimes even shorter). Longer videos tend to get boring. I organize all my photos and videos in iPhoto and have a smart album set up so it pulls all my videos into one place.

Every few years for each kids birthday, I try to make a slideshow with photos and videos of them.

Then each year, I pull together the videos of the whole family from that year and just string them all together using iMovie. I don’t add music so you can hear the sound from the video. The videos just stream together one after the other. Depending on the project, the videos may be in order by date, or put in random order. Doesn’t really matter as long as they’re assembled in a way people can view them. My kids LOVE to sit down and watch these. And they often force their friends to sit down and watch them too. Some of my kids would sit for hours and watch videos of themselves. Hours.

Some of the iMovie videos I make I include video clips and pictures mixed together and add music to those (usually vacation video and photos).

Here’s a small sample of what the videos grouped together looks like. Notice the first video is shot vertical (before I knew better) and the rest are horizontal. Gives you a good feel for what a difference it makes. Stick with this at least until the Micky Mouse in Walmart part. Kills me every time I watch it!

Next time you pull out your camera to take some video, remember to keep your arms steady, and turn your camera horizontal. Then get those photos and videos organized so you can quickly put them together and have fun watching them over the years.


I’m going to share a few more awesome tips while shooting video on your phone that will be going out to my e-mail subscribers (I like to give my VIP e-mail friends some exclusive content). There’s one tip in there that a lot of people probably don’t know (and trust me, you want to know it).

If you want the tips, be sure to get on the e-mail list by entering your name and e-mail below. Make sure you confirm your e-mail address and shortly after you’ll get the free “Ten photo tips to improve your phone photography” eBook. Then keep your eye out for the “Video tips” e-mail coming from me soon!

Related Posts Plugin for WordPress, Blogger...