Picture Display Movement. Step 3. Organize

{For Step 2 in the Picture Display Movement, click here}

ORGANIZE YOUR PHOTOS:

For me, this step initially felt the most overwhelming.  But once I got started, it turned out to be no big deal and went really fast.
Digitalphotos2

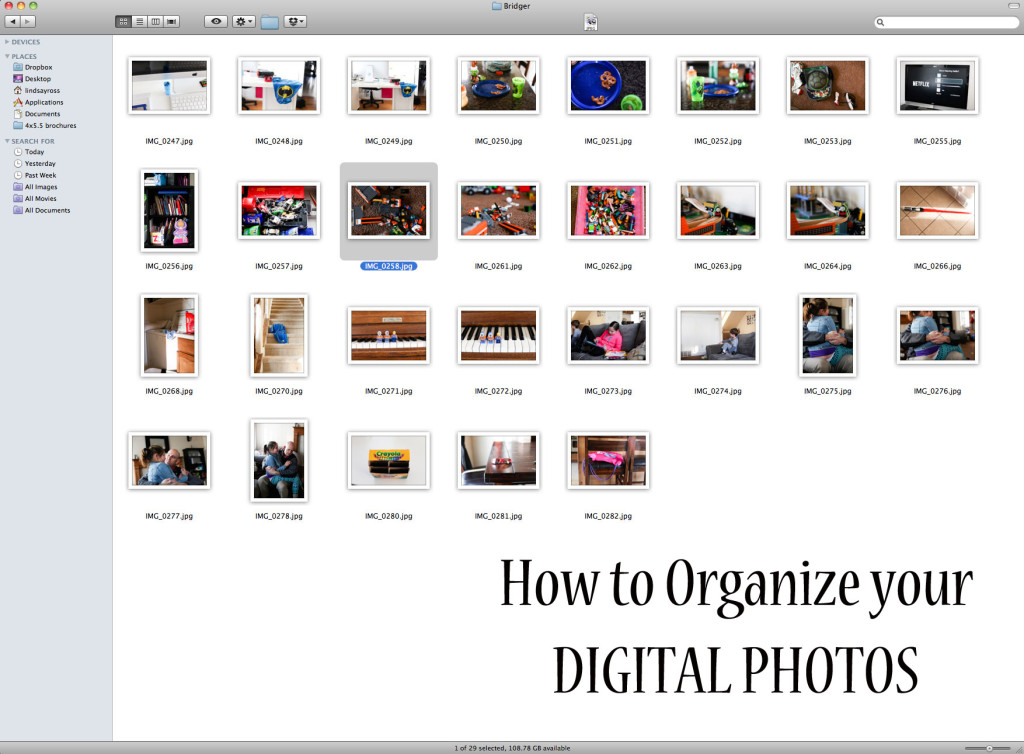
I use iphoto for all my photo organizing.  BUT.  You don’t have to have iphoto to organize photos like this.  You can use the same “folder” system on any computer, Mac or PC.

The problem for me initially was the lack of organization within iPhoto and being able to effectively choose what I wanted to print and keep some sense of order in doing that.


All my pictures were in iPhoto, but that’s it.  If you don’t use iPhoto, your pictures are all sitting somewhere on your computer waiting to be organized (probably in a native “Pictures” folder).  I started using iPhoto in 2009 so I had 5 years worth of photos in there and was overwhelmed by the prospect of organizing them.

Until I came up with this system.


Keep in mind there are hundreds of different ways you can organize photos.  Which is what overwhelms me. So I had to pick something simple. That I know I would do and that I would maintain.


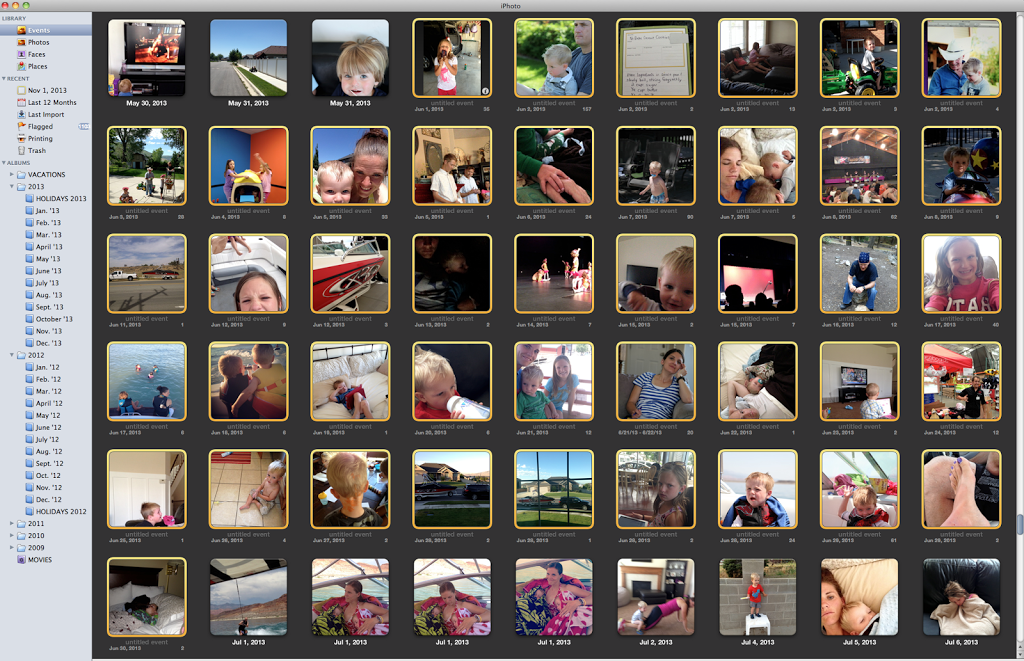
To organize the photos that were already in iPhoto, 5 years worth,  I created folders for each year as well as a “vacations” folder.  See the photo below, under “albums” where it has folders for each year and one for vacations.  If you aren’t using iPhoto, just create these folders right on your desktop or in your “Pictures” folder.

I then created an album for each month in that year as well as an album for Holidays in that year.  Then I moved those albums into the folder for that year.  If you aren’t using iPhoto, just create another folder for EACH month and put those months in the individual years folder (so each year will have 12 folders–one for each month).
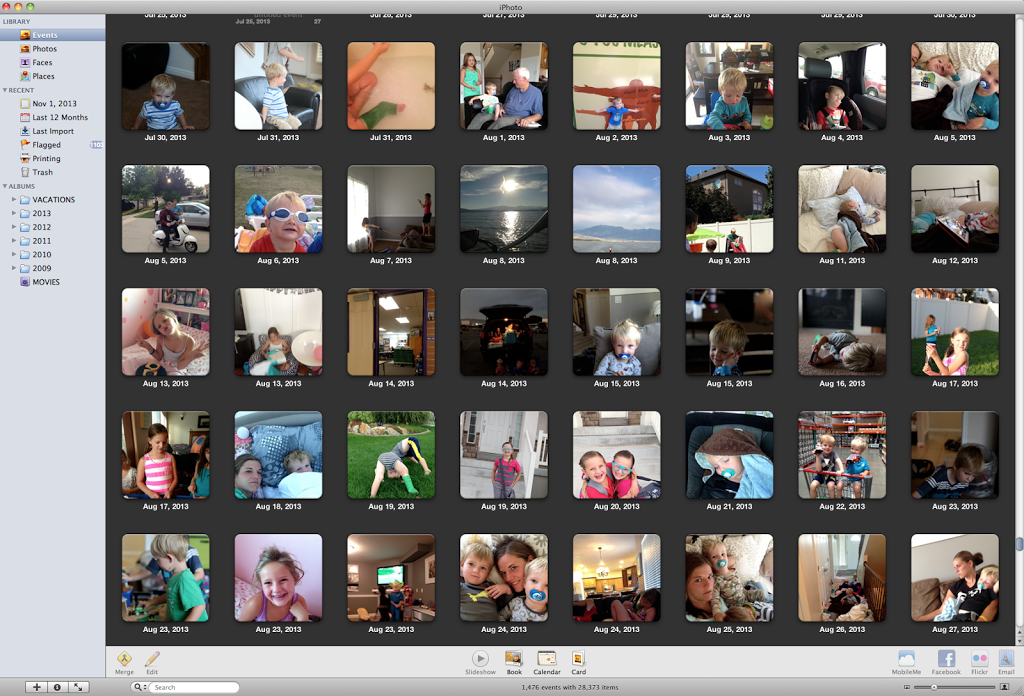
Then I clicked on “Events” in my library so all the pictures in my iPhoto library would come up and went month by month and put the pictures in their corresponding folder.  The physical pictures don’t move so they are all still visible in the events part of your library.  But then when you click on one of the months folder, only that month shows (which can make it easier to find certain photos).  If you aren’t using iPhoto, you can sort the photos on your computer according to the “date created” and then drag and drop the pictures into the correct months.
To do this quickly in iPhoto, you can click on the box with pictures from the first of the month, then hold down the shift key and click on the box with pictures from the last of the month.  Then just drag and drop them into the appropriate album.  You can also drag and drop if you aren’t using iPhoto.  Just look at the date on each photo and drag them into the appropriate folder.
{See how the boxes for July are highlighted in yellow.  Then just drag those into the “July” album.}
After each month, I would look through that month for any holidays or vacations, highlight those pictures and drag those into the appropriate albums as well.  You can have the same picture in multiple albums without moving the original file.  It just makes a “copy” of those pictures which takes up very  minimal space on your hard drive.
This entire process of organizing 5 years worth of photos (I have about 30,000 photos in my iPhoto library) took me about one hour.  Quick.  Easy.  And simple.
And I feel So. Much.Better now that it’s done.
When I first tried organizing my photos I was doing it by events and dates and each individual kid and it was taking forever.  I chose the month-by-month system because I have a general idea when we did certain things so when I’m trying to find a photo, any photo, I just search in the month folder it would have taken place and there it is.
Now to maintain.  At the end of each month (on a SET date) I will move those files into their album for the month and put them in the folder for their year.  Should take about 2 minutes.
If you don’t have iPhoto, figure out a photo organizing system that works for your family.  Just keep it simple and schedule regular times to maintain it.  If you have the right system, it really doesn’t take very long.
You can still set up a Folder for each year, then folders for each month and drag the photos into those folders. This works on a PC or a MAC.
Step 3.  Organize those photos
Now don’t stop there!  Step 4 is to PRINT THOSE PICTURES!!!!
If you have questions, please feel free to contact me!  I’m happy to help where I can.
And.  I’d love if you joined the blog community!  Right now, you’ll get my TEN PHONE PHOTOGRAPHY TIPS that will immediately improve the photos you take with your phone.  It’s free!  And you’ll also get periodic blog news, tips and tricks, and exclusive blog members only info.  Just enter your name and e-mail below!  (You’ll get a separate e-mail asking you to confirm your e-mail.  Shortly after you’ll get your ten free tips!)

Sibling love

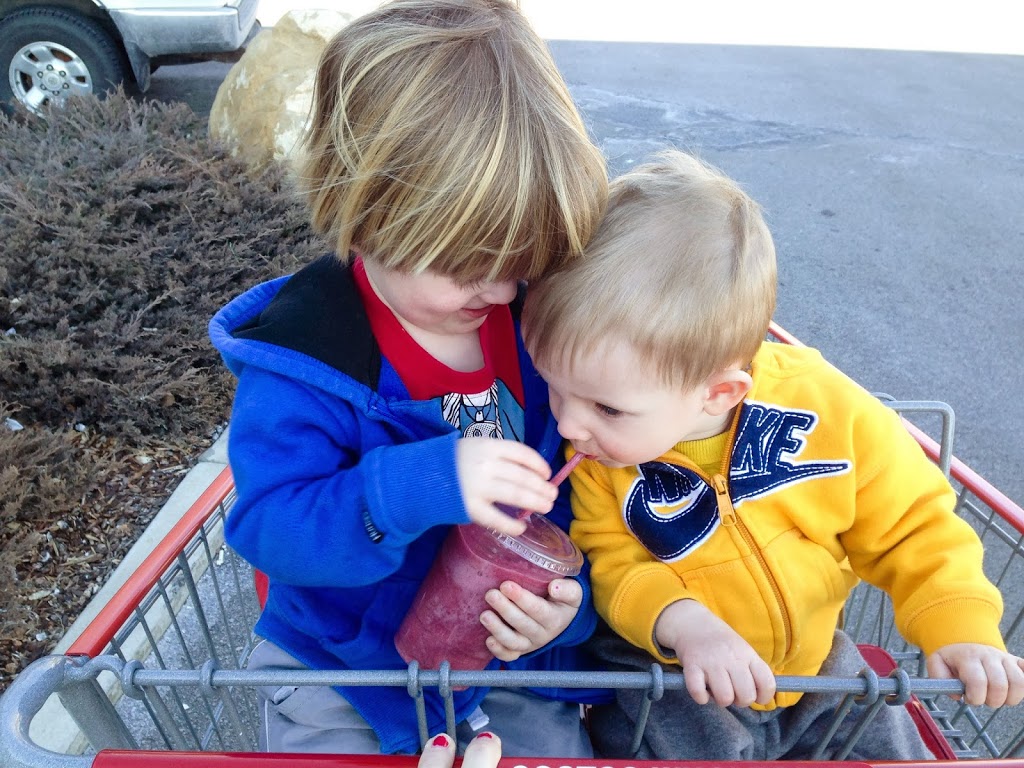
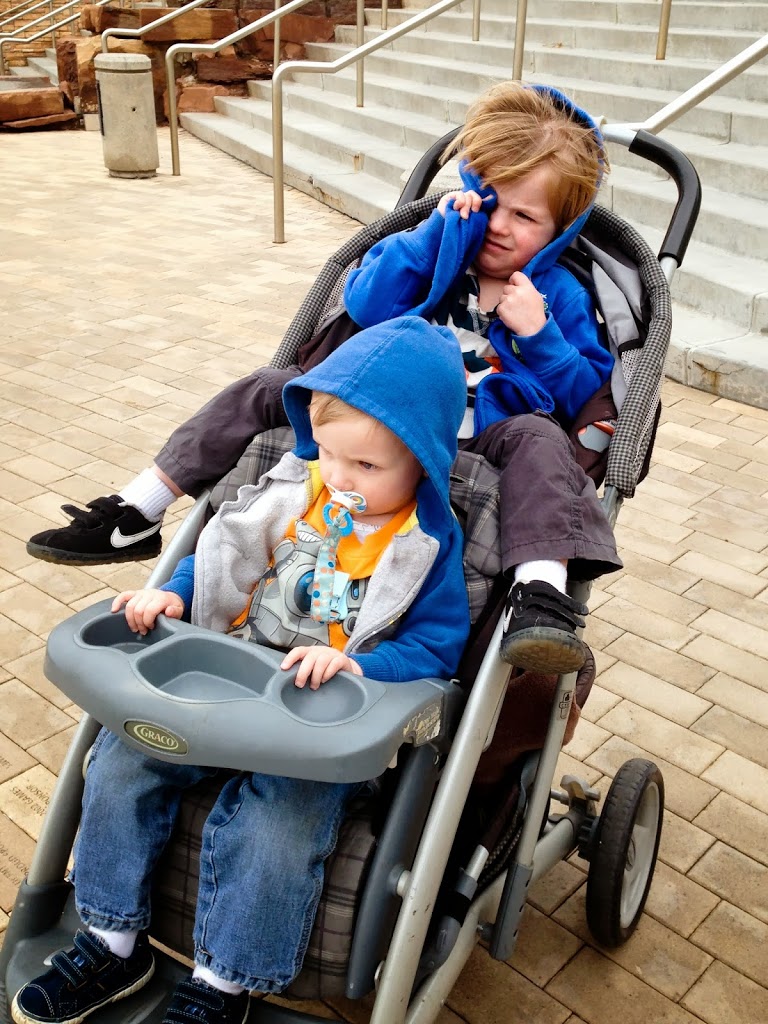
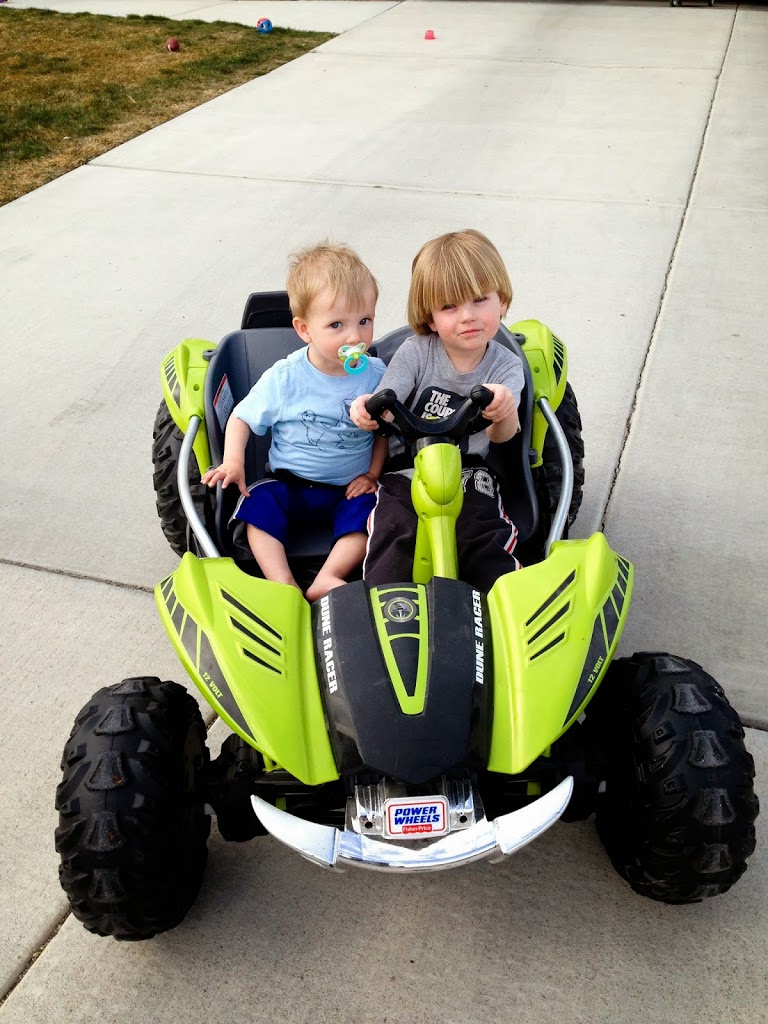
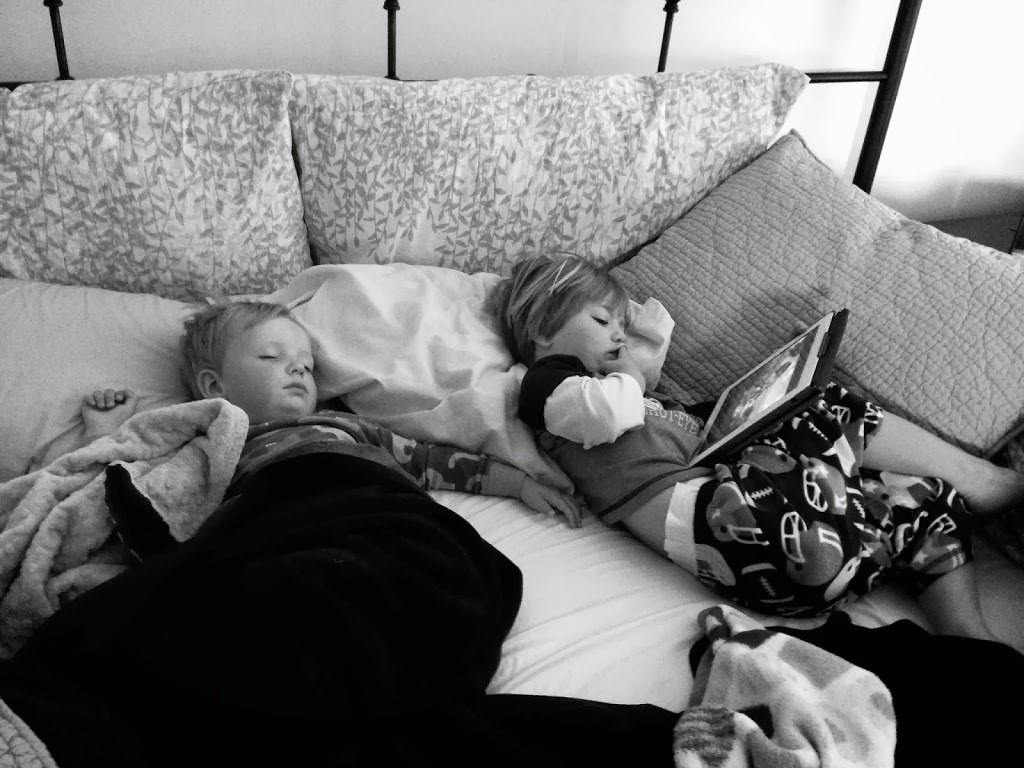
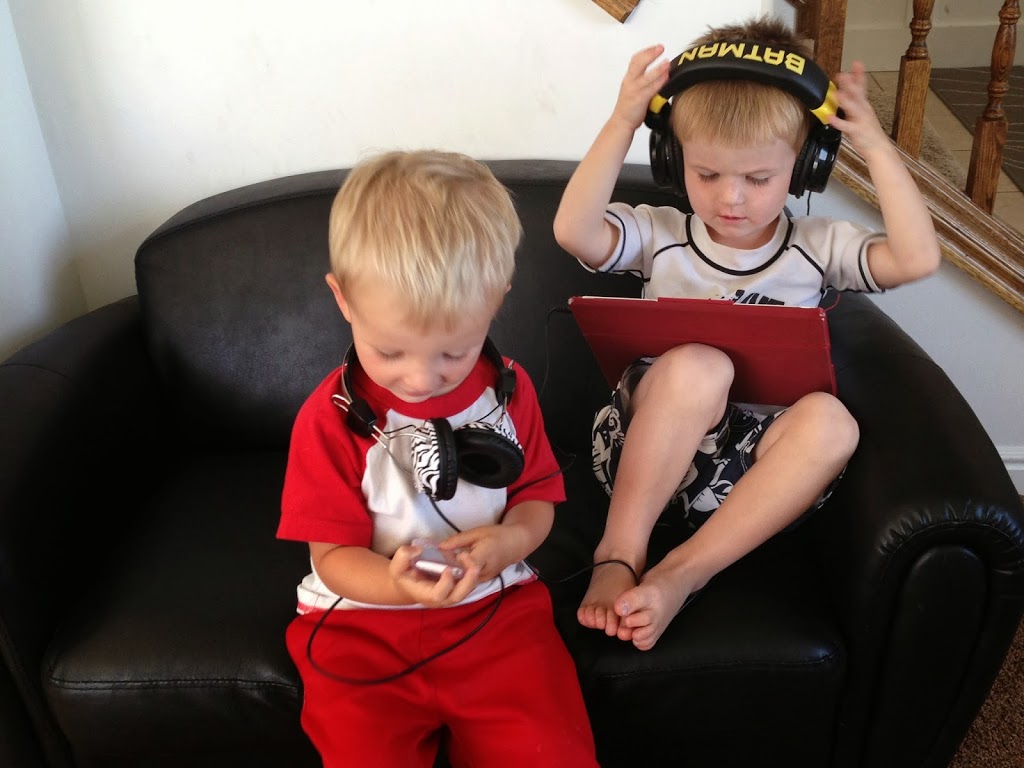
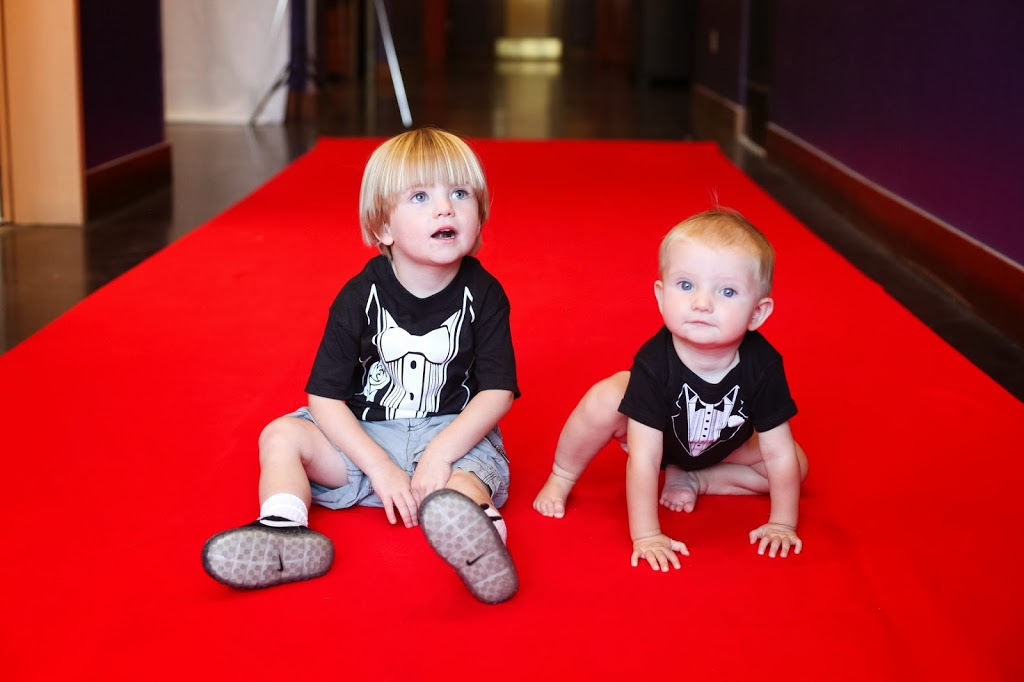
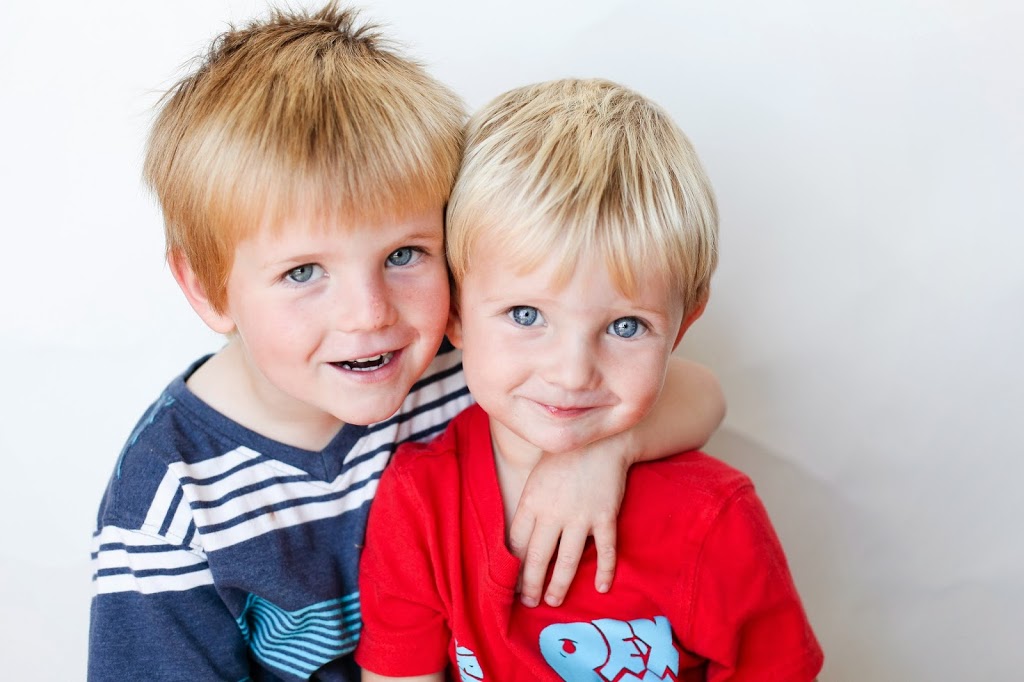
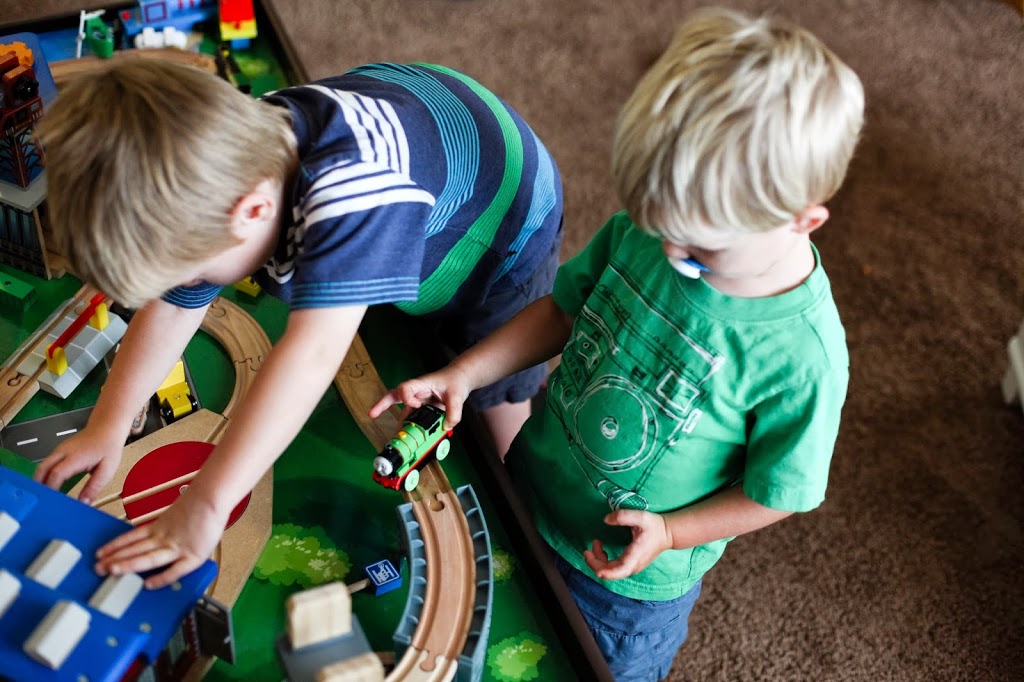
I am constantly grateful these two boys have each other.  To play with.  To love.  To wrestle.  To terrorize.  To just BE together.  What a life-long blessing to have a sibling to grow up with and be an integral part of your life story.  Though we didn’t plan to have them so close together, I am thankful it worked out the way it did.  Caleb adores his older brother and I hope it always stays that way.  And Carter refuses to sit by Caleb at meal time because he’s “too messy”.

They keep me oh-so-busy.  And I’m already dreading the day they both go to school and I’ll be buddy-less during the day.  Boo.  Double Boo.

Boys, you’re lucky to have each other.  Don’t ever forget that.

Picture Display Movement. Step 1. Take pictures!!

I was talking to a friend the other day and she said she had misplaced her SD card with an entire years worth of photos on it.  I skipped right over the part about her saying she lost the card and couldn’t wrap my head around the fact she had an entire years worth of photos on one card.  I can fill up a 4GB card in about 20 minutes taking pictures of my kids.

And after seeing how often my sister and a few other relatives who will remain nameless take pictures, and by often I mean never, I realized maybe this is an issue for a lot of people.

So I decided Step 1 for most people would have to be TAKE MORE PICTURES!!! This applies to me as well.  And probably a lot of other professional photographers I know.  Because we’re so busy taking other people’s pictures, we sometimes forget (or choose not to) pick up the camera and take pictures of our own people.

The actual process of taking a picture costs me nothing.  Monetarily speaking.  So why not take more?

Even if they aren’t always (or ever) “great quality” photos.  The few pictures I have of my childhood won’t ever make it into a magazine, but I’m so grateful I have them 🙂

And the benefits of photographs in our lives is so great, I should be taking as many as I can!

When I pick up my camera and take a picture of something, intentionally or unintentionally I send a message.  A message that whatever I am taking a picture of is important to me.  Because taking a picture of something signifies I want to remember it, whatever “it” is.  A person, a moment, a feeling.

So without saying anything, when I stop what I’m doing and take a picture of something, I show that moment/person/thing/feeling/event was worth stopping for, was worth my time, and was worth documenting.

Photographs tell the story of who I love.  What relationships I cherish.  Moments that make me laugh.  And moments that make me want to cry.  What daily life events I find value in.

If I don’t have those photographs, what story do I have to tell?  And what message do I unintentionally send when I choose not to photograph anything (or many things?)

I’m not saying I need to spend my life and every waking moment taking pictures.  But I definitely think I should be intentional about the photographs I DO take and to make it a priority to document our stories.

So.  Step 1.  Take a lot of pictures.  🙂

Click here for Step 2.

Uniquely awesome photo display.

The walls in my home are sacred space.  Whatever goes on them is something we’ll see every.single.day.  So I’m pretty choosey about what gets a spot on those walls.

Which is why many of the walls in our home are still bare.  Just waiting for the perfect thing to hang on them.

The wall in my office is one such space.  I spend a fair amount of late night hours on my computer.  And I wanted something inspirationally awesome to go on the wall I see the most while in there.

I’ve held out.  And I finally found the perfect thing.

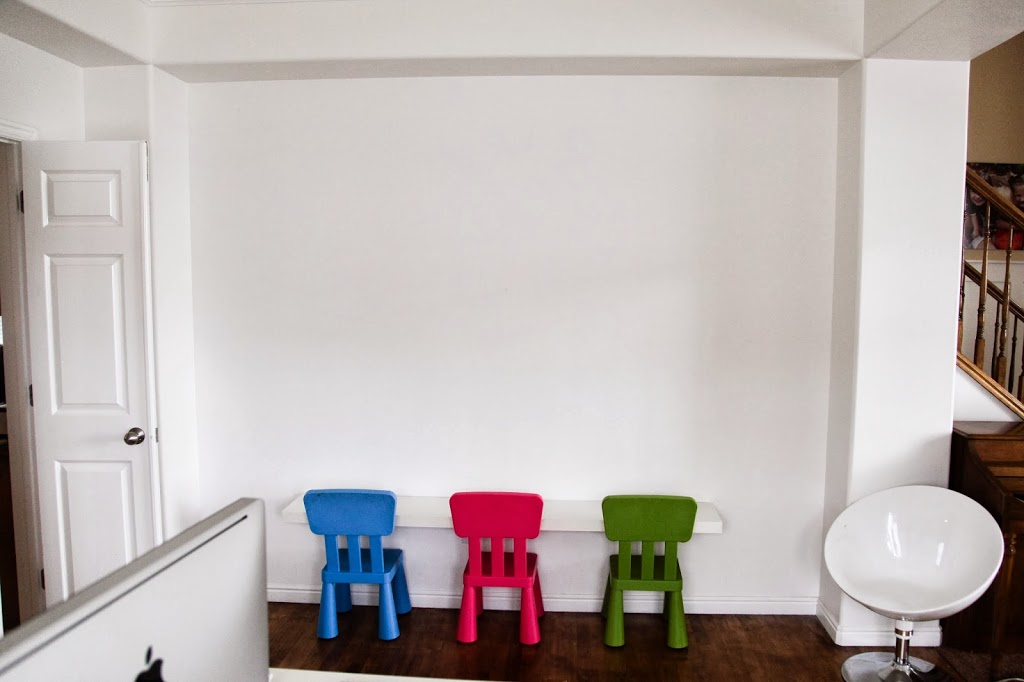
It went from this:

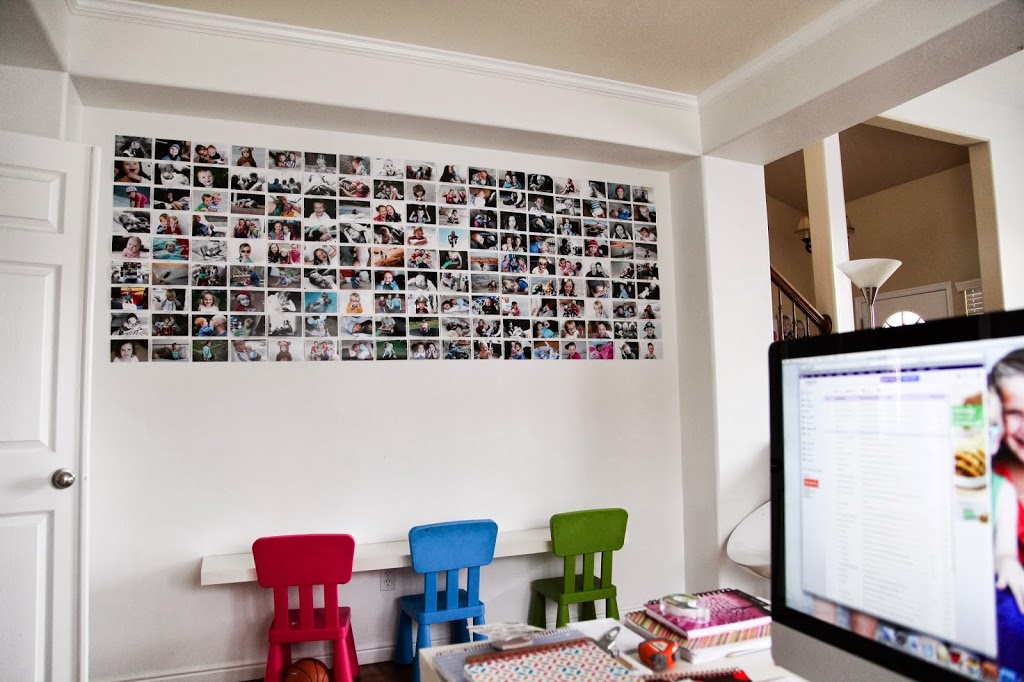
To this:

It took a little longer than anticipated to get on the wall.  And I didn’t finish during naptime (which created some challenges with a two-year-old who will remain nameless that was eventually banished from the room) or before my girls got home from school so they sat on the floor and watched me finish.

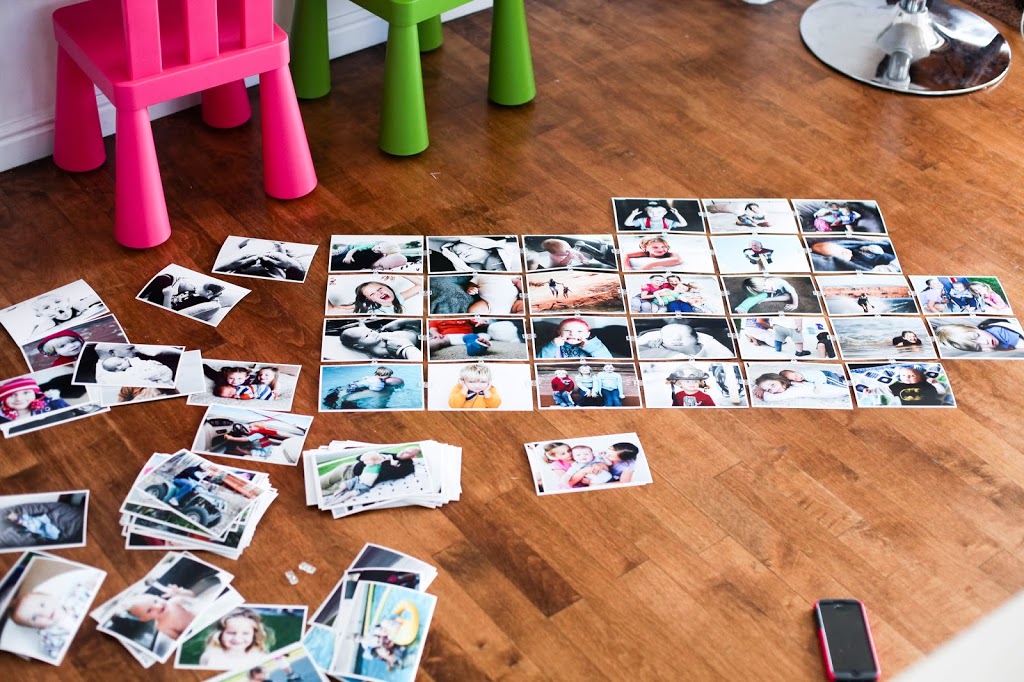
While I carefully selected photos out of my rather large pile, the girls commented on the photos.  The things they said were unsolicited.  I asked for no commentary on what was going on (because usually by that time of day, I’d like to give my ears a time-out).  I was in full concentration mode to hurry and get those things on the wall before the previously mentioned two-year-old sabotaged the entire project.

Mya:  “Whooooa.  I can’t believe you put so many photos of just me.  All by myself.  I must be special.”

Jaida:  “Mom, I’m really glad you can take such good photos of us”

And my favorite (and most gratifying since I have an intentional purpose for taking SO many photos of our everyday lives):

Mya:  “Wow, Mom, you sure do take a lot of photos”
Me:  “Why do you think that is, Mya”
Jaida: (without a pause) “Because you think we’re awesome!”

Intentional parenting for the WIN!

I got the photoclips at fotojojo.com

I went back about 4 years and looked through all our pictures, picking out some of my favorites.  I printed them at Costco (I know, gasp–but when I’m only printing as a 4×6 and I’m printing THAT many, I just use Costco).

I started with a block of photos put together first.  I taped those to the wall, and then added pictures one-by-one directly onto the wall.

There probably was an easier way to do it, but this worked for me.  Eventually.

It took a few hours.  But it’s my favorite spot in the house right now.  The kids too.  We’ve all spent a lot of time gazing at that wall, reminiscing about a lot of really good family memories in our home!

I ended up with 153 photos on the wall.  At some point I may go down the wall further, but for now, I have to keep the pictures out of reach of certain little fingers who like to destroy things.

And the view from my desk now.  I dig it.

Of course it looks cooler if the photos are good quality.  So if you want to do this in your home, learn how to improve your photo skills.  Not just the quality of the photo, but also the type of pictures you take.  You won’t regret it.  One of the best investments you’ll ever make.

Great gifts for the photographer in your life

Need some ideas on gifts for the photographer in your life?

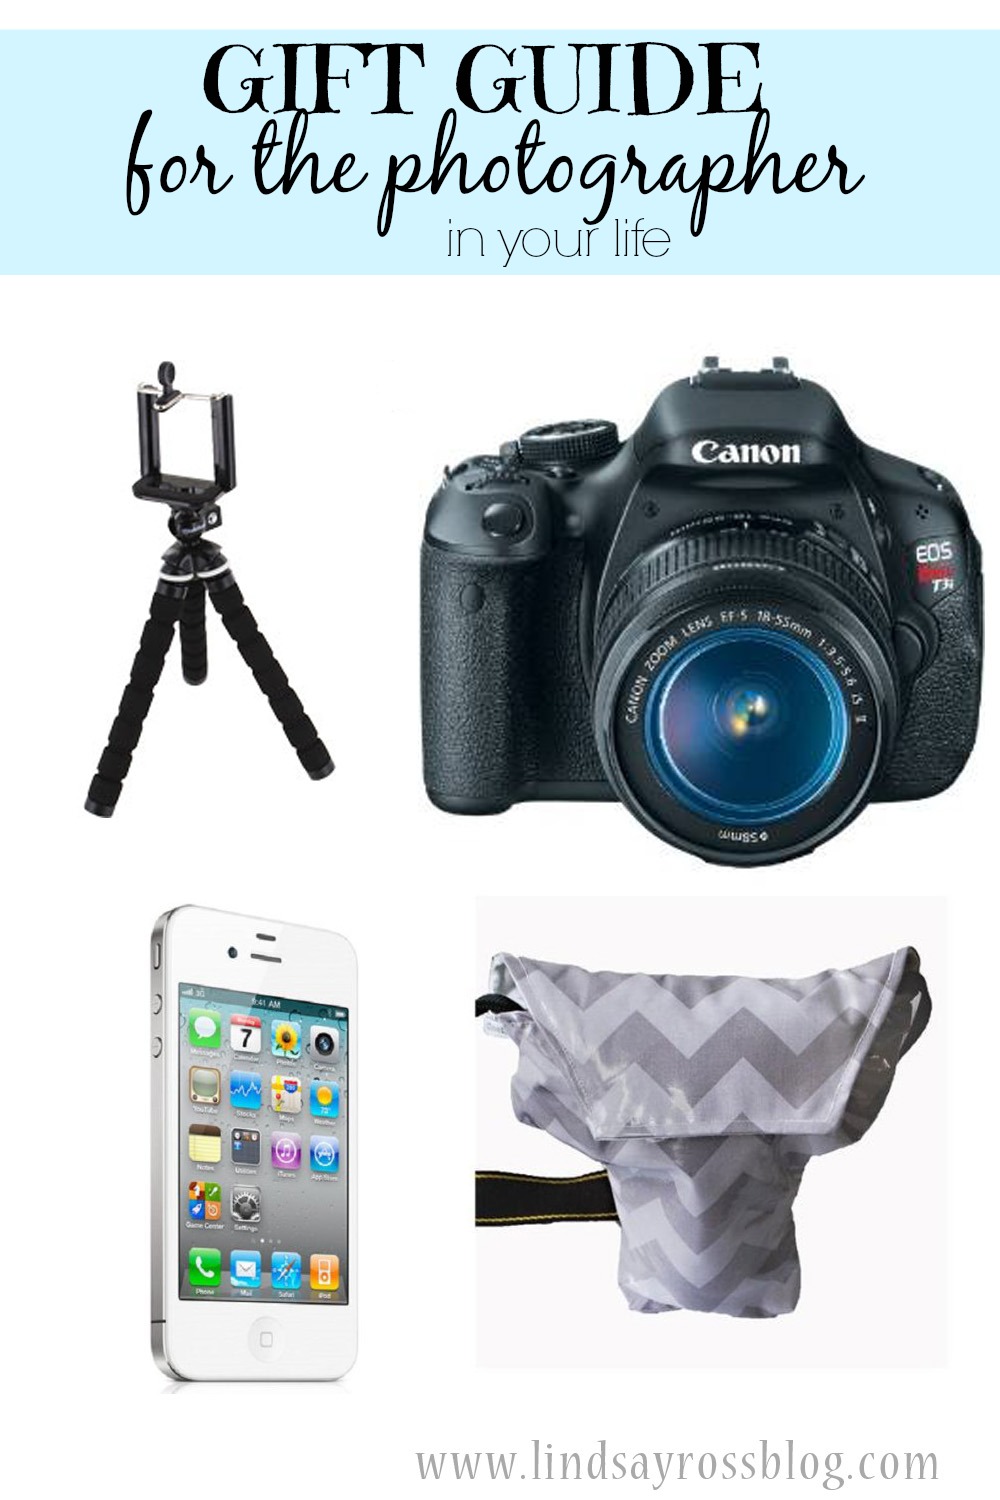
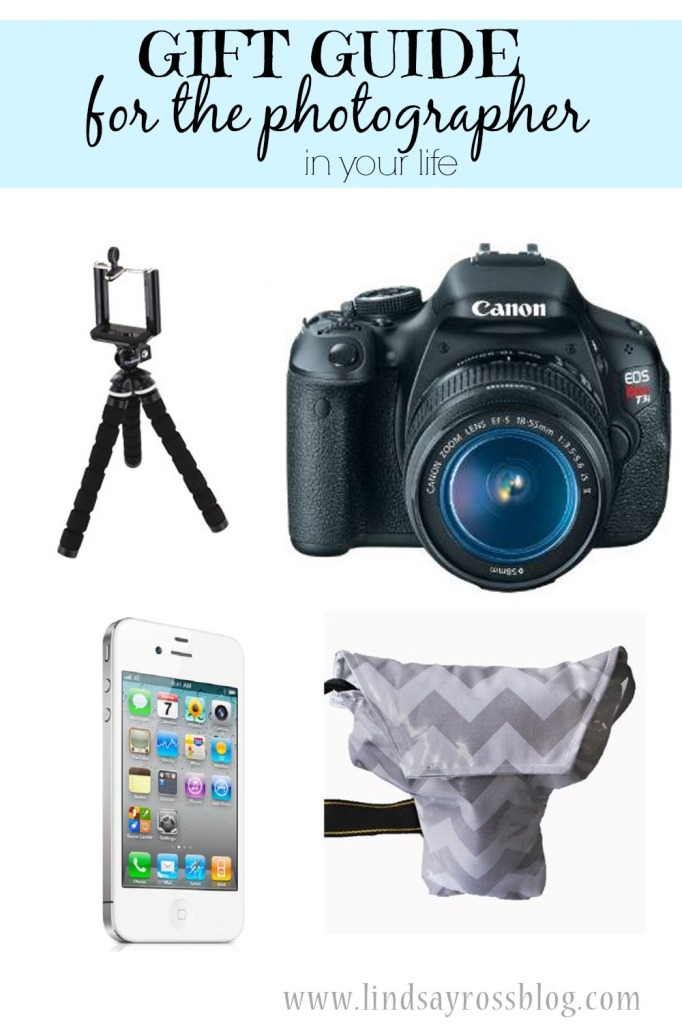
Here are a few that would probably make them love you even more than they already do.giftguidepin

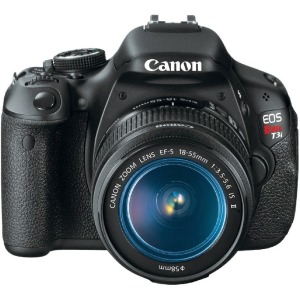
1. If they just have a point and shoot or are using their smart phone for pictures, consider getting them a dSLR camera.  It will be the BEST investment your family ever makes.  I promise that.  Well, unless you buy a speed boat.  Then that would be the best investment.  But a camera would be second.  Read here on what kind of camera I recommend.


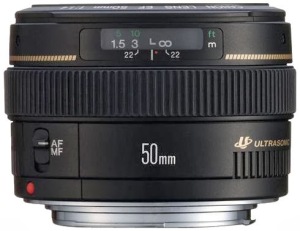
2. 50mm 1.8 lens or if you really want to go all out, a 50mm 1.4 lens.  Click HERE for an explanation on why these lenses are a MUST have for every photographer.  These are anywhere from $100 to $350.


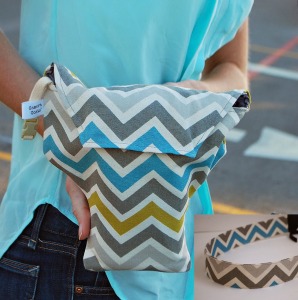
3. A camera coat.  To keep that camera safe when you don’t want to lug around a huge camera bag because you’re already carrying a million other things (diaper bag, purse, kid, blankie, etc., etc.).  Put one of these babies on your camera and you can put it in your diaper bag, stroller, purse and not have to worry about it getting hurt.

photo credit: Camera Coats
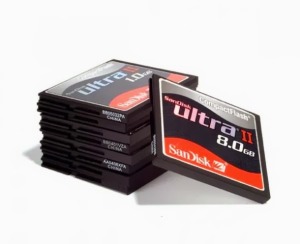
4. More SD cards for their camera.  I fill my cards up all the time.  It’s nice to have extra ones on hand.  I recommend not buying anything bigger than 4.0 GB just in case the card fails.  Then you don’t lose AS many pictures.


5. Speaking of losing pictures.  If you aren’t already backing up your photos, you should be.  Buy an external hard drive and maybe consider backing up online as well.  Funny how when you ask people if there were a fire in their house, what they would grab.  99% of people would say their photographs.  I have no idea what the other 1% would say.  (And I completely made up that statistic.  But I think most statistics are probably made up so it’s ok.)
Which to me indicates photographs are one of the very most important things in our home.  And yet, some of us aren’t backing them up.

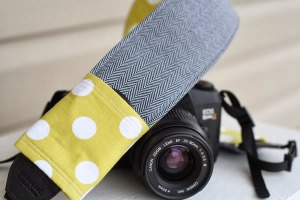
6. Buy or make them a custom photo strap.  Just google camera strap and tons of options come up.  There are also some options to get a camera coat with a matching strap.  Or you can find them on Etsy.
7. Understanding Exposure by Bryan Peterson.  This is the book I read to teach myself how to shoot in manual.  It’s great for understanding all those terms that seem so confusing.
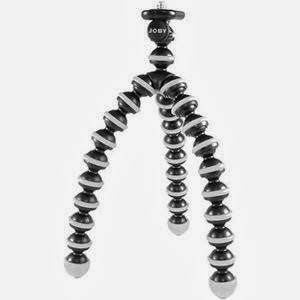
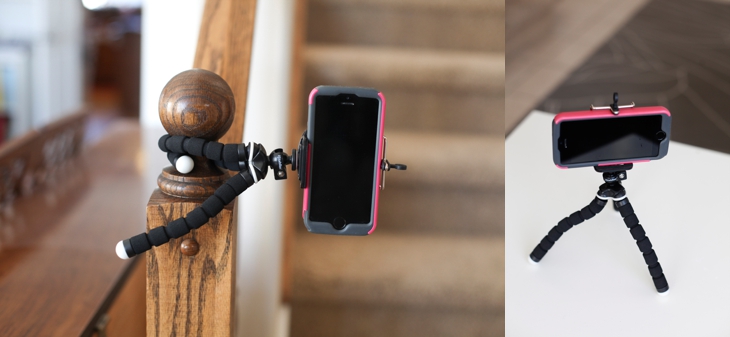
8. A portable tripod.  These just screw into the bottom of your camera so you can take pictures anywhere. AND, so the mom can stay in the picture!!!
For the iphone camera users, you can get an iStabilizer.
iStabilizer
9. Project Life for displaying all the photos they take.  This is my newest obsession and an amazing solution to getting all of those photos off of our computers and sharing them with others.  You can use 40% off coupons on Michaels or Hobby Lobby to get all the supplies.  Seriously, these are AWESOME!!!  I’ll be posting more about Project Life and my mission to help people get their photos off their dang computers and out where people can see them!!
You can also get the Project Life APP.  Just buy an iTunes card and they can download the app and buy extra kits and do all their photo documenting straight from their phone!
10.  A gift card to Persnickety Prints to print all the photos they’re taking!
logo2 copy
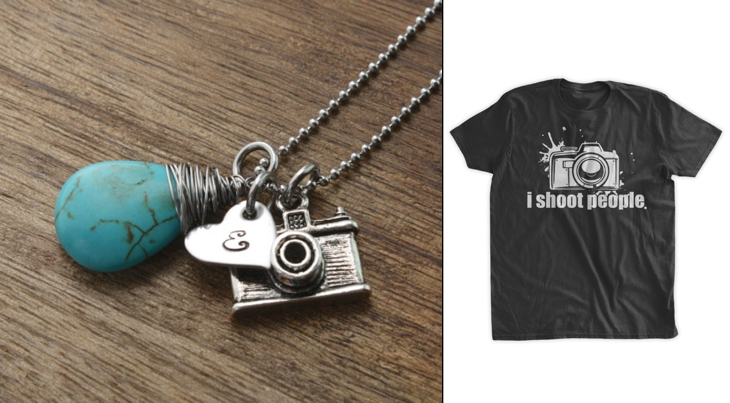
11.  Jewelry or clothing related to photography.  If you go to ETSY and search for “photography necklace” or “photography t-shirt” you’ll find all sorts of choices.
2014-11-21_0020

12.  Photo Editing Software.  I recommend Adobe Photoshop Lightroom 5 or Adobe Photoshop Elements 13

2014-11-21_0021

And for some fun, quirky photo ideas, check out Photo Jojo.
Related Posts Plugin for WordPress, Blogger...