I was walking in to the Verizon store several weeks ago to exchange my phone. My old phone kept losing signal, I looked at getting some cell booster technology however I decided to just buy a new phone instead. My new phone had arrived in the mail, I took the case off the old phone, put it on the new phone and had the old phone in my hand. As I stepped up the curb to go in the door to the store, that slippery little bugger shot right out of my hand and landed face down on the sidewalk (about 2 feet from the door).
I flipped it over, saw the shattered screen and uttered some not-so-nice words for all the parking lot people to hear (I’m sorry for what I said when I was super angry). I have amazing phone cases, drop my phone at least 10 times a day, and I have never once shattered a screen. Until now.
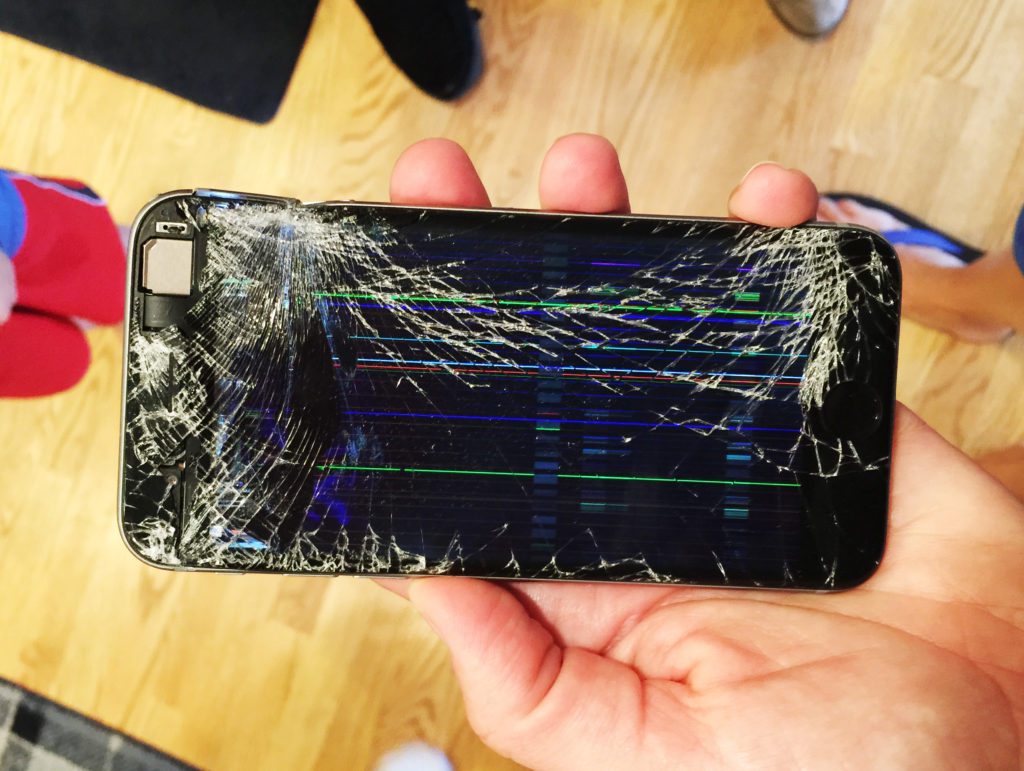
Obviously a phone will still work with a shattered screen, but I share this story to point out an already obvious fact of the million and one ways to ruin our phones. Sometimes we get lucky and they’ll still work. Sometimes we drop them in the lake or pool, bust them up in a recliner (true story–totally happened–see photo below), forget about them in our pants pocket and they fall in the toilet (I know you people are out there), run over them with the car, lose them on a rollercoaster (seen this first hand), drop them off a ledge, get them stolen or lose them, and on and on and on. Luckily I was still able to sell cell phone so I made a bit of money back, but it was still really annoying.
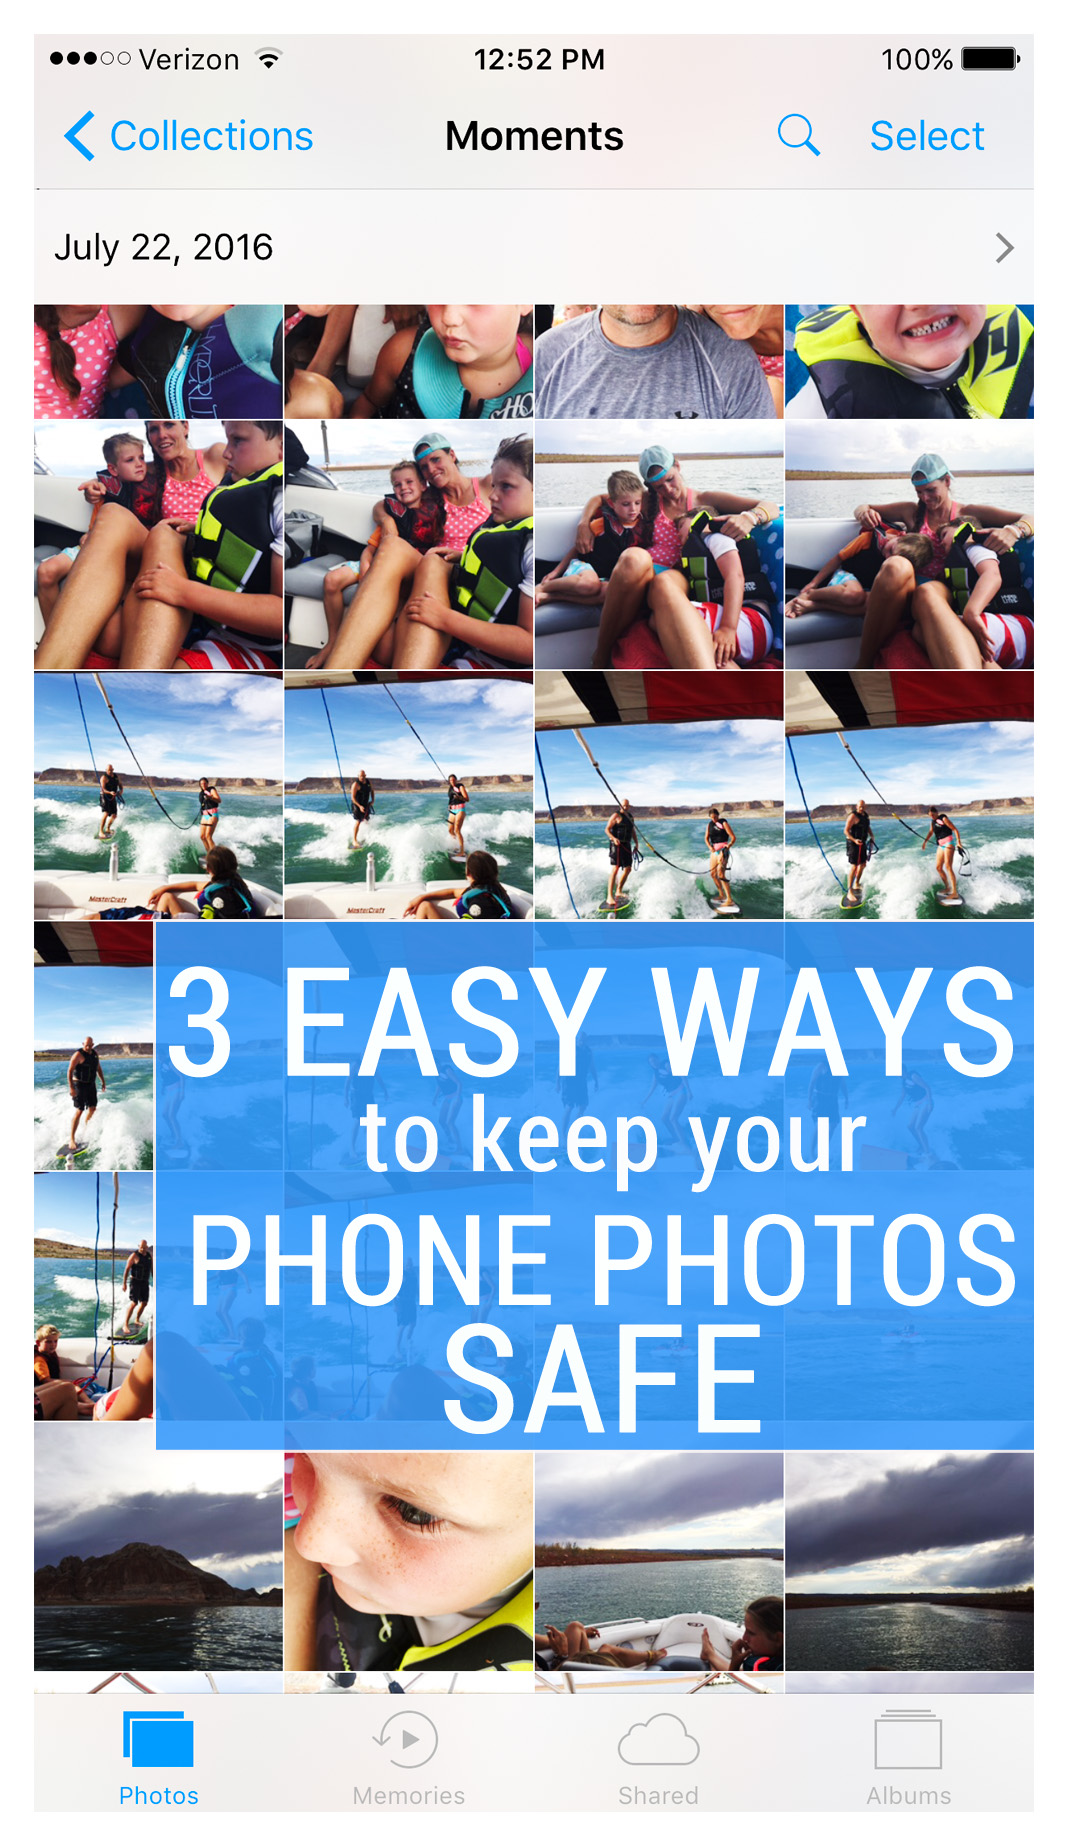
I know most people are taking all their photos with their phones these days. So my question–if your phone suddenly stopped working today (for whatever stupid reason), would you lose all your photos you have on there?
If your answer is “YES”, keep reading. This is for you. If you answer is “NO”, are you sure? I don’t say that to be snarky–I just mean, are you really sure your photos are safe?
My first piece of advice is to make it a habit to get the photos OFF your phone and on your computer on a regular basis (and especially after a big event or vacation). Plug those babies in and get the photos on to the computer (and of course back them up from there). I keep a lot of the photos on my phone even after I do this, but my computer is the main hub for all my photos.
In the meantime, it’s good to have a backup solution to keep the photos on your phone safe until you can get them on your computer. If you have a lot of storage on your phone, my guess is you have thousands and thousands of photos on there. Of big events and every day moments. Things you obviously wanted to remember and preserve when you took the photo.
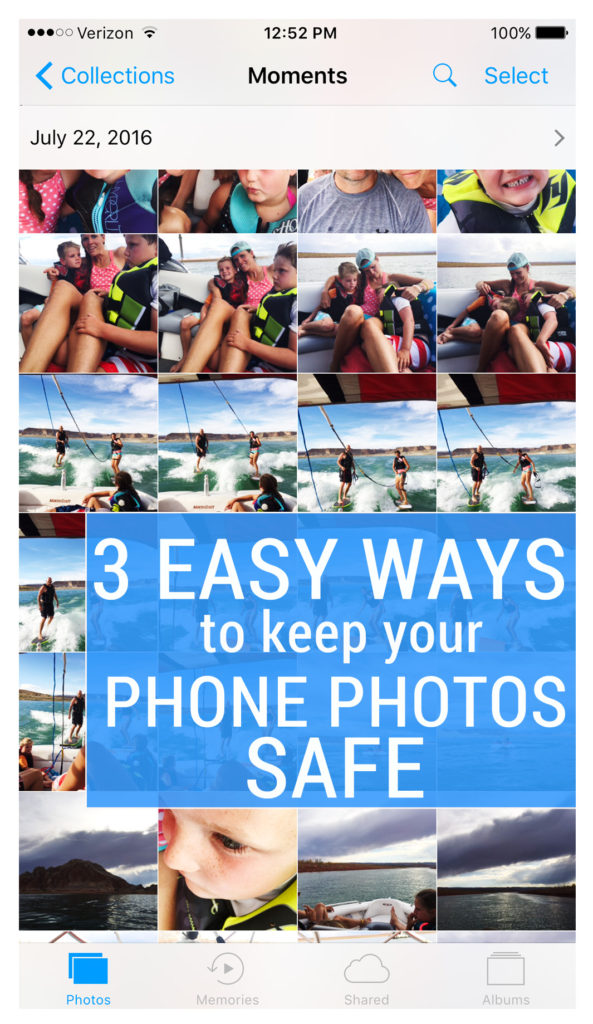
The good news–There are 3 easy ways to back up the photos on your phone so when you can’t access the photos from your phone, they’re still safe.
FIRST: GOOGLE PHOTOS.
Google’s claim is “Free storage and automatic organization for all your memories”. It’s true, it’s free. Just keep in mind that google’s main purpose is data-mining and their user agreement is a little loose, but if you’re comfortable with that (which I personally am), you don’t have to pay any money for this service.
I only use Google photos for my phone (I have a different backup system for the photos on my computer and external hard-drives). My rule for back-up is at least 2 different places, and 2 different locations. So Google photos is one of my 2 for my phone (the other is iCloud which will get to in a minute). But you can use Google photos for the photos on your computer as well. We’re not getting in to that here.
To use google photos, download the app to your phone and walk through the steps. It’s very user-friendly and easy to setup. It works on Android or iPhones.
A few things to keep in mind. It can take quite a while to initially get all the photos backed up. It starts with photos, then it does the videos.
When I initially did this, it had several glitches and started over a few times so just make sure when it says it’s all done, that all the photos and videos were actually backed up (just a quick scroll through to see that the photos are on there).
When you delete a photo from your phone, it doesn’t delete from Google Photos. They’ll only delete from Google Photos if you delete them from there, not if you delete them from your phone.
The unlimited free account of storage will reduce the file size on your photos only if they are bigger than 16MP. Photos on your phone aren’t bigger than that so the photo quality won’t be compromised at all.
To FIND the photos once you’ve uploaded them, you can see them through the Google Photos app on your phone, OR you can go to photos.google.com and login there to see all of the photos that uploaded to the Google cloud. The screen will look like this:
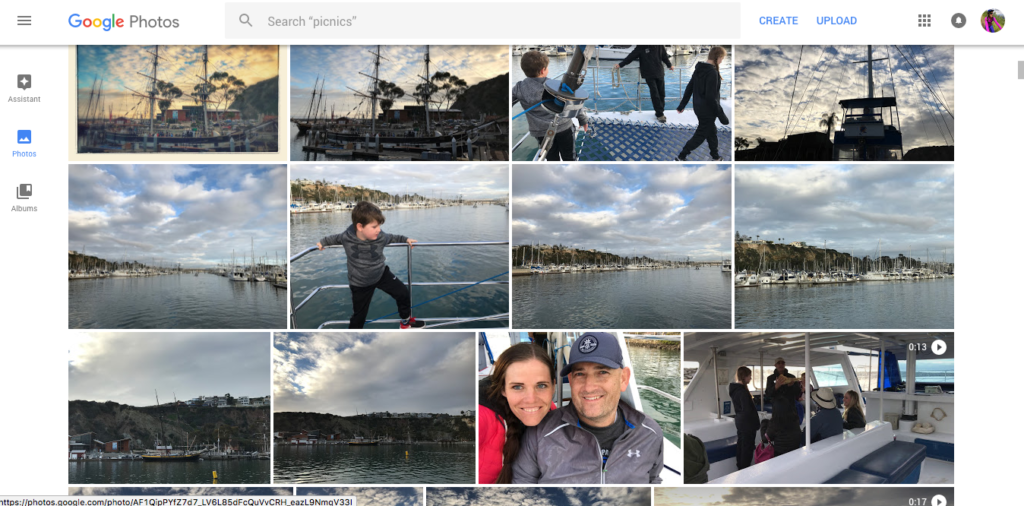
Google Photos has some pretty incredible search features (not surprising–that’s what Google specializes in) and it also uses your photos to create animations and short movies like this (you don’t do anything–it just takes photos and starts creating things you can watch and save):
This was just a random one I saved real quick of a trip we recently took to California. We went on a whale/dolphin boat excursion and it was SO so cool. Something we’ll never forget. Google Photos just grabbed a few photos from that day and made this little movie. My kids have loved watching a lot of these creations with no effort on my part. Winning.
If you want a more in depth look at how Google Photos works, how to get it set up (it really is super user friendly), and some of the extensive search features and perks of Google Photos, check out this FREE resource from Modern Photo Solutions.
SECOND: iCLOUD
iCloud is another cloud based service (obvious from the name) that will backup the photos on your phone. iPhone users get 5GB free (which will store like 7 photos–okay maybe a little more but 5GB isn’t going to do much), 50GB for $.99 a month, 200 GB for $2.99 a month, or 1 TB for $9.99 a month.
If you’re just using iCloud for your phone (which is all we’re talking about here), the storage amount you get will be dependent on how much storage your phone has. My phone has 128GB of storage so I have the 200GB plan (because 50GB won’t be enough). I could just use the 50GB plan if I didn’t want to keep as many photos on my phone, but I do–hence the reason for the bigger phone.
Yes, it costs. But I think $3 a month is totally worth the peace-of-mind that comes with knowing all my photos are safe until I get them on my computer.
To check your iCloud storage or to buy more, go to Settings, scroll down to iCloud, then choose “Storage”. You can choose “manage storage” to see where your storage space is going (with all your apps on your phone including Photos) and how much storage your photos are using. Then you can choose “Change storage plan” to change your iCloud storage amount to fit however much you need.
To start your photos backing up to iCloud, go to “Settings”, then “iCloud” and find “Photos” and make sure it’s switched to “On”. This will start the backup of your photos to iCloud.
To FIND your photos once they’ve loaded to the cloud, go to iCloud.com and log in to your iCloud account (your apple account). There you can see all the things that are uploading to your cloud account (contacts, calendar, notes, etc). If you click on the “Photos” icon, you will see all the photos that have uploaded to iCloud. The screen will looks like this:
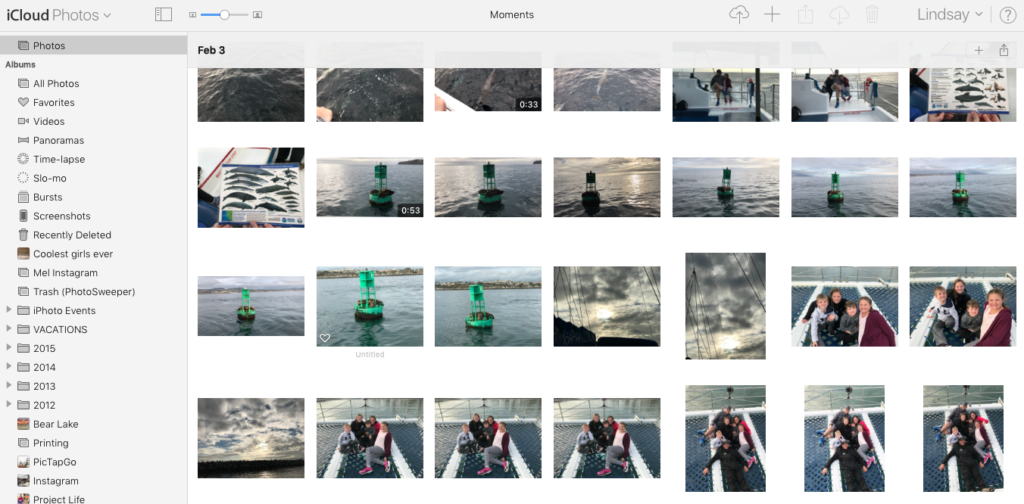
This will also take some time if you have a bunch of photos on your phone.
The intent of iCloud is to sync ALL your photos from ALL devices so you can access them anywhere (computer, phone, iPad, etc.). I don’t love the workflow of that so I just use it for my phone (and phone backup is all we’re covering here).
One thing to remember–and this is important–iCloud works kind of like e-mail (syncing all devices together). So if you delete a photo on your phone it will delete from iCloud just like if you read e-mail on your phone and delete the e-mail, you no longer have that e-mail in your account on a computer or another device.
The only time that won’t happen is if you’re using the “save storage” feature of iCloud and when you take a photo, it automatically goes to iCloud and doesn’t store on your phone at all. But that can be really confusing for people. So for the sake of this post which is merely to get the photos on our phone backed up and safe, just remember that when you delete from your phone, it is also deleting from iCloud.
THIRD: DROPBOX
I only recommend Dropbox if you are already paying for the additional storage in Dropbox and have it anyway. Otherwise this would be a more expensive option and not necessary if you use the other two features. I love Dropbox and use it all the time to access all my photos from other computers and devices. This is another way to back up the photos on your phone.
If you already have Dropbox and want to use it to backup your phone photos, download the Dropbox app to your phone.
If you have an iPhone follow these steps:
- Open the Dropbox app.
- Tap Recents.
- Tap the gear icon at the top of the screen.
- Tap Camera Upload.
- On the next screen, toggle the Camera Upload option on or off
If you have an Android phone follow these steps:
- Open the Dropbox app.
- Tap the menu button.
- Tap the gear icon (or Settings, on older versions of the app).
- Scroll to the Camera Upload section.
- Toggle to either Turn on or Turn off Camera Upload.
Dropbox has a ton of easy to follow tutorials to get up and running with this, but if you follow those above steps, that will start uploading your photos to a Camera Uploads folder. The downside to this is you’d have to organize the folders from that upload folder. But it at least gets the photos somewhere safe until you’re able to do this. You can also manually choose different photos you want to upload and choose the folders they go in to.

So there you go. THREE EASY WAYS to get the photos on your phone BACKED UP and SAFE so when something happens to your phone, you won’t lose any of those photos.
Here’s the aforementioned phone that slipped out of a pocket and went down in to the crevices of a recliner. We pulled the lever to try and find it and, well, it didn’t go so hot. It’s funny now. Well, it was funny then too.
Backing up the photos on your phone is something you can easily do right now. It only takes about 10 minutes to get one of these systems set up and I am positive you won’t regret it.
If you want some more info about managing your digital photos, some mistakes you might be making and how to fix them, check out this post.
If you want to see what company I use to back up ALL my photos and why I chose them (after an insane amount of research) check out this post.
Get those photos backed up!!!
