I’m not a terribly sentimental person when it comes to stuff. I don’t get attached to much and like to get rid of as much as I can. In fact, this past year I’ve been slowly trying to get rid of the excess in our house and reduce the amount of clutter around here.
But I’m trying to hang on to at least some of the stuff my kids create around the house and things they bring home from school. The papers, art projects, coloring pages, homework assignments, church activities, tests, etc. sometimes seem endless and I wasn’t sure what to do with all of it. As more of my kids started going to school and bringing home more stuff, piles of school work starting accumulating.
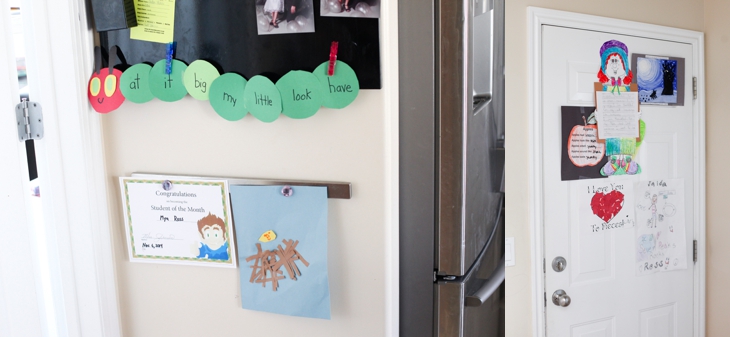
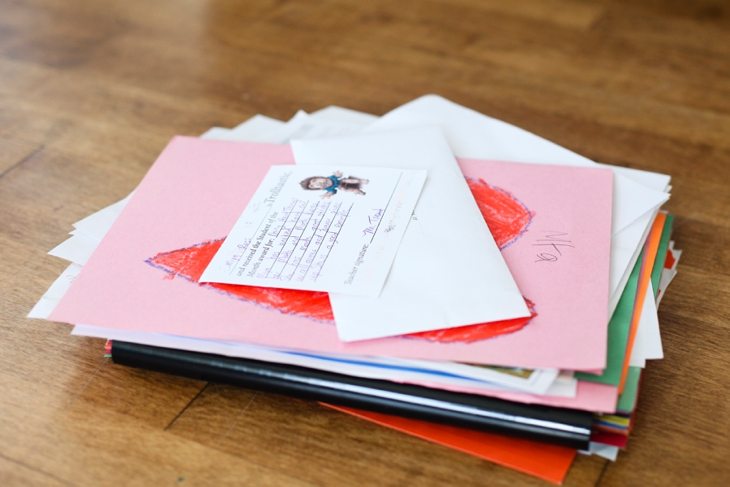 Things that they worked extra hard on or seemed particularly proud of get a spot on our magnet wall or on the garage door for a little while. Other things get some praise from mom and dad, left on the counter for a few days, and then I quietly slip them in the garbage (of course I mean recycle bin) and put a paper towel over it so the kids don’t see it in there.
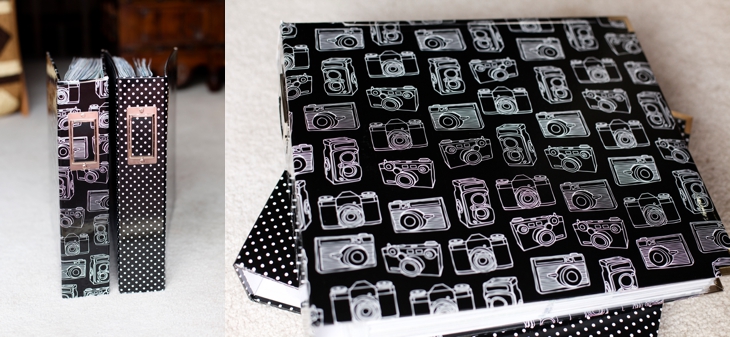
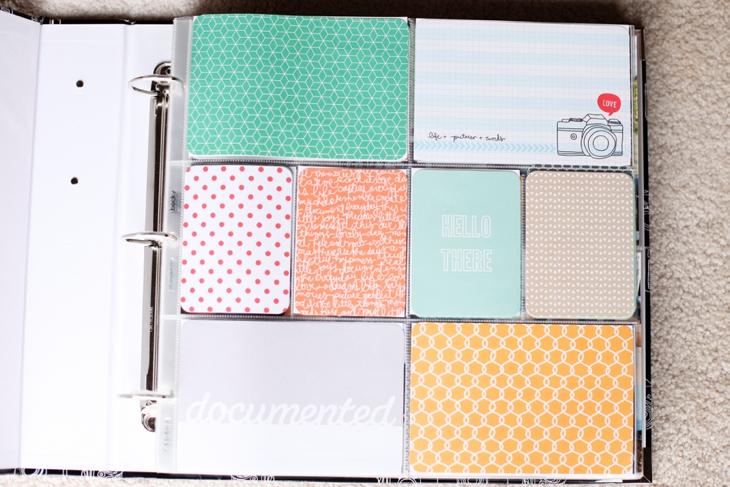
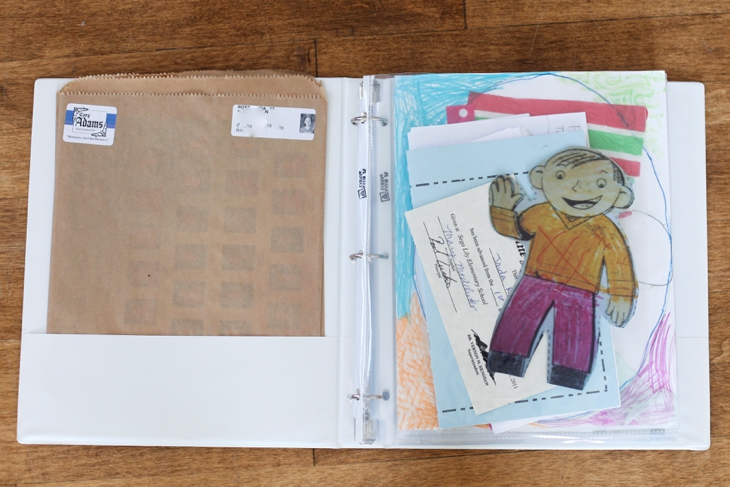
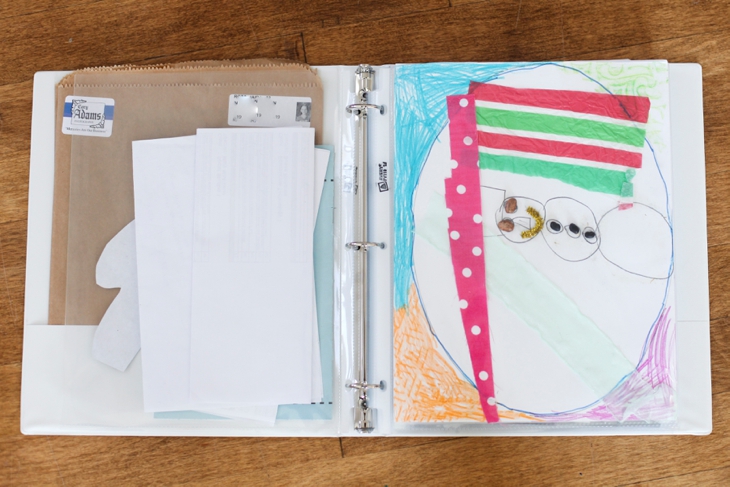
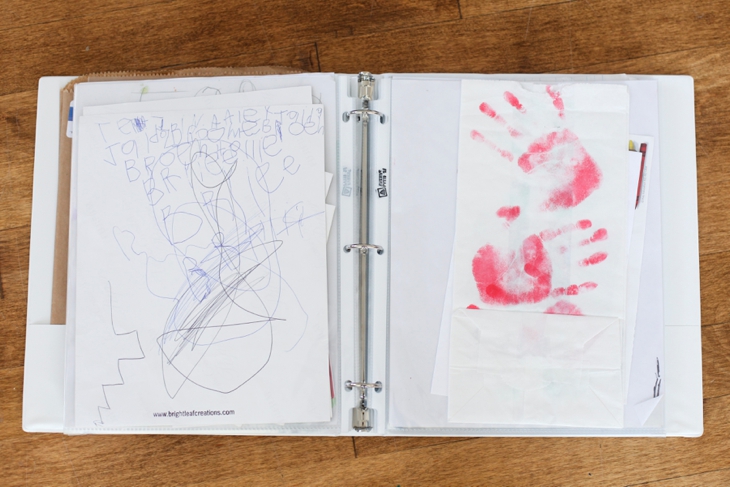
 Some of the original stuff we decide to keep gets put in protective pages and put in a binder. It will be fun for them to be able to flip through some of the original items when they get older. But I only keep a handful of things from each year.
We don’t (can’t) hang onto everything and I was trying to decide what to keep and what to toss. Then I saw this great idea from Becky Higgins. Some (most) of the things (especially big things hard to hang on to, or stuff we don’t necessarily need an original of) I’m taking photos of and putting them into pages using the Project Life App. I know some people scan their kids artwork, but I’ll never actually do that (and some of the stuff is too big to scan). So when the piles get big enough, I take 10-15 minutes and take photos of the pages with my phone and then put those photos into layouts using the App.
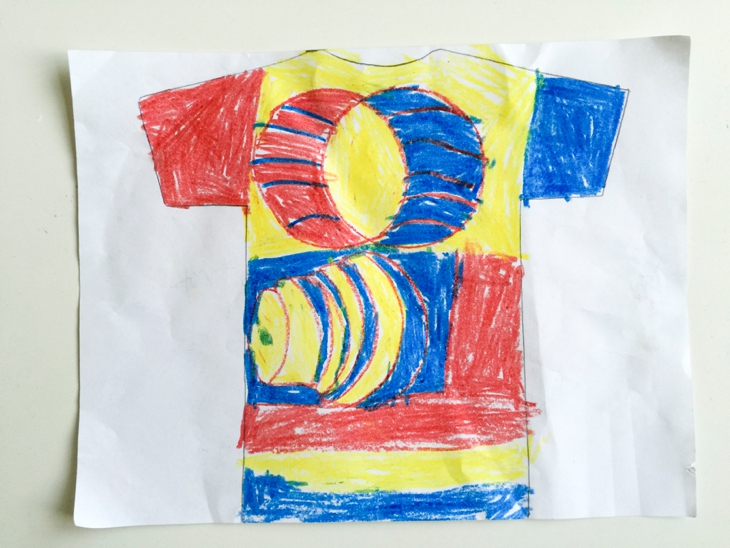
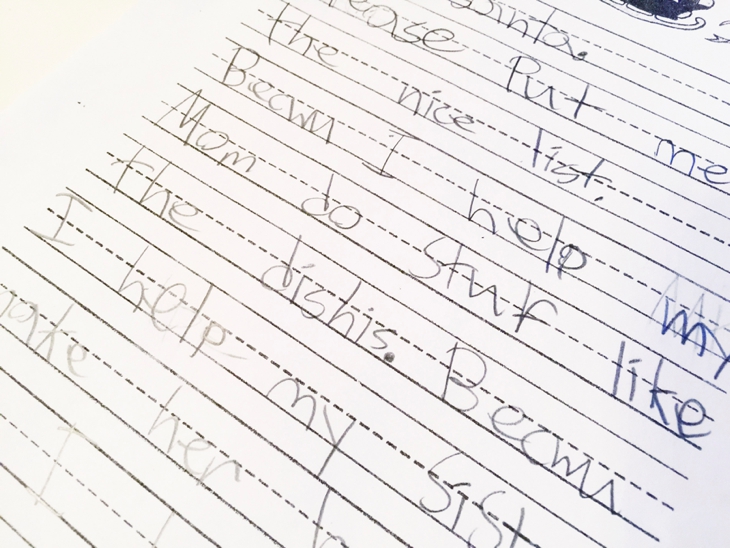
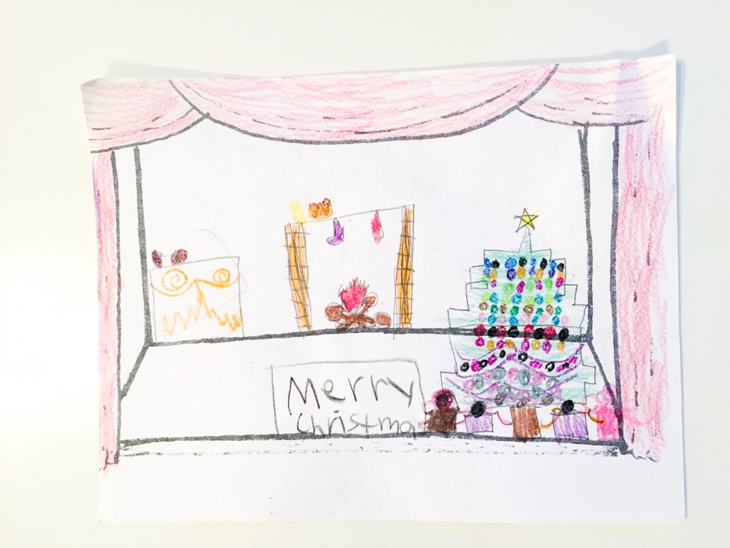
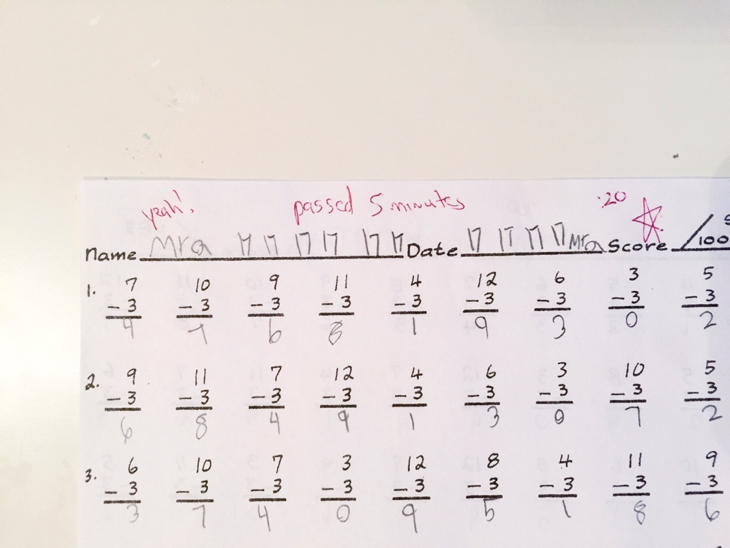
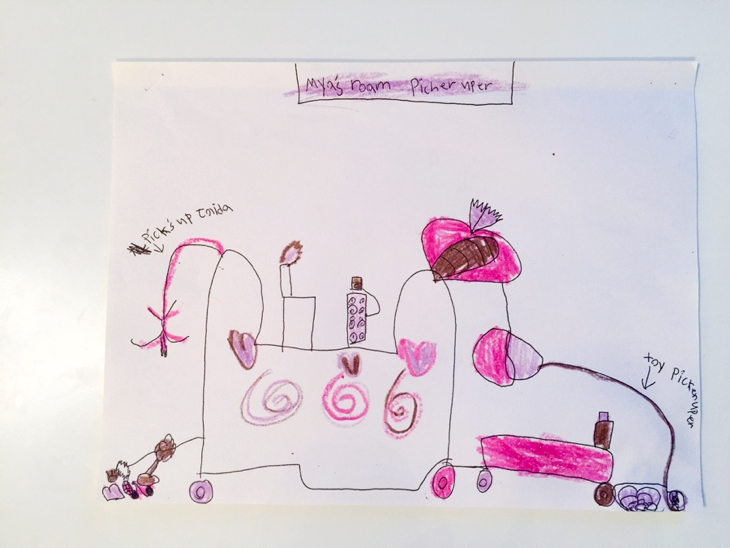
Some tips for doing this:
**Put the original item on a white table (or posterboard) or wood floor, and get it as close to a natural light source as possible. I do this when the sun isn’t shining directly through the window. You could also open a door.
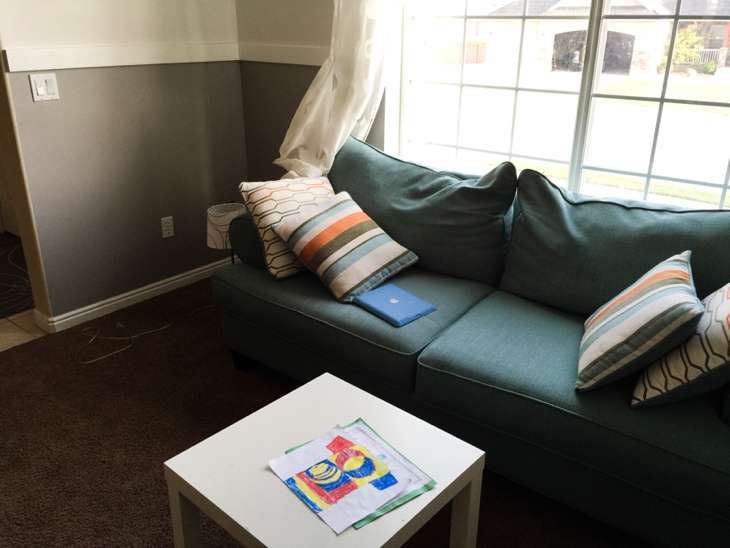
**Hold your camera directly over the item. You may need a stool to get higher up if needed. Try to keep your elbows braced by your body so you keep the camera steady.
**Turn off your flash. Natural light will always look better for this type of photo.
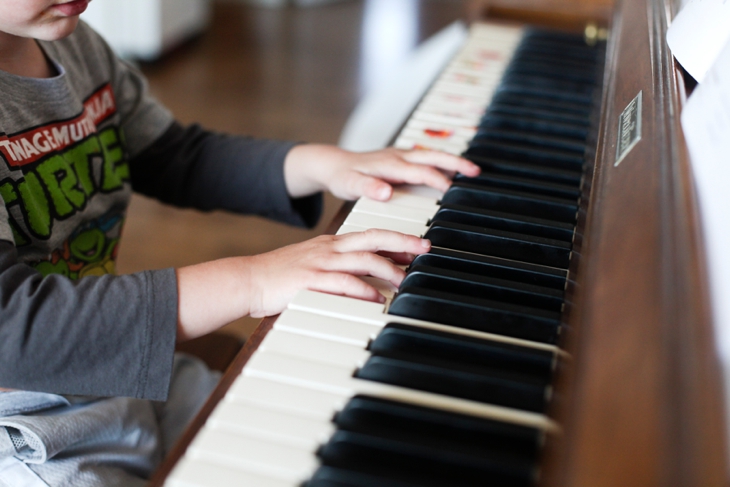
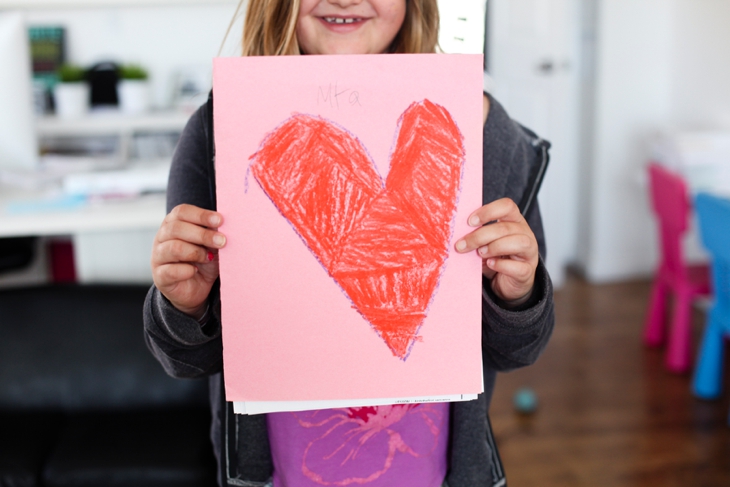
**Occasionally include photos of your kids hands holding the artwork and/0r photos of them while they’re actually writing or drawing. I take these type of photos with my “real” camera. Otherwise, my phone camera works just fine.
**If there are several similar items you could photograph them all together.
**Use the Project Life App (or other photo collage app) and make layouts of the different projects.
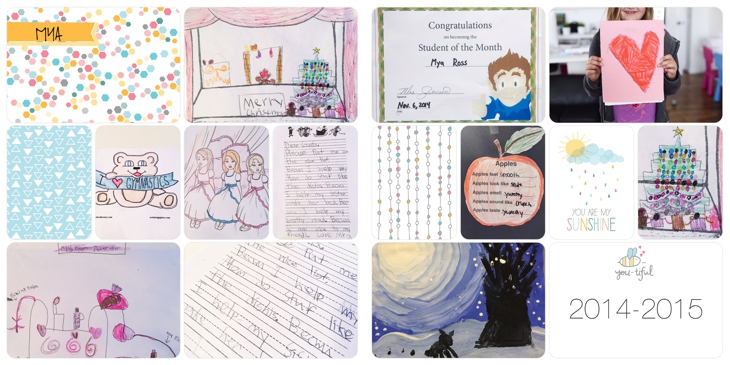
Fast, easy, and significantly reduces the amount of paper clutter in our house. And makes it a tiny bit easier to convince the kids to throw stuff away if they know we have a photo to preserve it. But only a tiny bit. I usually still have to hide the stuff under paper towels in the garbage.
For more tips on photos you take with your phone, check this out.
And for more ideas on organizing different parts of your home, you can follow my “Organize” board on Pinterest. One day I’ll work my way through all of those ideas and have a smooth runnin’ house.
