Picture Display Movement. Step 4. PRINT

{Click the links for Step 1, Step 2, or Step 3 if you missed any of the previous posts}

Ah.  The step that seems to give me the most trouble.  Well, at least it used to.  Cause things are changing around here.  And I already have a good start.

I take loads of pictures.  I get them on my computer.  And now I have them all organized.  But what a bummer if it ends there.  What’s the point of taking them if no one ever gets to see them?  All those memories, emotions, and STORIES of our lives sit on a hard drive and remain untold.  And add to my mom-guilt that is already never ending.

So one of my bigger priorities this year is to print and display the pictures I take of our family.  In albums, and other forms of display.

When deciding what to print, I start with the END in mind.  I do this before I even take some of the pictures I take.  What is the point of taking this picture?  What story am I trying to tell? And how am I going to share it?  Will it be on the wall? The magnet board? In a slideshow? Or a photo album?

Let’s start with just basic prints for a photo album.  I have recently discovered a new way for displaying my photos.  It’s called Project Life.  And I’m kind of obsessed because it is exactly what I’ve been looking for.   (You can visit the website here)

But let’s talk printing for just any photo album OR a photo book you can create online through Blurb or Shutterfly or similar companies.

Here’s a quick and easy way (because those are my most important criteria in pretty much everything these days) to pick the pictures you want to print.

Since I’m still playing “catch up”, here’s how I’m doing it right now.

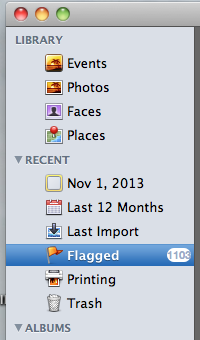
In iPhoto, I clicked on the folder for 2013 ( I’m starting with the most recent and working my way backwards.)  All the pictures from 2013 show up in my screen.  I started at the top and scrolled through the pictures.  I click on the pictures I want to print and “flag” them.

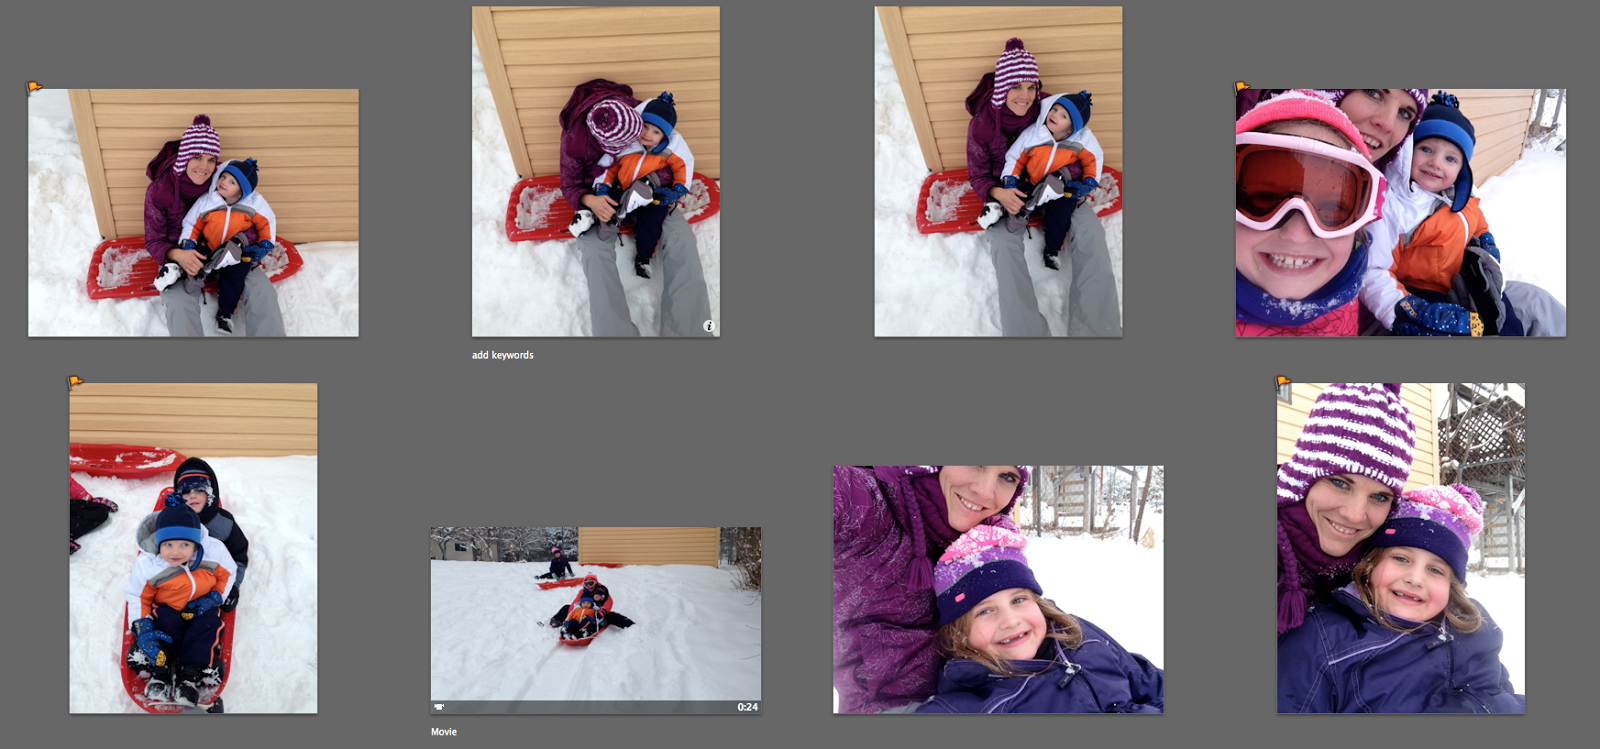
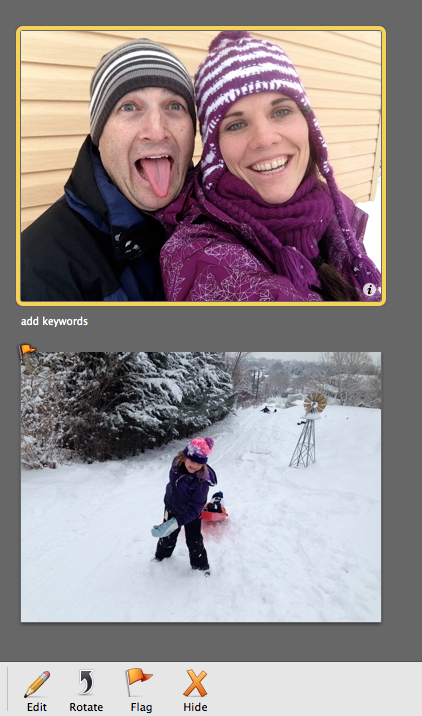
See how some of those pictures have a little orange flag in the top left corner.  To “flag” a picture, you select it (you can select multiple pictures by clicking on one, then clicking on another while holding the “command” key) and then click “flag” at the bottom left of the screen.

Once I scrolled through the whole year, I clicked on the “Flagged” tab on the left of the screen so I can see all the pictures I have flagged.
It also tells you how many photos you have flagged.  So for 2013 I have 1103 pictures I want to print.
The next step is to select all those pictures that I flagged and put them in a folder on my desktop. Click on the first picture, hold down Shift and click on the last picture to select them all.  Then drag and drop them into a folder.  My folder is labeled “TO PRINT“.
Once I have them in the folder, I do a quick edit on those pictures.  And by quick edit, I mean quick.  I don’t spend hours editing photos.  Because if I do, they’ll never get printed.  I know this about me.  It has to be simple. It has to be quick.  It’s just the way I work.
Once edited, I upload them for printing.  I’ll have to do this in batches so it doesn’t feel as expensive.
My plan is to stay current with the year I’m on, and add in photos from previous years until I have them all printed.  But I have to stay current with this year so I don’t just keep falling further and further behind.
So at the end of January, I will print January’s pictures using this process.  I will also print a bundle of the photos from last year.  Previous years pictures will go into a Project Life album in no particular order.  I just want them where we can see them.  Just gettin’ it done.
But the current year will go into albums according to month.
I will have a date set to print pictures each month and a date set to put those pictures in the Project Life albums.  Scheduling a consistent and regular time to organize and print photos is more important to me than just about anything else I can schedule.
Step 4.  Print those pictures!!!
{To see my suggestions on where to Print pictures, both for an album and for display in other ways in the home, go to this post.}
{To learn more about Project Life, check out my post here for the physical products, or here to learn how to use the Project Life APP, or go to the Project Life website here}
{To stay connected, receive periodic newsletters, and exclusive tips and tricks you can subscribe to the blog in the right margin.  Your e-mail is safe with me.  Promise}
Related Posts Plugin for WordPress, Blogger...