3 tips to improve your phone photography.

A few tips to improve your phone photography.

First, when you open up your camera to take a picture, a little box lights up.  That’s where the camera chooses to focus AND how it sets your exposure.

If you touch somewhere on the screen, that box moves and that is where the camera focus’s and sets its exposure.

Examples.

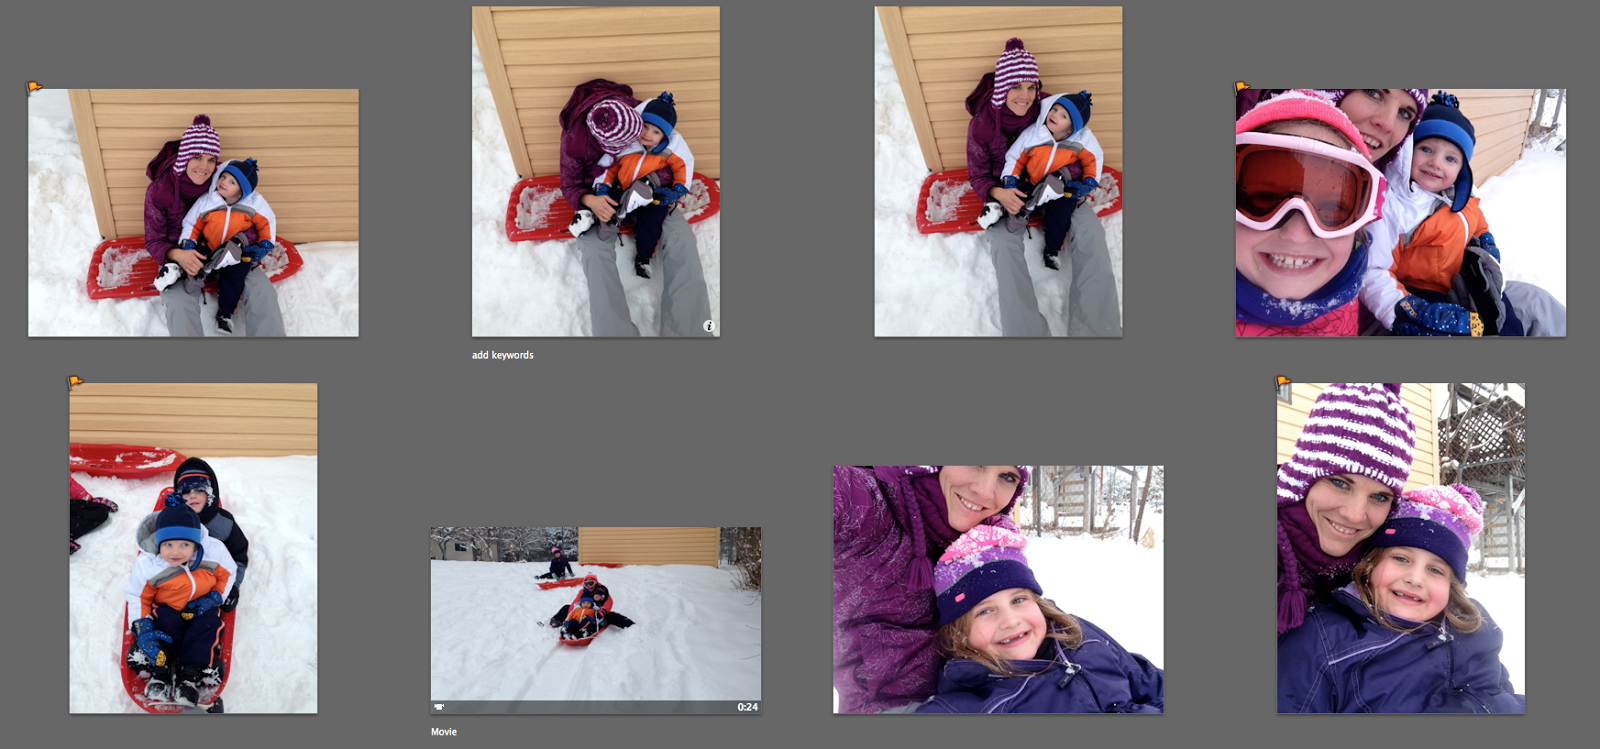
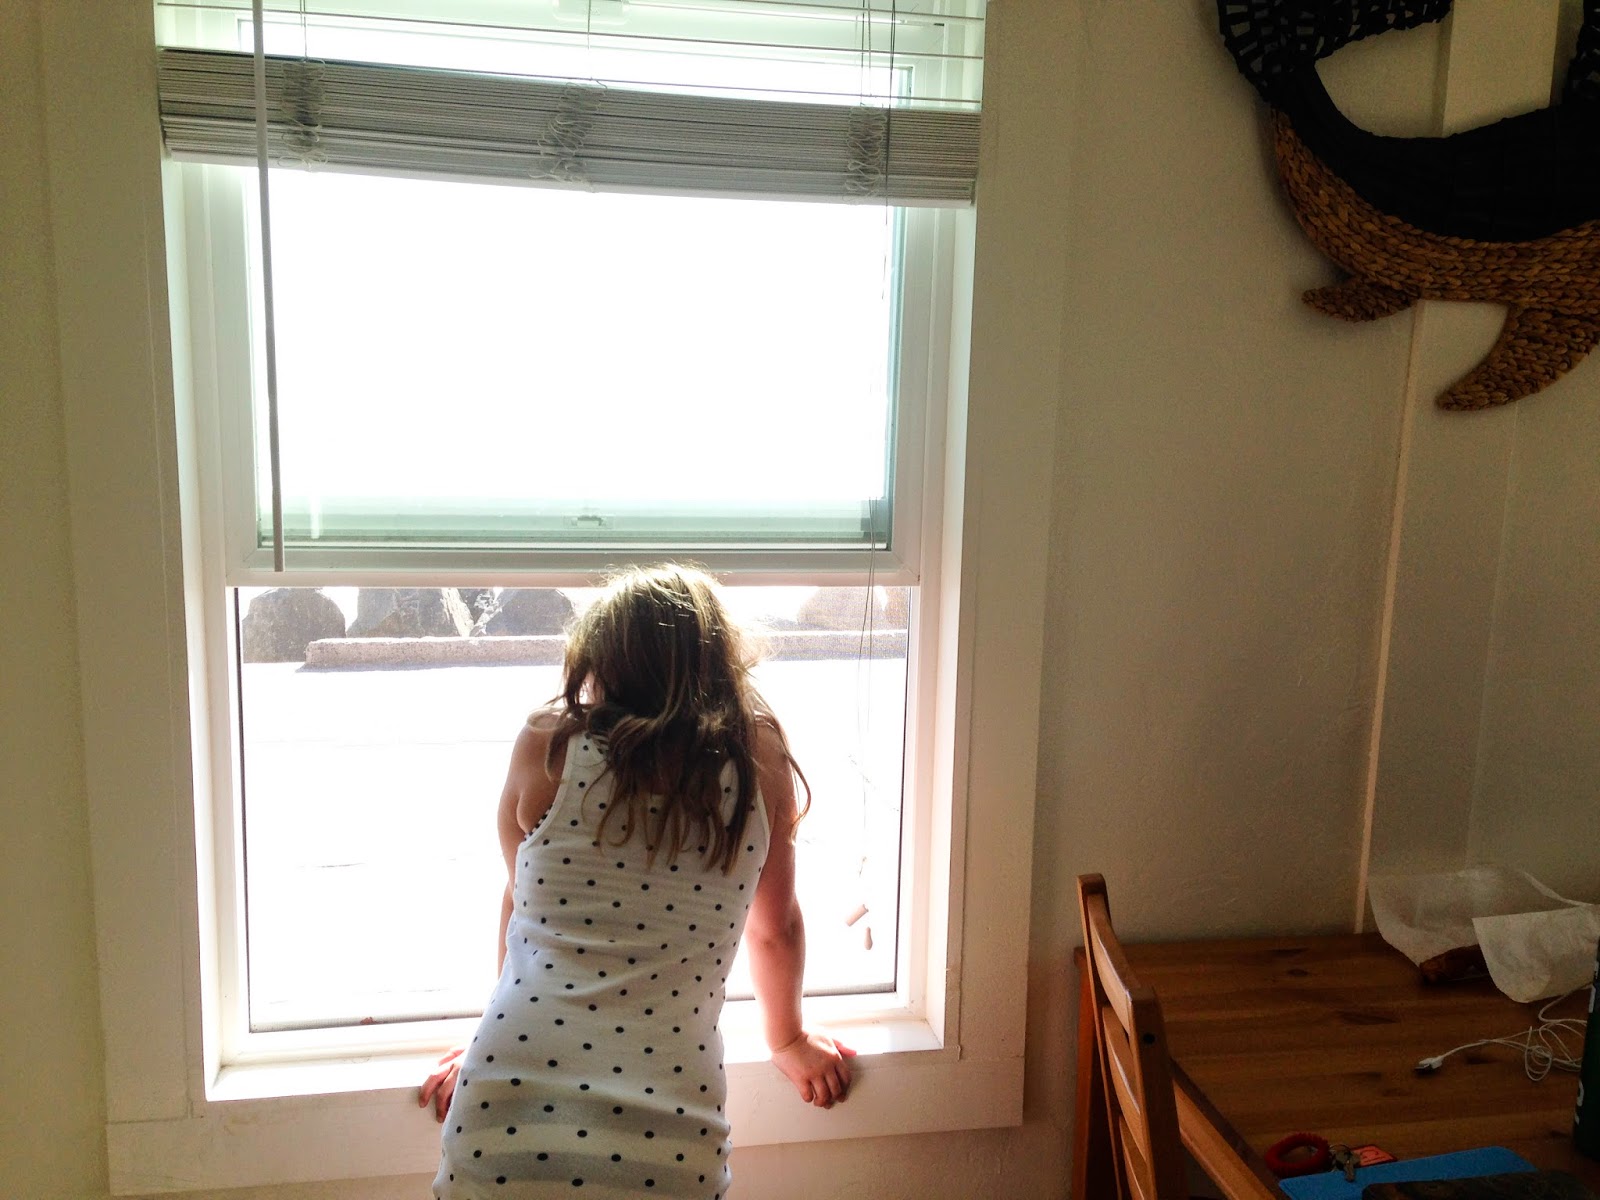
In the picture below, I touched the screen on the phone where my daughter was standing.  In the middle of her body.  So the camera exposed for HER.


In the picture below, I touched the screen on the phone where the window is.  Up on the waves of the ocean. So the camera exposed for the WAVES outside in the bright sun (and underexposed everything inside)


Here I touched the screen on the phone where the sun was.  So it exposed for the bright sun and left my kids dark.


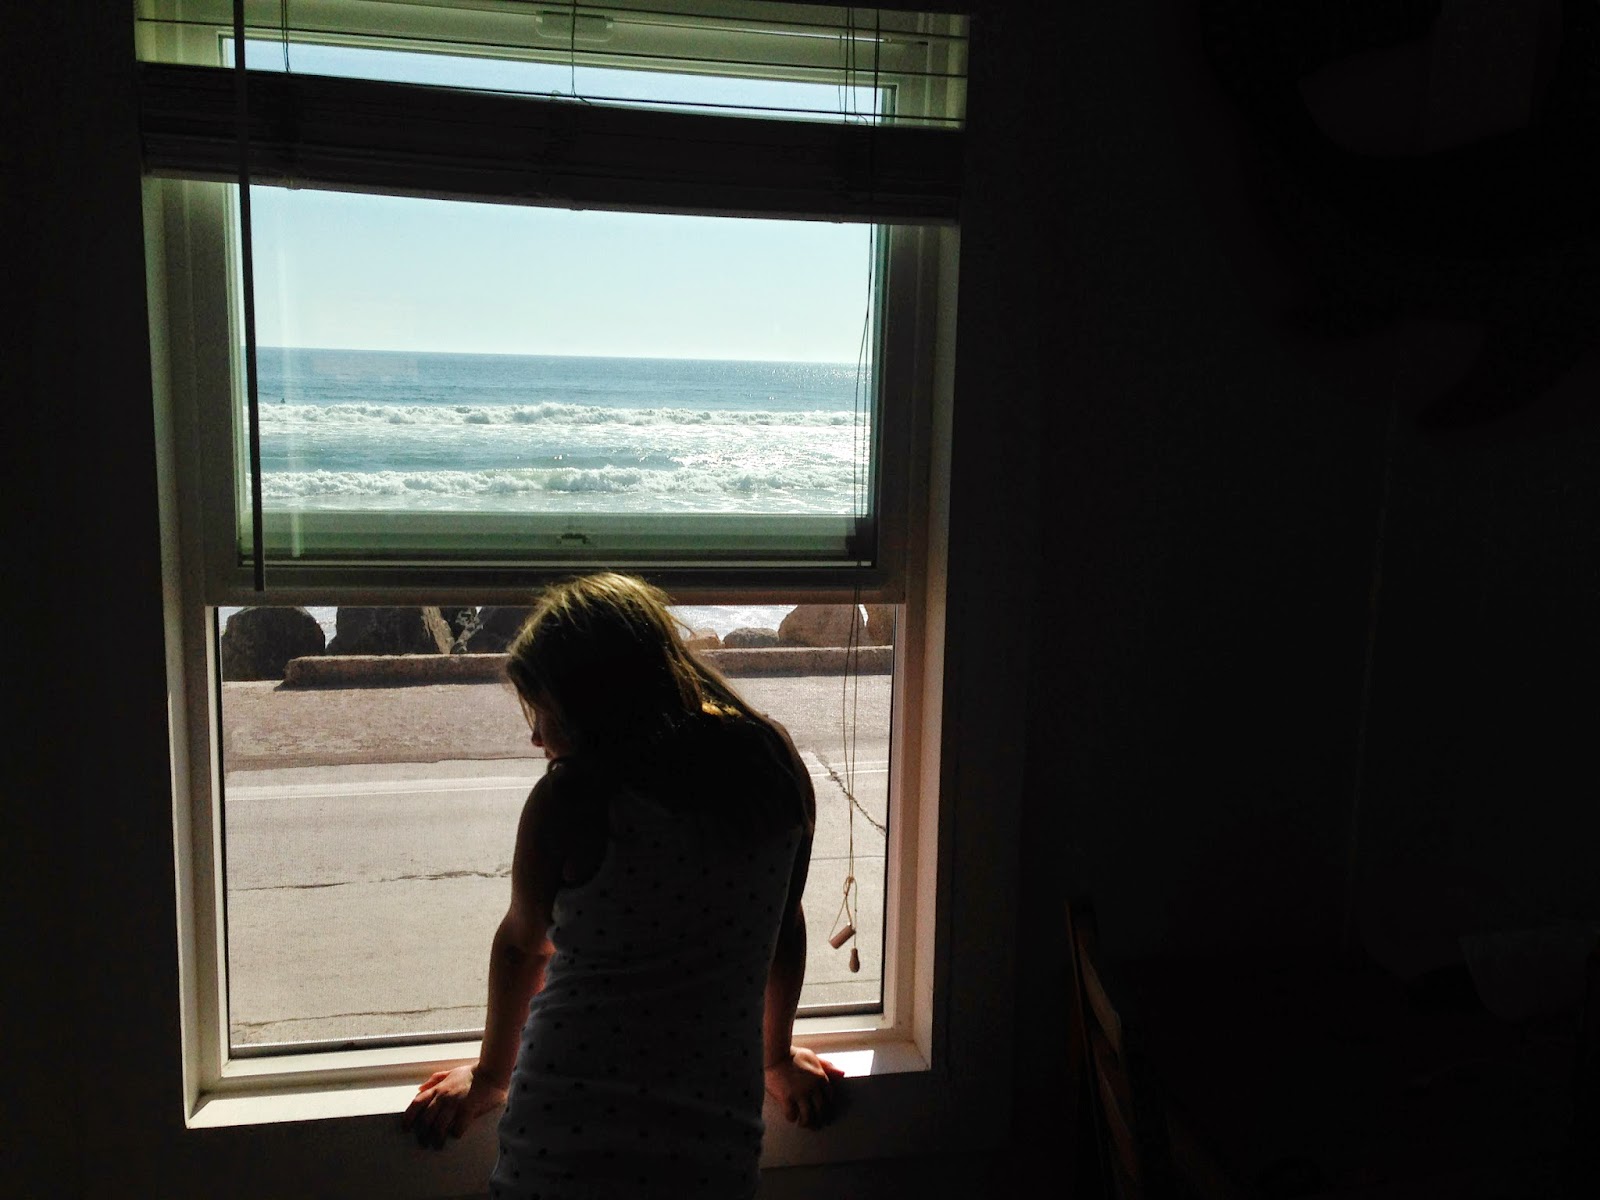
And here I touched the screen on my phone where my kids were standing.  So it exposed for the kids and over-exposed the setting sun (which is why it’s so bright and you can’t even see the sun setting).  But you can see the surfers which were so fun to watch.


Another tip.  The camera on the back of your phone (the one intended for taking photos) has MORE megapixels than the forward facing camera on your phone (the one intended for facetime).  So when you take “selfies” or pictures with your kids where the phone is facing you, they will be lower quality (so you can’t print them as big) than they would be if you took them with the camera on the back of the phone.  So whenever possible, use the camera on the back of the phone.


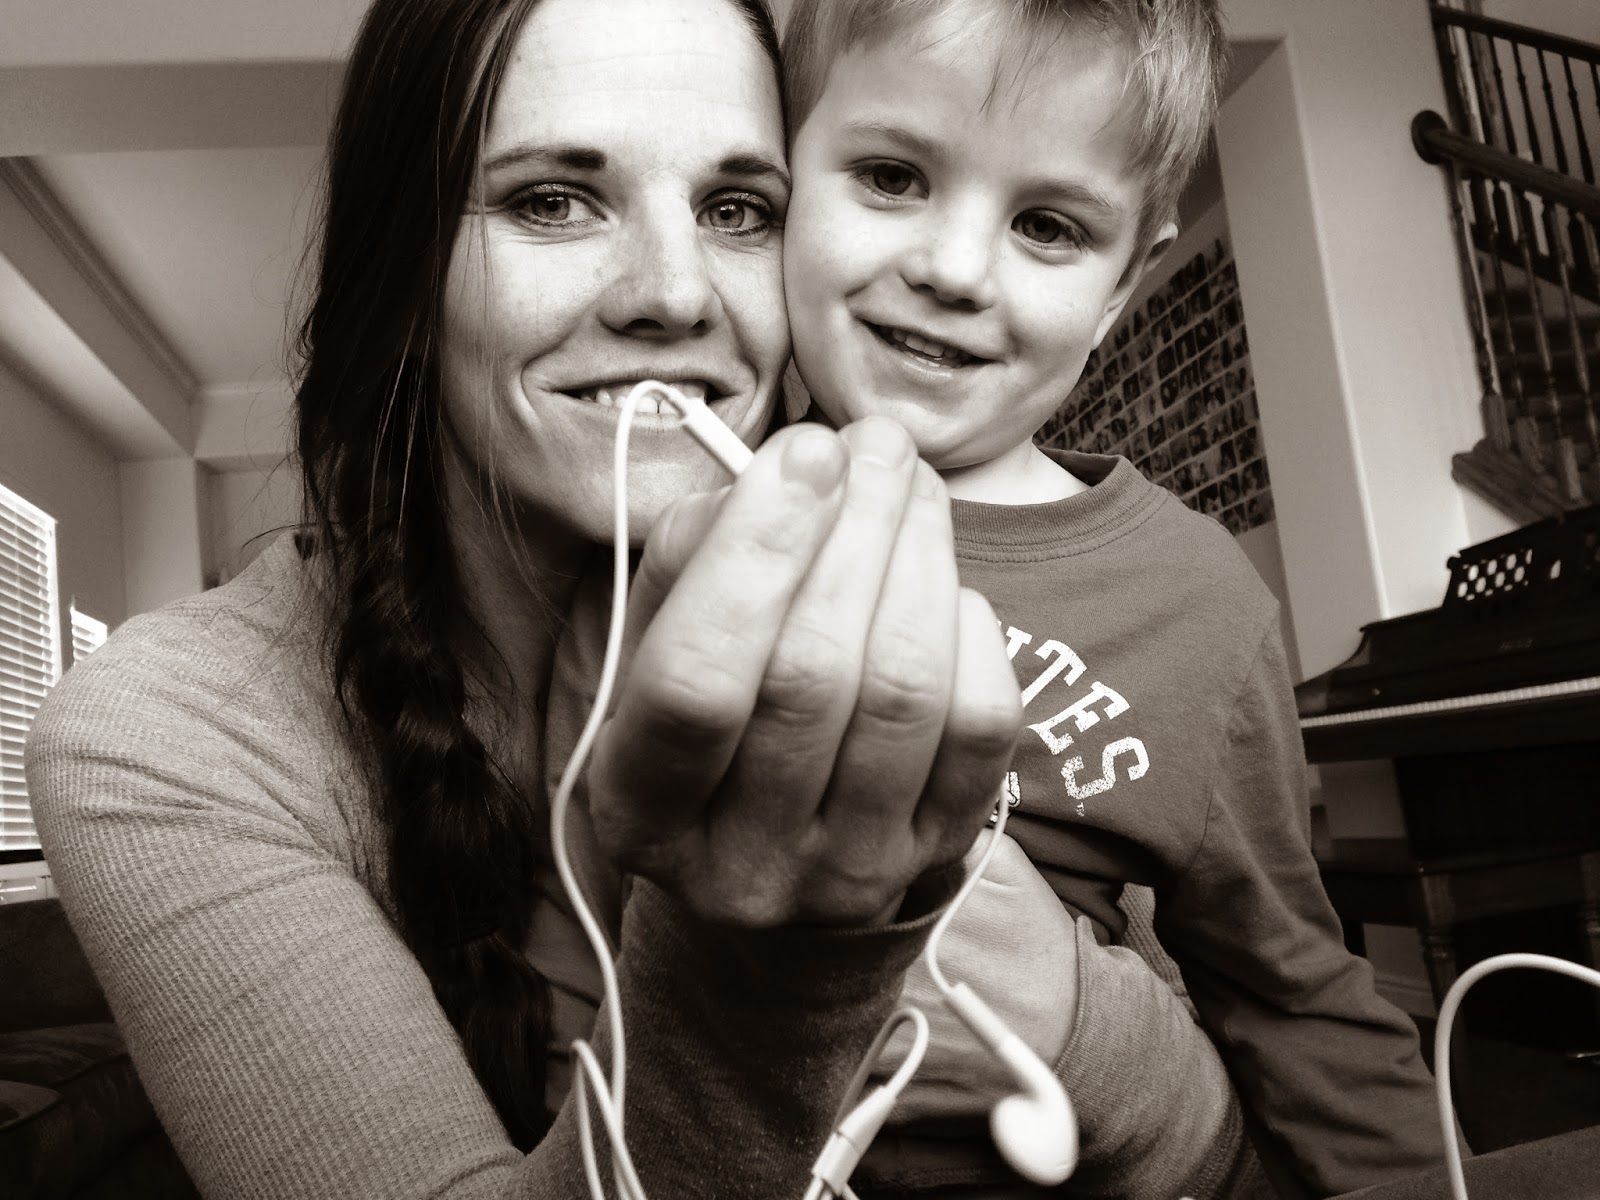
And the last tip.  You can use the volume control on headphones to act as a remote for your camera.  Plug the headphones in and press the + or – button on the headphones and it will take a picture.  No more gumby arms.


And.  A bonus tip.  If you get the Camera + app, it has a timer option so the mom can stay in the picture!

For some tips on improving your photography in general, check out this post.

Enthusiastic about Life

A man I had just met for the first time told me I was “enthusiastic about life”.

He was right.  I am, most of the time.

And thankfully, Mya seems to have inherited my enthusiasm for life and put it on steroids.  This girl LOVES life.  She smiles as though her face may burst.  She takes her sweet time in everything she does (which can sometimes be maddening, but usually reminds me to slow the heck down). 

She does her own thing and doesn’t need other people to validate her.  She takes things as they come.  Care-free.  Kind.  Full of laughter.

She tells stories better than anyone I know.

And she makes the best faces.

Man, I love her.  My “enthusiastic about life” buddy!

Picture Display Movement. Step 4. PRINT

{Click the links for Step 1, Step 2, or Step 3 if you missed any of the previous posts}

Ah.  The step that seems to give me the most trouble.  Well, at least it used to.  Cause things are changing around here.  And I already have a good start.

I take loads of pictures.  I get them on my computer.  And now I have them all organized.  But what a bummer if it ends there.  What’s the point of taking them if no one ever gets to see them?  All those memories, emotions, and STORIES of our lives sit on a hard drive and remain untold.  And add to my mom-guilt that is already never ending.

So one of my bigger priorities this year is to print and display the pictures I take of our family.  In albums, and other forms of display.

When deciding what to print, I start with the END in mind.  I do this before I even take some of the pictures I take.  What is the point of taking this picture?  What story am I trying to tell? And how am I going to share it?  Will it be on the wall? The magnet board? In a slideshow? Or a photo album?

Let’s start with just basic prints for a photo album.  I have recently discovered a new way for displaying my photos.  It’s called Project Life.  And I’m kind of obsessed because it is exactly what I’ve been looking for.   (You can visit the website here)

But let’s talk printing for just any photo album OR a photo book you can create online through Blurb or Shutterfly or similar companies.

Here’s a quick and easy way (because those are my most important criteria in pretty much everything these days) to pick the pictures you want to print.

Since I’m still playing “catch up”, here’s how I’m doing it right now.

In iPhoto, I clicked on the folder for 2013 ( I’m starting with the most recent and working my way backwards.)  All the pictures from 2013 show up in my screen.  I started at the top and scrolled through the pictures.  I click on the pictures I want to print and “flag” them.

See how some of those pictures have a little orange flag in the top left corner.  To “flag” a picture, you select it (you can select multiple pictures by clicking on one, then clicking on another while holding the “command” key) and then click “flag” at the bottom left of the screen.

Once I scrolled through the whole year, I clicked on the “Flagged” tab on the left of the screen so I can see all the pictures I have flagged.
It also tells you how many photos you have flagged.  So for 2013 I have 1103 pictures I want to print.
The next step is to select all those pictures that I flagged and put them in a folder on my desktop. Click on the first picture, hold down Shift and click on the last picture to select them all.  Then drag and drop them into a folder.  My folder is labeled “TO PRINT“.
Once I have them in the folder, I do a quick edit on those pictures.  And by quick edit, I mean quick.  I don’t spend hours editing photos.  Because if I do, they’ll never get printed.  I know this about me.  It has to be simple. It has to be quick.  It’s just the way I work.
Once edited, I upload them for printing.  I’ll have to do this in batches so it doesn’t feel as expensive.
My plan is to stay current with the year I’m on, and add in photos from previous years until I have them all printed.  But I have to stay current with this year so I don’t just keep falling further and further behind.
So at the end of January, I will print January’s pictures using this process.  I will also print a bundle of the photos from last year.  Previous years pictures will go into a Project Life album in no particular order.  I just want them where we can see them.  Just gettin’ it done.
But the current year will go into albums according to month.
I will have a date set to print pictures each month and a date set to put those pictures in the Project Life albums.  Scheduling a consistent and regular time to organize and print photos is more important to me than just about anything else I can schedule.
Step 4.  Print those pictures!!!
{To see my suggestions on where to Print pictures, both for an album and for display in other ways in the home, go to this post.}
{To learn more about Project Life, check out my post here for the physical products, or here to learn how to use the Project Life APP, or go to the Project Life website here}
{To stay connected, receive periodic newsletters, and exclusive tips and tricks you can subscribe to the blog in the right margin.  Your e-mail is safe with me.  Promise}

Create a better story for your family. And photograph it.

I’ve been working crazy hard on the content of the “Tell My Story” intensive two part course.  I believe in the message.  And I believe in the importance of the message.


The first time I taught a photography class, it was because someone asked me to.  Now that I have found the real message of the class, I teach because I feel compelled to share something that directly impacts the course of my family story.


The next “Tell My Story” photography class will be on THURSDAY, MAY 15th.  It will begin at 9:45 am and will be over around 2:15 pm (depending on the amount of questions).

The course has TWO parts.   The first portion of the course will be completed online where you can work at your own pace before the live portion of the class on May 15th.  The theory behind this goes along with the Khan Academy where we’re essentially flipping the traditional classroom model and you will do your “lecture” at home, and then come to class to do the “homework”.  (You can see Khan’s TED talk here)


The online portion of the course will cover all things related to “better” photos.  Both technical and emotional.  We will also talk about CREATING a story for your family.  Ways to be an intentional parent.  And then how to photograph that story so it is documented and continues to fuel our memory and hearts.


After completing the online portion of the class, we will meet together and use that foundation of knowledge in an interactive, hands on class where you will learn how to be in control of your camera, get consistently “better” photos, and intentionally create and document your family story.

You can read more about what you’ll learn at the “Tell My Story” course HERE.  

And as always, e-mail me with any questions!  [email protected]

You deserve this!  And so does your family.

“Photography fuels memory….
and memory fuels the heart and soul”
Mitchell’s Journey


Project Life

“Cultivate a good life and document it”

That’s the slogan of Project Life.  And I can’t believe it has taken me this long to find out about it.

I am NOT a scrapbooker.  The thought of designing and even worse, creating a scrapbook page makes me want to cut my fingers off.  It does not appeal to me.

Sure, I love the end product.  But even then, I always had an “issue” with scrapbooking because it felt like it was more about the “stuff” than it was about the pictures.  And I want my displays to be about the pictures.  About the people.  About the story.

So I’ve tried several different ways of displaying photos.  And, unfortunately, I’ve just left a lot of my photos on my computer where no one gets to see them but me.

Until I found Project Life.  It’s exactly what I’ve been looking for.  Simple.  Affordable.  And something I can keep current with.   And it supports my intent to display photos that will enrich our family’s life.  Project life is about the STORY, not about the STUFF.


I listened to a 3 day conference Becky Higgins (the creator of Project life) did online and decided we should probably be friends.  Because our mission is the same.  Document your life.  Tell a story.  CREATE a story/life (cultivate a good life).  And in the process of doing that, you become more grateful, more aware, and more intentional.

“The truth is, if what we choose to do with our lives won’t make a story meaningful, it won’t make a life meaningful either.”  Donald Miller

Cultivate a good life, and then tell the story by documenting it.


Project Life goes hand-in-hand with the Tell My Story class.


Here’s how it works.  You buy a Core Kit, an Album, and Sheet protectors (I use 40% off coupons and get them at Hobby Lobby or Michaels).  Select and print your photos.  Then it’s simple.  You just slide pictures and journaling cards in pockets.  And in no time, you have a completed album.  (You can watch video demonstrations on the Project Life website)


There are a few reasons I prefer Project Life over an album you design digitally online.

First, I sit in front of a computer far longer than I’d like to for my business.  Any more hours in front of the computer and my eyeballs might fall out.

Second, I like to be able to do it while I’m doing something else (like catching up on all my DVR shows, or sitting by kids while they do homework).

Third, it’s FAST.  And super simple.  Both of which are requirements in pretty much anything I do these days.


Fourth, they look AWESOME when they’re done.  More visually interesting than a traditional photo album with pictures in pockets.

Fifth, my kids can get involved and help.  They become invested in the project.


Sixth, you can also journal in the albums.  There are “journaling cards” where you can write small amounts of information to supplement (note I said supplement as the pictures are the main focus of the album for me) the pictures.

Seven, you can make some killer unique gifts with Project Life.  I’ll post some things I’ve done with them so far in a separate post.


But the biggest reason I appreciate Project Life is that I’m able to look through my albums and see what we’ve accomplished and what efforts we’ve made at living a good life story, but it also helps me see what we’re missing so we can be more intentional about our future and live the life we want to live.


The boxes also make a great spot for folding paper cranes.  Folded 30ish of those (out of 1000) for a friend fighting stage 4 Lymphoma.  

Try it out.  I’m pretty sure you’ll fall in love like I have.
And your kids will love you!


And for those of you who aren’t really the scrapbooking type (which I’m totally not) check out the Project Life App.  It’s a game changer!!


Click here to visit the Project Life website.

And for another idea on displaying photos in your home, click here for a super awesome wall display.

Related Posts Plugin for WordPress, Blogger...