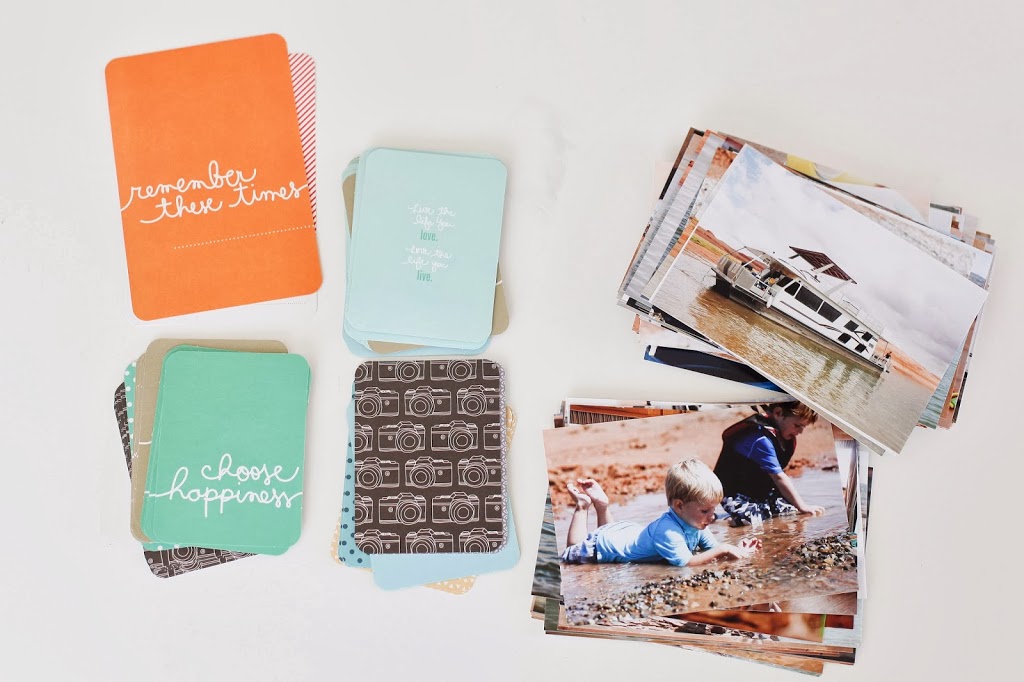
FREE class to help take the overwhelm out of printing photos.

Hello my blog people.  Have I told you Thank You for being here??  I truly am so so grateful.

I get a TON ton ton of questions about printing photos.  And making albums.  Getting photos off our computers and phones and into print where we can see them, appreciate them, and tell the stories of our lives.  It’s a problem that the majority of us have, right?!  Sooooo many photos.  Not enough time.

I also get a lot of people who are incredibly overwhelmed by this and don’t know where to start.  What photos do you print?  How do you select those?  How do you make sure the prints look good?  What type of album should I make?  And on and on and on.  It’s hard.  I get it.  And can certainly be paralyzing when we look at the volume of photos we’re taking.  How will we ever get them in to some meaningful order?

There IS a way.

So.  I’m teaching a FREE class next Thursday, November 19th at 7pm in Lehi.  It’s open to anyone who wants to come.  If you take photos and you want them printed, this is for you.  You just need to click the link below to register (so I get a semi-accurate count of how many people will be there).

Come alone.  Bring a friend.  Bring several friends.

IMG_4133

The format will be casual.  Here’s what we’ll cover:

**Where to start with printing pictures (some ideas on where to begin)

**How to choose which pictures to print

**Where to print photos

**How to make photos look better for prints so you aren’t disappointed when you get them back.

**What type of albums (or displays) to make

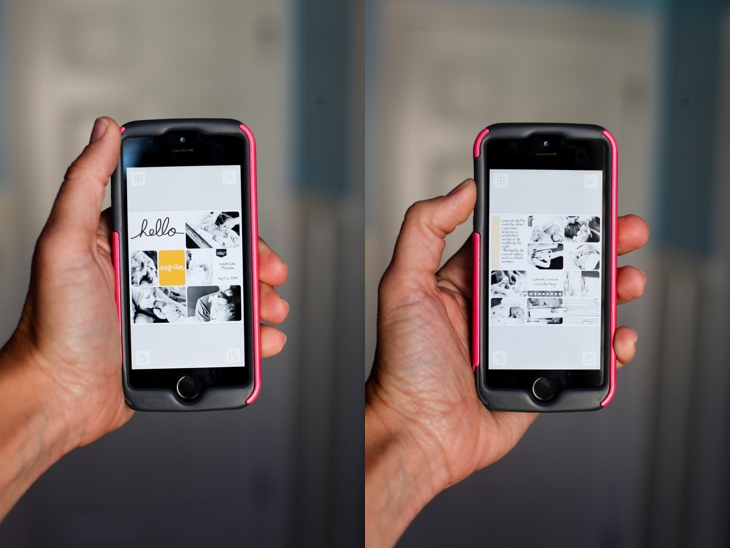
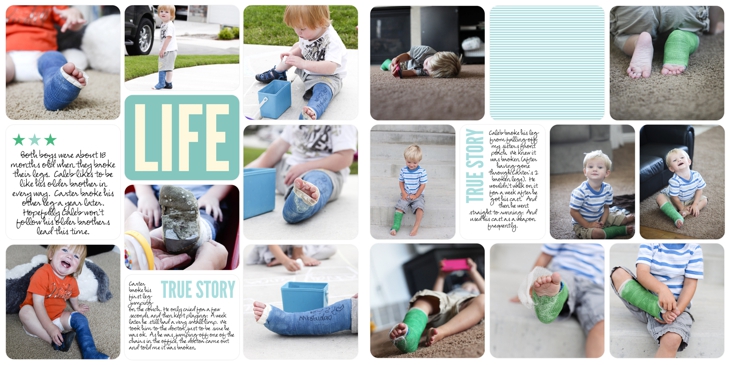
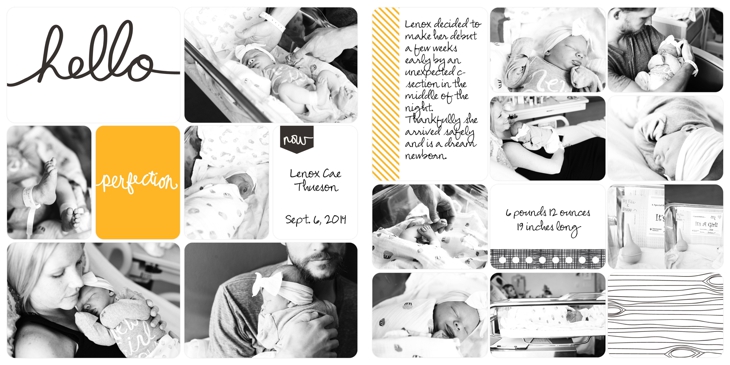
**The system I use to print my photos and how I’m catching up on YEARS of photos I haven’t printed.  I’ll go into detail on what I do, how I do it, and my plans for the future to print more photos (one small section will be showing how to use the Project Life App–pretty much the best app ever invented 😉 ).

**How to get rid of any guilt associated with printing photos, making baby albums, creating albums for each kid, etc. NO. MORE. GUILT. Seriously.

**A few gift ideas using photos that you can use THIS Christmas (because gifts with photos are the best photos–the only ones people will never throw away 😉 ).  And ideas on how to use photos gifts to get caught up on some of your photo printing.


I’ll also take time throughout the class and at the end to answer any and all questions photo related.

There’s something about printing photos.  Physical, tangible photos that we can hold.

“When you have a printed picture, it forces you to slow down and have an emotional experience with that memory.”  (Check out this video of the “dreadlock dad” who scrapbooks–love it)

Our photos matter.  The process of printing them helps us create a better life story.  We’ll talk about how and why that is the case.

IMG_4118

If any of these topics interest you and you’re behind on printing your family photos and don’t know where to begin, REGISTER BELOW!!  And bring your friends.

Click this link to register.  It’s free and will certainly be worth your time.  (I’m just having people register so I know how big the group will be)

https://www.eventbrite.com/e/pictures-matter-lets-print-them-tickets-19520724011

IMG_4135

Feel free to e-mail me with any questions or if you have a specific thing you’d like covered in the class–I’m happy to help where I can.  [email protected]

The Project Life App. A game changer.

Never in my wildest dreams did I think I’d be excited about a scrapbooking tool.  I’m not a scrapbooker.  Never have been. Too much….stuff.  Too much time.  Too expensive.  And I’m honestly not creative or patient enough to come up with a variety of worthwhile page layouts.


My other complaint with scrapbooking.  There often seemed to be so many different papers, and buttons, and ribbon, and other stuff I can’t even identify, the pictures looked lost.  And for me, the photographs are what matter.  And the STORIES those photos tell.


So when I came across Project Life, I was sold.  To me, Project Life is about the STORY, not the stuff.

It’s SIMPLE.  I’m a simple kind of girl.


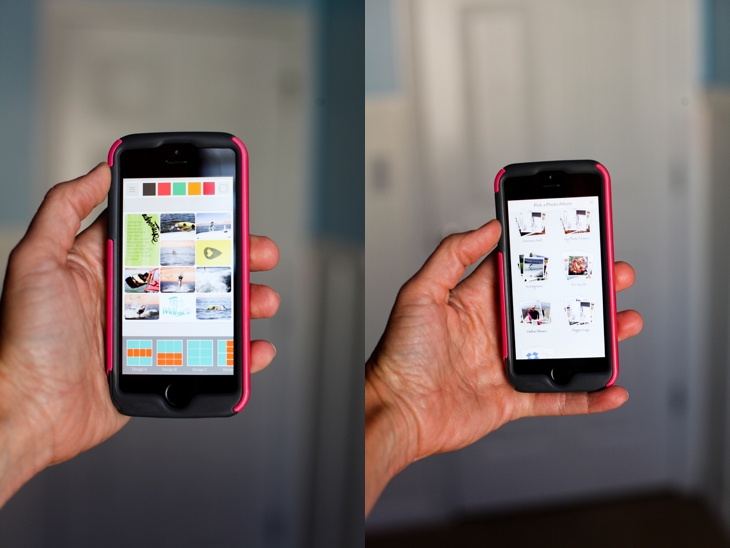
I started using the Project Life physical products and completed 5 albums.  And then.  Then the game changer.  The team at Project Life came out with the Project Life app.  And now I can “scrapbook”, document, memory-keep, story tell, with my THUMBS.  While I’m in the carpool lane, or watching TV, or waiting at the soccer field.  Anywhere.  Everywhere.  No mess.  No fuss.  No getting stuff out.  No cleaning stuff up.  And it’s all safely stored where my two year old can’t mess it up while in production.

It’s ridiculously simple.  And fast.  And easy.  And everything I’m looking for when I’m documenting our family’s story.  The pictures take the lead, and the journaling cards and filler cards add a little extra touch.  My goal is to have the pictures tell the story, then add a little with words if I have to.


If you watch this quick 7 minute video and you’ll see how EASY it is to make a page layout and document your stories.  If you watch the entire thing you’ll see how:

to add photos, add kit journaling cards and filler cards, add and resize text and change fonts, resize photos, move photos from one spot to another, edit photos right in the app, and I’ll show you how to seamlessly PRINT those pages you create as well.

The app is so easy to use I didn’t even have to talk on the video.  You can figure it out just by watching.  So you get to listen to music instead.


Once you finish the pages and export them, you can print them wherever you want.  Then you just get some 12×12 sheet protectors (use 40% off coupons on Michaels or Hobby Lobby) and put them in an album.  Project Life has great albums you can get at Michaels or Hobby Lobby (again, use the coupon) OR you can use any album that will hold 12×12 sheet protectors.

If you want to see a FULL VIDEO TUTORIAL (with words) on how to use the App along with some tips and tricks I’ve learned along the way, check out this Project Life App Video Tutorial.

A few tips.

**The app comes with a few free “kits” (journaling cards and filler cards) as well as some page layouts.  The app only costs $2.99 and even if you buy ALL of the available kits and page layouts, it’s still only around $20.  And once you have them, you can use them over and over and over and over again.  And they’re adding more kits and page layouts with updates.

**If you want to use pictures that are not on your phone, you can put them in a Dropbox folder.  You have to install the Dropbox app on your phone.  Dropbox can walk you through that.

**If you use the Dropbox feature, I recommend putting your pictures in different folders based on what pages you want them grouped together with.  Makes it easier to keep track of which pictures you’ve used if you have them in smaller folder groups rather than one big huge folder with all the pictures in it.

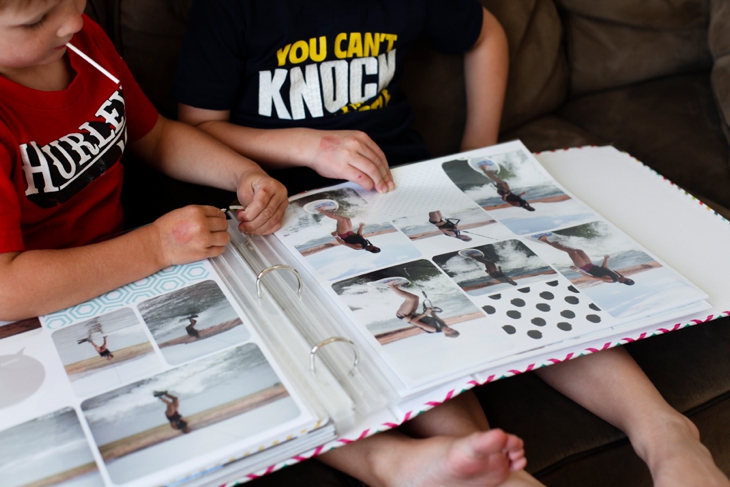
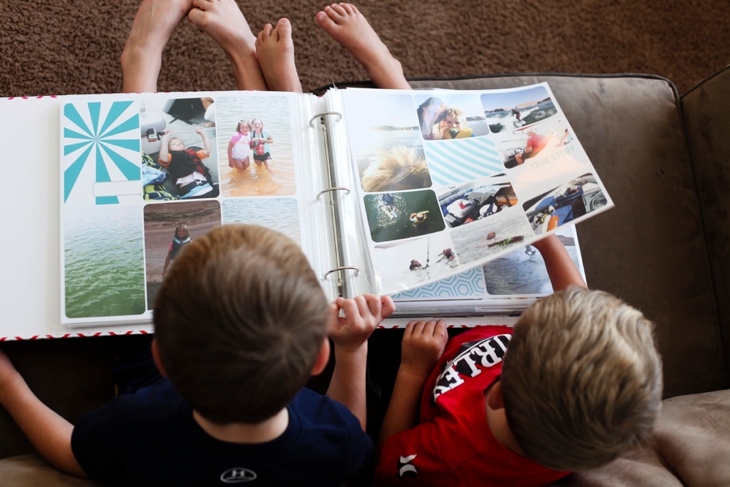
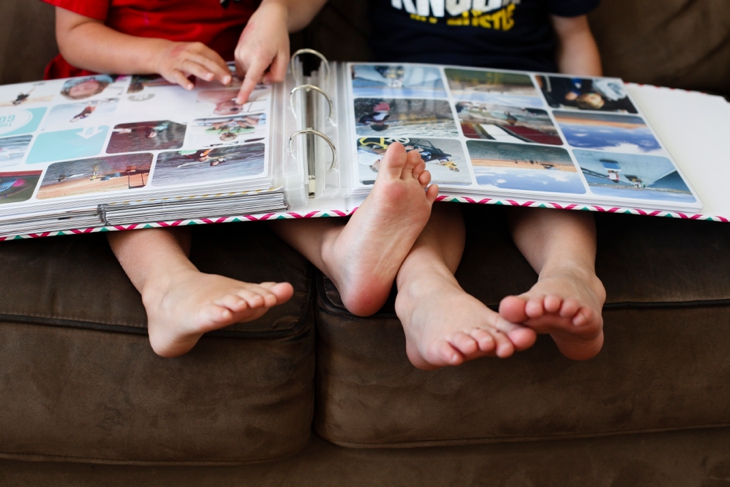
**When you export your pages, you can print them or share them online.  Definitely don’t skip the printing part.  Kids loooooove looking at pictures of themselves in an actual physical album.

**The app DOES sync to other devices.  So if you buy things on your phone, you can access them on your iPad and vice-versa.  If you buy a kit or page layout on one device, you can then click on that same kit/page layout on the other device and click “restore previous purchase” or “Buy now”.  Once you’ve bought it, it won’t let you buy it twice.  It will ask if you want to download it again.

**When you print the 12×12 pages, the font is MUCH bigger than it looks (because you’re going from a tiny screen to a full-sized 12×12 print.  Just something to keep in mind when doing fonts and font sizes.


A few things about Printing your pages.

When you export your photos from the app, they are automatically saved as high-resolution 12×12 photos.  The quality of the pages will depend on the quality of your photos AND where you choose to print the 12×12 pages.

DO NOT send your photos to Instagram and then export from Instagram to print.  Instagram reduces the size of pictures to 612 pixels by 612 pixels (so people can scroll through the feed fast without having to wait for large images to load) so your resolution will NOT be good as a 12×12.  When you export from the app, export to your camera roll and order prints from there as well.

You can now print straight from the App.  If you click on “order prints” at the bottom of the opening page it will walk you through ordering prints.  The App prints through a professional photo company so the pages look excellent and are high-quality.

If you don’t want to print through the app, I also recommend using Persnickety Prints.  This is why the owner, Chari, started the company in the first place. They were born to print scrapbooking pages.  The prints are archival (meaning your ancestors will thank you because the pages will still be around) AND they are water-proof.  Seriously!!!  Waterproof.  I had my doubts about that one so when I got my first order of 12×12 prints, I put one under the kitchen faucet just to see.  And sure enough, waterproof.  They also have a 100% money-back guarantee.

I recommend doing a batch of prints (every few weeks or every month) to save on shipping costs.


You can see on the video how to order prints at Persnickety directly from your phone.


And for those of you who like photographs, here are a few.
2014-10-18_00122014-10-18_0011

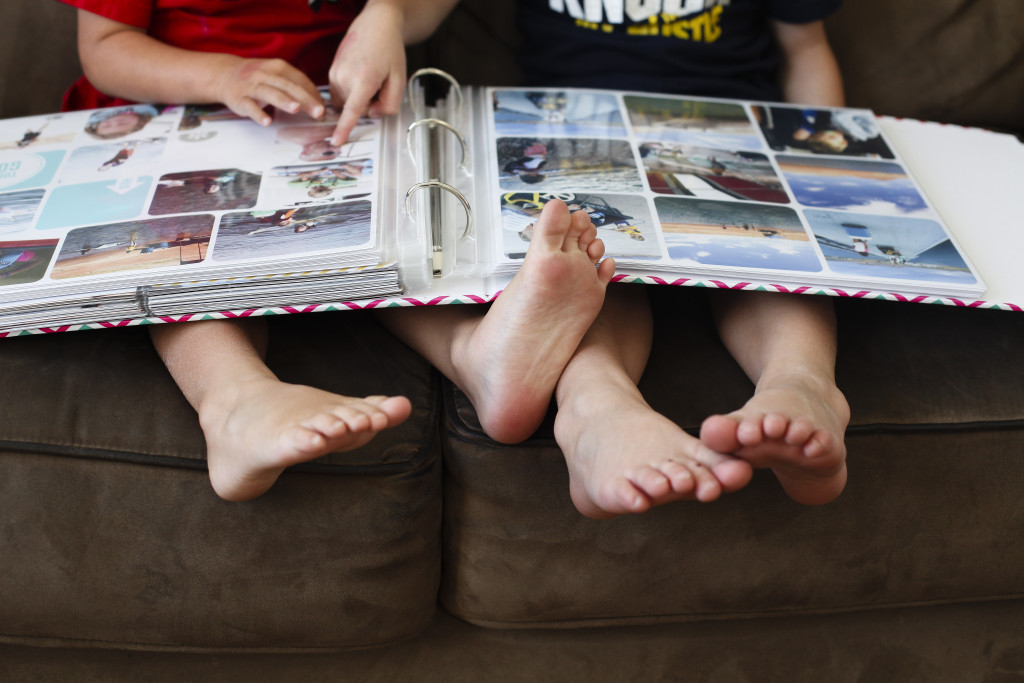
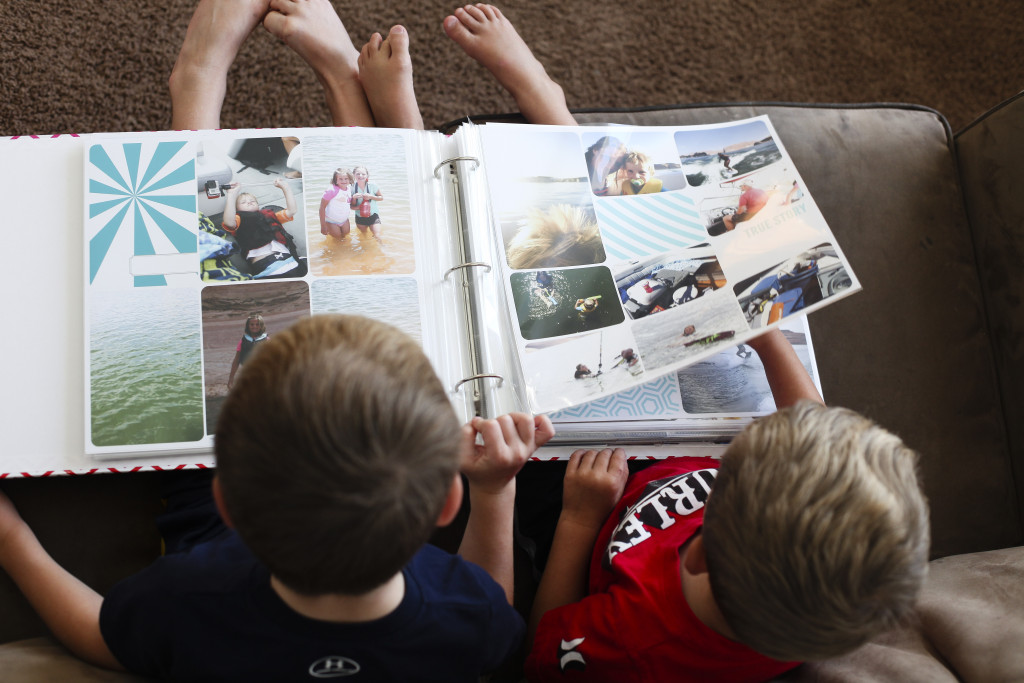
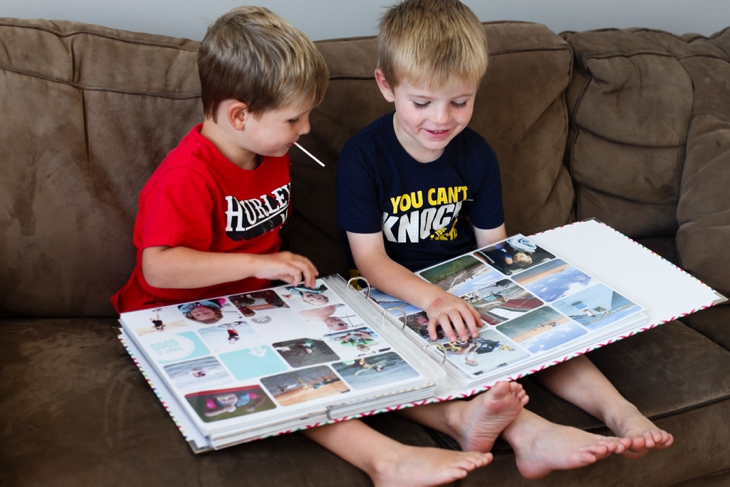
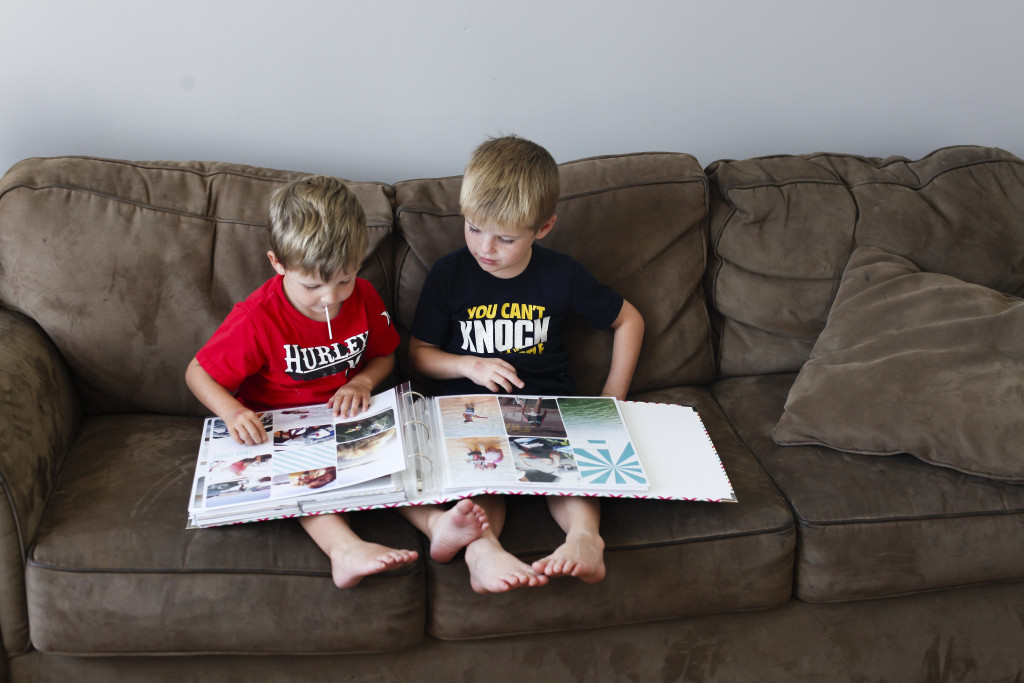
My kids love looking at pictures.  Especially if they’re in them.
2014-10-18_00212014-10-18_0022

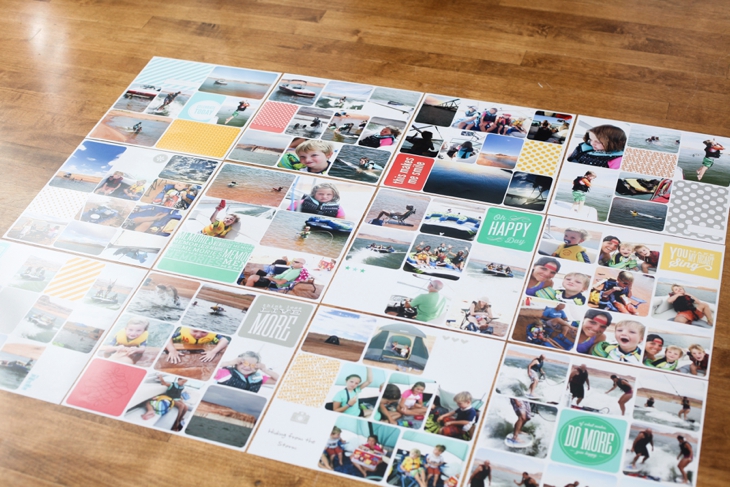
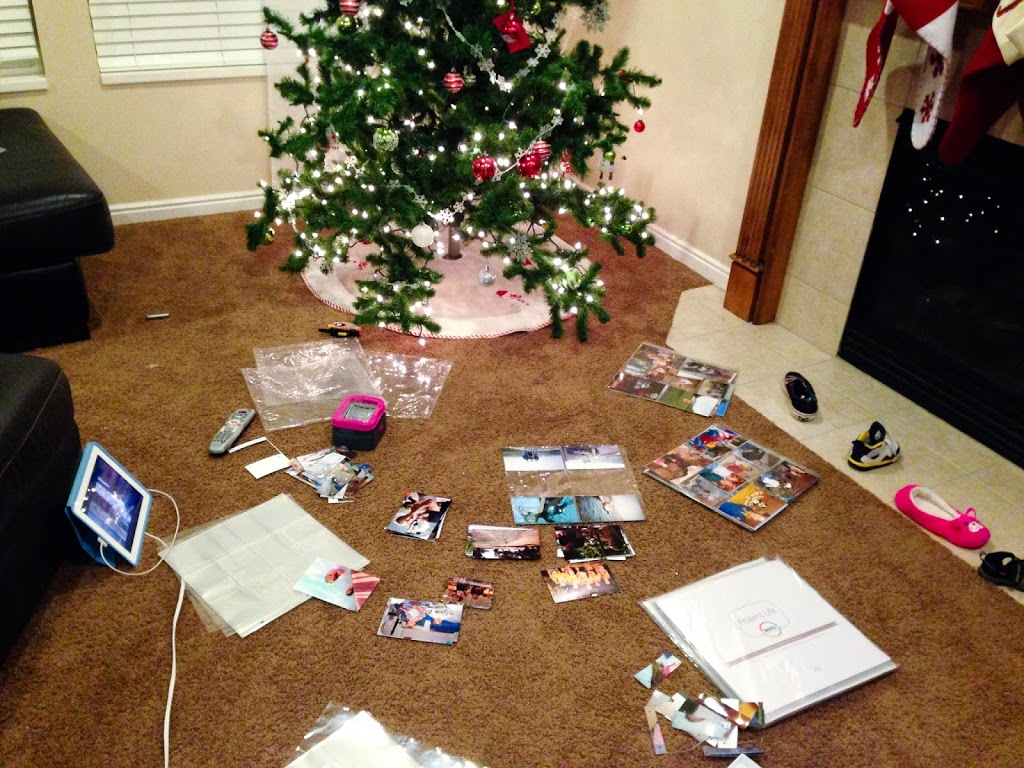
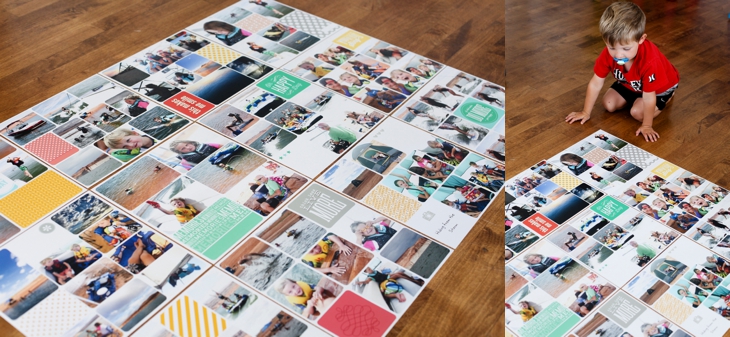
2014-10-18_0023 2014-10-18_0020When I get my prints back, I lay them all out so I can see what order I want them to go in the album.  I generally have a “helper” when I do this.
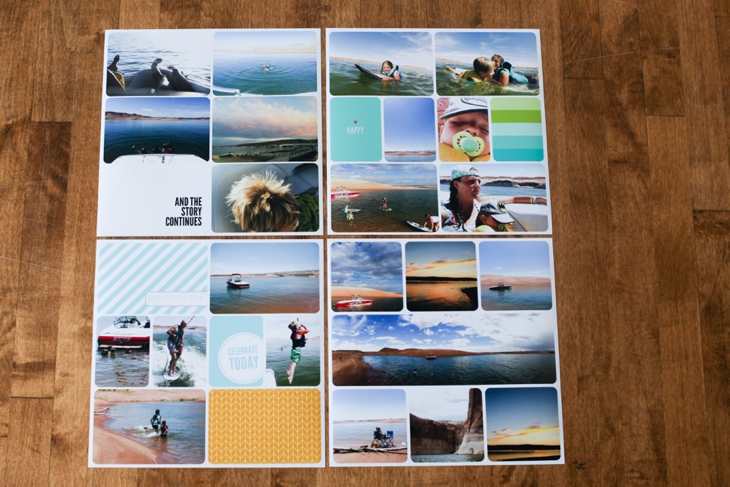
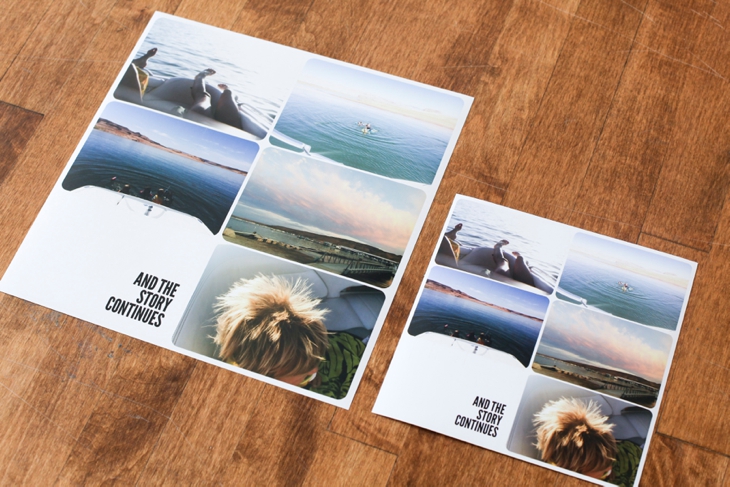
2014-10-18_00192014-10-18_00182014-10-18_0014Here’s a comparison of the 12×12 print and the 8×8 print
2014-10-18_0015

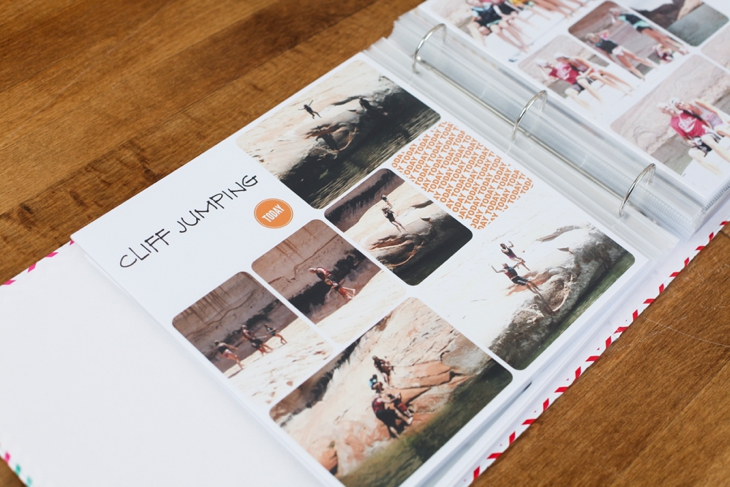
And then they go into the albums.

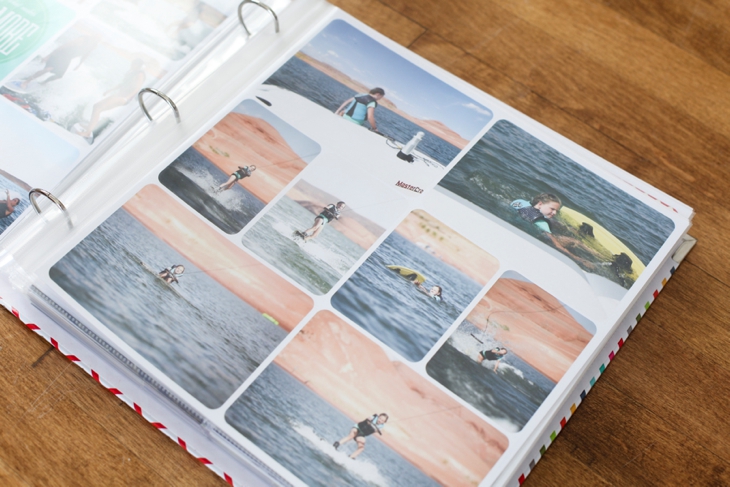
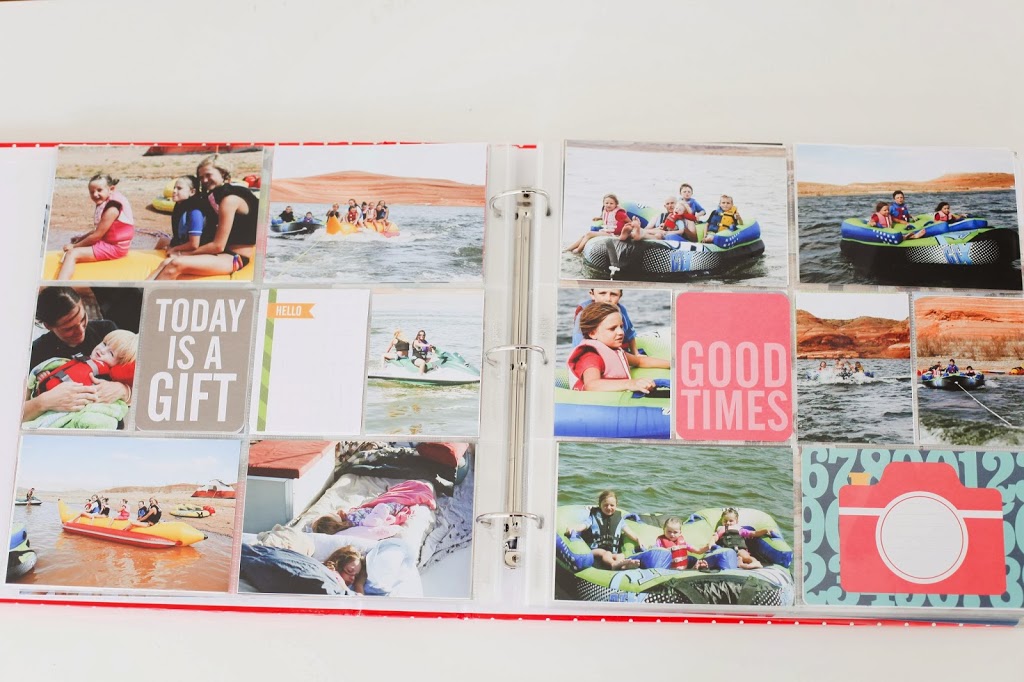
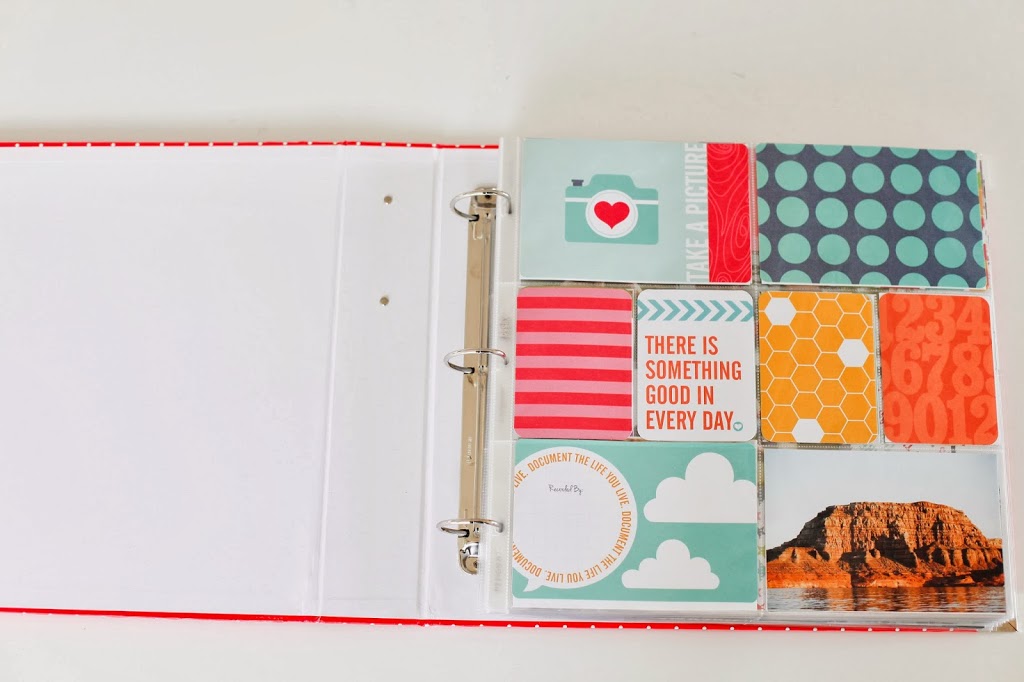
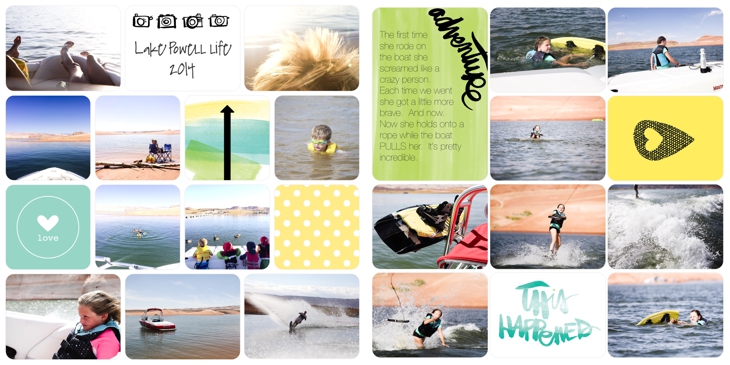
2014-10-18_00172014-10-18_0016And for a closer view of some of the spreads I’ve done using the Project Life App
2014-10-18_00262014-10-18_00252014-10-18_0024

$.99.  That’s what you pay to get started documenting your stories.  It’s so so easy.  I am not a lover of scrapbooking.  I love having my stories documented and displayed.  This process makes it bearable and dare I say fun.


One last tip.  If you’re WAY behind on getting your digital photos in albums (like me) I recommend you START WHERE YOU ARE.  Start with the present (or go back to the beginning of this year).  Then if you have extra time here and there, you can go back and play catch up.  Or, you can start with certain categories.  I started by documenting all our vacations in layouts.  Then I’ll go back and do holidays.  Then I’ll try to keep current with each year.


You can do this!!!


If you have any questions, leave them in the comments below and I’ll do my best to answer them!


And, if you want to improve the quality of photos you take with your phone, get access to my TEN tips on immediately improving your phone photography so your Project Life pages will look even better!!!


You can go here for more ideas on displaying photos in your home.

If you’d like to see more ideas on how to organize, back-up, sort, print, your digital photos, you can check out my Picture Display Movement series. 
Project Life

“Cultivate a good life and document it”

That’s the slogan of Project Life.  And I can’t believe it has taken me this long to find out about it.

I am NOT a scrapbooker.  The thought of designing and even worse, creating a scrapbook page makes me want to cut my fingers off.  It does not appeal to me.

Sure, I love the end product.  But even then, I always had an “issue” with scrapbooking because it felt like it was more about the “stuff” than it was about the pictures.  And I want my displays to be about the pictures.  About the people.  About the story.

So I’ve tried several different ways of displaying photos.  And, unfortunately, I’ve just left a lot of my photos on my computer where no one gets to see them but me.

Until I found Project Life.  It’s exactly what I’ve been looking for.  Simple.  Affordable.  And something I can keep current with.   And it supports my intent to display photos that will enrich our family’s life.  Project life is about the STORY, not about the STUFF.


I listened to a 3 day conference Becky Higgins (the creator of Project life) did online and decided we should probably be friends.  Because our mission is the same.  Document your life.  Tell a story.  CREATE a story/life (cultivate a good life).  And in the process of doing that, you become more grateful, more aware, and more intentional.

“The truth is, if what we choose to do with our lives won’t make a story meaningful, it won’t make a life meaningful either.”  Donald Miller

Cultivate a good life, and then tell the story by documenting it.


Project Life goes hand-in-hand with the Tell My Story class.


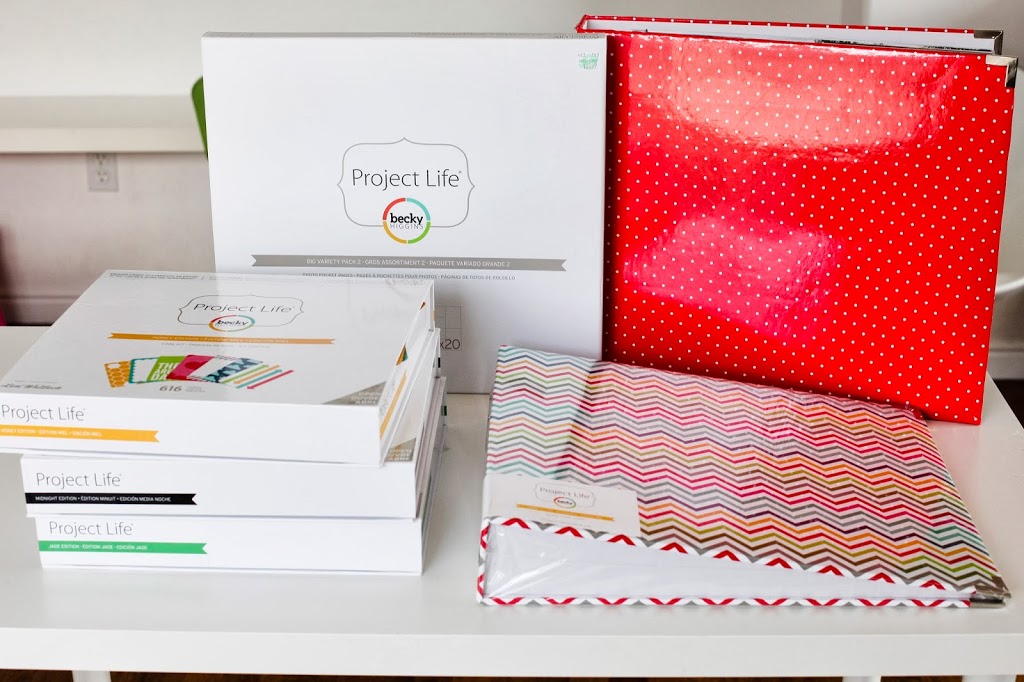
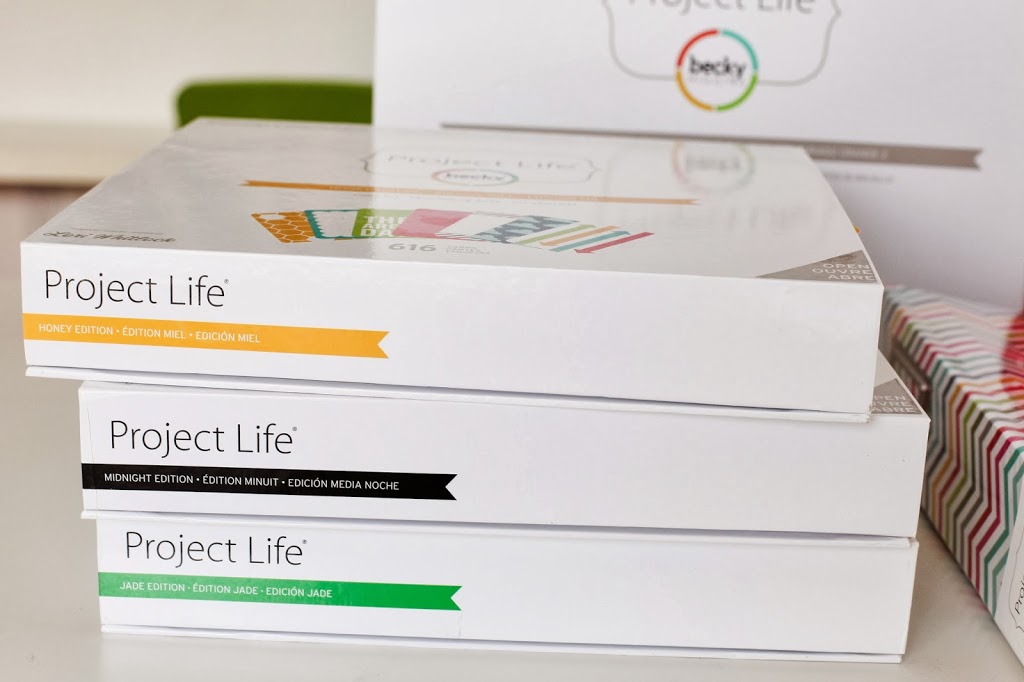
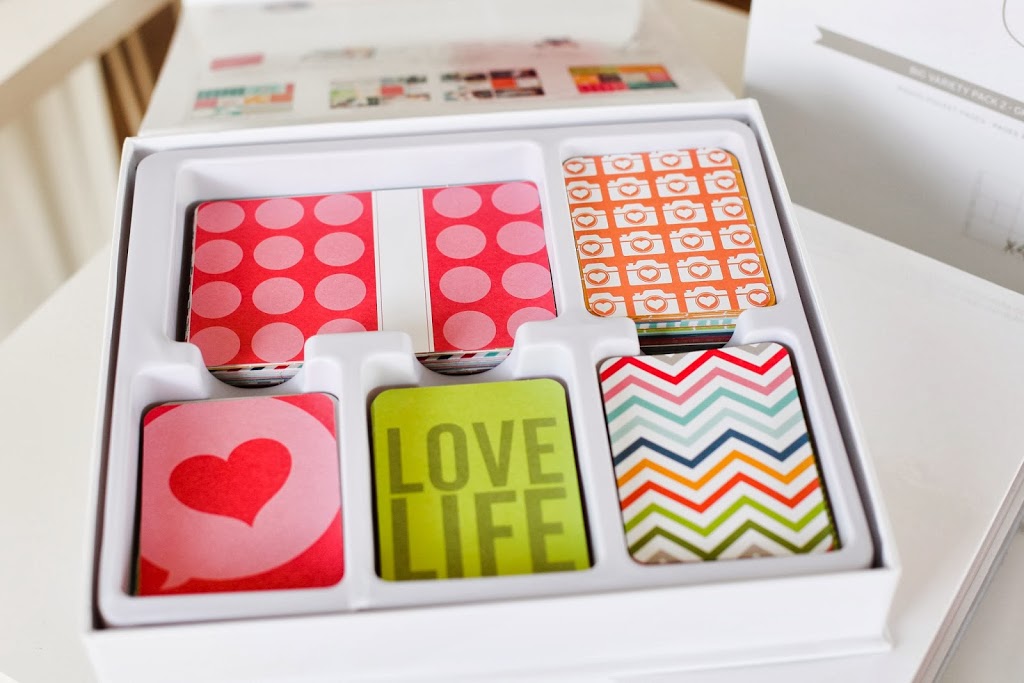
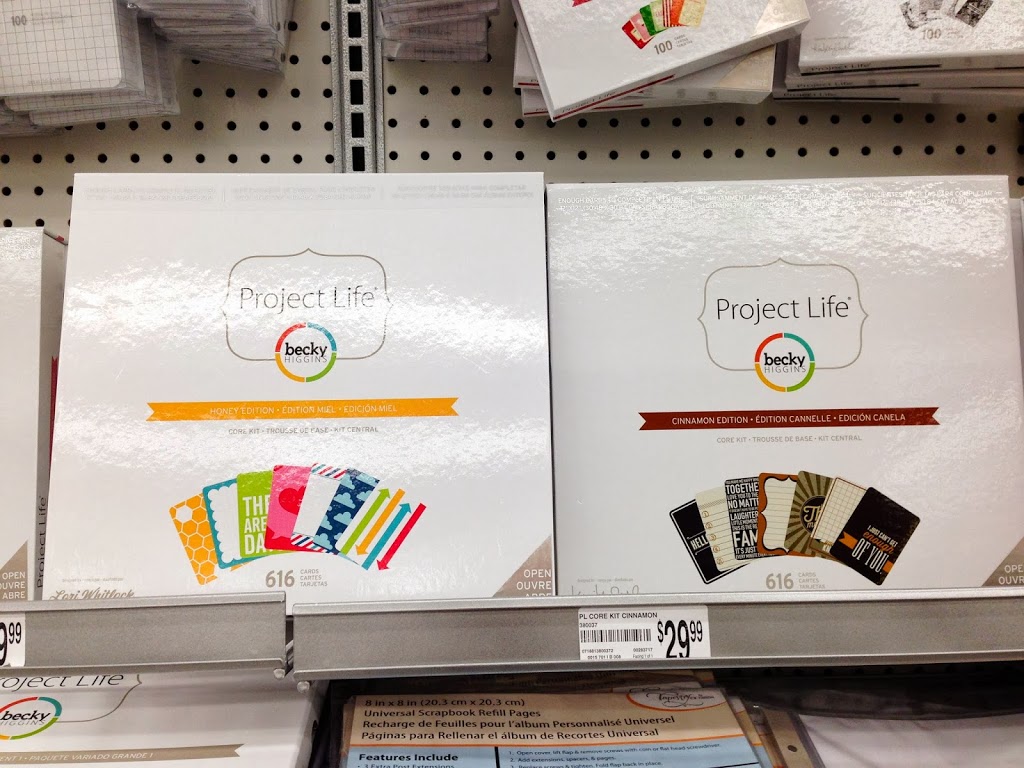
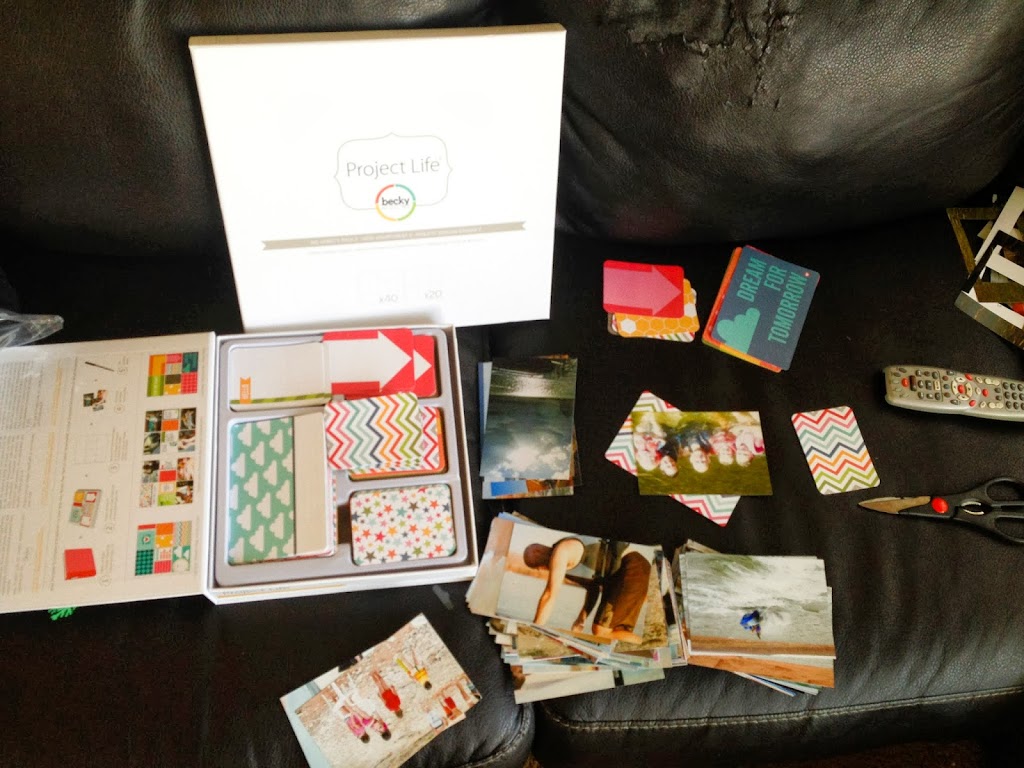
Here’s how it works.  You buy a Core Kit, an Album, and Sheet protectors (I use 40% off coupons and get them at Hobby Lobby or Michaels).  Select and print your photos.  Then it’s simple.  You just slide pictures and journaling cards in pockets.  And in no time, you have a completed album.  (You can watch video demonstrations on the Project Life website)


There are a few reasons I prefer Project Life over an album you design digitally online.

First, I sit in front of a computer far longer than I’d like to for my business.  Any more hours in front of the computer and my eyeballs might fall out.

Second, I like to be able to do it while I’m doing something else (like catching up on all my DVR shows, or sitting by kids while they do homework).

Third, it’s FAST.  And super simple.  Both of which are requirements in pretty much anything I do these days.


Fourth, they look AWESOME when they’re done.  More visually interesting than a traditional photo album with pictures in pockets.

Fifth, my kids can get involved and help.  They become invested in the project.


Sixth, you can also journal in the albums.  There are “journaling cards” where you can write small amounts of information to supplement (note I said supplement as the pictures are the main focus of the album for me) the pictures.

Seven, you can make some killer unique gifts with Project Life.  I’ll post some things I’ve done with them so far in a separate post.


But the biggest reason I appreciate Project Life is that I’m able to look through my albums and see what we’ve accomplished and what efforts we’ve made at living a good life story, but it also helps me see what we’re missing so we can be more intentional about our future and live the life we want to live.


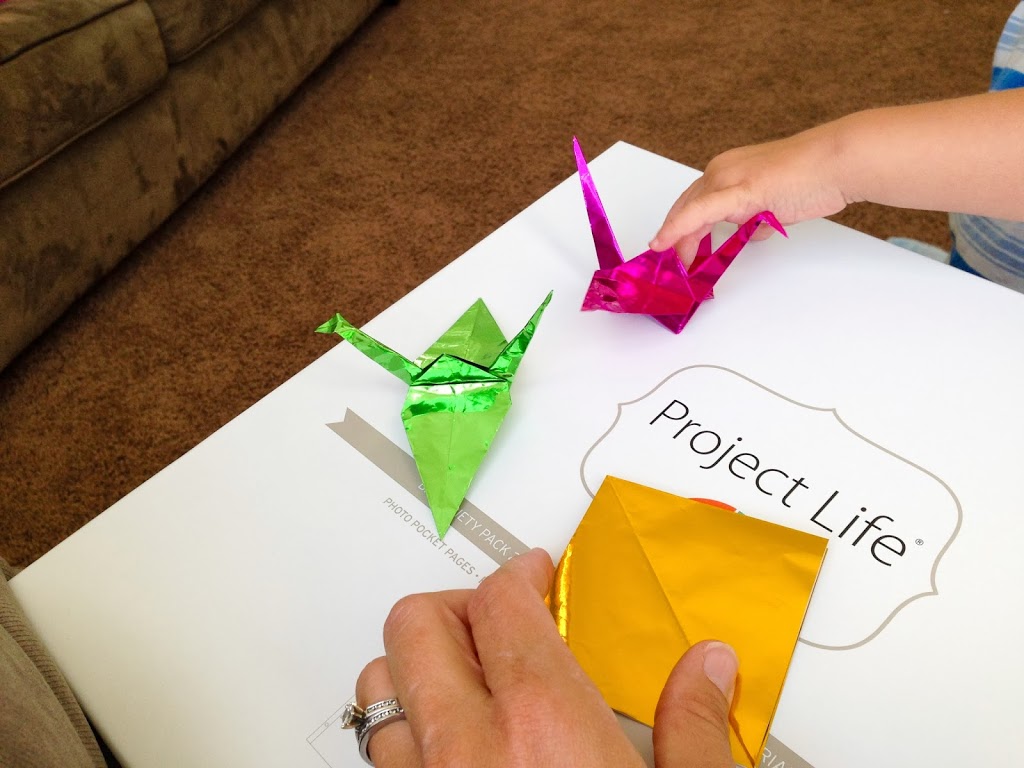
The boxes also make a great spot for folding paper cranes.  Folded 30ish of those (out of 1000) for a friend fighting stage 4 Lymphoma.  

Try it out.  I’m pretty sure you’ll fall in love like I have.
And your kids will love you!


And for those of you who aren’t really the scrapbooking type (which I’m totally not) check out the Project Life App.  It’s a game changer!!


Click here to visit the Project Life website.

And for another idea on displaying photos in your home, click here for a super awesome wall display.

Where should I print my pictures?

I get asked this question alot.

My answer: It depends on what you’re using the pictures for.

I know most professional photographers will say to only get your photos printed at a professional lab. The only time I disagree with this, is based on your answer to the question, “What are you using the pictures for?”

If I am printing pictures 5×7 or smaller and they are intended for an album, like Project Life, I print my photos at Costco.

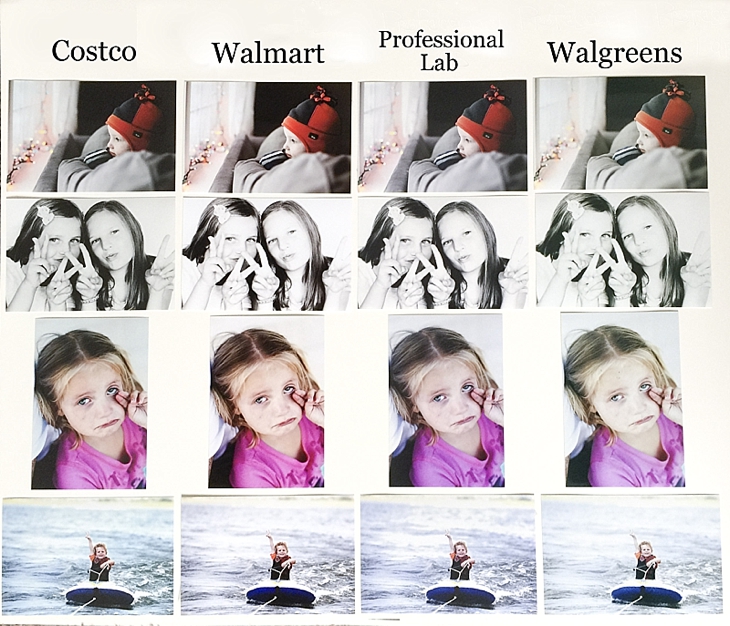
I did a test print of several different photos at four different printing labs: Costco, Walmart, Walgreens, and a professional lab. The photos at Walgreens turned out a little green because I forgot to uncheck the “auto-correct” button on their site (I always recommend turning OFF the auto-correct). The quality of the 4 different places was comparable but the coloring and “brightness” of each photo varied a bit. The key is to do a test print first and make sure you like the “look” of the printers there. It’s hard to see a comparison accurately over a computer screen since all monitors show colors differently. But this gives you an idea of how the photos can look a little different from place to place. Some people who are looking to decorate their homes might look into getting printed wall art to had that extra bit of art to their walls. If you are interested in finding out more about about getting your photo printed on acrylic to add your wall art, there are some companies out there that could help you to achieve this method.
2015-01-29_002
Keep in mind when printing anywhere, what you see on your screen isn’t necessarily what you get from the printer (unless your monitor is calibrated to that specific printer). I have learned that Costco prints tend to be a little “dark”. So before I send them to Costco I lighten them up a little (bump up the exposure) through some editing software. All of the photos in this wall collage I did are from Costco.

OR I print my 4×6 photos at York Photo online. If you google “free 4×6 prints” a code for 100 free prints to york photo should pop up. You can use that the first time you order prints from them. They also have sales on their prints all the time so I have a folder on my desktop with pictures I want to print and I wait until there is a sale and then send a batch of those pictures in to be printed.

If I am printing bigger than 5×7 or printing anything large that will be hung on my walls, I use Pixels Foto and Frame (for the Utah readers, it’s on 90th S. and State Street in Sandy) or Persnickety Prints (in Orem, Utah)–Persnickety also ships for a flat rate and their customer service is unbeatable. Online I use Persnickety Prints or Mpix. These are all professional printing labs with affordable prices.

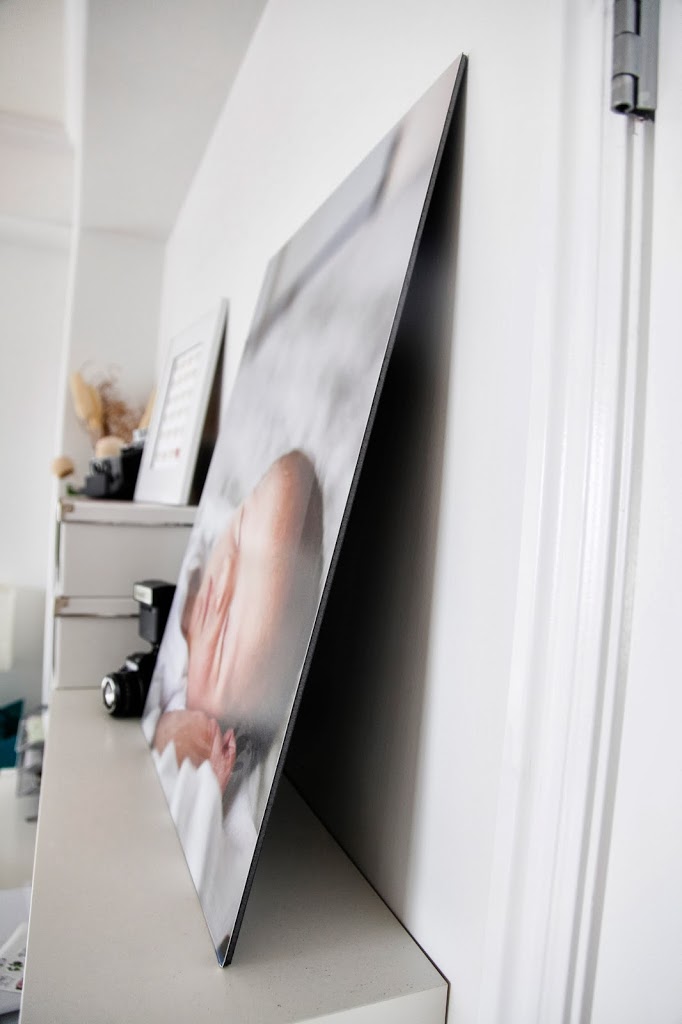
I use Persnickety for regular prints (they’ll do custom sizes which I love to do) and I also use them for matboard prints like this one:

Mpix has a bunch of novelty photo items like calendars and photo books and cards along with regular prints. I also use them for printing stickers and business cards.


Any photos I print I use a matte or lustre finish instead of glossy. Makes them look better in my opinion.


If you have never printed somewhere before and don’t know what the prints will end up looking like, just send a few photos to be printed. Then if you like how they look, you can send a bigger batch for prints.


I have been using Persnickety Prints the most lately. They do printing for Instagram pics (square photos) as well as Project Life album sizes (3×4’s). I also love their polaroid type prints and various sizes of square prints. They specialize in 12×12 prints (that work great with the Project Life app) and they make 5×5 mini photo books that work perfect with Instagram prints or as a custom book.


For some ideas on an incredibly easy way to document your family story, check out the Project Life App. It’s “scrapbook” cheating in the palm of your hand.

2014-10-18_0012

And for ideas on how to display photos in your home, you can check out several ideas of Wall Displays using photos here. And for even more, you can follow my Pinterest board “Photo display ideas”.

Related Posts Plugin for WordPress, Blogger...