{For Step 2 in the Picture Display Movement, click here}
ORGANIZE YOUR PHOTOS:
For me, this step initially felt the most overwhelming. But once I got started, it turned out to be no big deal and went really fast.
I use iphoto for all my photo organizing. BUT. You don’t have to have iphoto to organize photos like this. You can use the same “folder” system on any computer, Mac or PC.
The problem for me initially was the lack of organization within iPhoto and being able to effectively choose what I wanted to print and keep some sense of order in doing that.
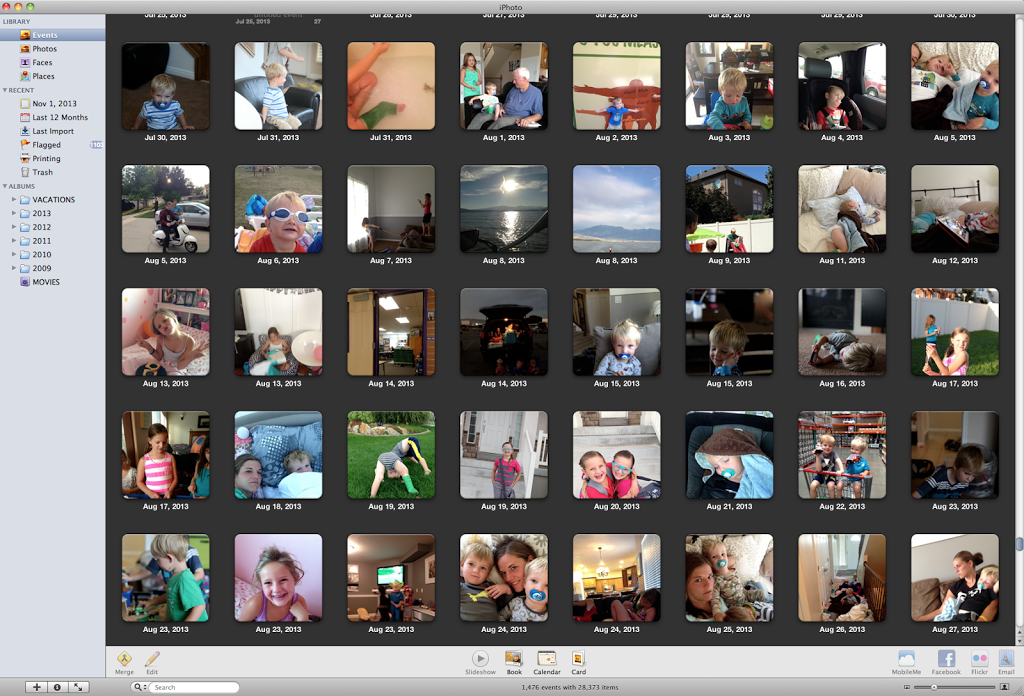
All my pictures were in iPhoto, but that’s it. If you don’t use iPhoto, your pictures are all sitting somewhere on your computer waiting to be organized (probably in a native “Pictures” folder). I started using iPhoto in 2009 so I had 5 years worth of photos in there and was overwhelmed by the prospect of organizing them.
Until I came up with this system.
Keep in mind there are hundreds of different ways you can organize photos. Which is what overwhelms me. So I had to pick something simple. That I know I would do and that I would maintain.
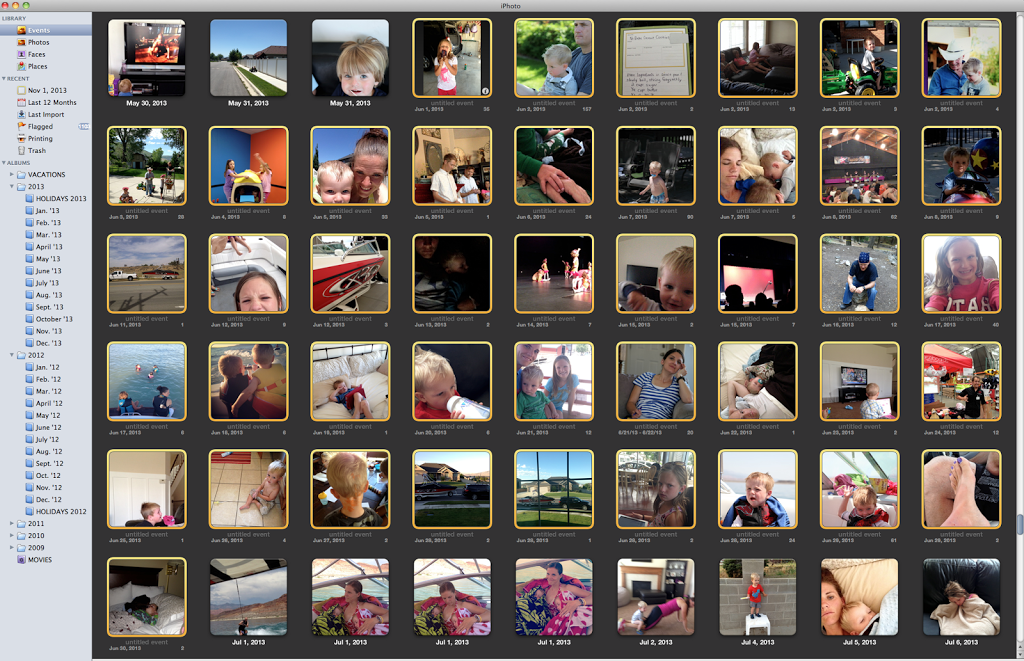
To organize the photos that were already in iPhoto, 5 years worth, I created folders for each year as well as a “vacations” folder. See the photo below, under “albums” where it has folders for each year and one for vacations. If you aren’t using iPhoto, just create these folders right on your desktop or in your “Pictures” folder.
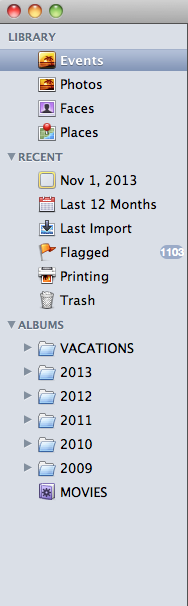
I then created an album for each month in that year as well as an album for Holidays in that year. Then I moved those albums into the folder for that year. If you aren’t using iPhoto, just create another folder for EACH month and put those months in the individual years folder (so each year will have 12 folders–one for each month).

I have used Kodak EasyShare for years. My pictures from both my phone and my card from my dSLR automatically upload to KES. KES Automatically creates folders based on Month and Dates uploaded. It’s awesome. Every few months I burn those folders by month to DVD’s. I need to take your suggestion and get a 3TB external drive – next on my list! You are so informative and intelligent! I love reading your posts!!
You can create “smart folders” that will automatically put the photos for the time frame in that folder (I do this by year, then by each month within that year) and I also tag away so I can always pull up photos for any person or any occasion.
Christie,
Great idea. I’m slightly tech challenged so I learn stuff as I go. Do you use iphoto to organize your photos? I have smart folders in iphoto for all my movies.
Hi
I am just wondering what you are using to organise your photos now that iPhoto is no longer supported and that the photos app is now the replacement??
Cheers
Belinda
I would like to know this too!!!
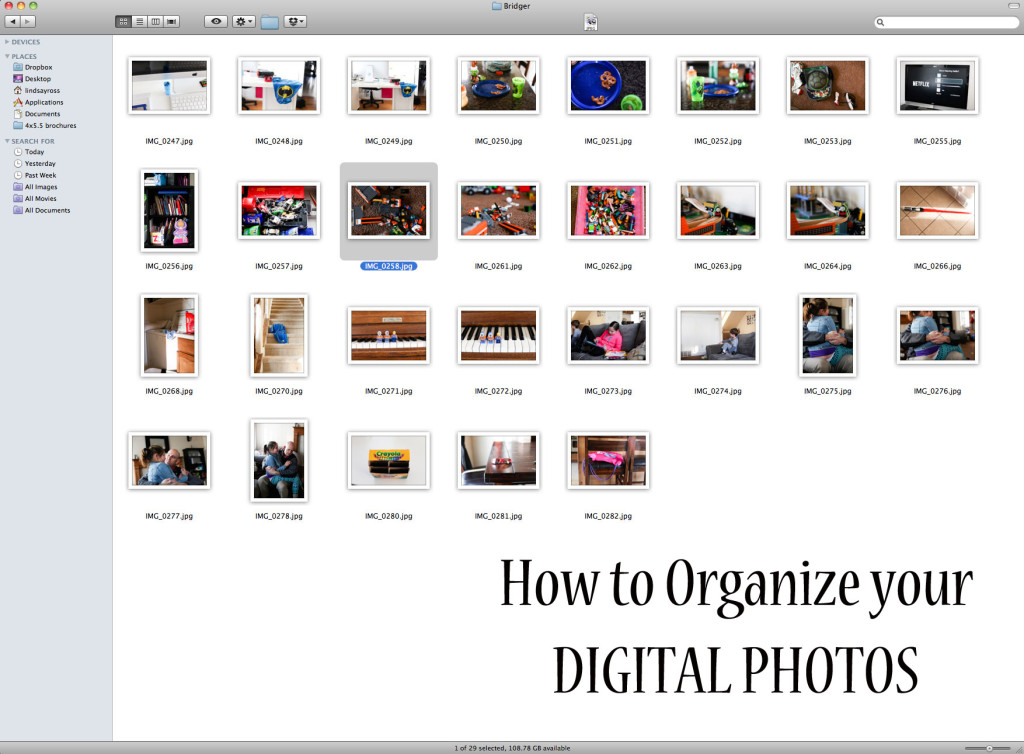
Alice! See the comment above in response to Rachelle. Short answers is that I use Adobe Bridge.
I organize photos a similar way as you do. I have a folder for each year, then inside each folder, I have each month (Example: 8-August).
Inside each month, I’ll make a folder for each event (Example: 8-26 Olivia’s 1st Birthday).
My mac just crashed but fortunately we got the photos backed up to an external
Drive. Now I am on a PC. Should I get a photo program or just work with regular files?
Also, any thoughts about organizing photos taken with film instead of digitally? Should I try to scan them onto the computer?
Thanks for all your wonderful ideas and tips!
Hi Cathy!
I like managing my photos through a photo program, but it’s kind of personal preference. Most people I know who have a PC just use file folders in My Pictures.
The photos you’ve taken with film, I would recommend scanning (I use the Fuji Scan Snap) just so you have them “backed” up somewhere should something happen to the originals. All of the photos I had printed from film I’m putting in albums, but scanning them on to a computer to have them there as well!